

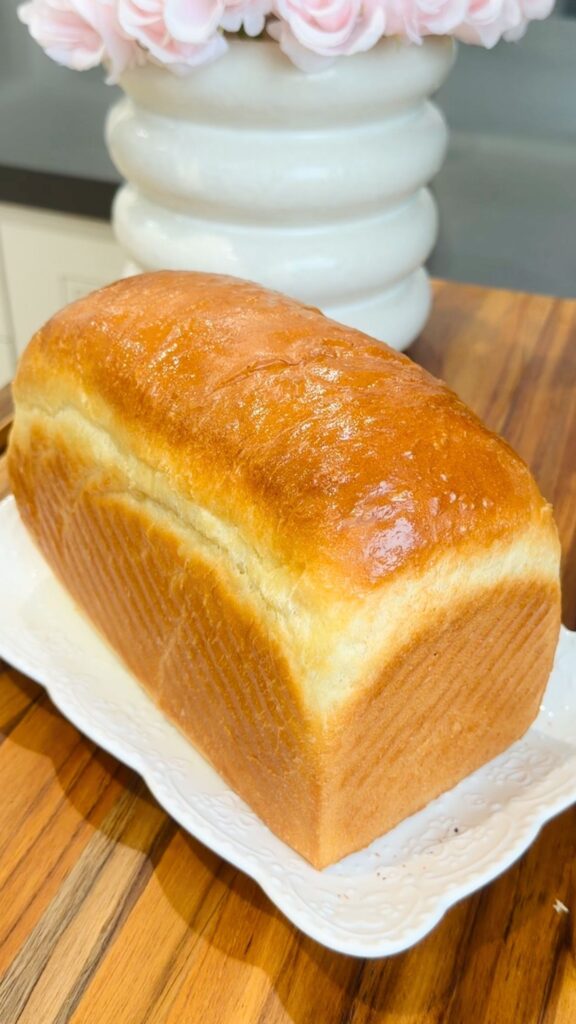
If I told you that you could make authentic, crispy French baguettes with just four ingredients and minimal hands-on time, would you believe me? This simple method produces bakery-quality baguettes while you sleep, making it possibly the easiest bread you’ll ever bake.

TABLE OF CONTENTS
Why This French Baguette Recipe Works

These baguettes give you that perfect contrast between a crisp exterior and a soft, chewy interior with beautiful air pockets. The overnight fermentation develops complex flavors that simply can’t be rushed.
All you need is flour, yeast, salt, and water, ingredients you likely already have. The long fermentation time does the work for you.
The Secret to Perfect Crispy Baguettes
The crispy crust comes from steam and heat. You can create steam in your home oven by placing a tray of water inside, under your bread. It’s truly as simple as that.
Ingredients for this French Baguette Recipe

All-Purpose Flour (3 cups): Regular all-purpose flour works beautifully, though bread flour will give even more chew.
Yeast (1 teaspoon): Just a small amount since we’re giving the dough plenty of time to ferment.
Salt (1 teaspoon): Adds flavor and strengthens the gluten structure.
Lukewarm Water (1½ cups): Not too hot (kills yeast) or too cold (slows fermentation)
Step-By-Step Instructions
Evening: Mix Your Dough
1. Mix the dry ingredients: In a large bowl, whisk together the flour, yeast, and salt until well combined.
2. Add water: Pour in the lukewarm water and mix with a spatula until a sticky dough forms. Make sure no dry flour remains. The dough will be shaggy and wet… This is exactly what you want!

3. Cover for overnight fermentation: Cover the bowl with plastic wrap or a damp kitchen towel. Leave it at room temperature (65-75°F) for 12-20 hours. This long, slow fermentation is where the magic happens!

Morning: Shape and Bake
4. Prepare your work surface: Generously flour your counter or cutting board. The dough will be sticky!
5. Turn out the dough: Gently scrape the dough onto the floured surface. It should have doubled in size and be bubbly on top.

6. Divide the dough: Using a floured knife or bench scraper, cut the dough into 2 equal portions.
7. Shape into baguettes:
- Gently pat each portion into a rough rectangle, being careful not to deflate it too much
- Fold the long side one-third of the way toward the center, pressing lightly to seal
- Fold the opposite side over the first fold, creating a letter fold
- Roll this log gently with both hands, starting from the center and working outward, to extend to about 14-16 inches
- Taper the ends slightly for that classic baguette shape

8. Second rise: Transfer the shaped baguettes to a parchment-lined baking sheet, leaving space between them. Cover with a kitchen towel and let rise for 1 hour until puffy but not doubled.

9. Preheat your oven: During the final 30 minutes of rising, preheat your oven to 450°F (230°C). Place an empty baking tray or cast iron pan on the bottom rack.
10. Score the baguettes: Just before baking, use a very sharp knife or razor blade to make 3 diagonal slashes across the top of each baguette, about ¼ inch deep.

11. Create steam: Boil 2 cups of water. When ready to bake, quickly pour the boiling water into the empty tray at the bottom of the oven to create steam. Be careful—the steam is hot!
12. Bake:
- First 10 minutes: Bake with steam at 450°F
- Carefully remove the water tray (use oven mitts!)
- Additional 30 minutes: Continue baking until the baguettes are deeply golden brown
13. Cool: Let the baguettes cool on a rack for at least 15 minutes before slicing (if you can wait that long!).

The Magic of Overnight Fermentation
During overnight fermentation, the yeast works slowly, developing more complex flavors than a quick rise. This approach isn’t just about better flavor, it’s also convenient. Mix the dough before bed, and it’s ready for shaping when you wake up.
Shaping Your Baguettes
The key is handling the dough gently to preserve air bubbles. The letter-fold method creates the perfect structure for those beautiful air pockets.
Don’t worry if your first baguettes aren’t perfectly shaped, they’ll still taste amazing. With practice, your shaping skills will improve.
Scoring Your French Baguettes
Those diagonal slashes allow the bread to expand in a controlled way during baking and create those beautiful “ears” that rise up.
A sharp knife works fine, though a razor blade gives cleaner cuts. Cut about a quarter-inch deep.
Storage and Serving Tips
French baguettes are best within hours of baking. They’ll keep for about a day wrapped in a kitchen towel.
For longer storage, slice and freeze your baguette. To reheat, sprinkle with water and warm in a 350°F oven for 5-10 minutes.
These baguettes make perfect sandwiches, are great for dipping in soup, and make excellent garlic bread.

Troubleshooting
Too sticky? Baguette dough should be somewhat sticky. Use flour on your hands and work surface during shaping.
Flattening during baking? They might be overproofed or too hydrated. Try a shorter rise time or slightly less water.
Not crispy enough? Ensure your oven is fully preheated and use more water for steam.
No time for overnight fermentation? Use warm water and a warm spot, though flavor won’t be as developed.
Why Make Your Own Baguettes

Homemade baguettes contain just four simple ingredients, unlike store-bought versions with preservatives and additives.
There’s a great satisfaction in creating something so delicious from basic ingredients. Each time you pull the French baguettes from your oven, you’re participating in a tradition that stretches back centuries.
Remember, each batch will teach you something new, and even “imperfect” loaves will be delicious.


The Crispiest 4-Ingredient French Baguette Recipe
EMAIL THIS RECIPE
Enter your email and I’ll send this directly to you.
Plus you’ll get new recipes from me every week!
Equipment
Ingredients
- 3 Cups All Purpose Flour
- 1 Tsp Yeast
- 1 Tsp Salt
- 1 ½ Cups Lukewarm Water
- Extra Flour for Dusting
Instructions
- Mix dry ingredients: Whisk together flour, yeast, and salt.

- Add water: Mix until a sticky dough forms with no dry flour remaining.

- First fermentation: Cover and let ferment at room temperature for 12-20 hours

- Divide dough: Turn onto a heavily floured surface and split into 2 equal portions.

- Shape baguettes: Pat each portion into a rectangle. Fold one-third toward center. Fold opposite sides over first fold. Roll gently to extend to 14-16 inches. Taper the ends.

- Second rise: Place on parchment-lined baking sheet, cover with towel, and let rise 1 hour

- Preheat oven: Heat to 450°F with empty tray on bottom rack
- Score: Make 3 diagonal slashes on each baguette

- Add steam: Pour boiling water into the empty tray.
- Bake: 10 minutes with steam, then remove water tray and bake 30 more minutes until golden.

- Cool: Let rest 15 minutes before slicing.

Notes
- Room temperature affects fermentation time
- The dough should be sticky
- Handle gently to preserve air bubbles
Want To Save This Recipe?
Share your email & we’ll send it over! PLUS, you’ll get new recipes from us weekly
Frequently Asked Questions
Yes! While all-purpose flour works great, bread flour will give you a chewier texture. You can also experiment with substituting up to 1/4 of the flour with whole wheat for more flavor.
This usually means your dough is overproofed or the scoring tool isn’t sharp enough. Try reducing the final rise time by 15-20 minutes and ensure your knife or blade is very sharp.
Yes, but your bread won’t have the same depth of flavor. If you’re short on time, try my Quick and Simple Brazilian Cheese Bread recipe instead, which can be ready in under an hour.
For an extra-crispy crust, leave the baguettes in the turned-off oven with the door cracked open for 5-10 minutes after baking.
It’s better to bake all the dough and freeze the finished baguettes. Partially baked baguettes (baked for just 15 minutes until set but not browned) can also be frozen and finished later.
The most common reason is not enough salt. Make sure you’re using the full teaspoon. Also, longer fermentation develops better flavor, so try extending the overnight rest to the full 20 hours next time.
They should be deeply golden brown and sound hollow when tapped on the bottom.


As I type this, I am eating a warm buttered slice of this bread. I follow the directions exactly I’m very happy with this recipe. Thank you for sharing. I will definitely make it again.
I have high hopes, they are in the oven right now. It smells so good!! Thank you..
Mine doubled within maybe an hour ???? as I checked on my way to bed, what do I do?
Hi Rebecca!
You may have a very warm kitchen. You can still leave it out for the 8 hours, it should be okay. Or you can put it in the fridge overnight!
I love this recipe!! I’m a novice (at best!) bread maker and I always wanted to bake baguettes…
U followed the recipe to the letter, and while it was delicious, I felt it was over baked as the crust was excessively thick. I read the instructions again and it said the the 2 cups water was to be placed in the oven with the bread, but to be taken out after 10 mins, and bake for another 30 mins … or so.
So I read this as a total of 40 mins in the oven at 450….do i have it right? I’ve just made my dough again and its in the oven for its first rise…. baking tomorrow am!
Thx, Roy
Wow Roy I’m so glad you were able to bake up some fresh baguettes!! Nothing is better than homemade bread. Yes 40 minutes is correct although your oven may be different than mine, and your bread may need less time to fully bake so keep an eye on them in the last 10 minutes (:
Hi, my name is Maria . I can’t wait to make your baguettes. They look so delicious but I’m interested to know is it instant ease self rising east? I’m kind of new at this and I’d really need detailed instructions. I thank you so much for your time.
instant yeast! That means that you can add the yeast in directly with your flour, no need to activate it. The other type of yeast is active dry yeast which you can still use, you would just have it add your yeast to your warm water with a pinch of honey or sugar first, let that sit for 10 minutes then add it to your flour (:
It was a delightful experience to make this piece of art and yummy to the taste buds. The crisp texture, soft inside, and freshness were a treat for my entire family! Thank you for sharing your step-by-step instructions!
so happy to hear that Marie!! Glad you and your family enjoyed (:
If I wanted to freeze the bread, what are your suggestions for the best way to unthaw?
The best way to do so it to spray it with the little bit of water then reheat in the oven at 325-350 F for 5-10 minutes (:
I made this and it was 200 degrees after 20 minutes. I took it out of the oven and let it cool, it is gummy inside. Should I have left it in for the full 40 minutes regardless of temp?
Hi Helen! Yes it needs the full time to bake especially after you remove the water bath. And make sure it let it cool fully before cutting into it too!
If you find the top is browning too quickly you can always cover your breads with a piece of foil while the inside continues to bake (:
Will this work with gluten free flour? If so, do I still leave it out overnight?
Hi Connie!! I would not recommend making this recipe with gluten free flour for this recipe as the dough relies on the gluten for its structure.
Hi,
Can the other bread recipes, such as Ciabatta do an overnight rise?
Debbie
Hi Debbie! You can rise those overnight but make sure to put it in the fridge. If you leave it out on the counter it’ll overproof (: