 Grab My Super Easy Bread Cookbook

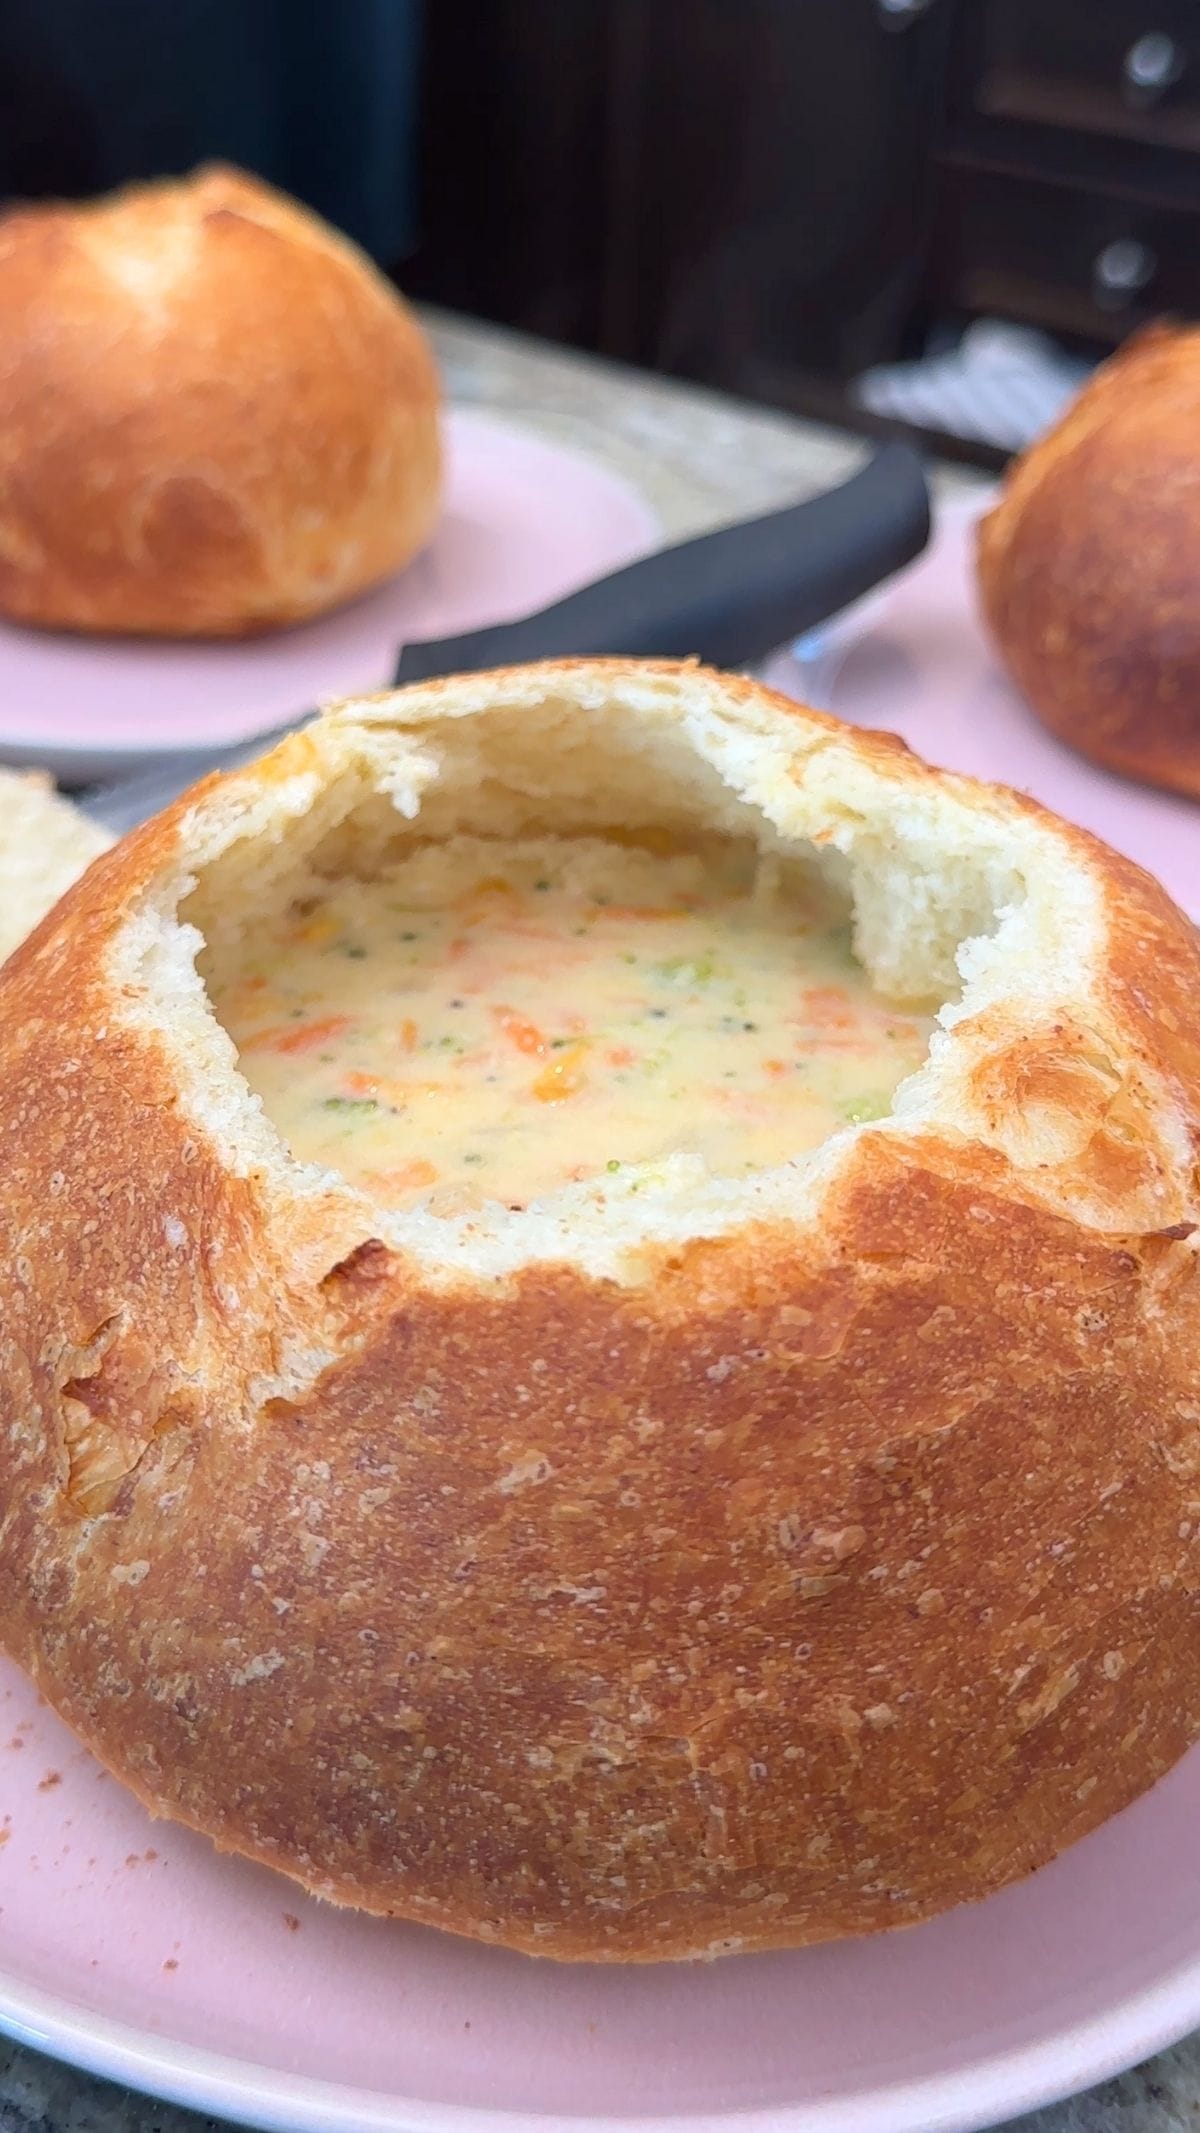
My Brazilian cheese bread recipe, or pão de queijo, gives you PERFECT chewy, cheesy bread without kneading, no long rise time, or a sink full of dishes. Best of all? It's naturally gluten-free, meaning no hunting for hard-to-find substitutes! Enjoy as is for a satiating, oozin' snack, add to a bread basket alongside my fluffy dinner rolls, or use to soak up my homemade cheddar broccoli soup.
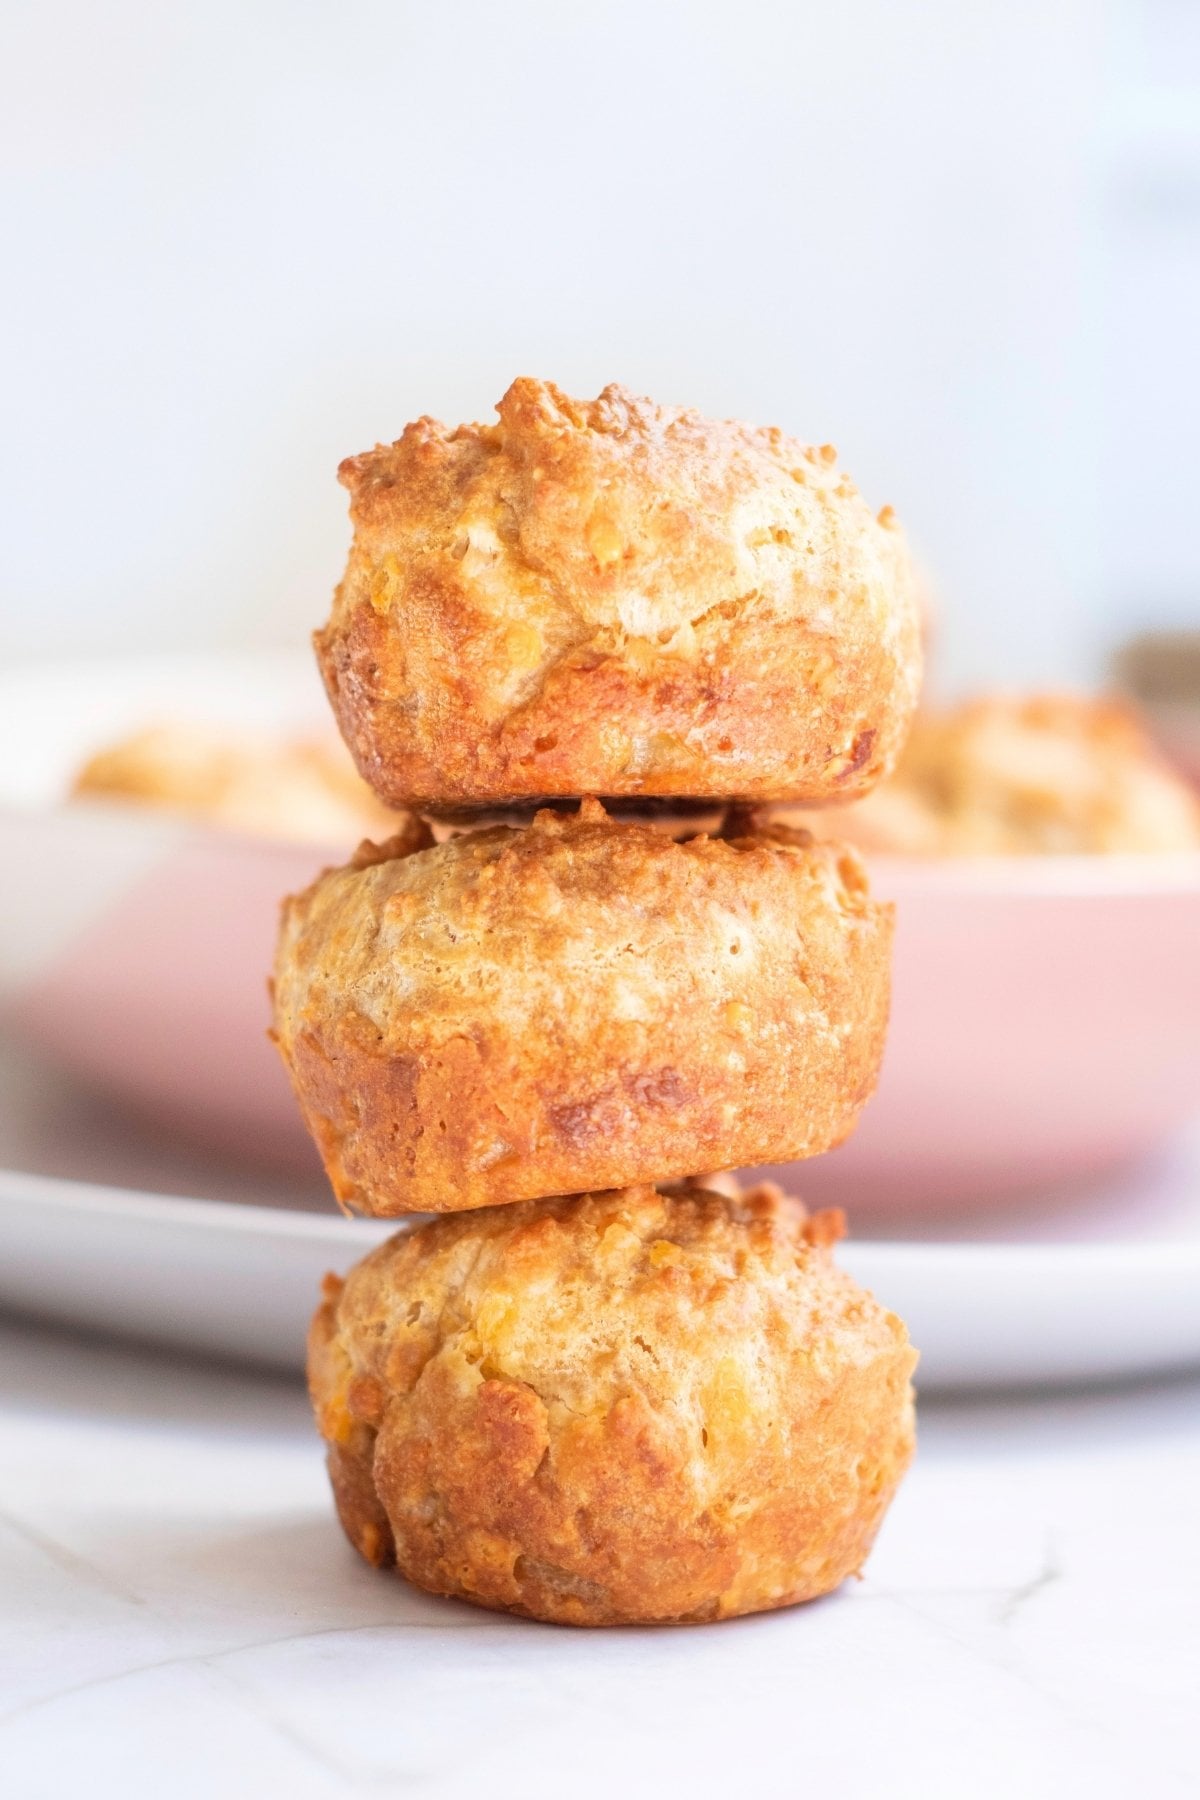
Quick Look: Brazilian Cheese Bread Recipe
- Prep Time: 10 minutes
- Cook Time: 30 minutes
- Total Time: 40 minutes
- Yield: 6 Breads
- Difficulty: Beginner
- Dietary Info: Gluten-free, vegetarian, contains dairy and egg
- Optional Add-Ins: Garlic powder, chopped herbs, chilli powder, thyme, paprika, cayenne, jalapeños
- Why This Works: Chewy, cheesy goodness, naturally gluten-free, and so simple to make? This recipe will quickly become a breakfast staple!
SUMMARIZE & SAVE THIS CONTENT ON
Why We Like This
- Calling it "bread" doesn't do it justice: Crispy on the outside, a chewy inside that melts in your mouth, and oozing cheese flavor in every bite? Trust me: Nothing can compare. The flavor and texture here are SO unique (and irresistible)! Whenever I add these to a bread basket, they are always the first to go.
- Gluten-free without the compromise: My pão de queijo recipe is already naturally gluten-free; it uses tapioca starch instead of flour like traditional bread dough! So yep, you can enjoy the exact same gorgeous flavor without any extra fuss or hunting around for specialty (and often pricey) substitutes.
- Ridiculously easy to make: No heavy kneading here! The blender does ALL the hard work for you. The only real "prep" required is getting your ingredients measured up! If you love this kind of low-effort bread, my blender popovers are another easy option made with a simple batter and baked right in a muffin tin. Whenever a first-time baker asks me the best dough to start with, this and my Italian panini bread are always my recommendations. For so little elbow grease, the payoff is absolutely DIVINE.
- You can actually customize it easily: Come across a recipe that says you can spice it up… But only if you swap this, substitute that, or cut down on something else? I'm a firm believer that adding your personal touch shouldn't feel like a science experiment! That's why my Brazilian cheese bread recipe can effortlessly be customized to your taste! Swap the cheddar for homemade mozzarella cheese, throw in dried herbs, spice it up with chilli flakes or my sweet paprika recipe; it'll always turn out great!
Ingredients
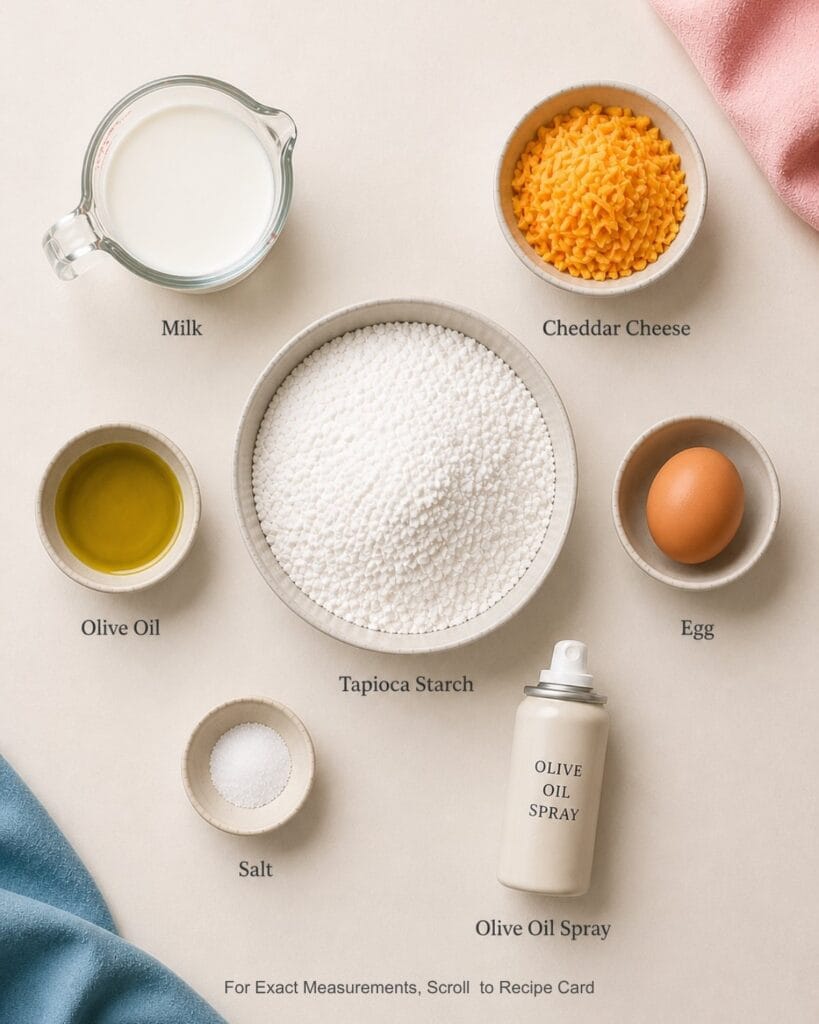
The key ingredient here, tapioca starch, may sound a little intimidating, but trust me: It's A LOT more affordable and easier to find than you think! Every other ingredient is a staple, and you likely already have them in your home.
- Tapioca Starch: (aka tapioca flour) gives my Brazilian cheese bread that signature chewy, stretchy texture, and it's naturally gluten-free! I've found that it's sold in most grocery stores in the world food aisle or gluten-free section, but if you can't find it at your local, it's readily available online.
- Cheddar Cheese: Cheddar cheese gives a sharp, strong flavor that complements the texture beautifully, but there's really no wrong cheese here! Try a combo of parmesan and mozzarella for extra stretch, use havarti for a tangy kick, or add some rich creaminess with gruyère.
- Milk: I use whole milk because it gives the creamiest flavor, but you can use any milk you have on hand, including plant-based alternatives like almond milk if you want to keep things dairy-free!
Minoo's Pro Tip: Why not throw in some peppers and onions for extra crunch? You can even skip the cheese entirely and add cinnamon and sugar to make a sweet version! I've found this pairs perfectly with my DIY Nutella recipe.
How to Make My Brazilian Cheese Bread Recipe
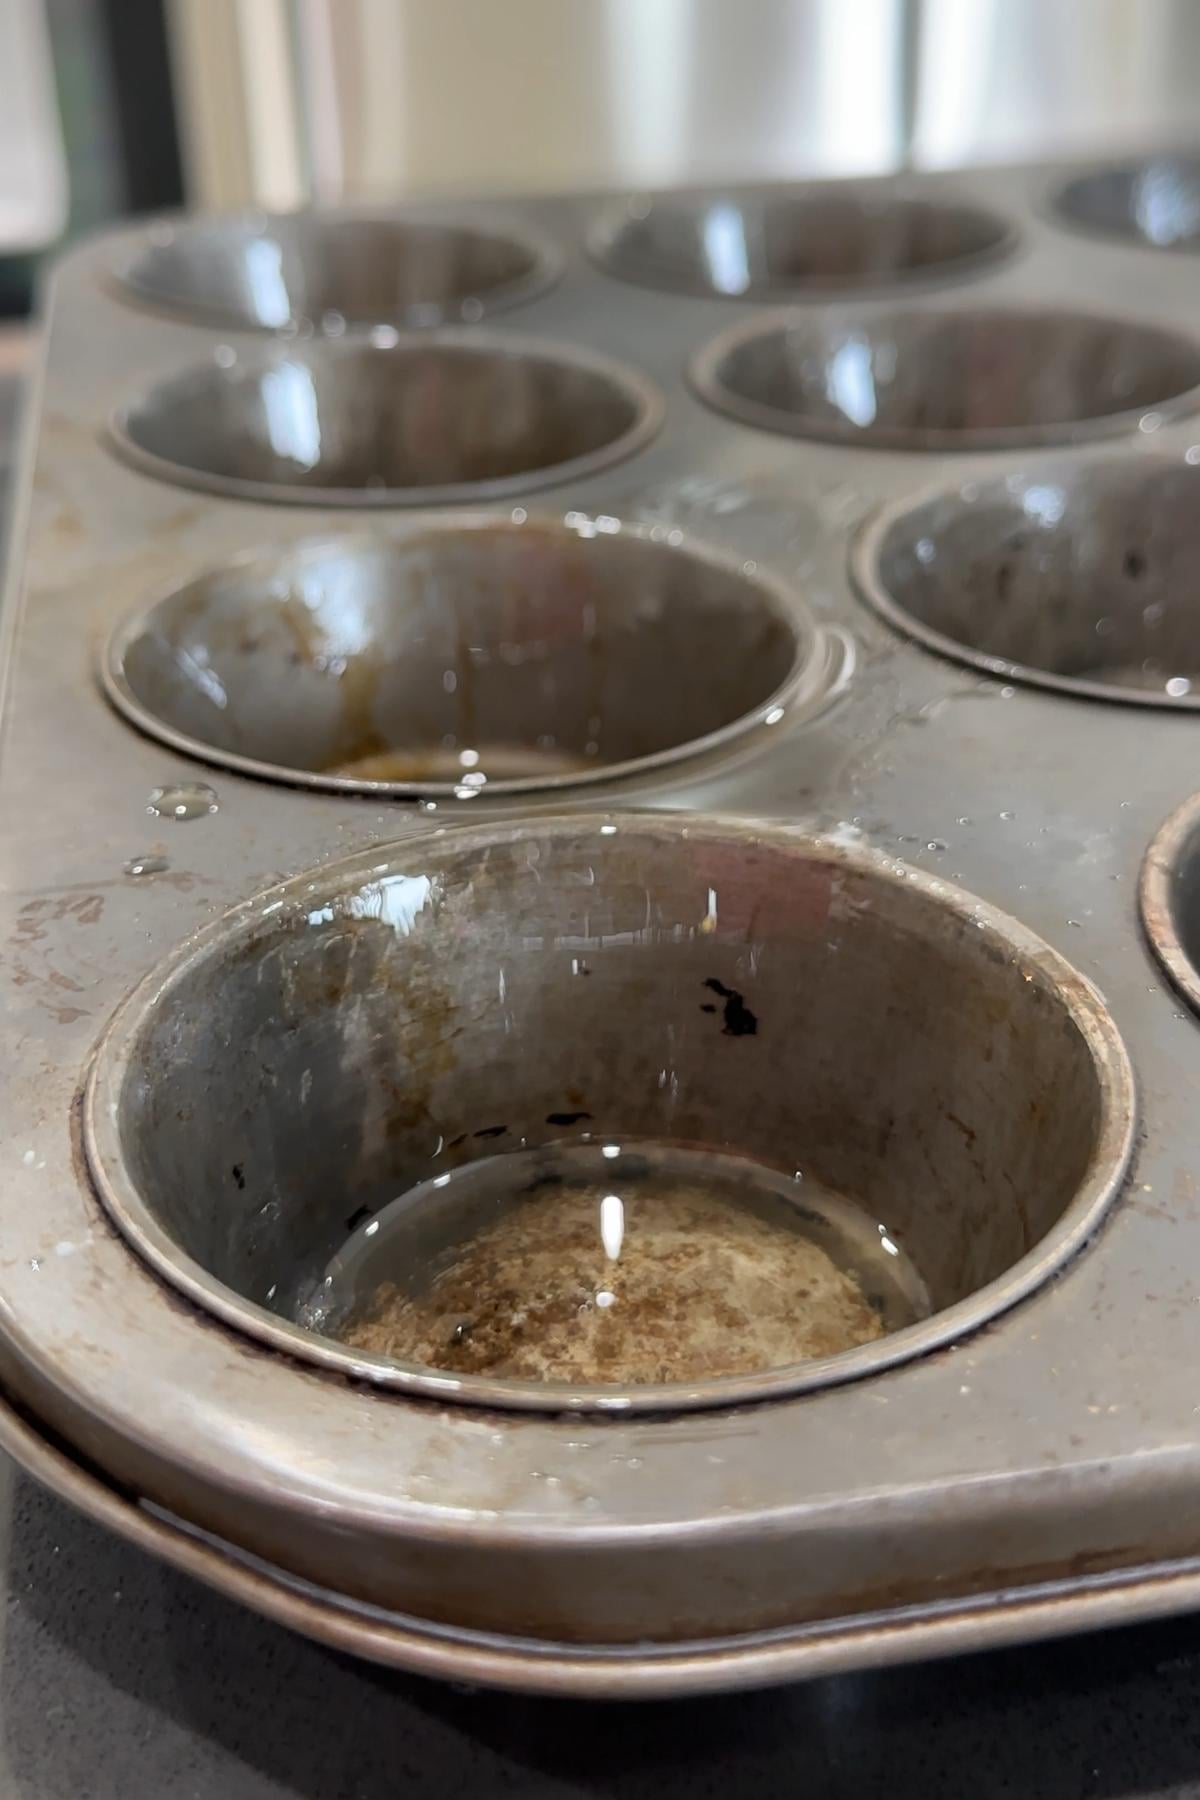
- Step 1: Preheat the oven to 400°F. Grease your muffin tins with olive oil (or your preferred oil) generously, making sure that every crevice is covered. Don't skip the oil here! Your bread is going to be oozin' and sticky, and without that grease barrier, it will be impossible to remove from the tin later. The oil also helps your cheese breads get that distinctive golden, crispy top.
Minoo's Pro Tip: Use a large muffin tin for a fuller, heartier breakfast portion, or a mini-muffin tin for party-sized, snackable bites. Just remember that the bake time will be slightly shorter for those smaller ones, so keep an eye on the oven!
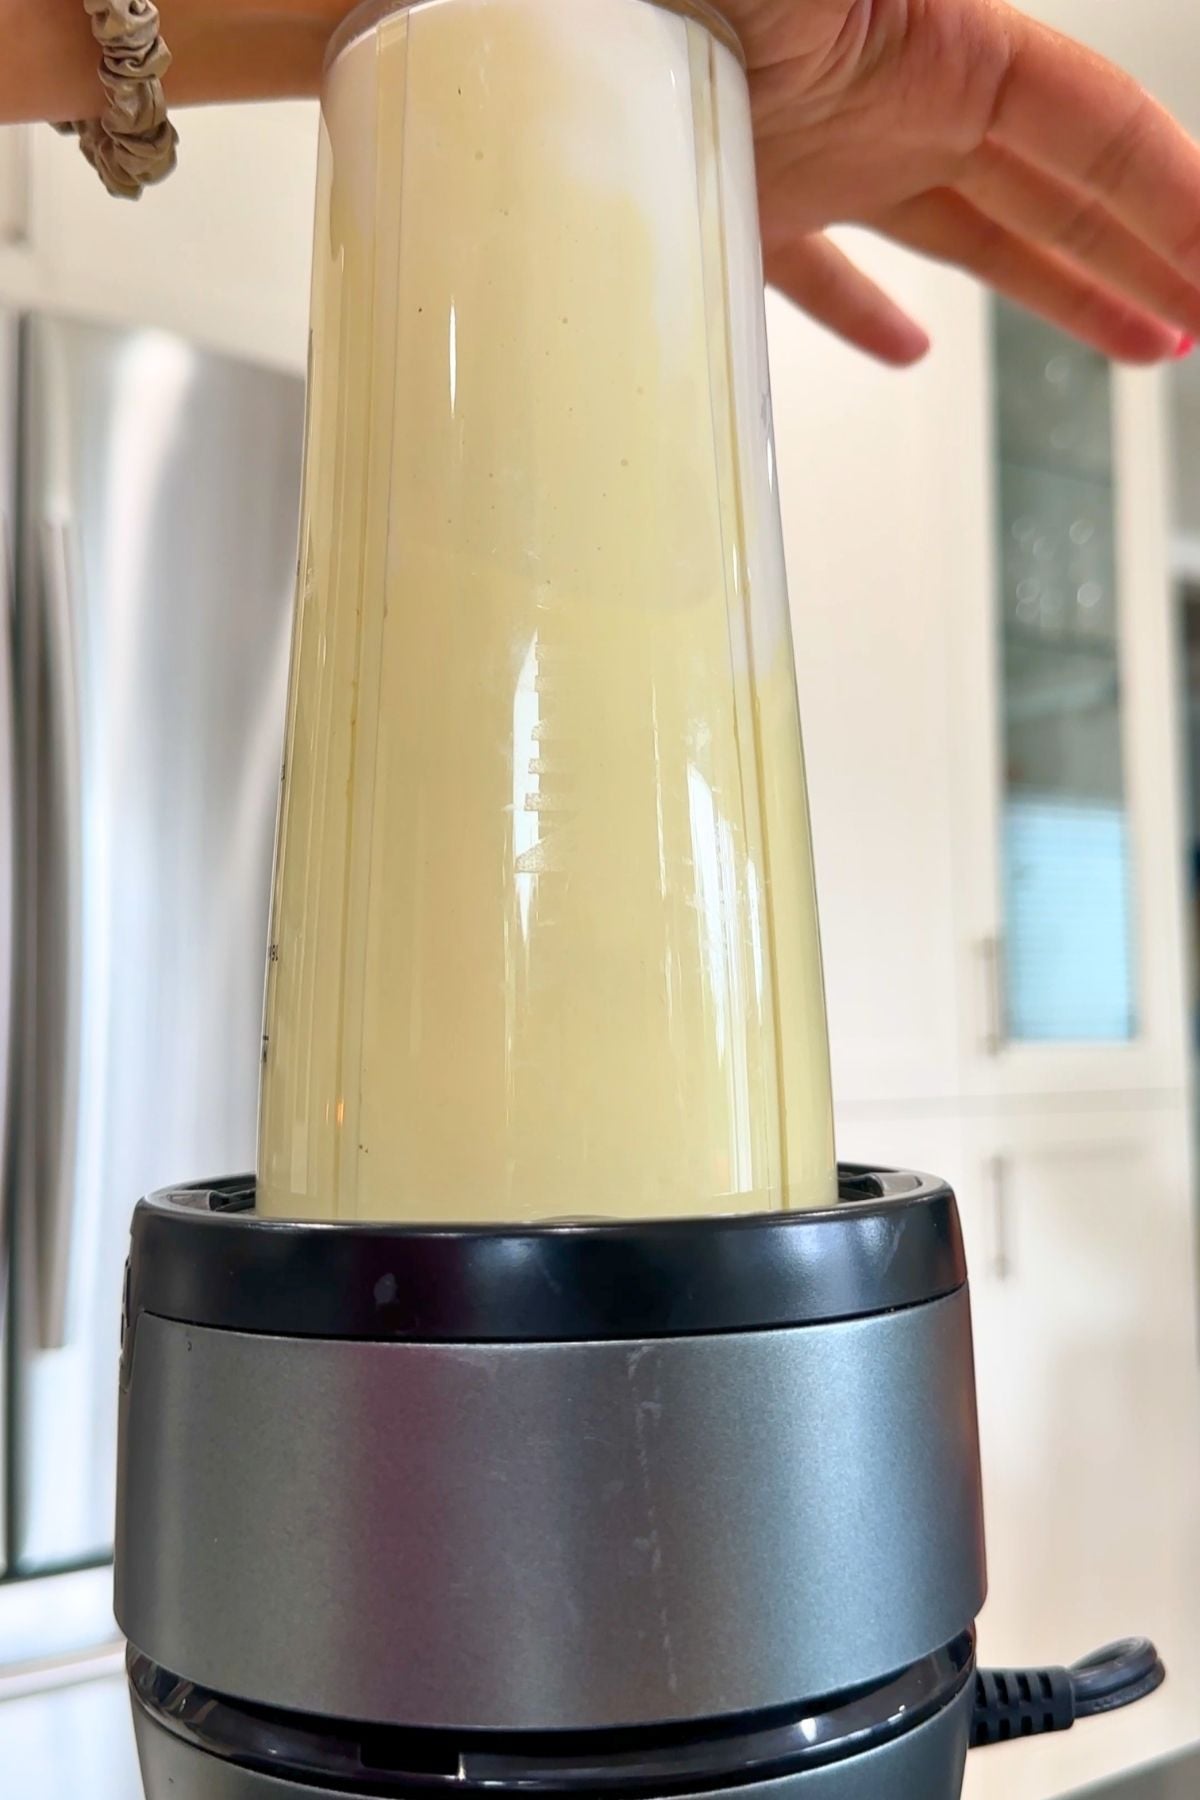
- Step 2: In a blender with an integrated bottom blade, add 1½ cups tapioca starch. Then, add ⅔ cup milk, ⅓ cup olive oil, 1 egg, and ½ teaspoon salt. Blend for 1 to 2 minutes on high, or until smooth, scraping the edges of the bowl as needed. It should have the consistency of pancake batter.
Minoo's Pro Tip: If you're using a smaller blender, where the blade is attached to the lid at the top, add the flour in last, NOT first! The flour should always be closest to the blade, or else the batter will end up lumpy and not well combined!
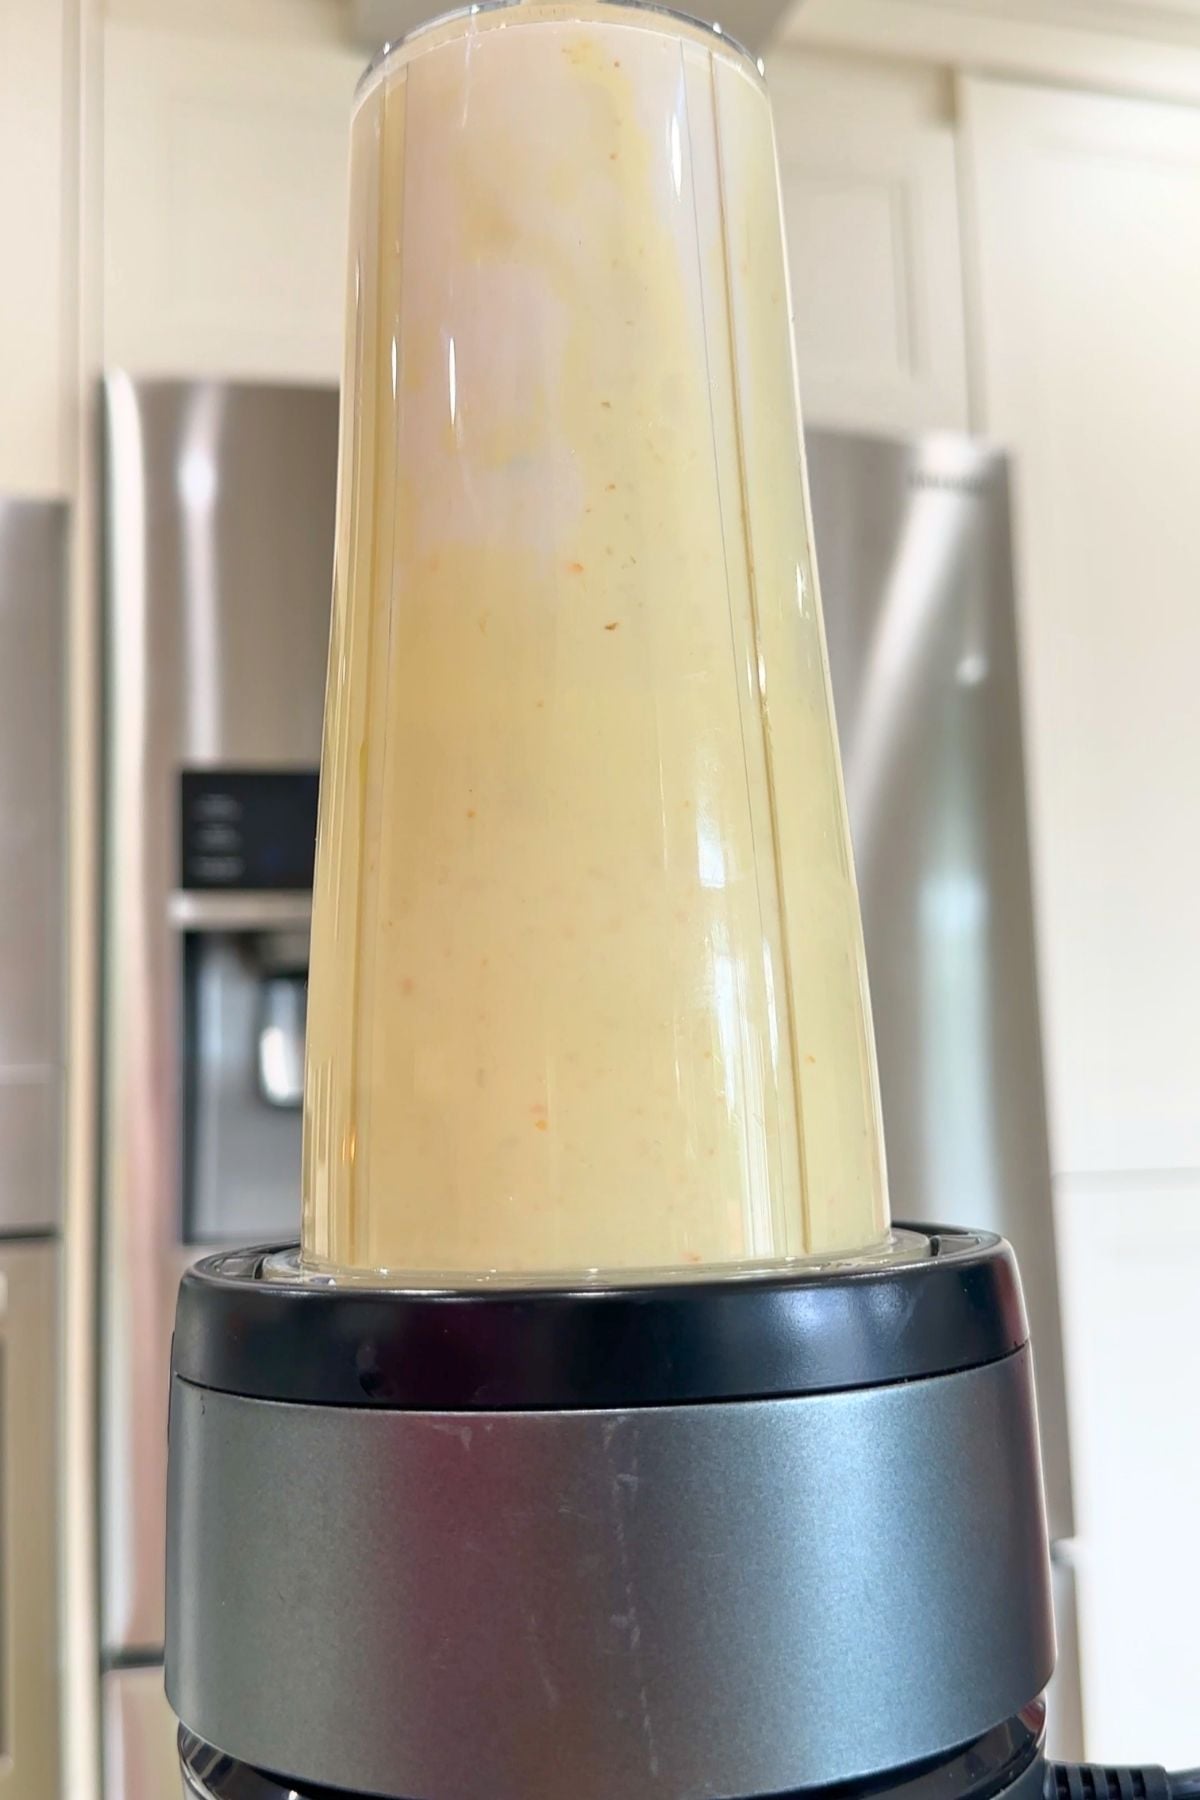
- Step 3: Add in ½ cup shredded cheddar cheese and pulse on low speed for 5 to 10 seconds to spread it evenly throughout the dough.
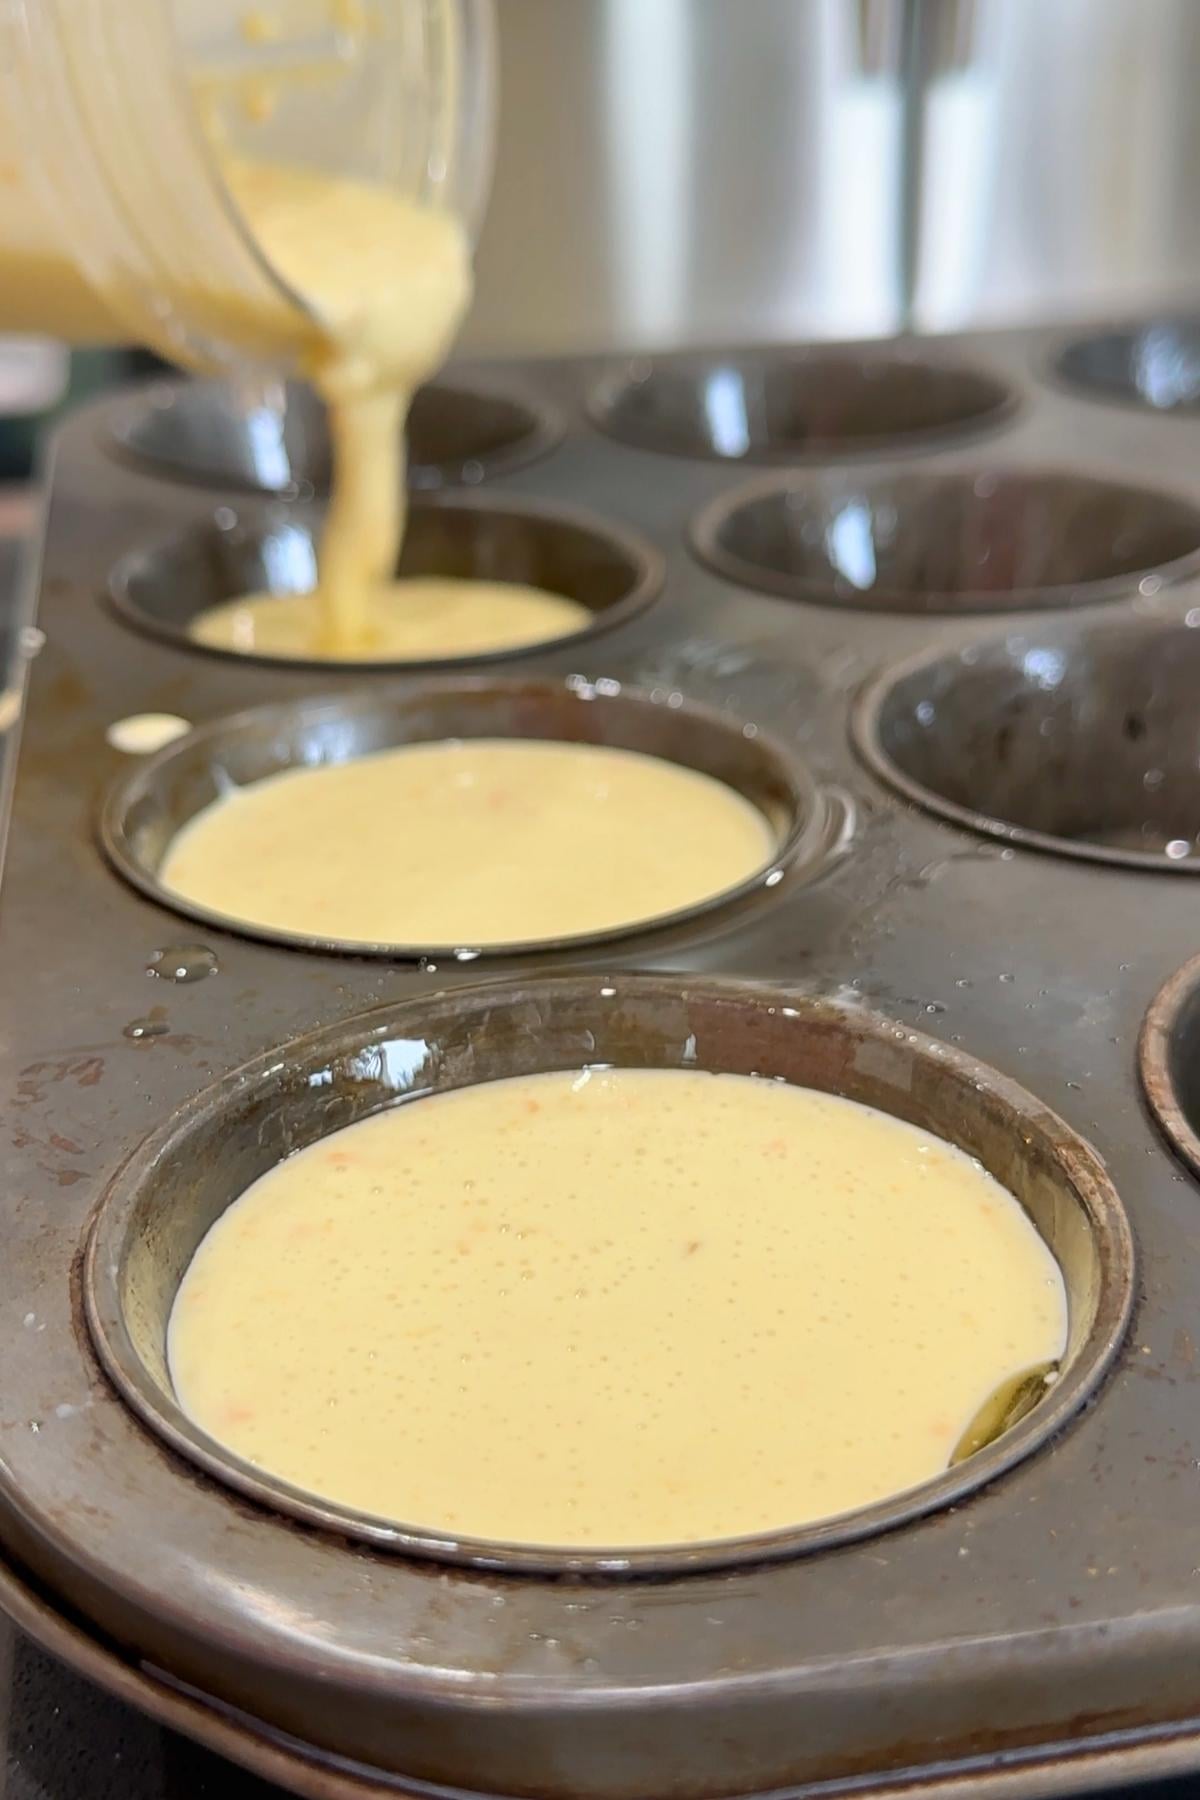
- Step 4: Pour the mixture into your muffin tins, filling them to about ¾ full. Don't overfill them, as they'll rise while baking and can spill out of the tin.
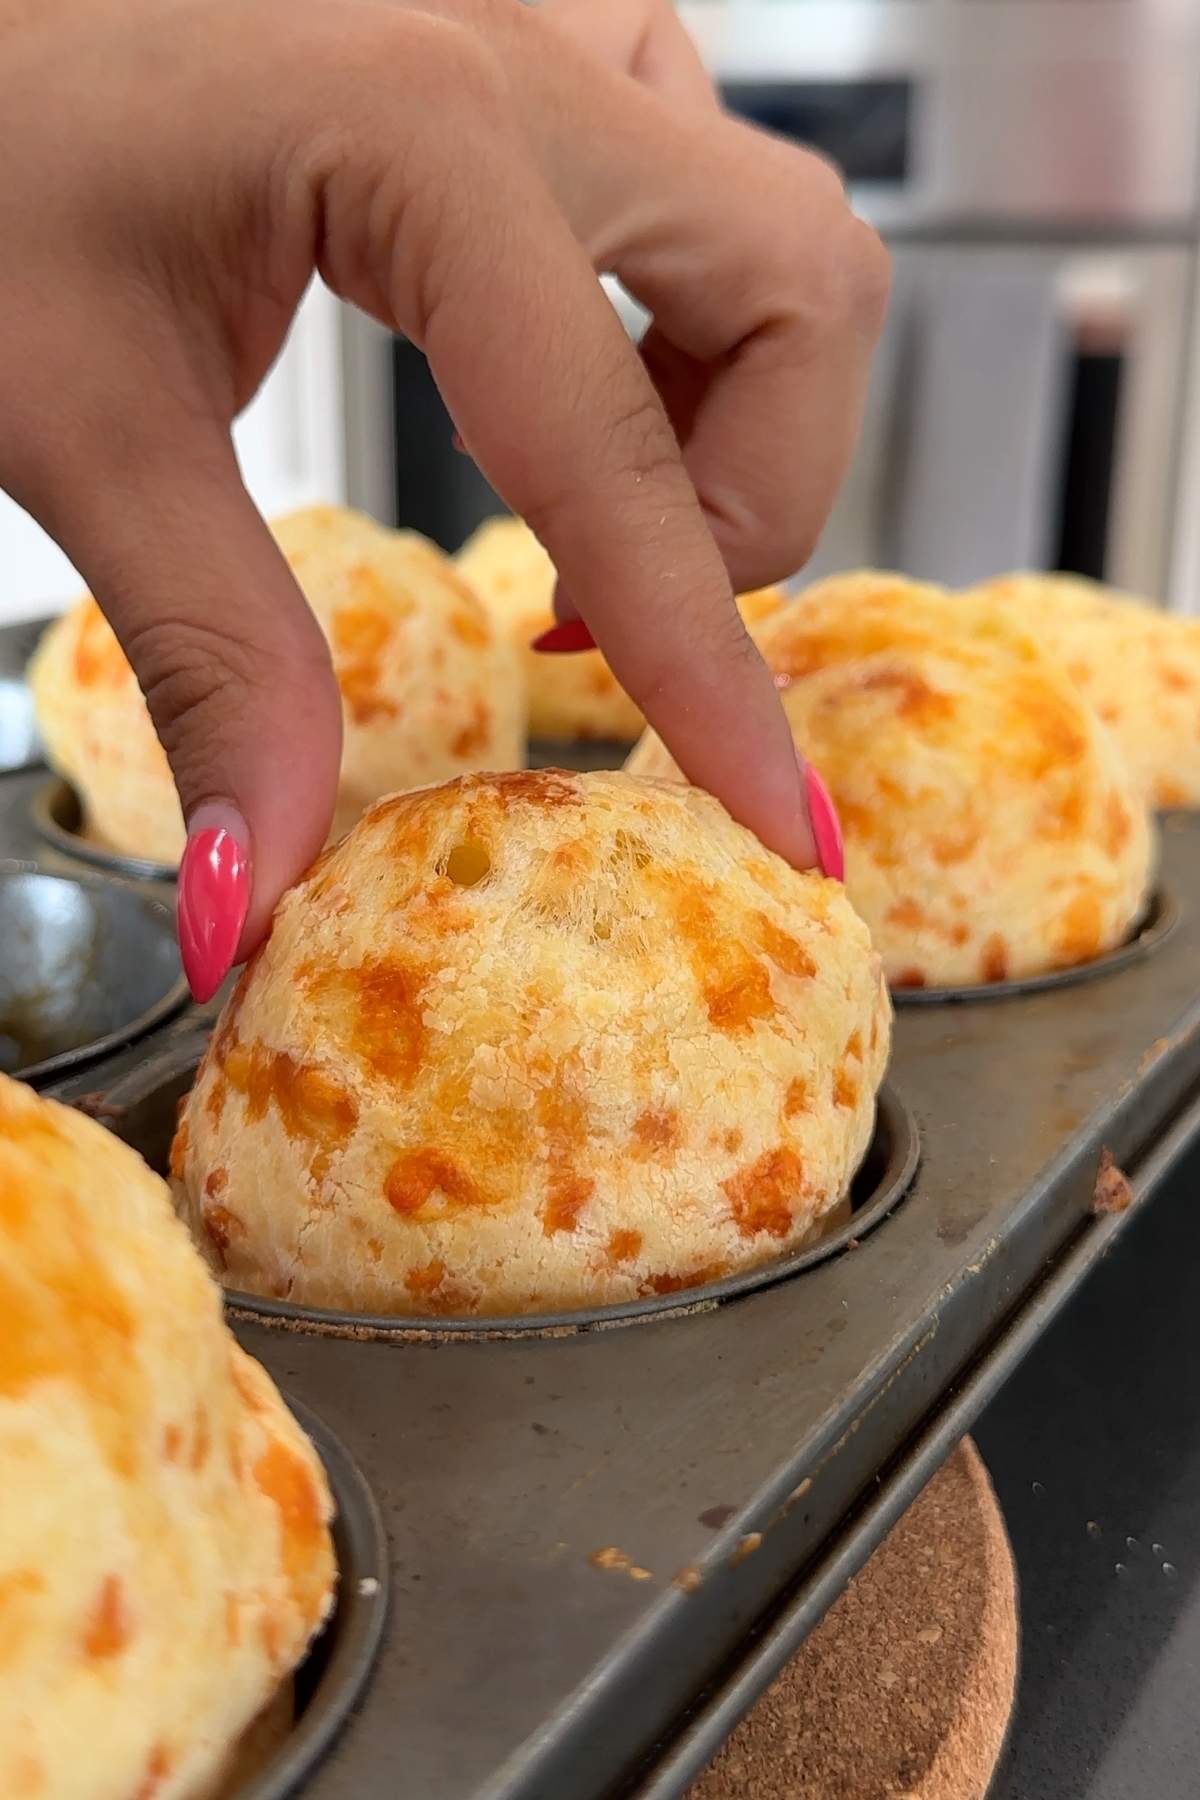
- Step 5: Bake your Brazilian cheese breads for 25 to 30 minutes, or until golden brown and puffed. Check every few minutes once it hits the 20-minute mark; overcooking these can affect their texture and cause them to become overly dry and dense.
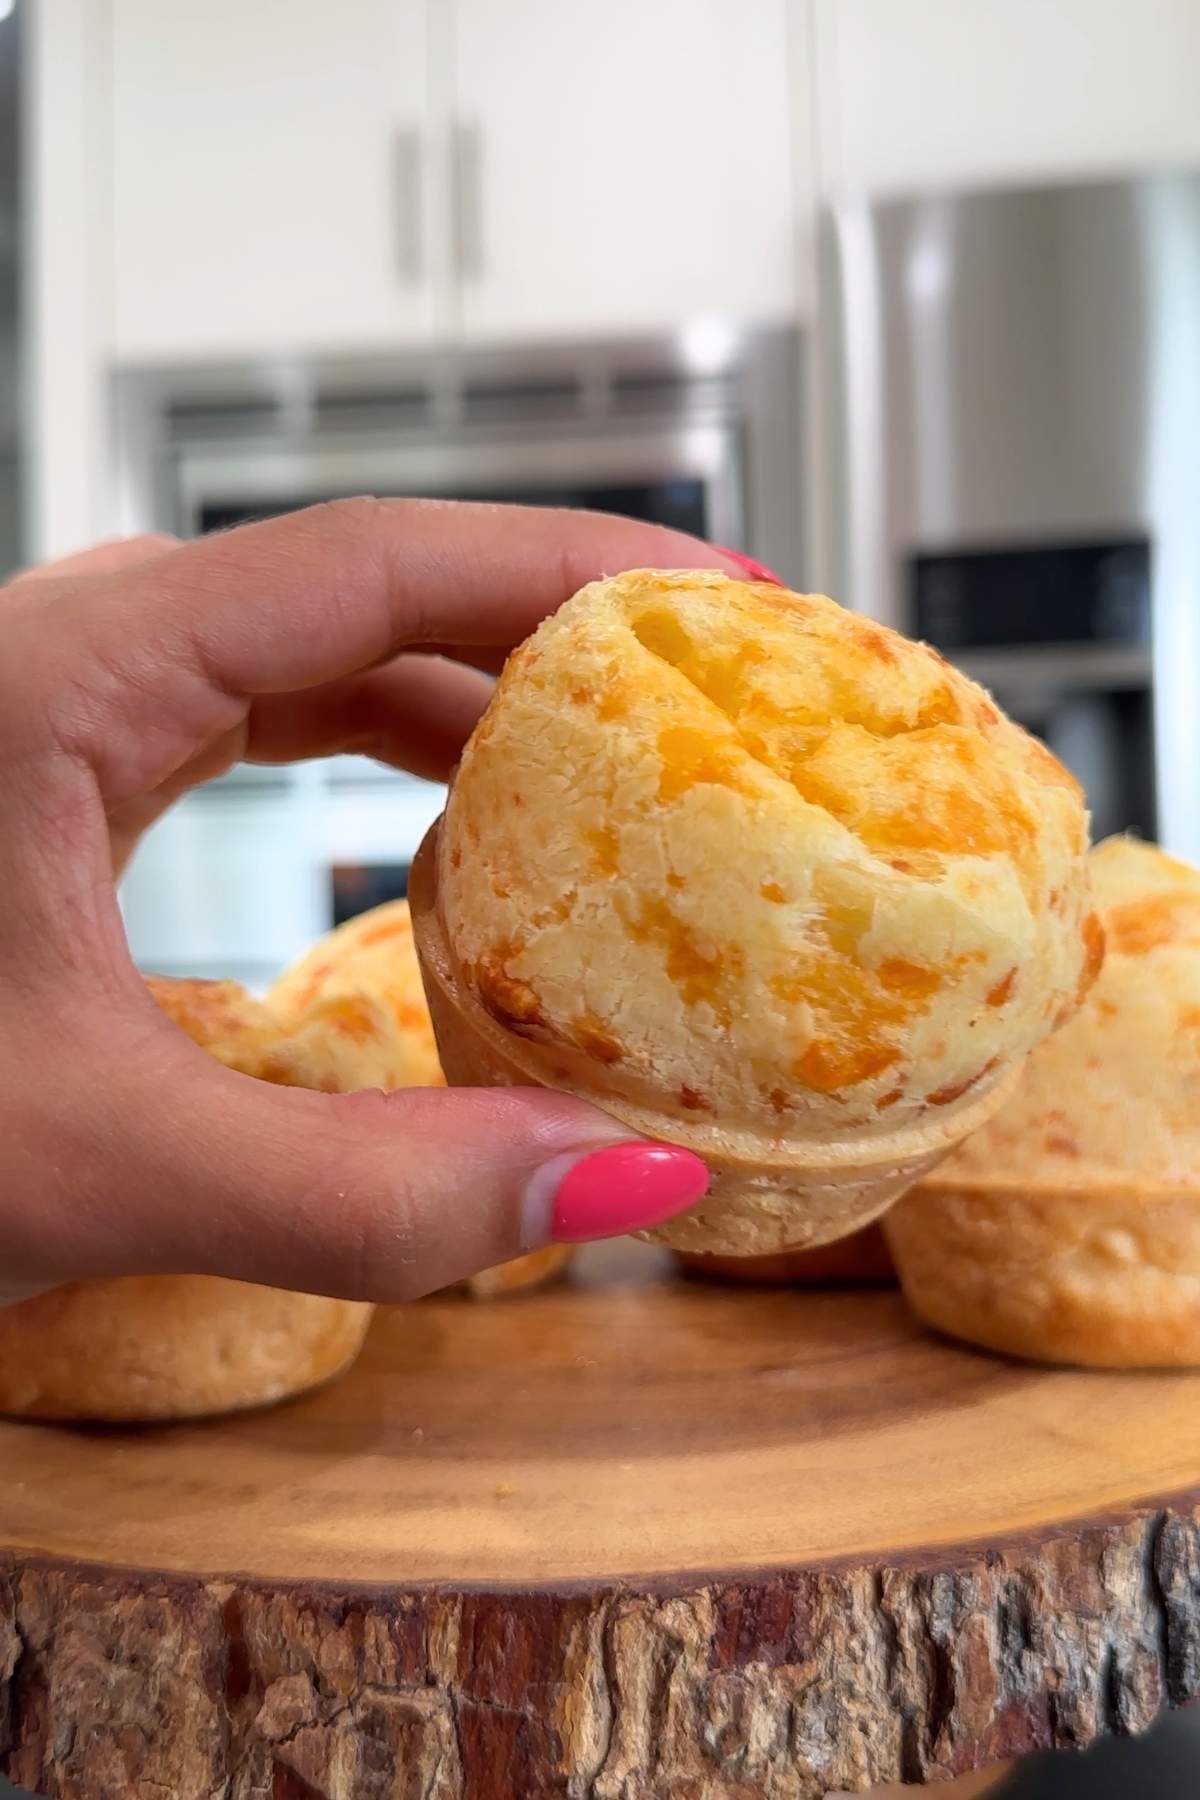
- Step 6: Remove the Brazilian cheese breads from the muffin tin, serve, and enjoy warm! Throw in a bread basket with my homemade pretzel rolls for the perfect breakfast treat, or serve with my cheesy vegetable soup for a cozy (and oozingly good) winter warmer.
Minoo's Pro Tip: Let the breads cool for 5 minutes before removing them from the tin; they'll come out MUCH easier and still be warm enough to enjoy.
Expert Tips
- Trust the process (and the sticky texture!): This isn't your typical dough. The inside is supposed to be stretchy and chewy! The first time I made these, I thought they were still raw on the inside, so I just kept baking them for longer (and longer). I was left with a burnt, dry mess. Don't keep putting them back in the oven like me!
- Don't overblend the cheese: This is the key behind that irresistible texture. Overblending will cause the cheese to become too fine, and it won't create those lovely, flavorful pockets of melted cheese throughout! Blend on the lowest setting if you have a powerful blender.
- Use FRESH grated cheese for that perfect ooze: Pre-shredded cheese will save you a few minutes in prep, but trust me: shredding your own cheese is worth it here. Pre-shredded cheese is practically always coated in an anti-caking agent. While this helps to stop the shreds from clumping together, it also removes the moisture, meaning the cheese won't melt as readily as fresh cheese. Pre-shedded versions are also overloaded with unnecessary preservatives and simply can't match the taste of fresh cheese.
Minoo's Pro Tip: You can use any leftover grated cheddar to make the most AMAZING loaded nachos. Use my healthy homemade tortillas as a base, then load up with your favorite toppings and smother in cheese.
Brazilian Cheese Bread Recipe FAQs
Your pão de queijo is ready when the top is golden and just slightly browned, and the cheese has begun to crisp up. Don't just base it on the texture: Brazilian cheese bread is MUCH stretchier and chewier than traditional dough, so it won't "firm" up as you expect.
Once it's ready, just leave to cool for a few minutes before taking it out of the tin and serving up. Enjoy it as a hearty breakfast, add it to a party snack platter with my easy popovers, or even enjoy it as an indulgent appetizer for my foolproof pizza dough (the more cheese, the BETTER, right?).
My Brazilian cheese bread is best enjoyed fresh, but it will last for a few days on the counter in a paper or plastic bag. If you do save some later, heat the bread up for 5 minutes at 350°F before serving to get that cheesy, soft center back to pure oozing perfection.
Need to store the bread for longer? Freeze it to preserve the flavor and to stop it from going stale. Just pop the bread in a sealable bag and freeze for up to 3 months.
It's normal for my Brazilian cheese bread to deflate and settle a little after baking. However, if they've turned flat like pancakes? I've found that the usual culprit is the batter being too wet!
Follow my recipe's measurements closely to ensure you don't accidentally add an extra splash of milk or oil. Too much cheese can also affect the batter, especially if you're substituting the cheddar with a soft, high-moisture cheese like mozzarella! For these kinds of cheeses, add slightly less (¼ cup instead of ½ cup).
Besides that, you'll also want to make sure your oven is at the right temperature and that you're using tapioca starch. Do not substitute for regular flour here!
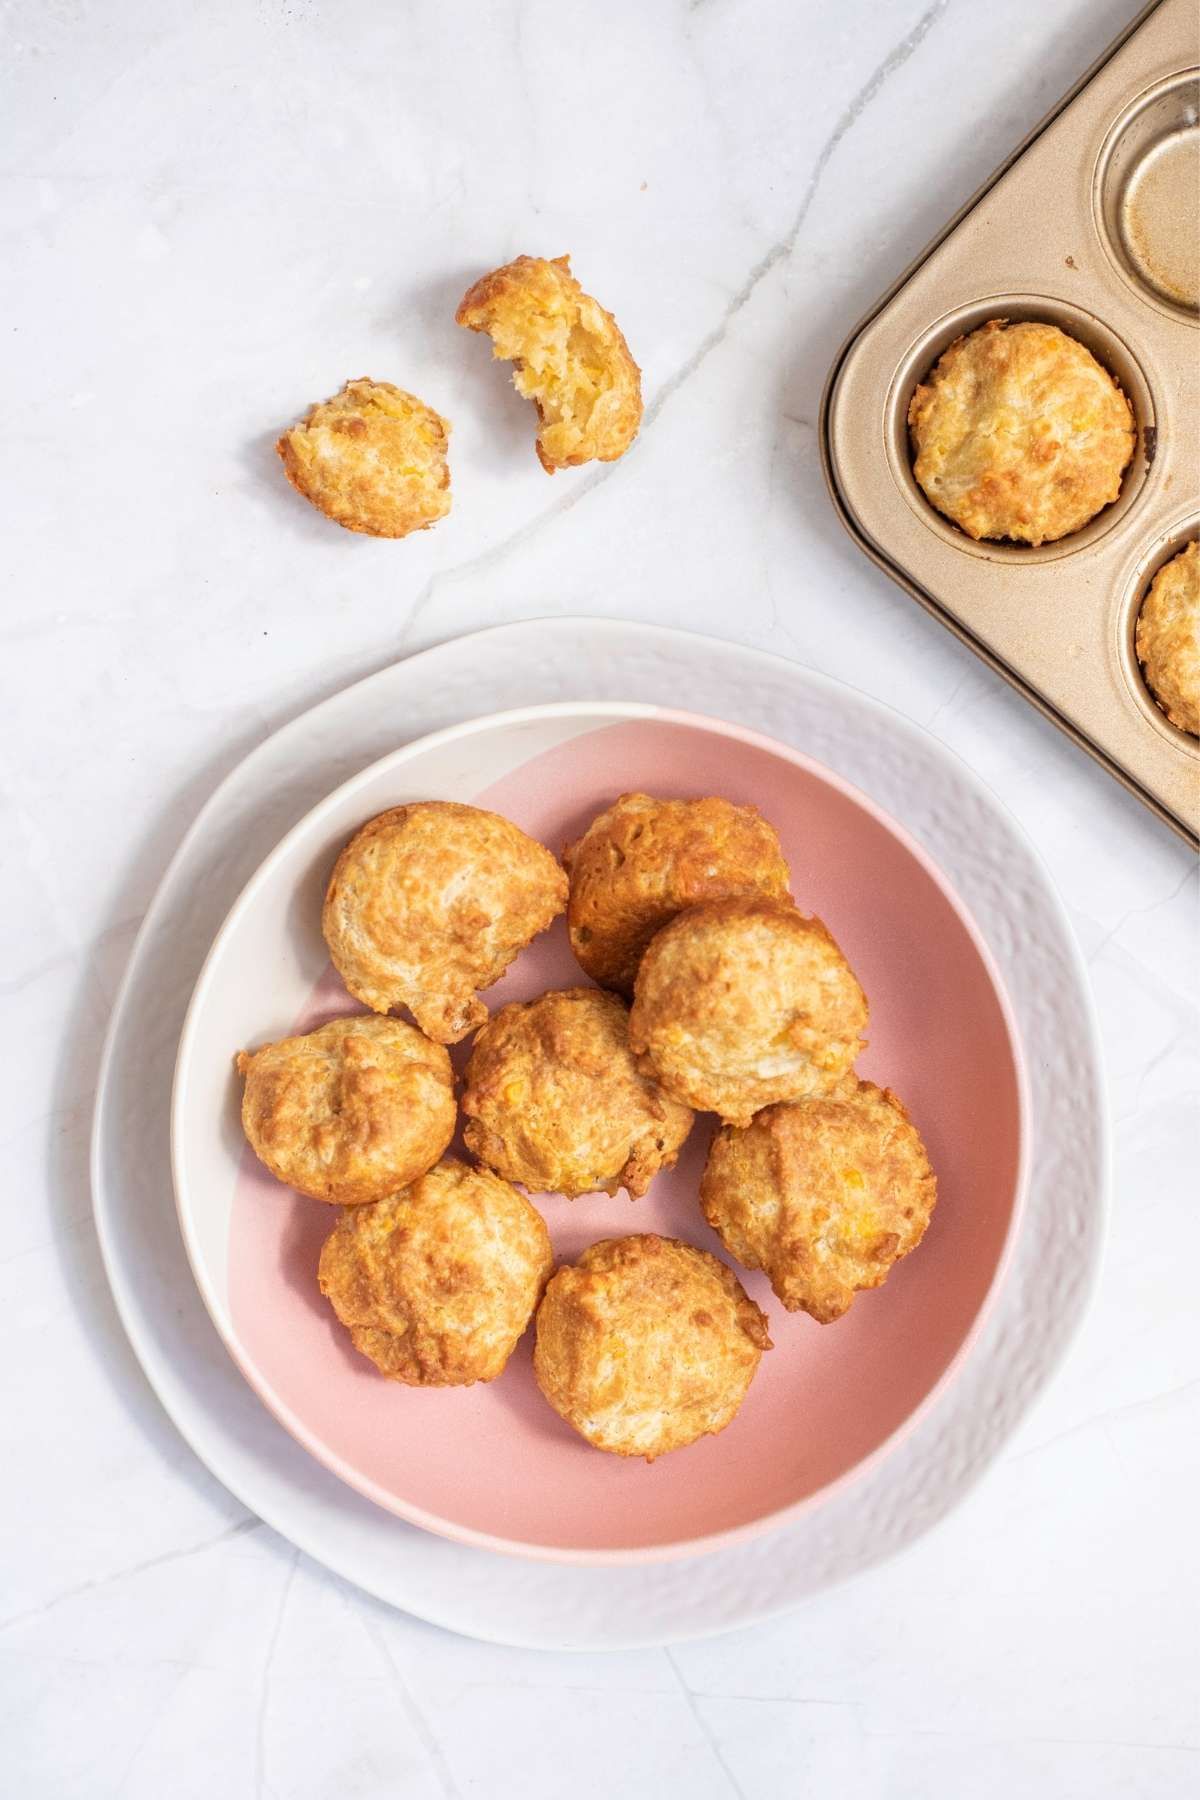
More to Try
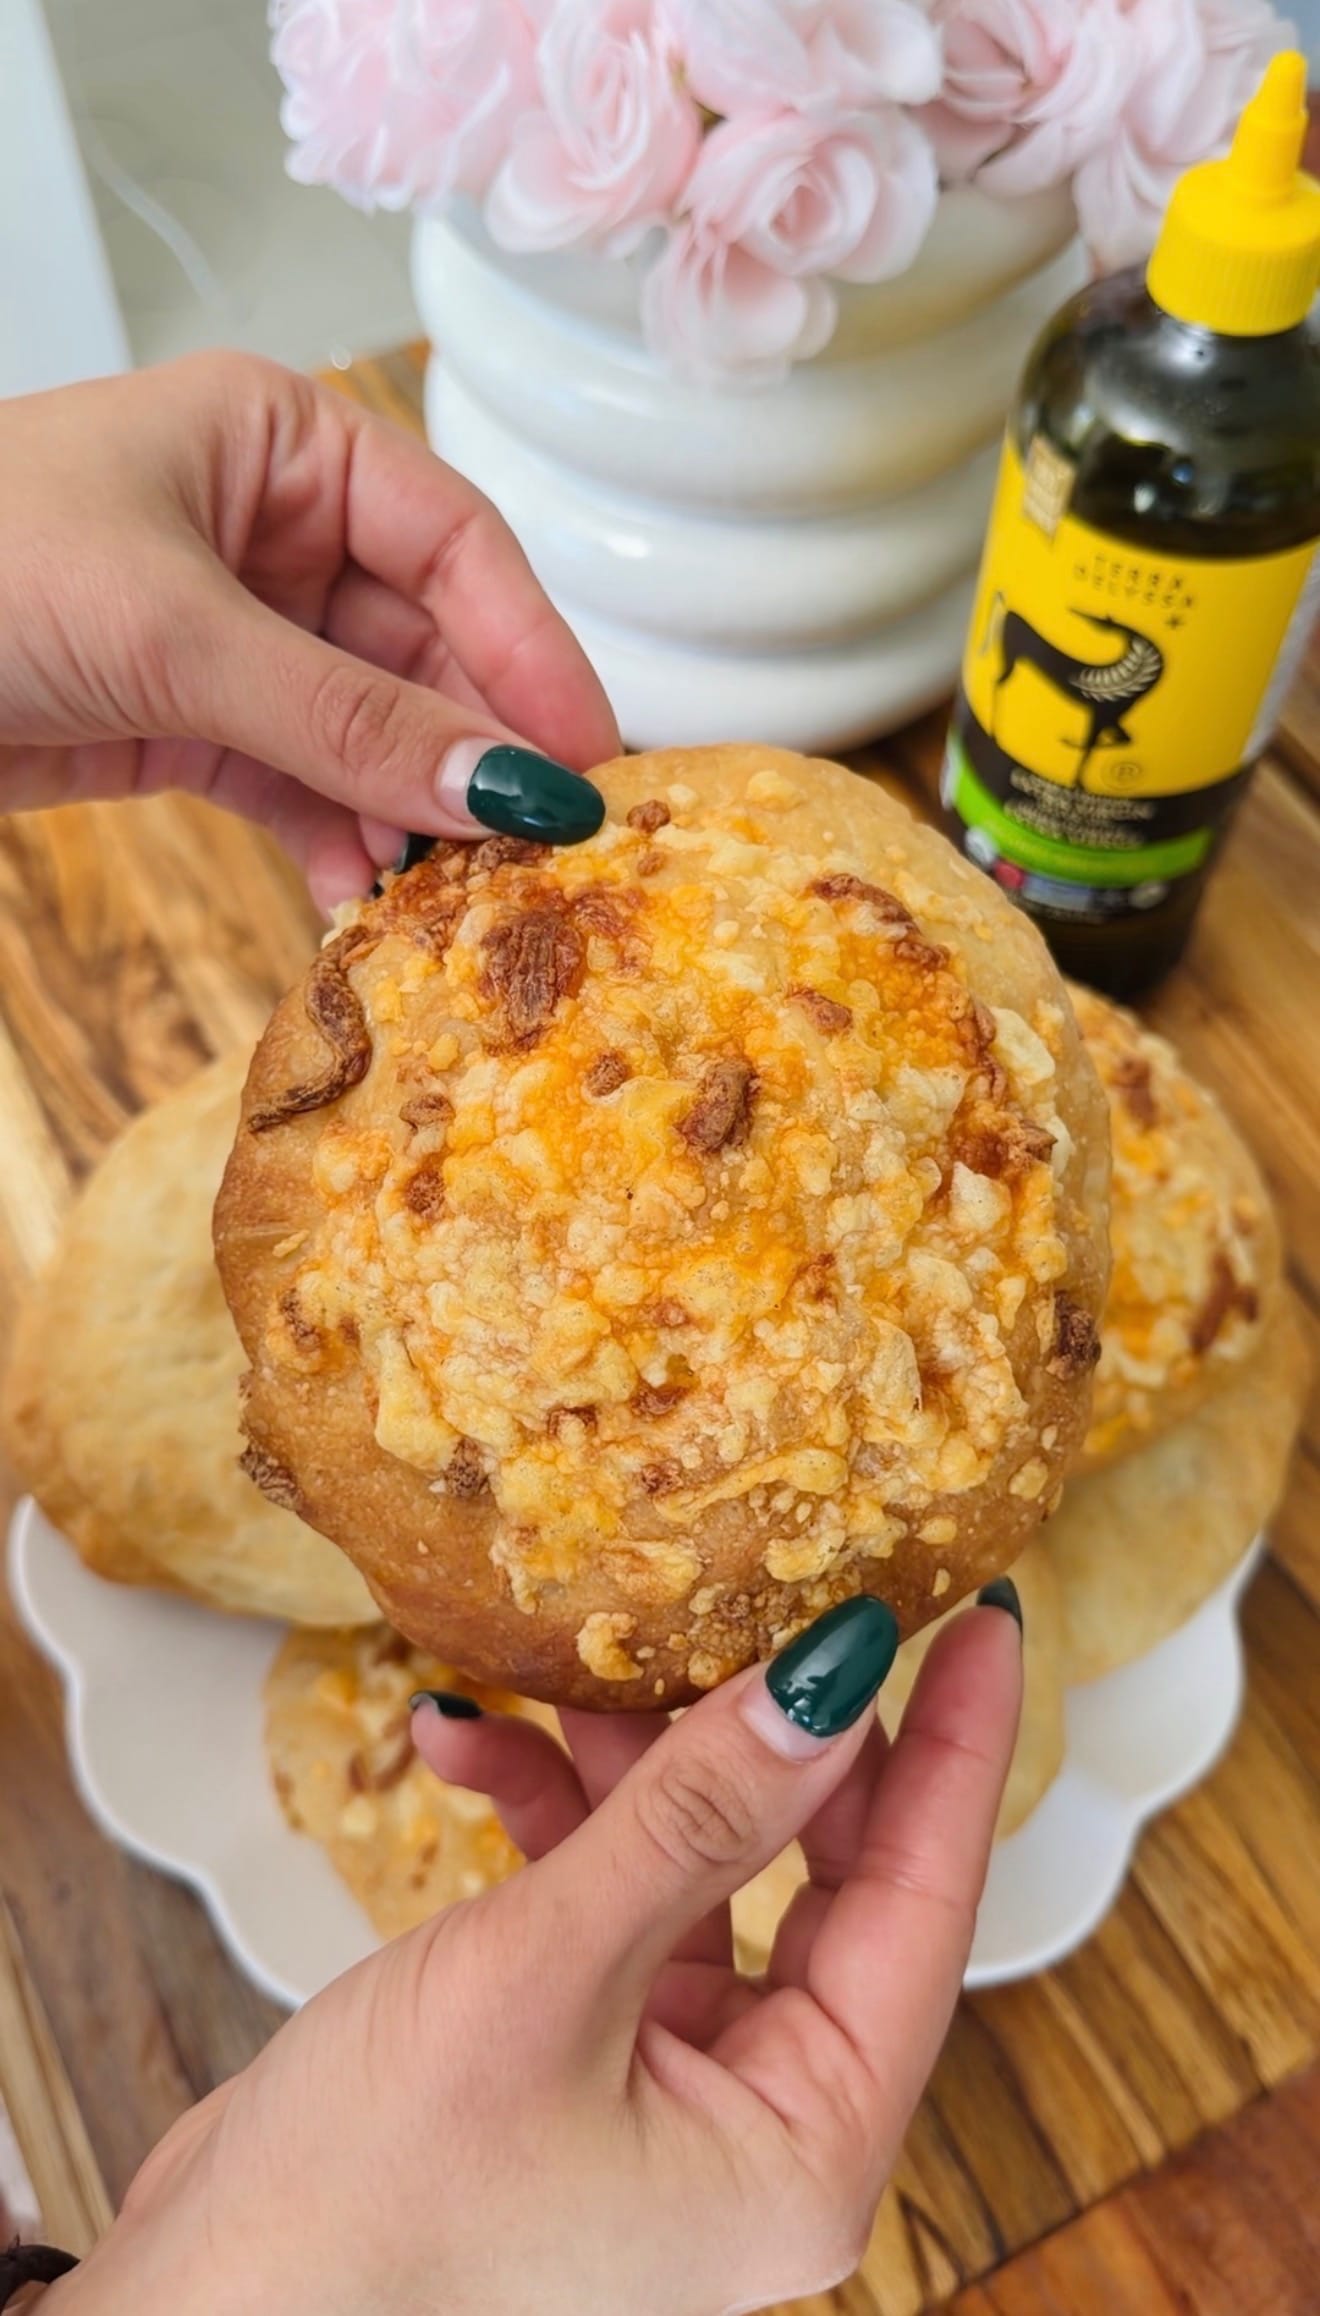
My Brazilian cheese bread is oozingly good as is, but it can also be enjoyed alongside so many of my other recipes! Below are some of my personal favorites:
Enjoying This Recipe?
It would mean the world to me if you left a quick review or any questions you have in the comments below!
Recipe Card

Brazilian Cheese Bread Recipe
EMAIL THIS RECIPE
Enter your email and I'll send this directly to you.
Plus you'll get new recipes from me every week!
Equipment
Ingredients
- 1 ½ Cups Tapioca Starch
- ⅔ Cup Milk
- ⅓ Cup Olive Oil & extra for greasing
- ½ teaspoon Salt
- 1 Egg
- ½ Cup Cheddar Cheese shredded
Instructions
- Preheat the oven to 400°F and spray muffin tins with olive oil (or preferred oil).
- In a blender, combine tapioca starch, milk, olive oil, egg, and salt, making sure to add the flour so that it's nearest to the blade. Blend for 1-2 minutes on high until smooth, with pancake batter-like consistency.
- Add shredded cheddar cheese and pulse 5-10 seconds to combine.
- Pour the mixture into muffin tins, filling ¾ full.
- Bake 25-30 minutes until golden brown and puffed.
- Cool 5 minutes before serving. Enjoy warm or store for up to 3 days.
Notes
-
- The blade type determines the order you add ingredients: Add the starch first if you have an integrated bottom blade or last if the blade is at the top.
- Enjoy them warm: The cheesy center will be much more gooey and soft! If you need to save them for a different day, just reheat for 5 minutes at 350°F before serving.
- Allow to cool for 5 minutes: Let your freshly-baked breads cool for a few minutes before taking them out of the muffin tin. They'll be much easier to remove!
Nutrition
Want To Save This Recipe?
Share your email & we'll send it over! PLUS, you'll get new recipes from us weekly
I made a batch, but they did not puff, used a duck egg instead of chicken, less whites, more yoke. Crispy, but flat and gummy. Is that possibly my problem?
Hi Don! That definitely could be your problem because it's the egg whites that give it the rise. Also make sure you're not overblending the batter and that your oven is up to the right temperature and you're not opening your oven door while they're baking.
Cant' wait to try this easy and less messy adaptation since traditional balls of cheese bread are so messy and time consuming to make. I know since I've spent about 25 years in the state of Minas Gerais, Brazil known as the capitol of Brazilian cheese bread!
David, I love that you’ve got real Minas Gerais experience to compare it to! You’re right, the traditional method can be messy and time consuming, which is why this version is such a lifesaver. I can’t wait to hear how it stacks up for you!
Will a food processor be okay, or would the jar be better if I don’t have a blender?
Laurie, no blender needed — a food processor is a great option. Just blend until smooth and don’t be afraid to let it run a little longer. That’s what helps give the final texture its lift!
Is tapioca starch and tapioca flour the same thing? Having a hard time finding just tapioca starch. I can’t eat gluten and this recipe looks really good. Thanks!
Barbara, yes — tapioca starch and tapioca flour are the same thing Different brands just label them differently. So if you’re seeing tapioca flour, you’re good to go! This recipe is naturally gluten-free thanks to the tapioca, which is one of the reasons I love it so much.
So excited to make this Brazilian cheese bread!!!! Thank you
Soooo happy to hear that Barbara! Let me know how it goes (:
Hi Minoo! Today I made a pot of French onion soup. I'm always looking for a different bread to go with it and I made yr Brazilian cheese bread. I used 2% milk and 10% cream. I didn't have any sharp cheddar but I had Parmigiano and a local cheese maker here in Nova Scotia makes a delicious truffle gouda. And I wanted them bite size so I used my 24 unit muffin tin. When I took them out at 25 minutes. The outer was crusty, the cheese was in the hollow middle and I poured the soup into the half shells of 3. OMG!!!! Absolutely delicious! I keep going back for just one more .... and another one... and another one!! Thank you soo much. Next batch will have sharp cheddar and gruyere. Oh yeah, the recipe showed up in my FB reel.
Hi Gail!!! Thank you for the incredibly sweet comment. I absolutely love the changes you made to the recipe and they all sound so delicious I might have to give your version a try too!! I’m so happy you loved the bread, thank you again for sharing this with me (:
Thank you for this recipe! They are delicious ! And unfortunately all gone now I'm doing a double batch!
Hi Leigh!! Running out of a bread quick because its so popular is a great problem to have (: Luckily this recipe is so easy to double (or triple!) so you can share this delicious bread with everyone (: So glad you loved it!!!
Sounds like you don't need this recipe at all. However, alot of us have just found this recipe. Minoo's "little cheese bread" recipe is something the rest of us are happy to see. ** Make your version since it's your favorite. **
Love this comment Judy!! You are awesome.
I made these tonight and thought they were very good.I just wondered
if they were meant to be hollow? Mostly air inside , Did I overblend?
Denise, I’m so glad you enjoyed them! And yes — they’re actually supposed to be mostly hollow inside That airy center is what gives them that light, chewy texture. You definitely didn’t overblend. As long as the outside was set and they weren’t gummy, you did everything right!
Do you not use any baking powder or anything?
Hi Ann! No baking powder in this one. The lift actually comes from the eggs and how the batter bakes — that’s what gives them their signature rise.
I’m sure your little cheese breads turned out great, but they’re not quite an authentic pão de queijo. The traditional recipe uses both sweet tapioca starch (for softness) and sour tapioca starch (for that stretchy texture and rise). You also need to scald the starches with enough hot liquid so the dough becomes firm enough to shape, not runny. After that, you just roll it into small balls with your hands.
Hi Maite!! You're absolutely right my cheese breads are no where near authentic. My version as the name suggests is a quicker and easier way to make a familiar and delicious bread that uses ingredients that you're more likely to have an home and methods that any beginner baker can you (: That's the mentality I try to employ for all my recipes!!
Just made these this morning. I’d take a picture but they’re gone! It was my first try at this recipe and they came out perfectly.
That's what I like to hear Debbie!!! Glad you liked them (:
Why are you showing this by being shaken in a jar but the recipe says to use a blender?
There is option for both! You can share it in a jar or blend it (:
Can the Brazilian cheese bread be made with corn starch instead of tapioca starch?
I haven't tried that one personally, but you can definitely replace it with all purpose flour!