 Grab My Super Easy Bread Cookbook

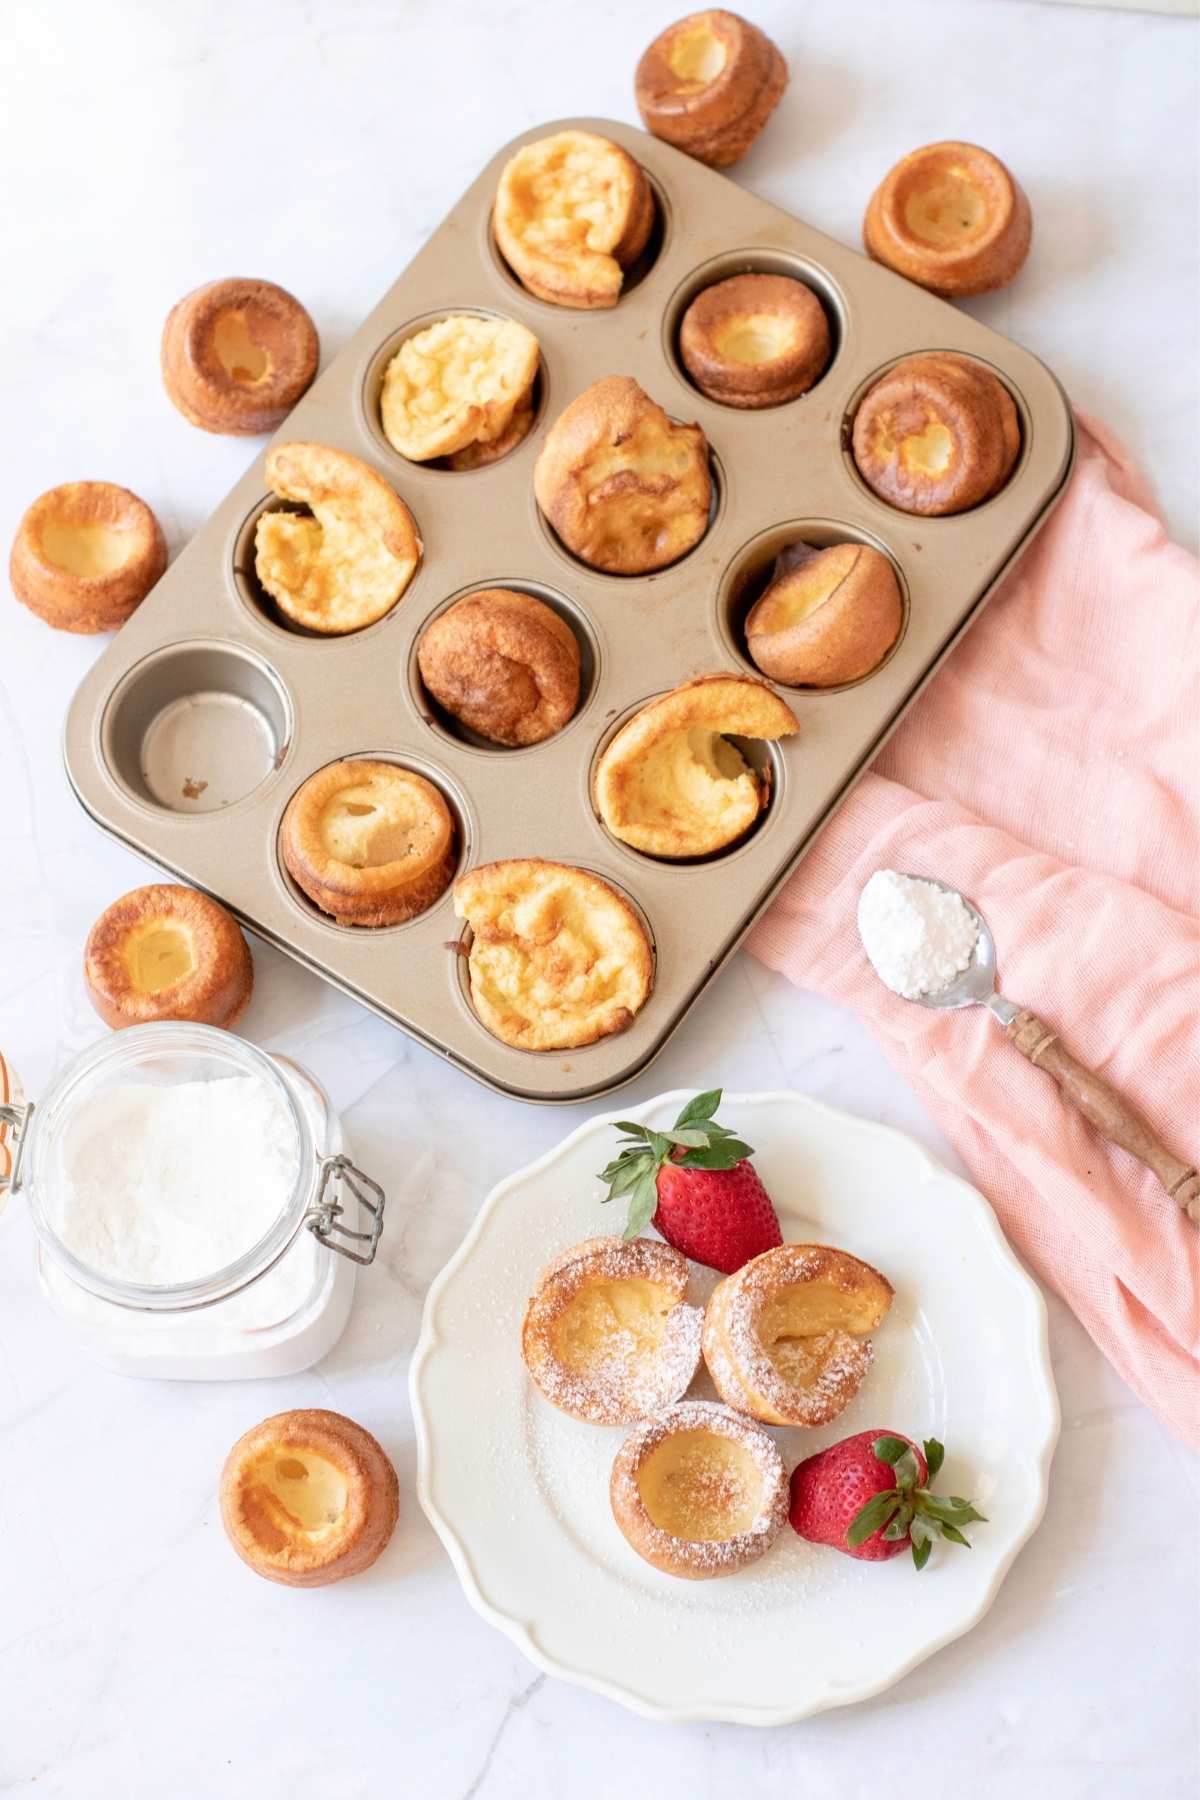
My popovers in a muffin tin come together with 4 pantry staples, a quick blend, and a hands-off oven bake; no kneading or yeast needed. This recipe feels like a shortcut, but trust me: The light, lofty, and buttery result is better than any premade mix. Perfect for a pick-me-up breakfast, lunch, or dinner, or even as a sweet treat with my chocolate hazelnut spread recipe or homemade strawberry jam.
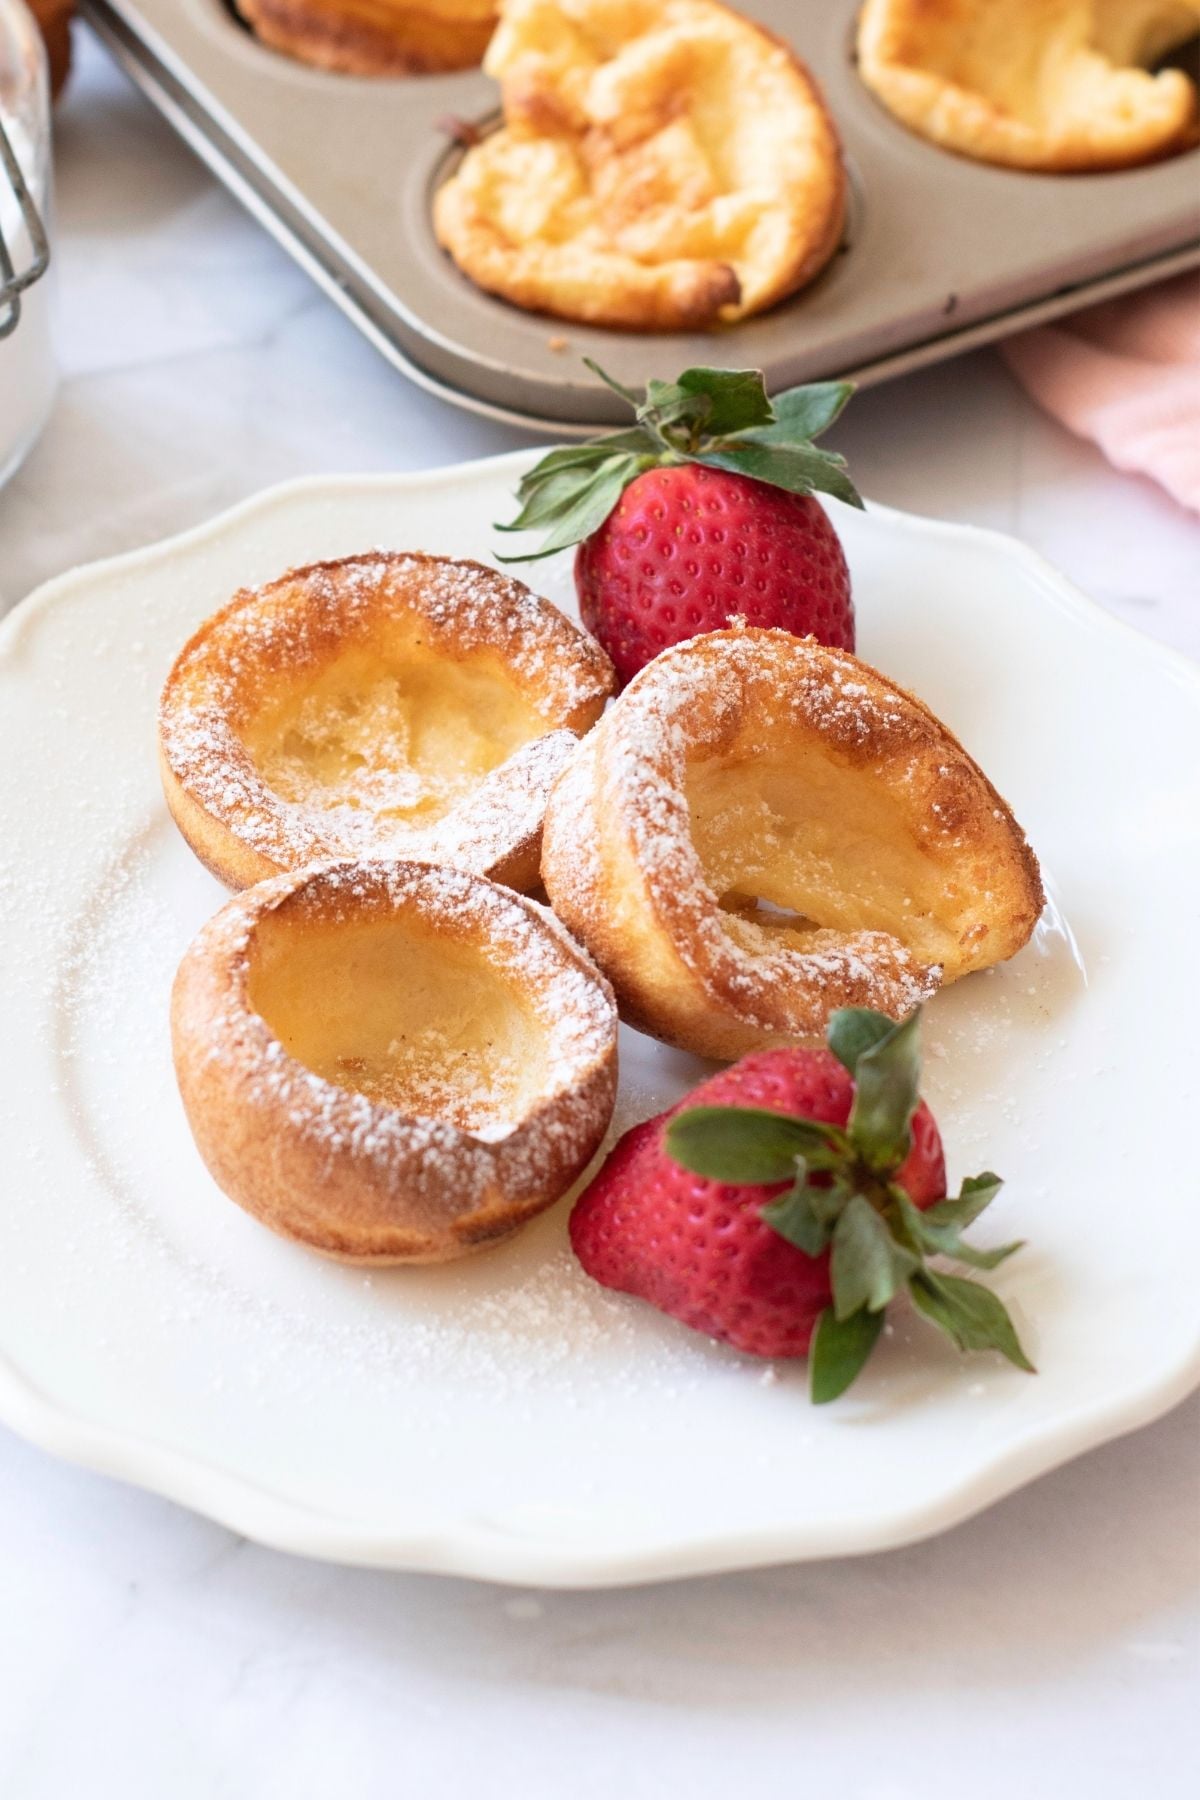
Quick Look: Popovers in a Muffin Tin
- Prep Time: 10 Minutes
- Cook Time: 30 Minutes
- Total Time: 40 Minutes
- Yield: 6 Popovers
- Difficulty: Beginner
- Method: Blend, bake, prick, and enjoy!
- Optional Add Ins: Thyme, garlic powder, Italian herb seasoning, hard cheese, red pepper, paprika, chilli flakes, cinnamon, sugar
- Why This Works: Why "pop" to the grocery store when my popovers are quicker, taste better, and just need 4 pantry staples?
SUMMARIZE & SAVE THIS CONTENT ON
Why We Like This
- Unbeatable flavor from 4 basic ingredients: So many baking recipes online call for speciality ingredients like 00 flour… But those ingredients send most first-time bakers running OUT of the kitchen. That's why my recipe only uses what you already have at home. And yes, that also means there are no added expenses to your grocery shop.
- Breadmaking fun with none of the elbow grease: My airy popovers may look impressive and complex, but this recipe is something that ANY first-time baker can make. They just need a quick blend and bake. No complicated steps and no kneading involved (and that also means less cleanup!).
- No grocery store scavenger hunt: I've found that grocery stores rarely ever stock popovers, especially not the fresh kind that genuinely feels worth the money. You might be able to find a popover batter mix… But at that point, you might as well make them from scratch. It's practically the same amount of effort, and the results are SO much better.
- A baked treat that's ready in under an hour: Whenever I'm craving homemade bread and tempted to make something from scratch, the one thing that puts me off is the long rise time. If you're just like me, this recipe is exactly what you need. These popovers are prepped in 10 minutes and baked in 30. No rise required. Enjoy them warm straight out of the oven with cream cheese from scratch.
- My popovers pair with EVERYTHING: Popovers may traditionally be seen as a breakfast pastry, but once you forget that and try them with different things? You'll quickly realize they can pair with anything! You can throw them in a bread basket or enjoy them with cold deli meats. You can even sprinkle on cinnamon sugar and serve alongside my at home pumpkin spice latte for a cozy fall treat!
Ingredients
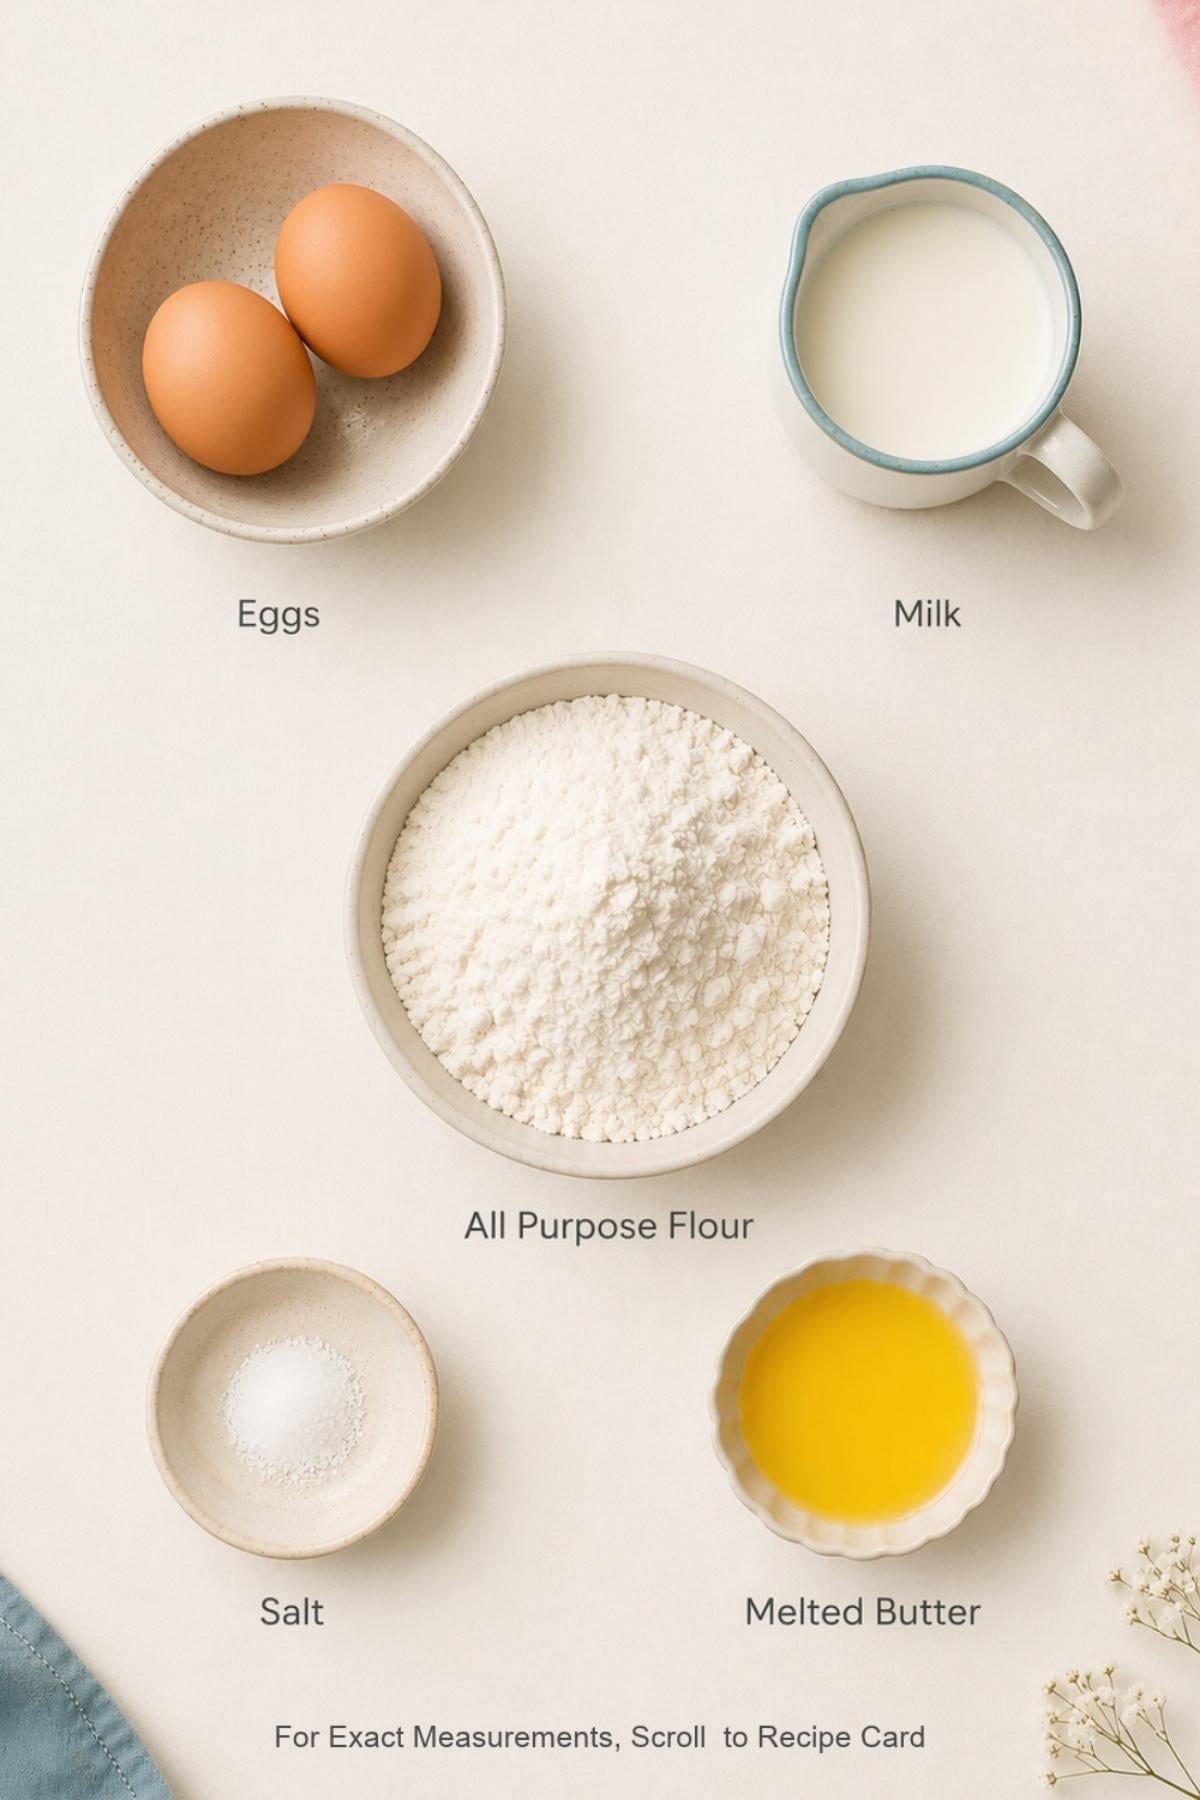
You can whip up my popovers in less time than it would take to buy them from a store (if you can even find some!). Better yet, you only need a few pantry staples.
- All-Purpose Flour: I use all-purpose flour since it brings out an airy and light texture in your popovers. You can use specialty bread flour if you want taller, "towering" popovers, but they'll turn out slightly chewier due to the differences in the protein content. You can also swap for a gluten-free flour, though again, don't expect the exact same texture as all-purpose (they'll be slightly denser).
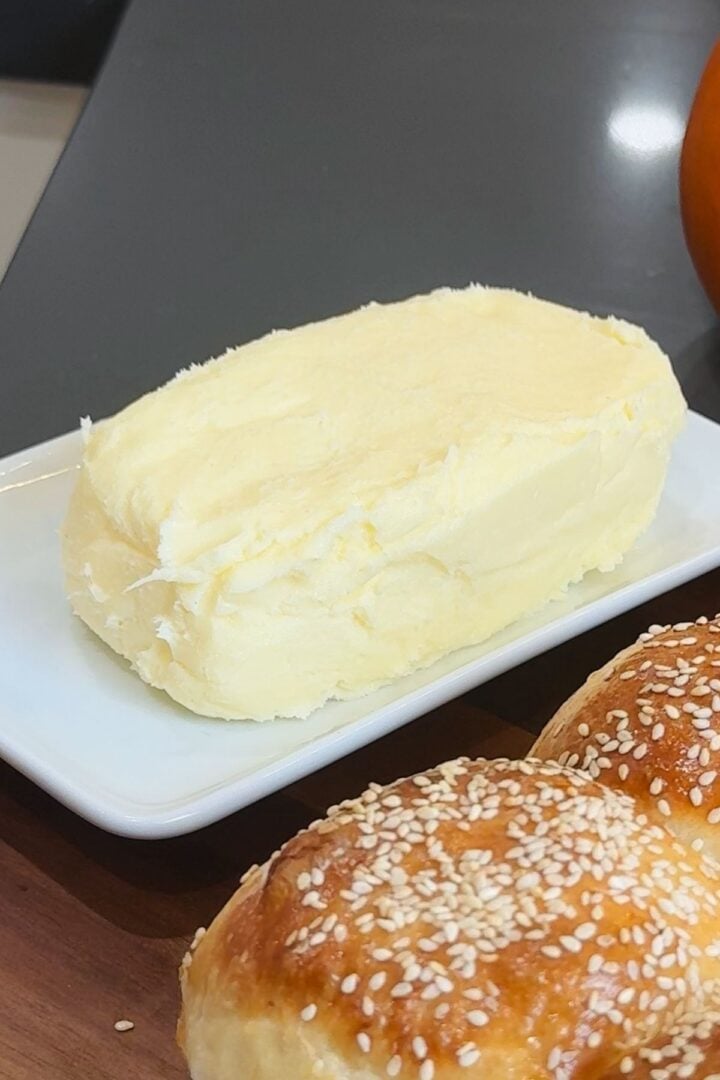
- Butter: Full-fat homemade butter gives you the creamiest flavor and really makes these popovers "pop!" Making butter from scratch is easier than you think, but don't worry if you're short on time. Any shop-bought butter you have on hand will work. You can use a low-fat or plant-based alternative too, but just be mindful that the flavor won't be as creamy.
Minoo's Pro Tip: While my recipe can easily be made dairy-free to accommodate your dietary needs, do not substitute the eggs in this recipe. You won't get the same rise!
How to Make Popovers in a Muffin Tin
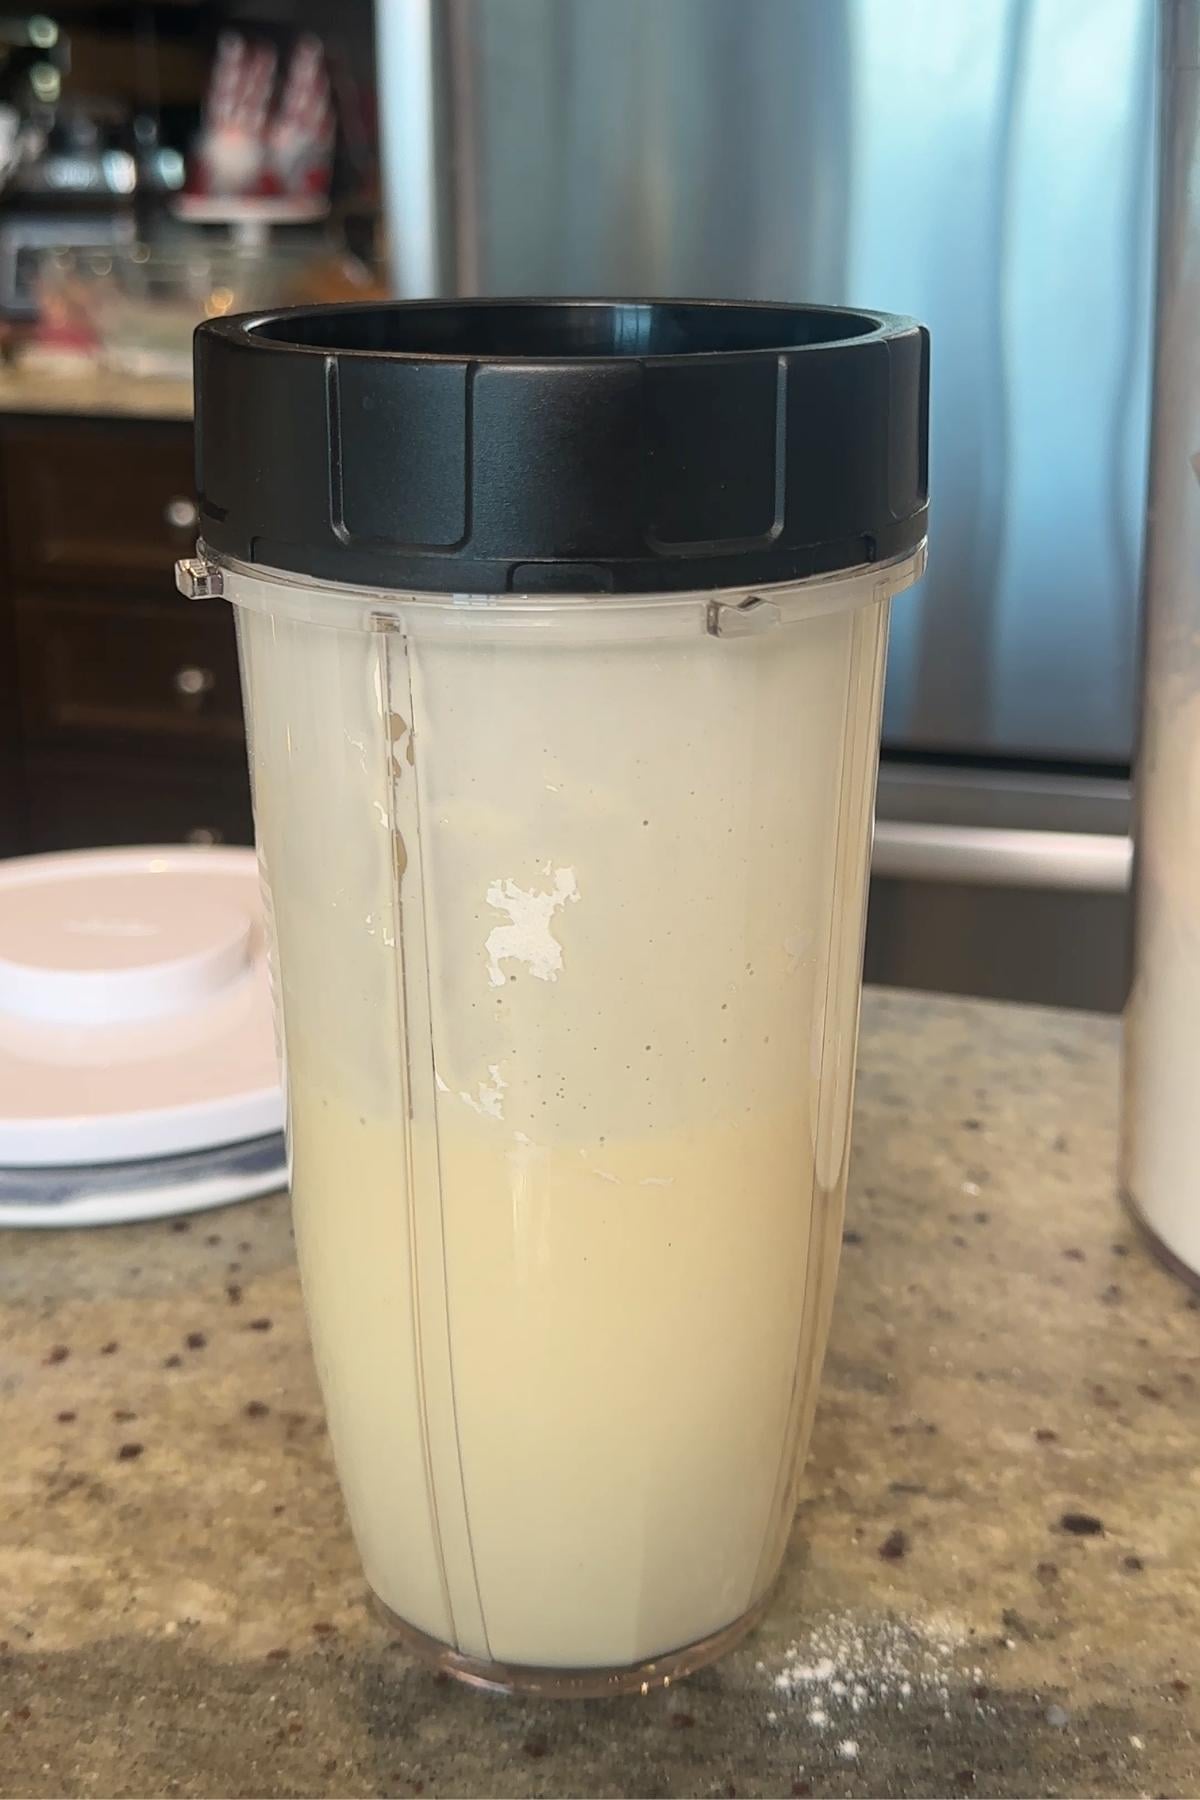
- Step 1: In a blender, combine 2 eggs, ¾ cup milk, ¾ cup all-purpose flour, and ½ teaspoon salt. Blend for 30 seconds, or until smooth. Always add the flour so that it's closest to the blender's blade. Add it in first if the blade is at the bottom, or last if the blade is attached to the lid.
Minoo's Pro Tip: Make sure your eggs and milk are at room temperature (or slightly warm) when you add them into your blender. This helps everything combine smoothly and traps in more air bubbles; key for a lofty rise!
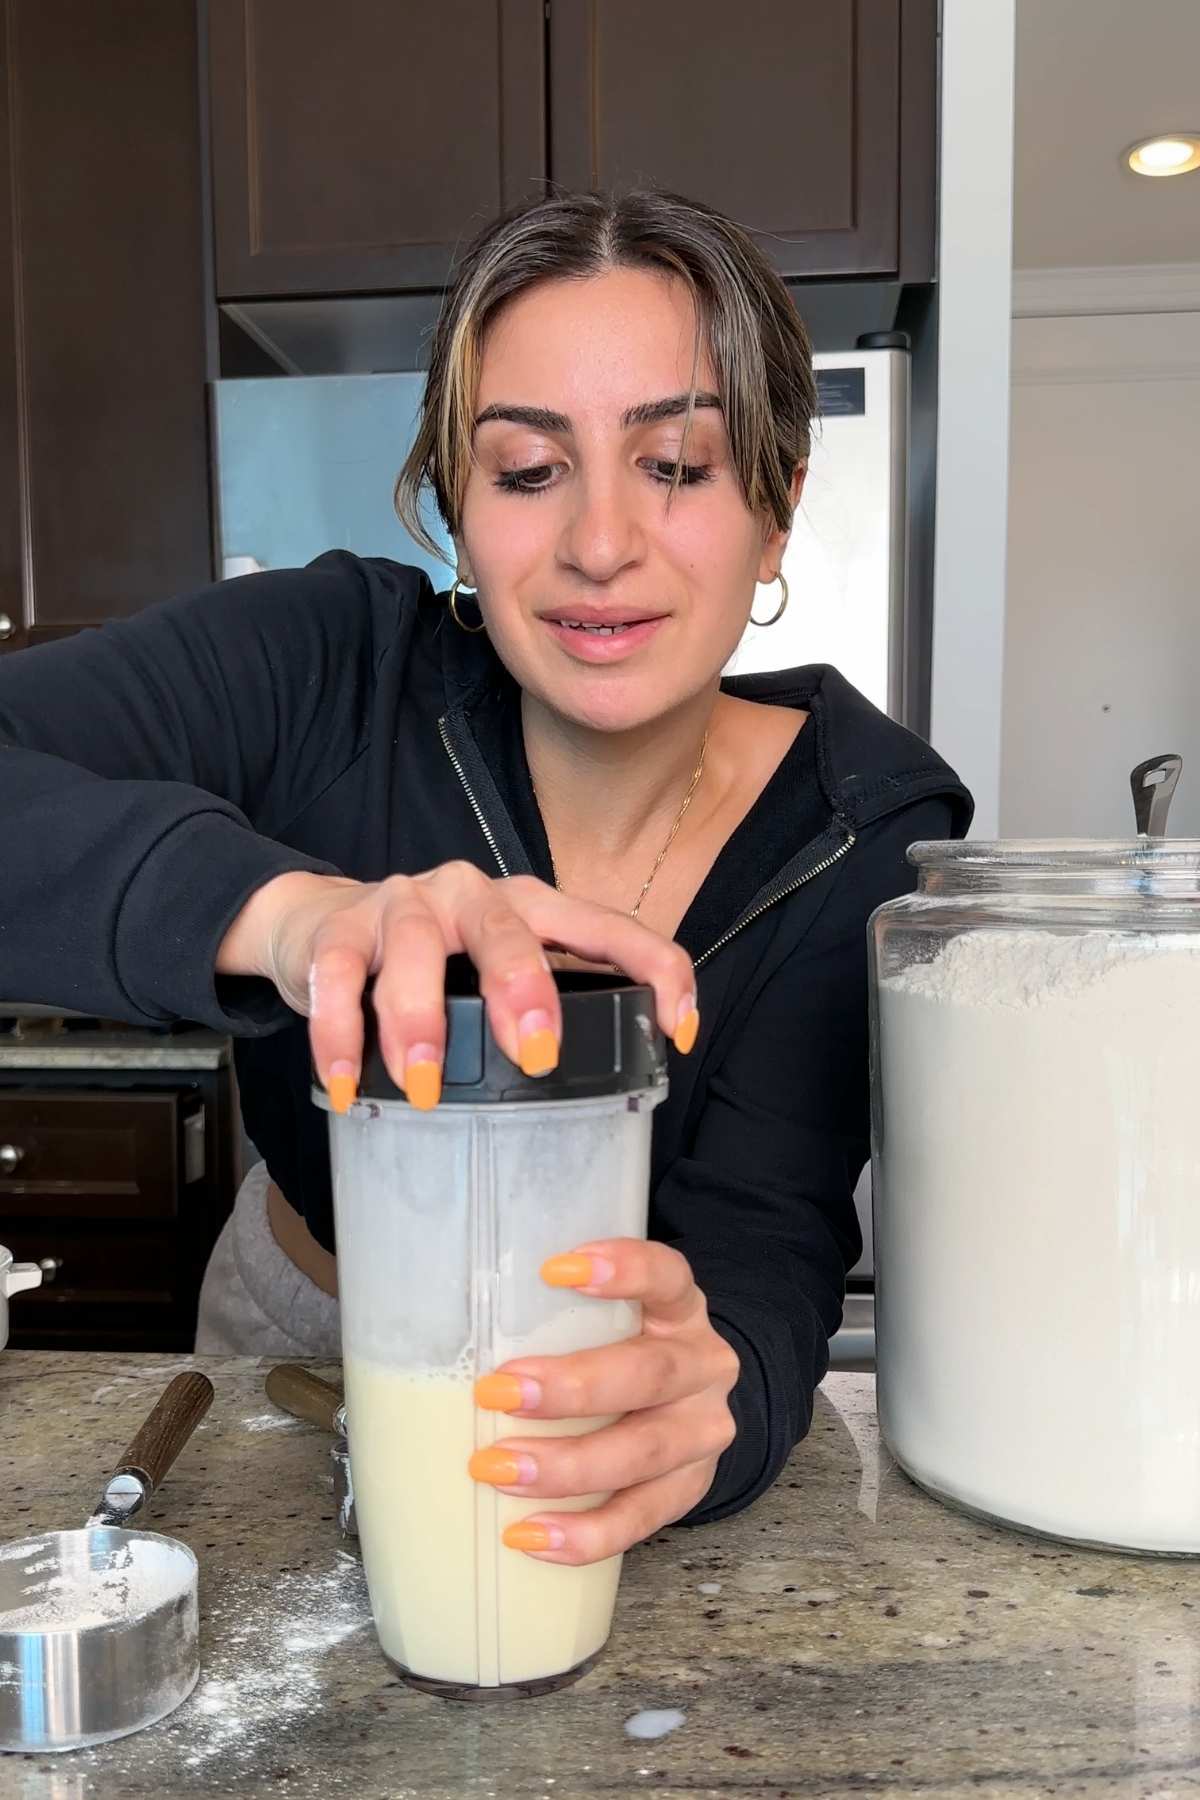
- Step 2: Add 3 tablespoon melted butter and blend again until smooth and well-combined. The batter should be thin and pourable, a bit like heavy cream.
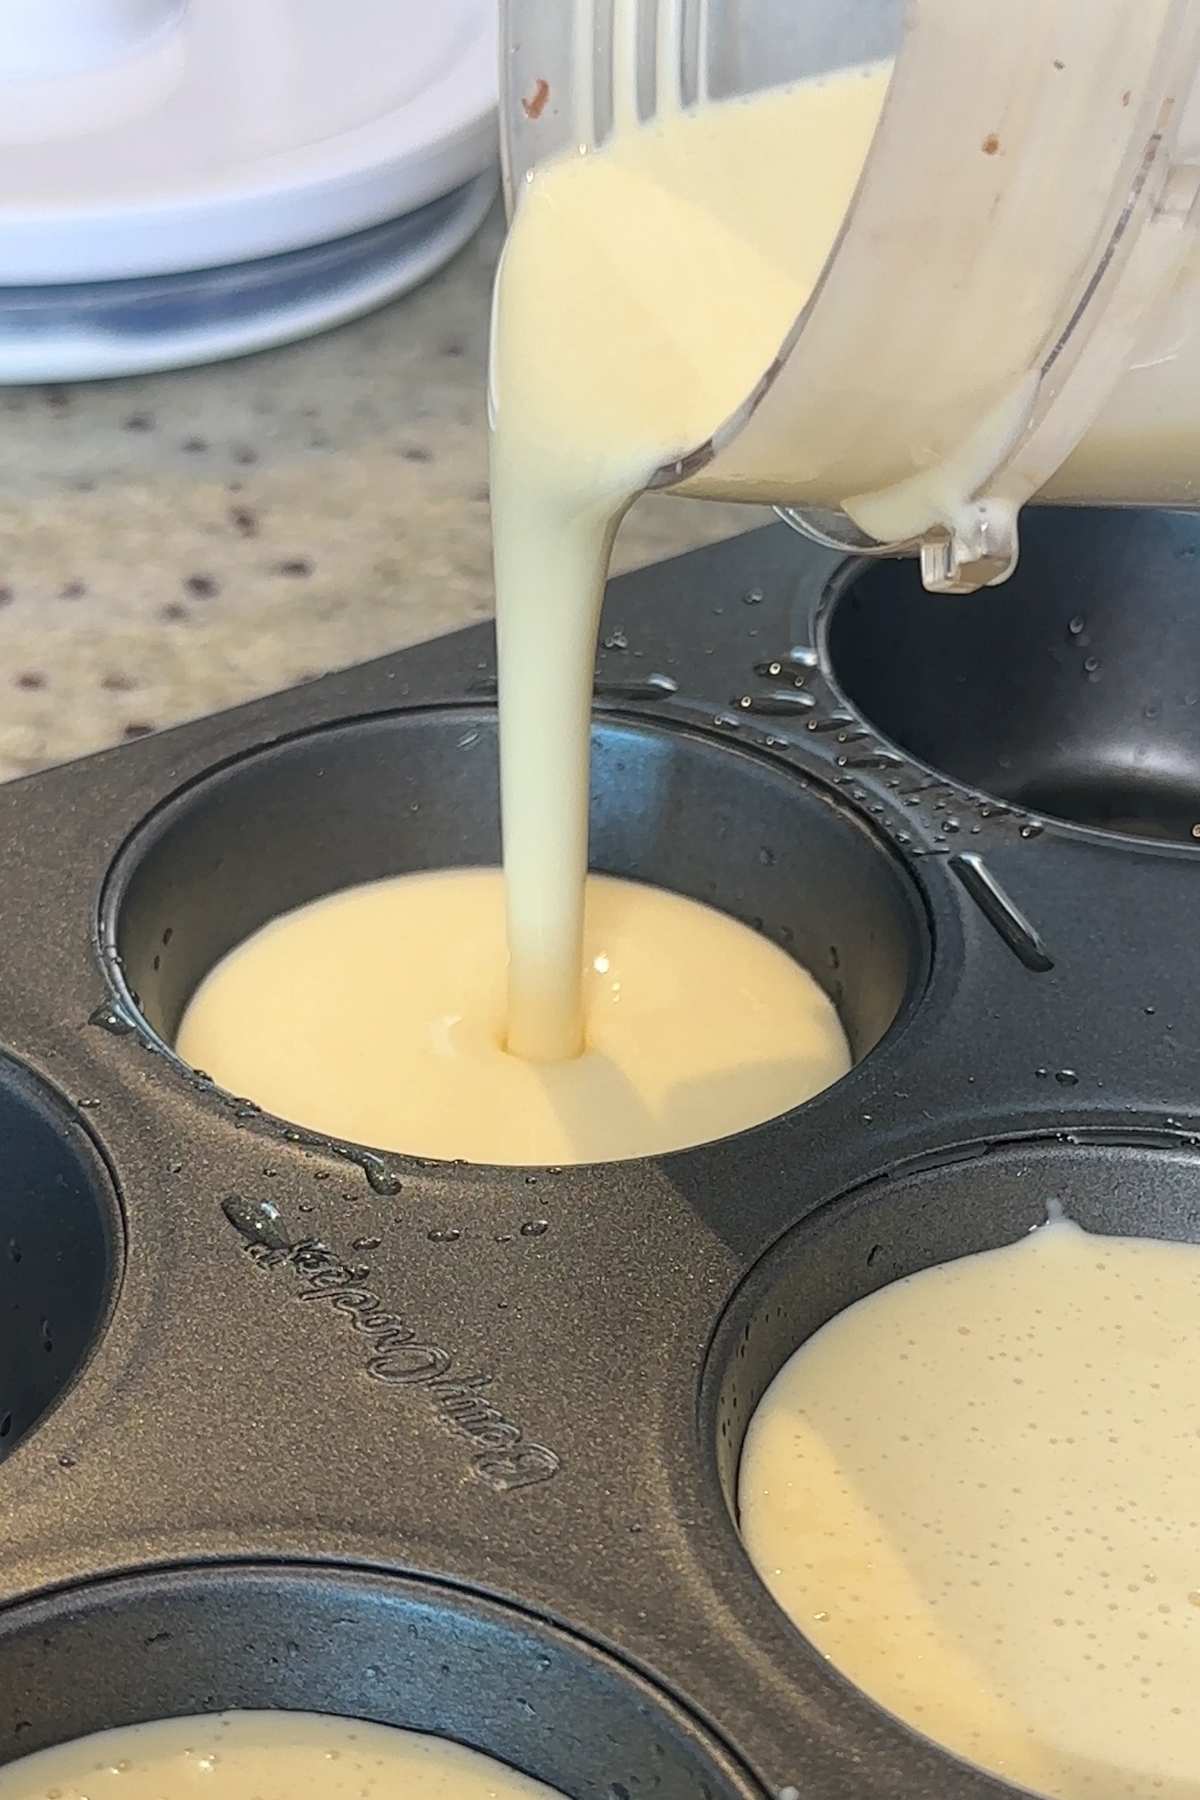
- Step 3: Preheat oven to 450℉. Place an empty muffin or popover tin inside to heat up for around 10 to 15 minutes. Once the tin is heated, remove it from the oven, spray with a little oil, and pour in your popover mixture.
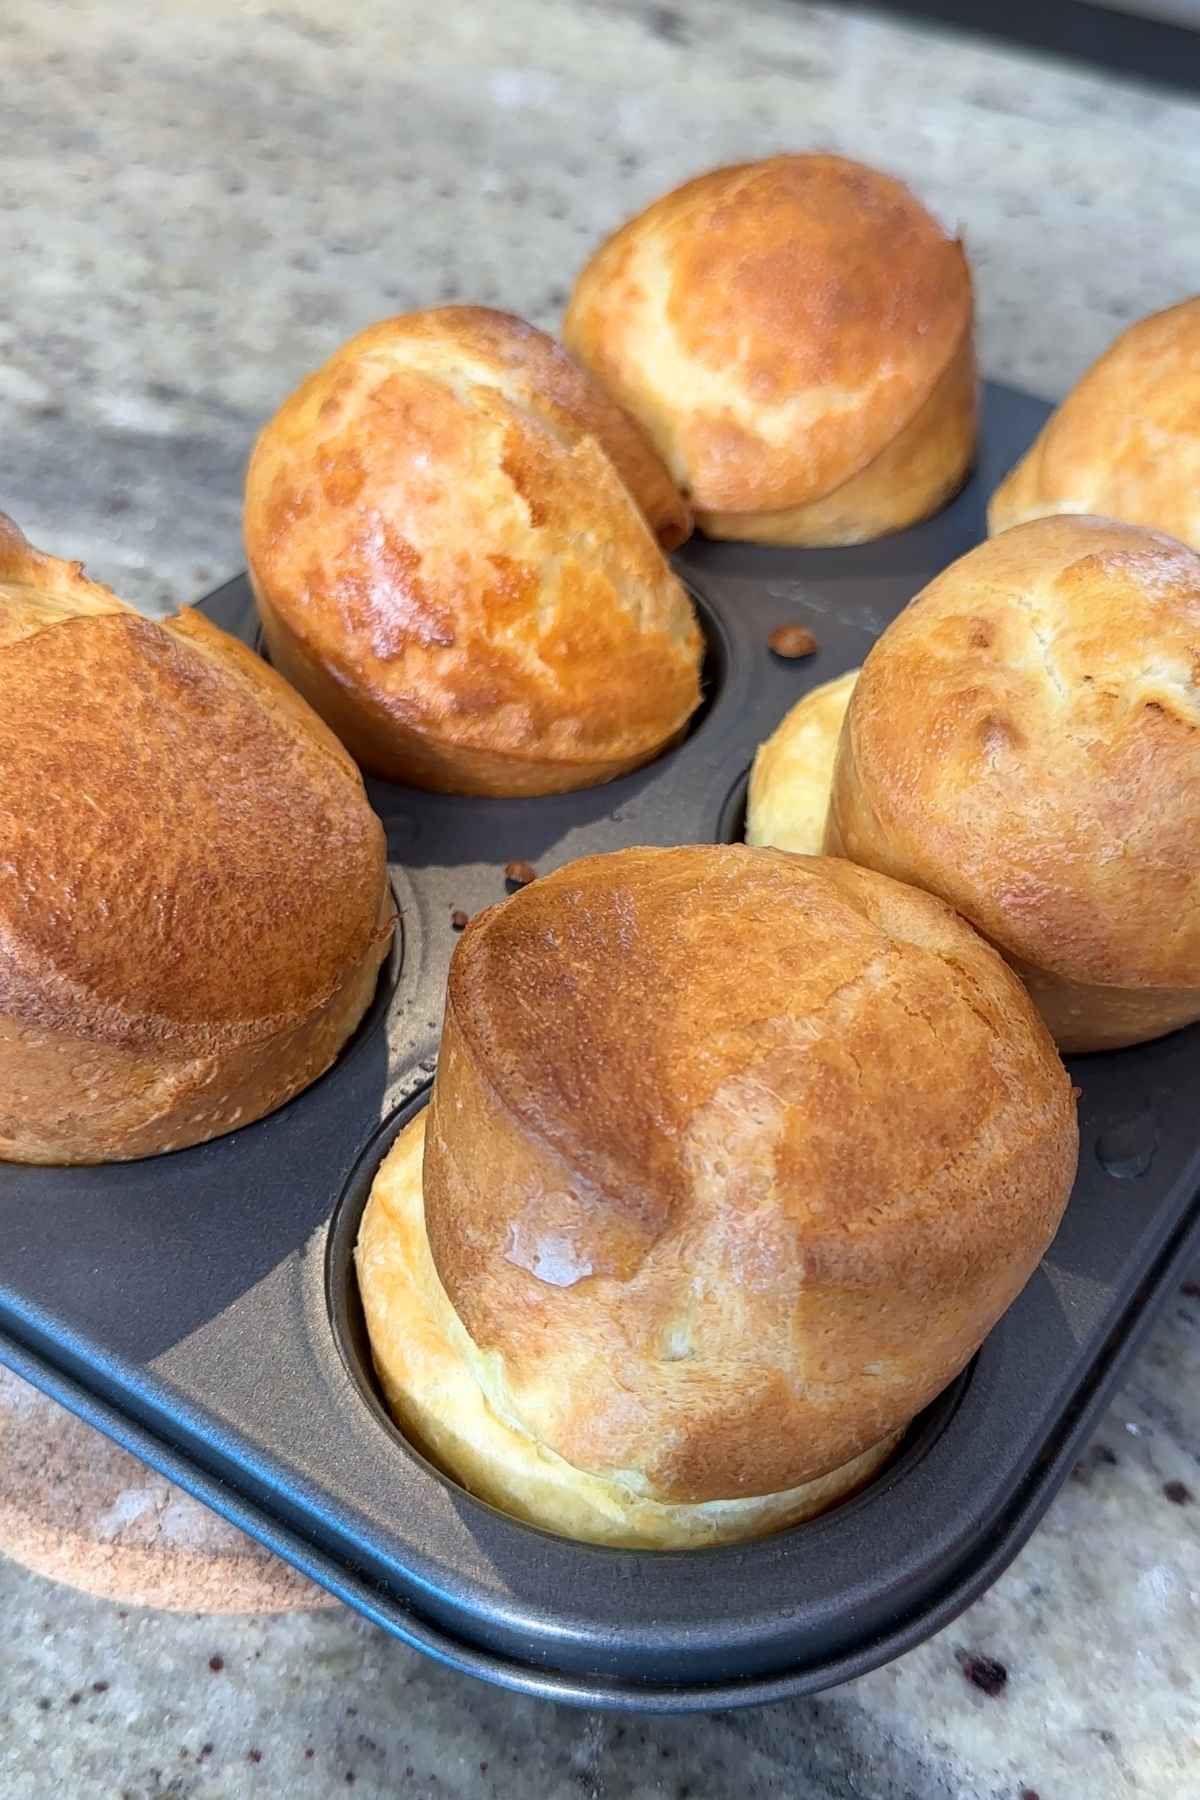
- Step 4: Bake your popovers at 450℉ for 15 to 20 minutes (they'll puff up high!), then reduce heat to 350℉ and bake for another 10 minutes, or until golden brown. Do not open the oven door while your popovers bake.
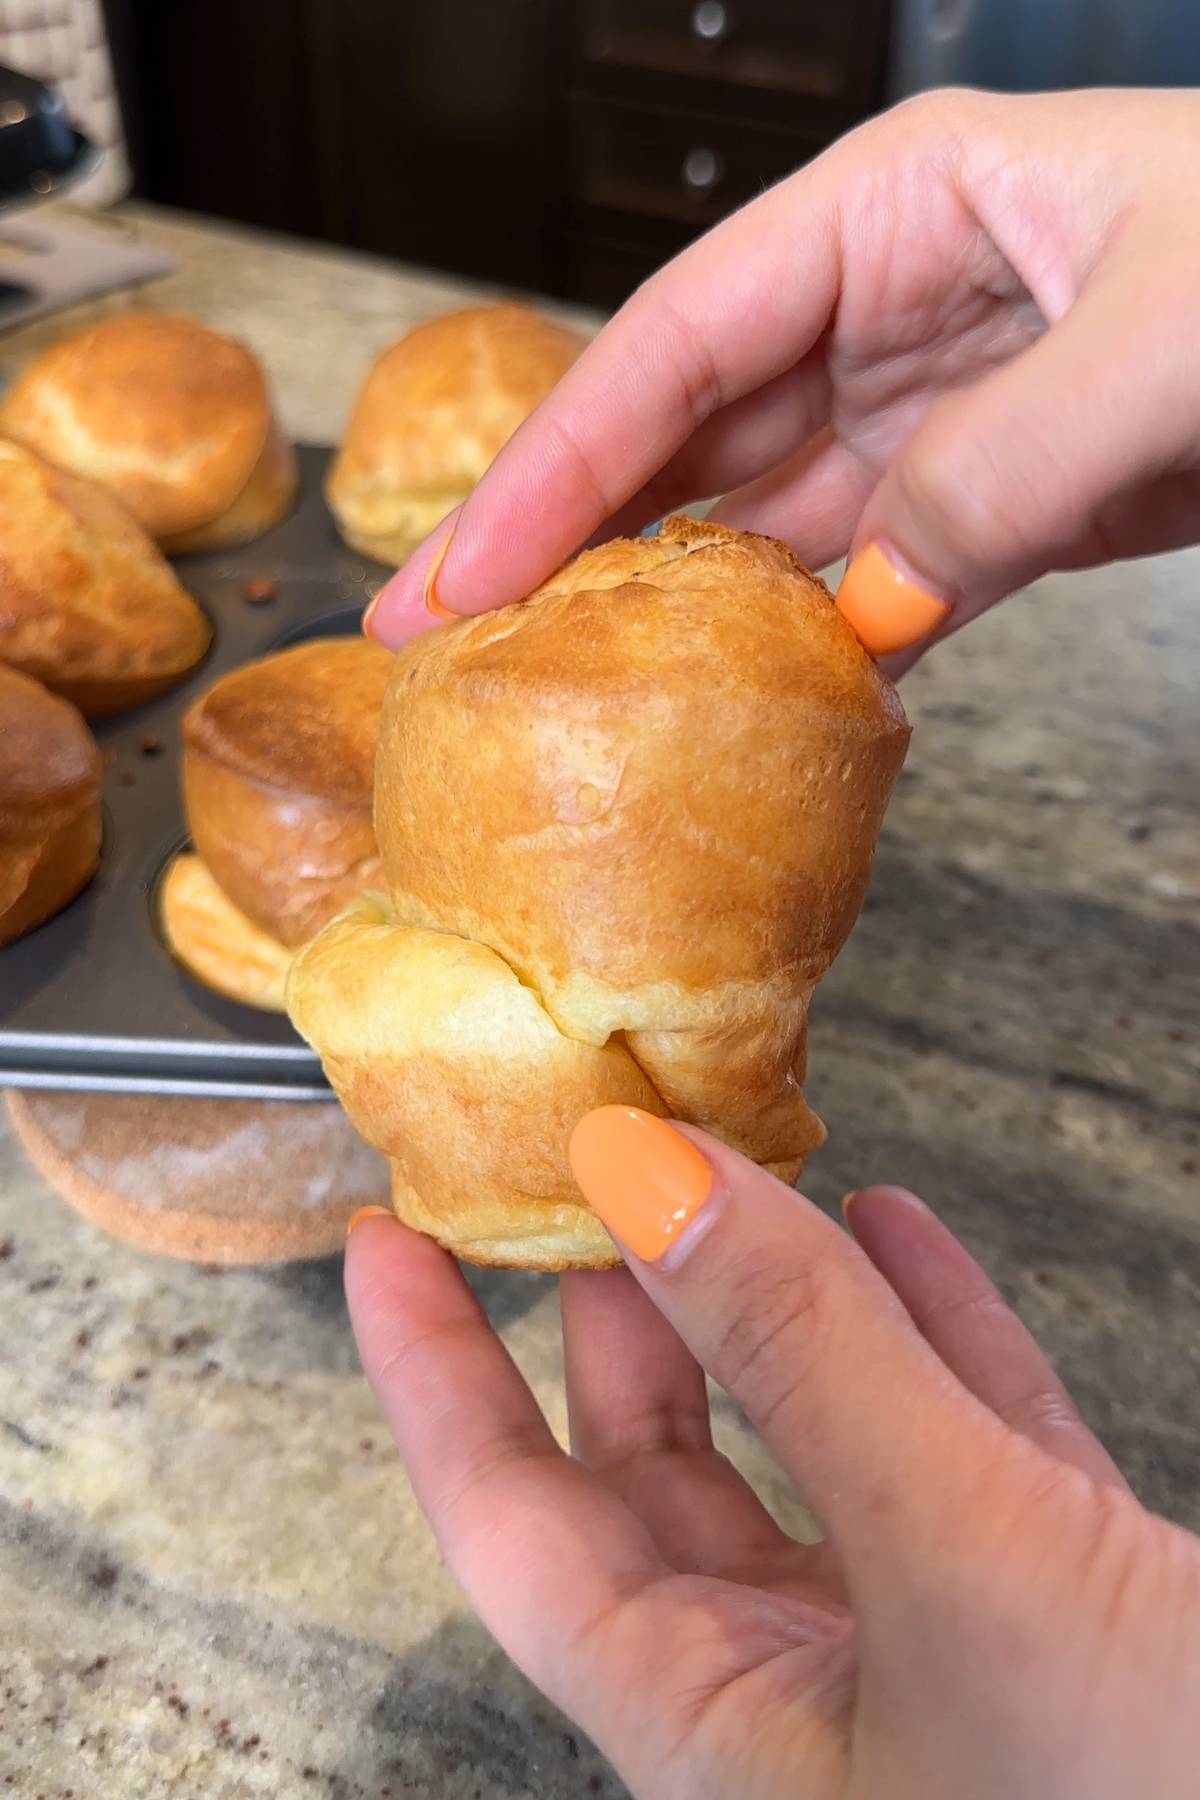
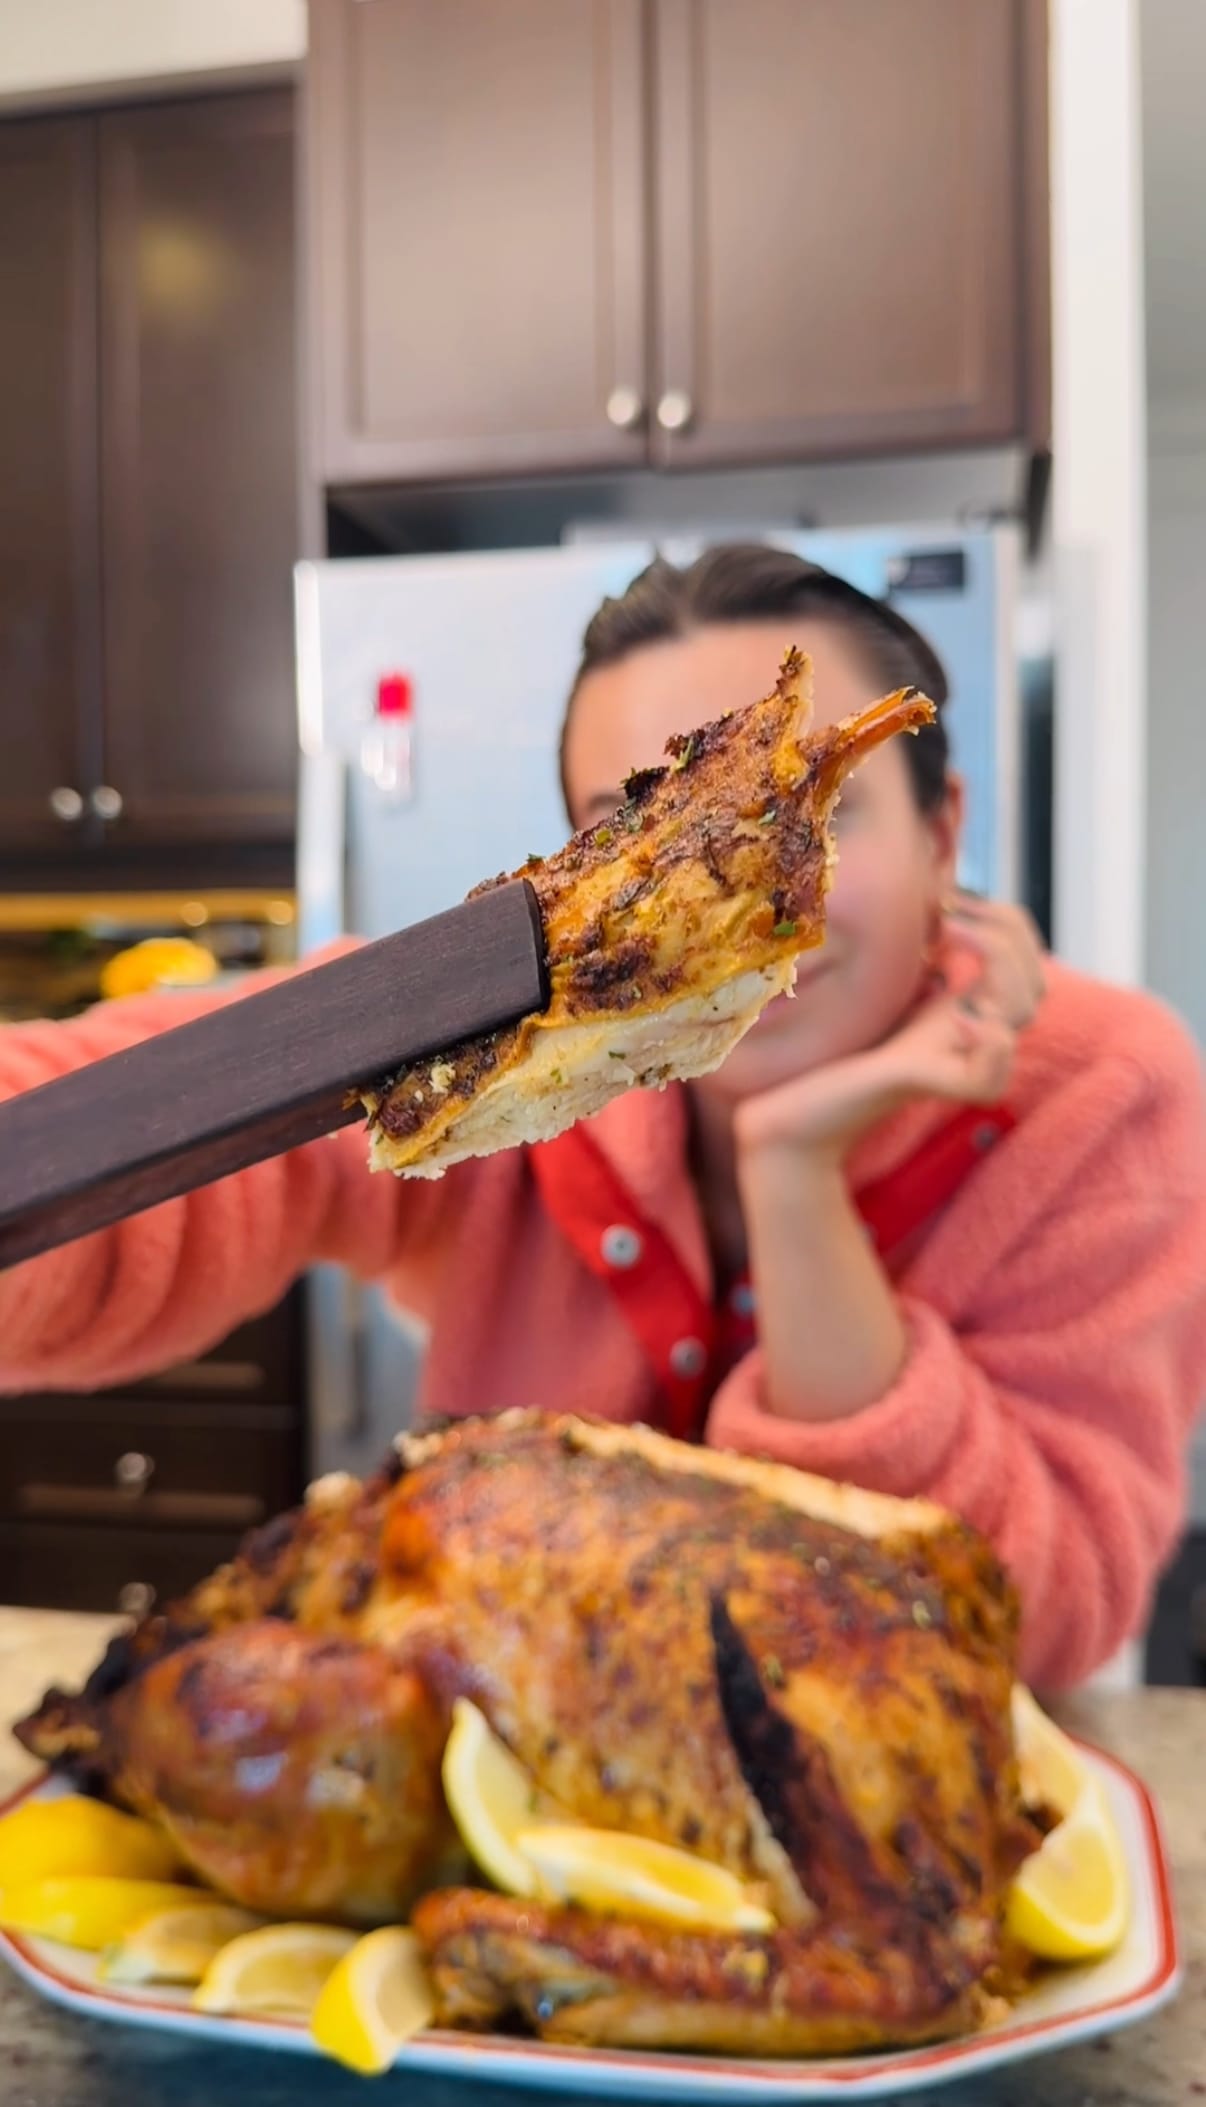
- Step 5: Remove the popovers from the oven and poke a small hole in each one to release the excess steam. This helps to stop them from becoming soggy. Allow the popovers to cool slightly, and then serve. Enjoy with my simple butter recipe or have them as a side to my Thanksgiving roast turkey.
Minoo's Pro Tip: Don't be afraid to customize your popovers exactly to your liking! You could add spices like garlic powder, thyme, or bell pepper paprika to the batter for extra flavor, or do a sweet version with cinnamon and sugar. You can also throw in red peppers and a hard cheese like parmesan to make a cheesy, indulgent popover. Perfect as an appetizer to my authentic Neapolitan pizza recipe.
Expert Tips
- Keep the oven door closed: I know it's tempting to go and check on your popovers, but if you open the oven door for even a second, your popovers will deflate and turn flat. Even when changing the oven's temperature, keep the door closed! You can tell when the popovers are ready by eye alone; they'll be tall, popped over, and golden brown on top.
- Layer your ingredients properly: Don't just dump everything into your blender. I've found it's best to always keep the flour closest to the blade, especially when it comes to cup blenders, or you'll end up with a lumpy batter!
- Give the popover mixture time to rest: If you're not in a rush, let your popover mixture rest for around 15 minutes before you bake it in the oven. This helps the flour hydrate and gives you taller, loftier popovers; perfect for filling with gravy or stretchy mozzarella.
- Don't overfill your tin: The popovers will rise, so don't overfill your tin. Each cup should only be filled to around ⅔ full. You can use a measuring cup for accuracy. If you overfill, don't panic. Just spoon out the mixture and redistribute it to another cup (or a new tin).
Popovers in a Muffin Tin FAQs
Absolutely! You can mix this by hand, and the popovers will turn out just as perfectly. It will take a little more elbow grease, but nothing that a first-time baker can't manage. Just make sure to mix the batter until it's super smooth, since "agitating" the eggs is what gives these popovers that high rise.
You can also use a jar to make the popovers. Throw the ingredients in, secure the lid, and just shake for 30 seconds until well-combined. Again, the key is to make sure the mixture is completely smooth before baking in the oven!
Yes! I've found that anything that can provide a deep "cup" can be used in place of a popover tin. You can use a muffin tin (my go-to), oven-safe glass ramekins, or a cupcake tin. You can even just use paper muffin liners and triple layer them so that they hold their shape as the popovers bake.
You may not get as much loftiness as a traditional popover tin, but trust me: They'll still taste amazing.
My popovers are best enjoyed warm, but they'll keep fresh for 2 to 3 days if you store them in a paper bag on the counter. If they become a little soft or soggy, splash with water and reheat in the oven at 350°F for a few minutes to help them crisp up again.
If you're making them in advance for a dinner party and need them to last for longer, you can also freeze them. Just wait for the popovers to cool completely, then place them in a bag and freeze them for up to 3 months. You can reheat them in the oven straight from frozen when you're ready to serve; 350°F for 5 to 7 minutes.
Speaking of parties, why not impress your guests with some other homemade goods? Whenever I'm hosting a dinner party, my crunchy tortillas and chocolate-dipped donuts always go down a treat!
Your oven likely wasn't hot enough! Double-check your oven dial's temperature before you bake the popovers, and don't skip that preheat. You can use a thermometer if you have one to get an accurate temperature reading.
If your oven was the correct temperature, then I've found the usual culprit is opening the oven door. Even if you opened the oven door briefly for a second, the change in temperature here will still cause your popovers to deflate. Next time, make sure to resist the temptation!
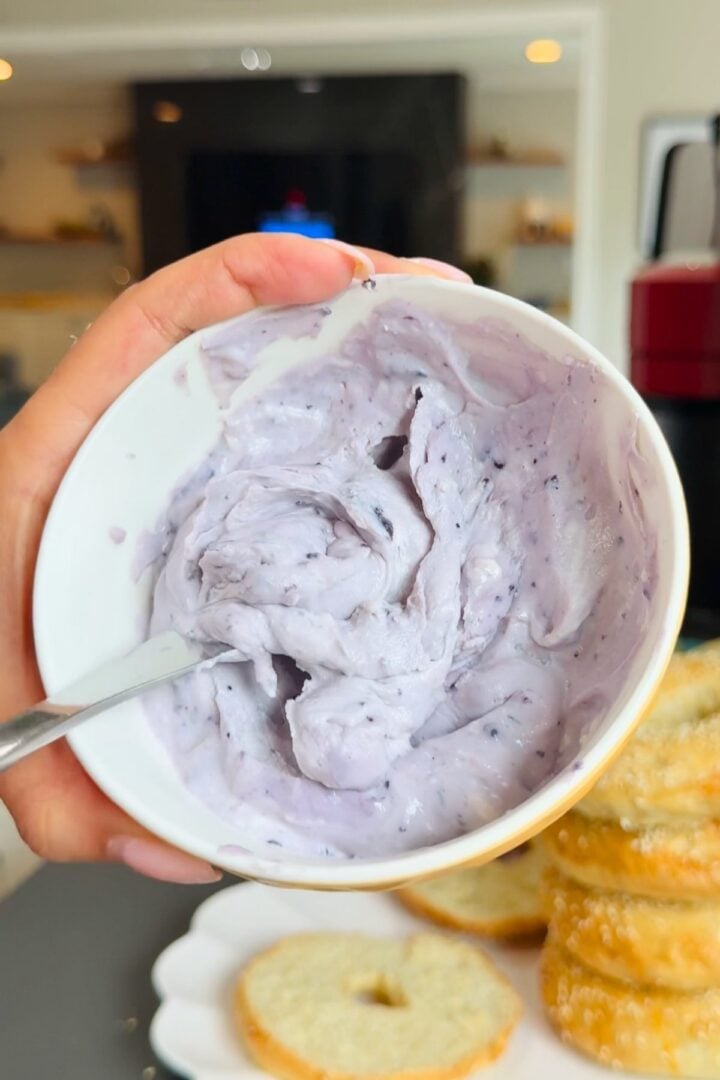
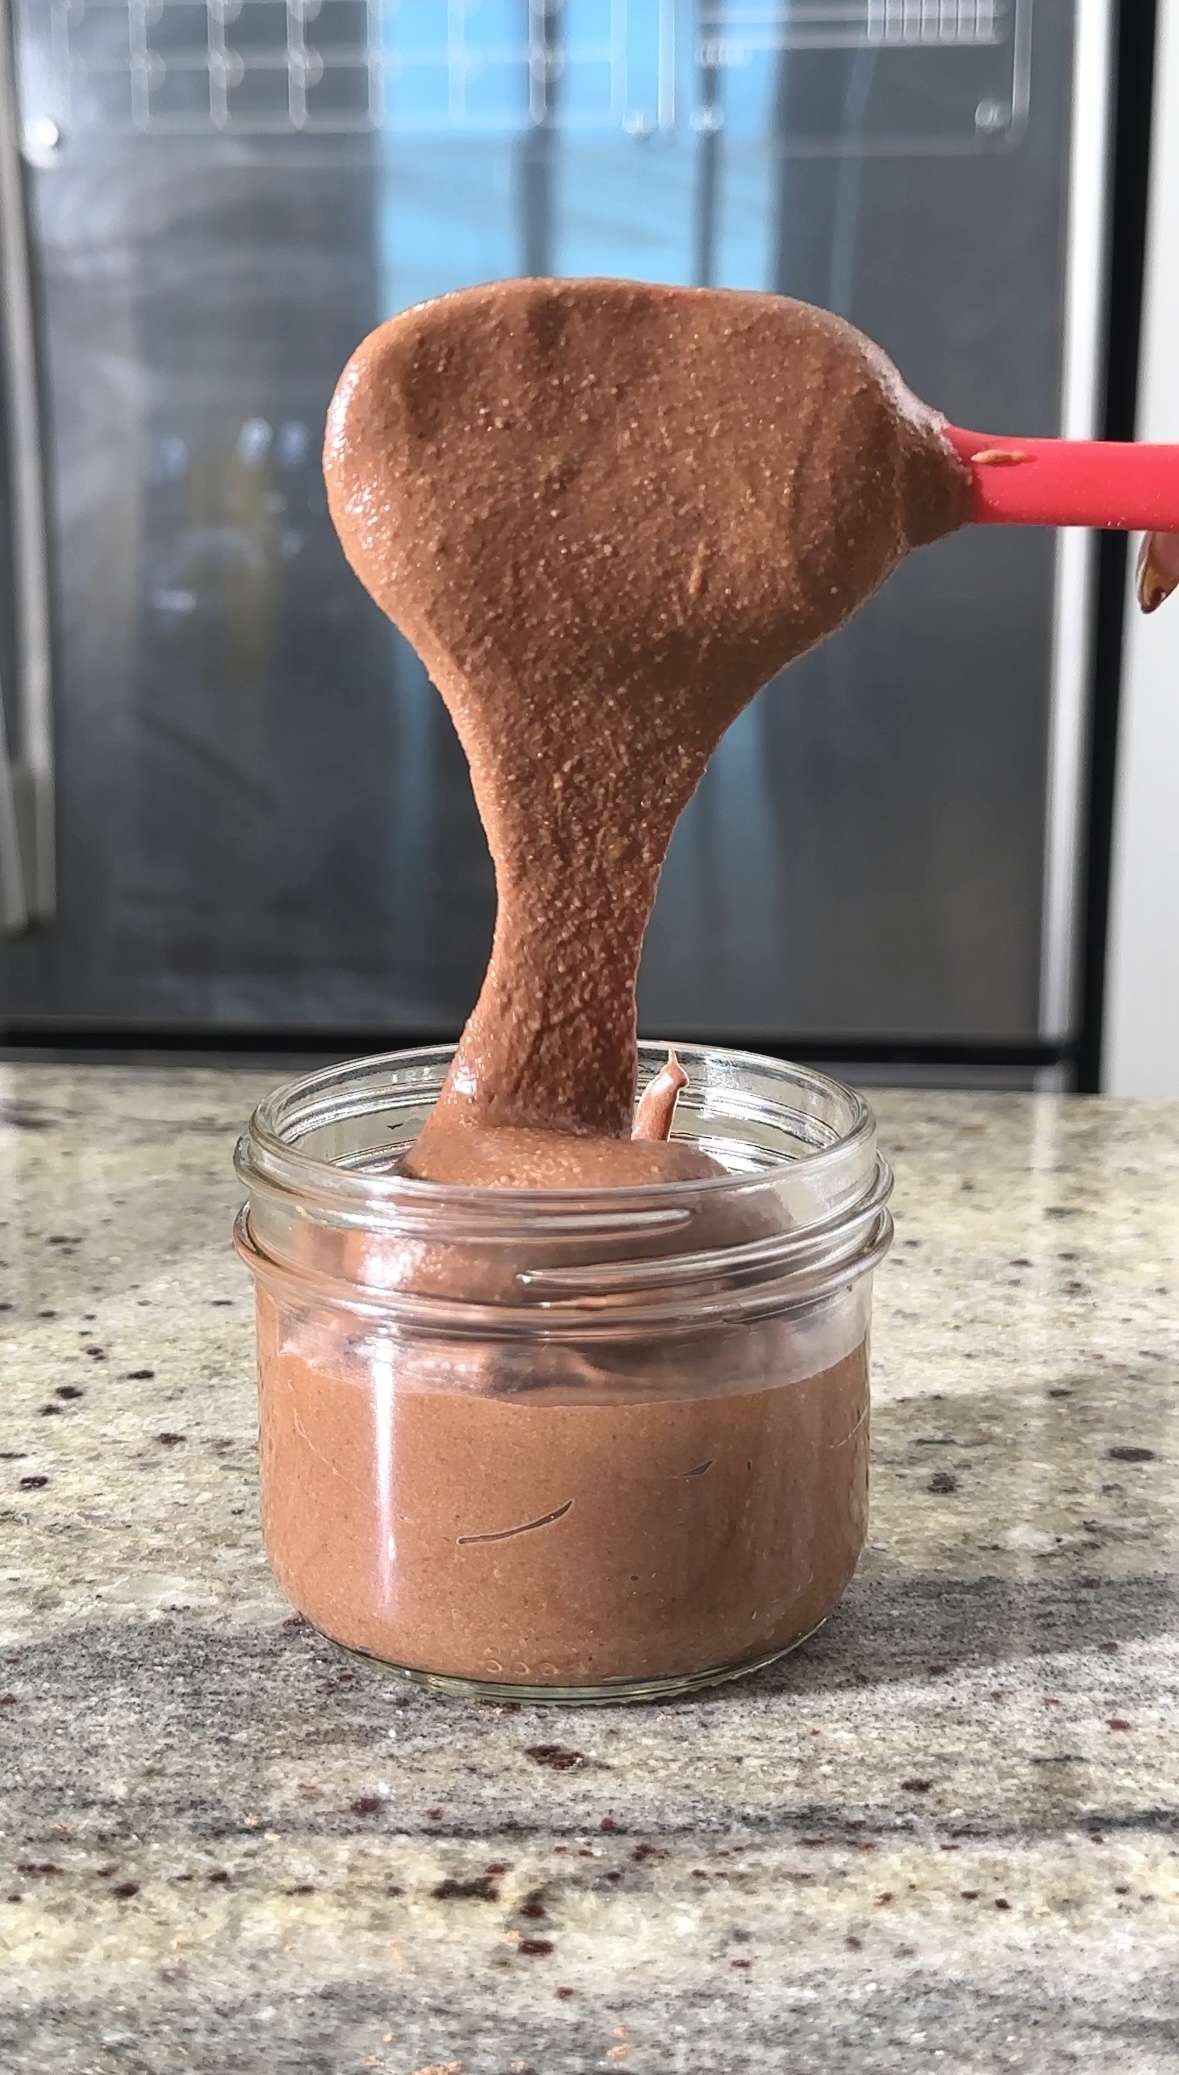
Don't throw away "flat" popovers. While they may not be as lofty as you'd like, they'll still taste great, and you can spread on my DIY Nutella and add fruits to turn them into a quick dessert. You can also use flat popovers as a base for party canapes; just slather on my homemade cream cheese spread and your choice of toppings. I personally love salmon and fresh dill.
More to Try
Not just a breakfast staple! You can enjoy my popovers for lunch, serve with a roast, or turn them into a sweet dessert. You can also spread practically anything on them, whether peanut butter or fruit jam. Not sure which combos to try first? Here are some of my fave pairings:
Enjoying This Recipe?
It would mean the world to me if you left a quick review or any questions you have in the comments below!
Recipe Card

Popovers in a Muffin Tin Recipe
EMAIL THIS RECIPE
Enter your email and I'll send this directly to you.
Plus you'll get new recipes from me every week!
Ingredients
- 2 Eggs
- ¾ Cup Milk
- ¾ Cup All Purpose Flour
- ½ teaspoon Salt
- 3 tablespoon Melted Butter
Instructions
- In a blender, combine eggs, milk, flour, and salt, making sure to add the flour so that it's closest to the blade. Blend until smooth.
- Add melted butter and blend again until smooth.
- Preheat oven to 450℉ and place empty muffin or popover tin inside to heat up. Once heated, remove from oven, spray with oil, and pour in your popover mixture.
- Bake at 450℉ for 15-20 minutes, then reduce heat to 350℉ and bake for another 10 minutes. Do not open the oven door.
- Remove the popovers from the oven and poke a small hole in each one to release excess steam. Allow to cool slightly. Then, serve and enjoy!
Notes
- Don't skip the preheat: The batter hitting a hot pan is essential for the rise on these popovers.
- Use room-temperature eggs and milk: Fridge-cold butter and eggs won't combine as well and may give you a lumpy batter.
Nutrition
Want To Save This Recipe?
Share your email & we'll send it over! PLUS, you'll get new recipes from us weekly

Why does the video show shaking the ingredients in a jar, but the written instructions say to use a blender? Which is the correct way?
Hi Colleen!! You can use either method. I prefer blender but if you don't have one shaking in a jar or just whisking will work.
This recipe is just so easy. I am going to make these very soon. They look delicious. Thank you
Ahh I hope you love it Suzanne!! It really is as easy as it looks (:
Can I use 1 for 1 gluten free flour? Or some other gluten free flour?
You can definitely do that but the texture will be slightly different!
can you use buttermilk?
You absolutely can Judy! That would be amazing.