 Grab My Super Easy Bread Cookbook

My homemade marshmallow recipe only needs 4 simple ingredients, but gives you melt-in-the-mouth, gooey marshmallows that are perfect for roasting around the campfire. Your taste buds will never go back to the dry, rubbery bagged stuff again! Enjoy in s'mores, a cup of warming cocoa, or even my viral PSL recipe for a cozy pick-me-up.
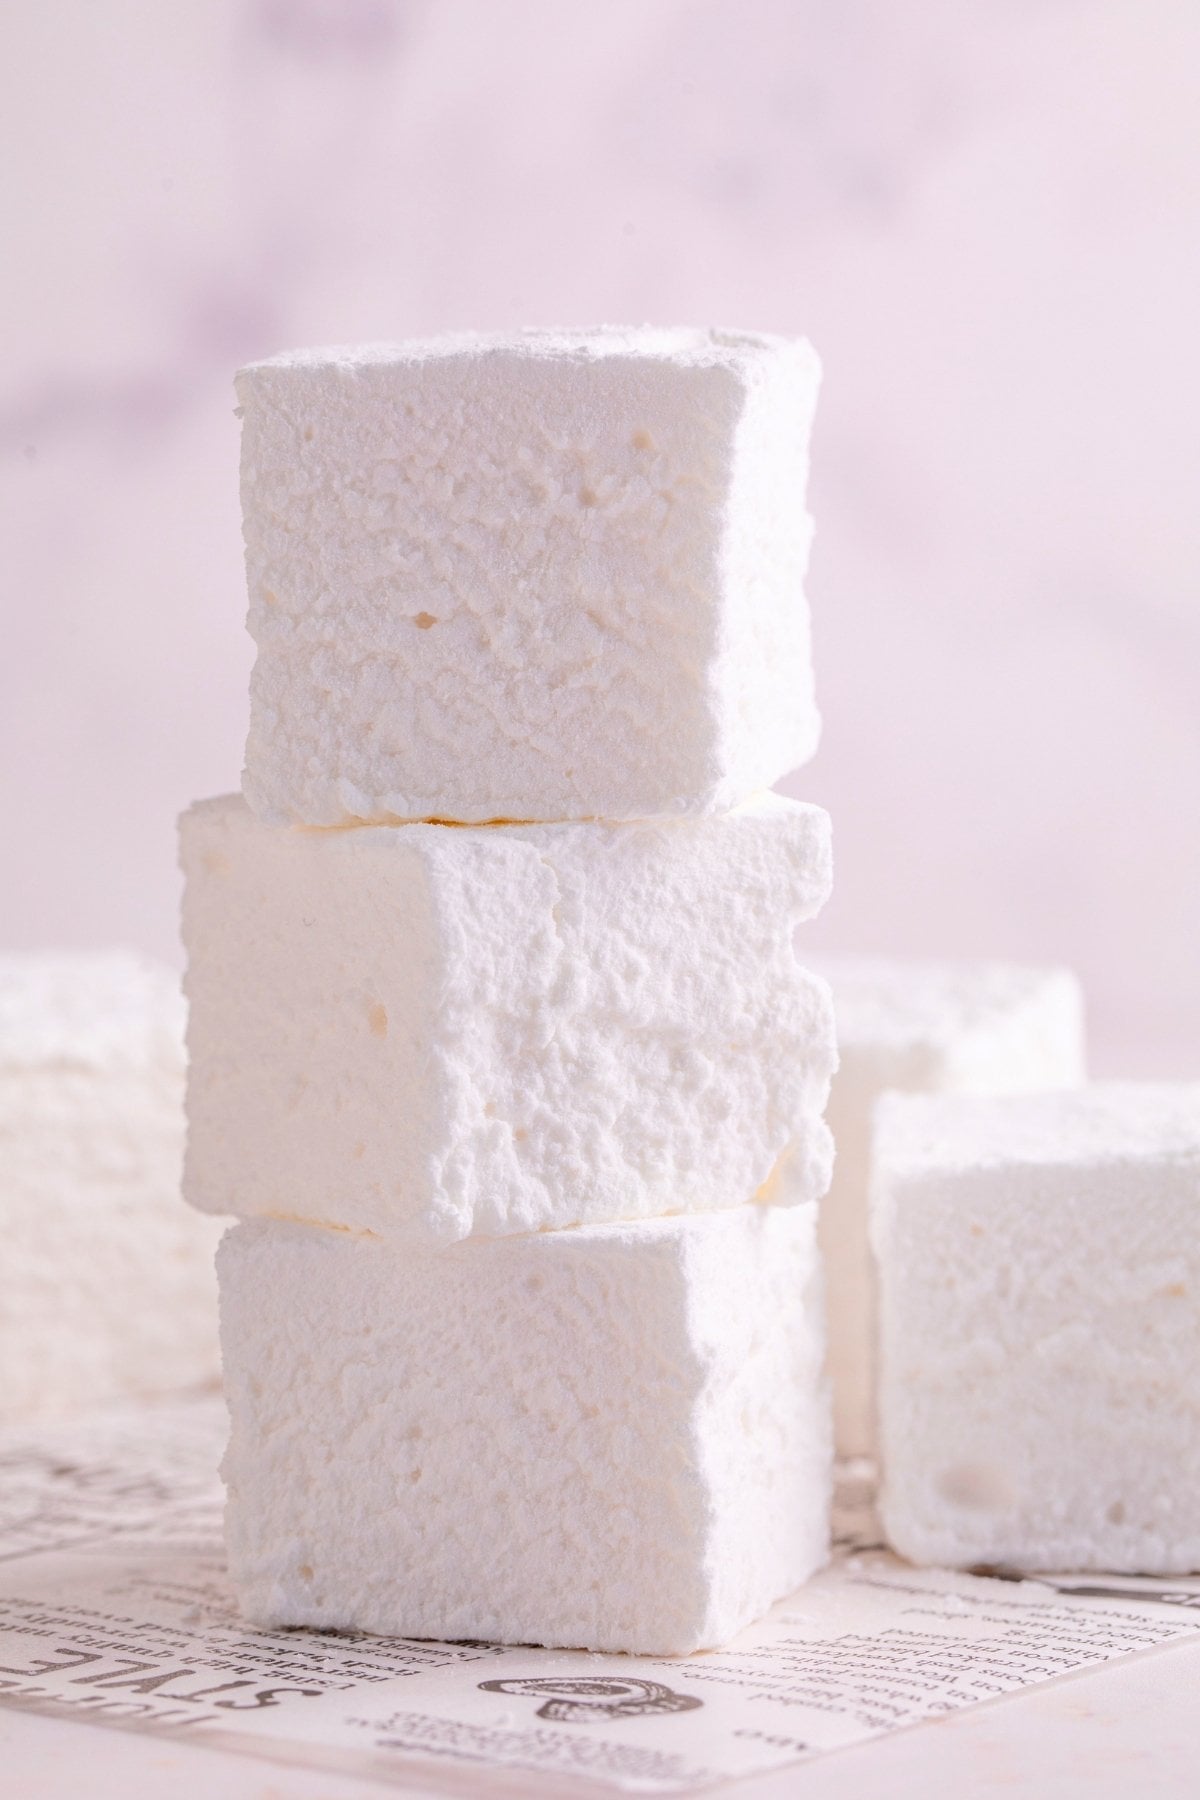
Quick Look: Homemade Marshmallow Recipe
- Prep Time: 30 minutes
- Set Time: 2 hours (or overnight)
- Total Time: 2 hours 30 minutes
- Yield: 36 Marshmallows
- Difficulty: Intermediate
- Why This Works: Heavenly fluffy n' gooey, yet made with just 4 simple ingredients? Your summertime campfires will never be the same again!
SUMMARIZE & SAVE THIS CONTENT ON
Why You'll Love This Recipe
- You'll never go back to the bagged stuff: Say goodbye to the overly stale and dry shop-bought kind. My marshmallows are melt-in-the-mouth fluffy, toast beautifully over a fire, and are packed with flavors that aren't masked by artificial preservatives.
- Doable even for a busy mom: My marshmallows take 30 minutes to prep and come together with just 4 ingredients… The hardest part is staying patient and not sneaking a nibble before they set!
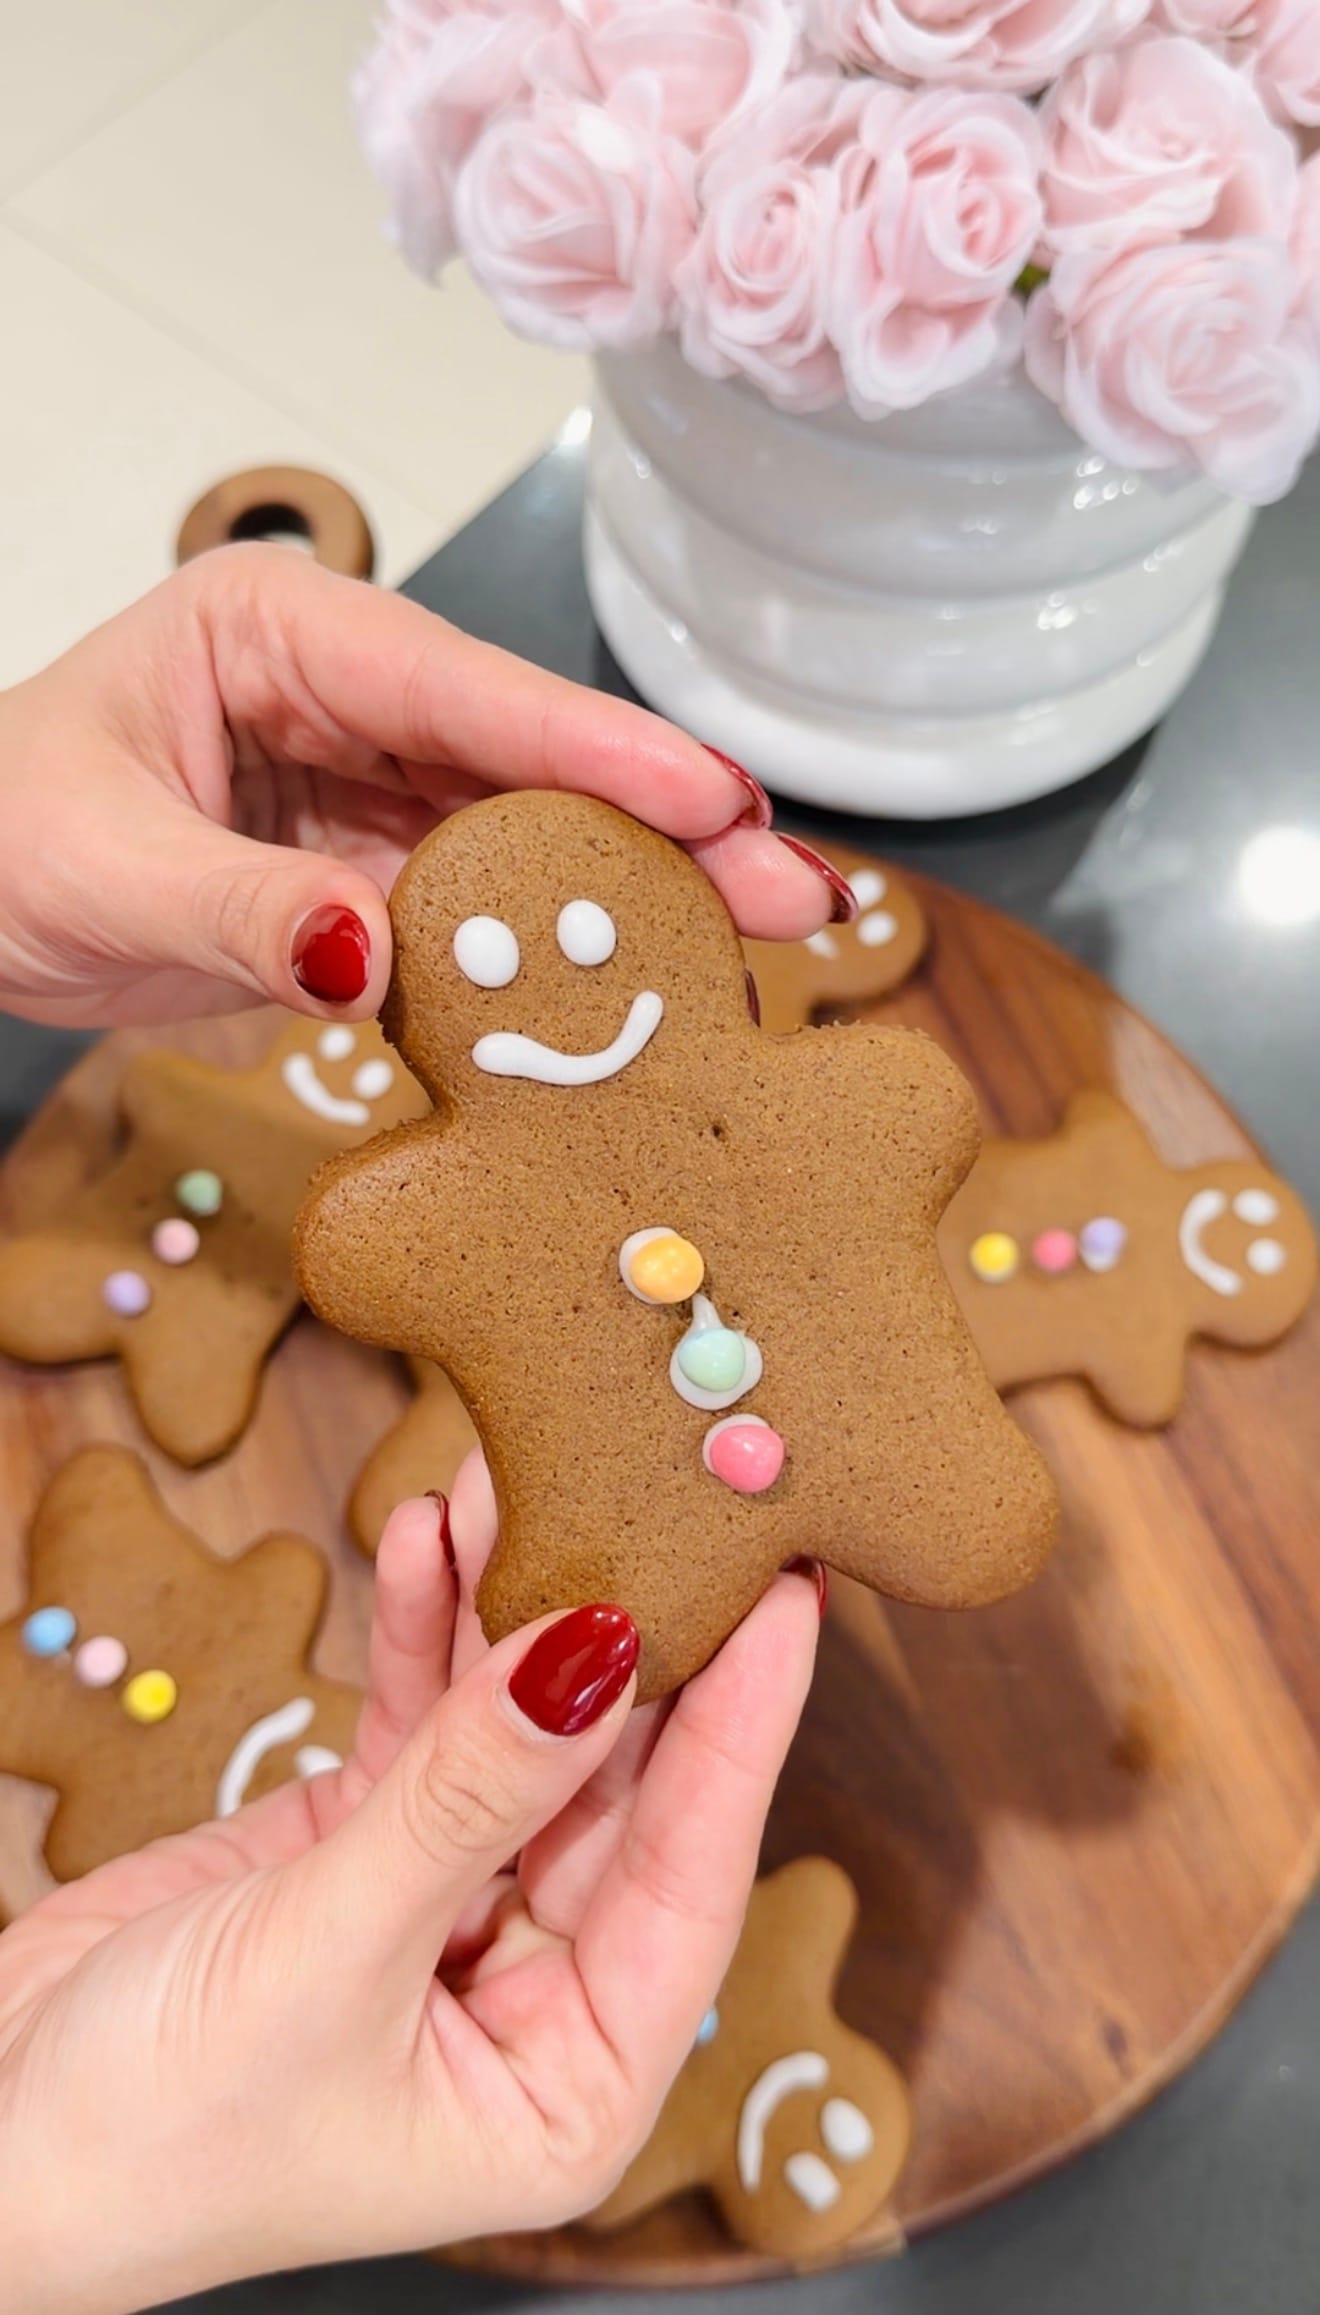
- Naturally sweetened alternative: The bagged stuff is overloaded with highly processed corn syrup; your taste buds (and teeth) deserve better. My marshmallows are naturally sweetened and won't leave you with that cloyingly sweet aftertaste. Just the right sweetness to enjoy as is or use in baked goods like gingerbread cookies.
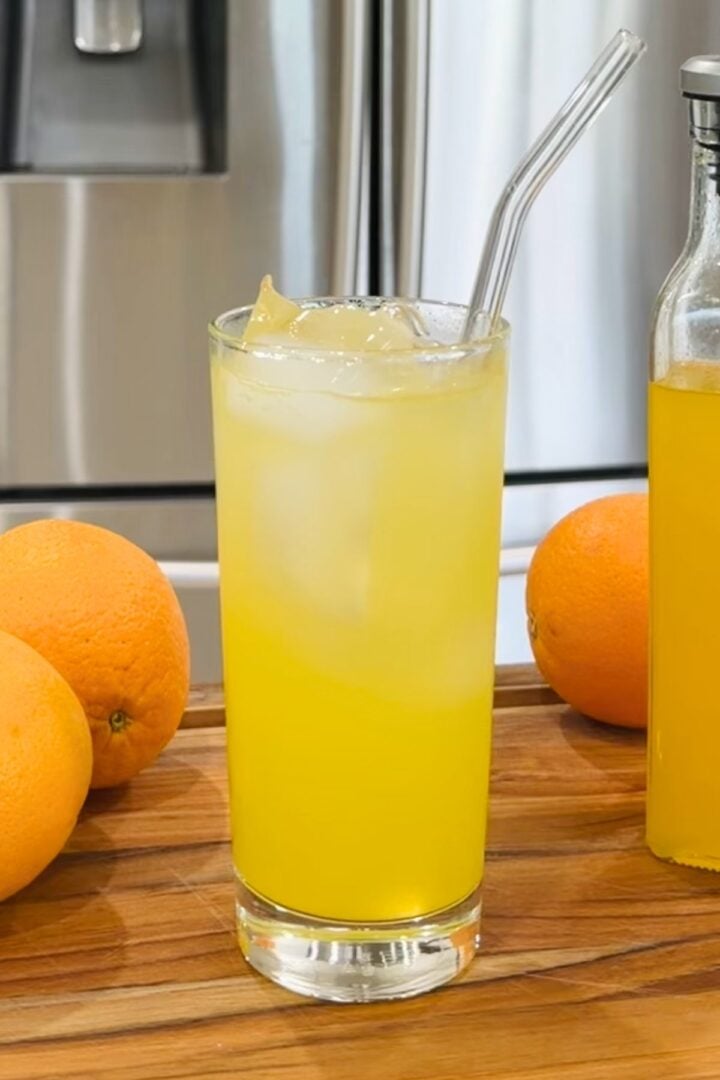
- Your kids will WANT to help you: Yep, your kids won't just volunteer to eat the results, they'll enjoy the behind-the-scenes too. Making homemade marshmallows feels like a fun DIY experiment (and they can get messy guilt-free). They'll soon be queueing up to help with other DIY recipes too, like my fun orange soda recipe.
- A gift that actually goes down a treat: No polite "thank you, you really shouldn't have" here. I've gifted my homemade marshmallows to so many loved ones, and they've had that "wow" factor EVERY time. Fyi, they're gluten-free too and can be made vegan with an easy substitute.
Ingredients
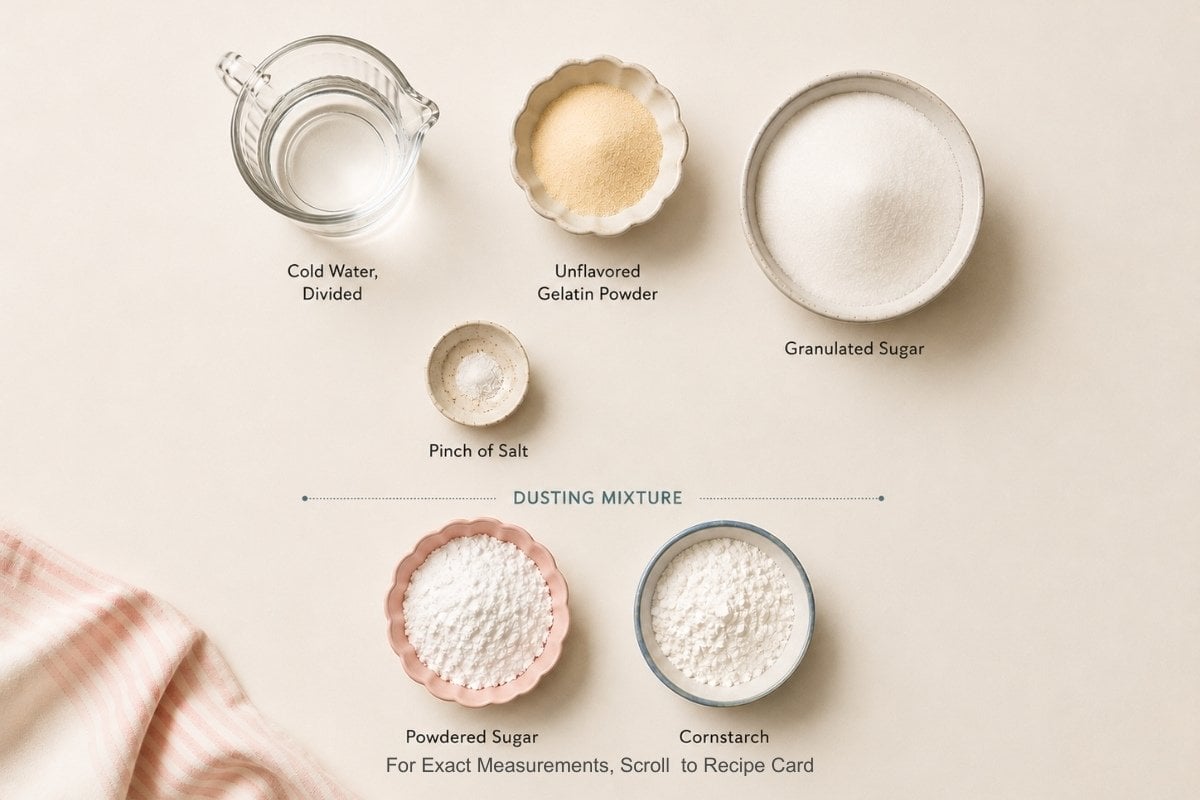
My homemade marshmallows are sure to up your s'more game, and better yet? There's no scavenger hunting for ingredients here. You can find these staples in practically any grocery store:
- (Unflavored) Gelatin Powder: My recipe calls for unflavored gelatin powder, as this gives you that pillow-soft bounciness without affecting the flavor. Gelatin sheets can also work in a pinch. For a vegan alternative, you can substitute with agar-agar powder at ⅓ of the amount of gelatin. Just be mindful that it does set differently and won't have the same consistency.
- Granulated Sugar: Don't skimp on the sugar here: It's the key to the structure of my marshmallows. Granulated sugar stabilizes that fluffiness and imparts a craving-satisfying sweetness that doesn't feel flat or excessive.
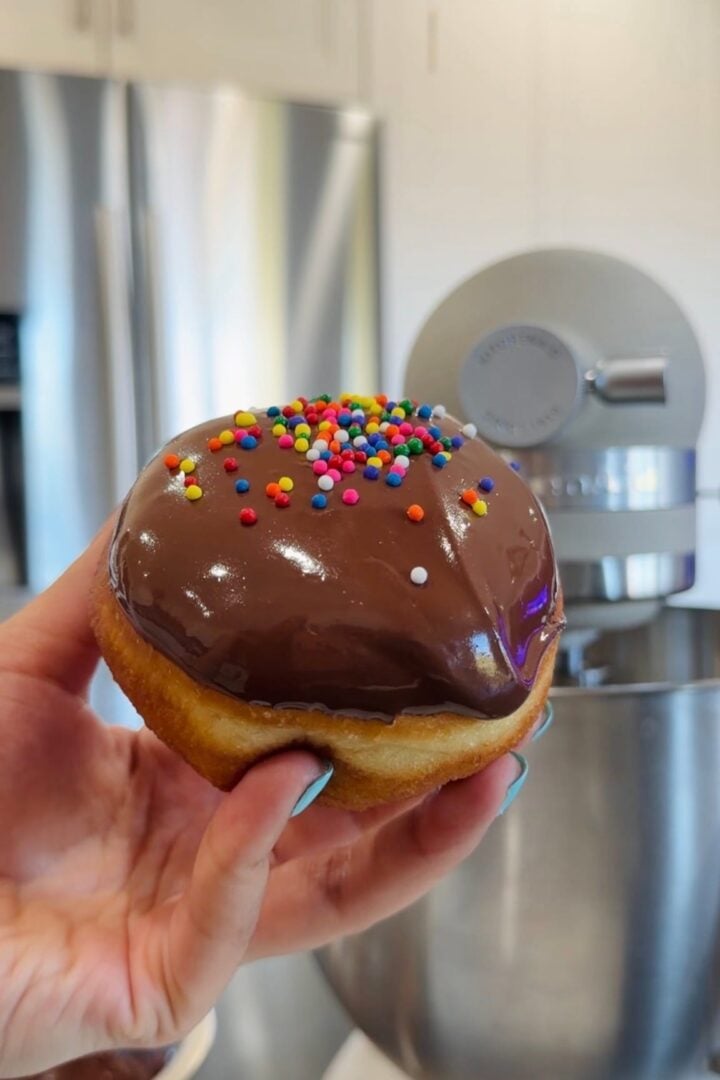
Minoo's Pro Tip: The best part about making homemade marshmallows is that you can really experiment and channel your inner "Willy Wonka." Add vanilla bean, sprinkle in matcha, or even coat in chocolate to create an extra indulgent topping for my brioche donuts. It's a world of pure imagination.
How to Make My Homemade Marshmallow Recipe
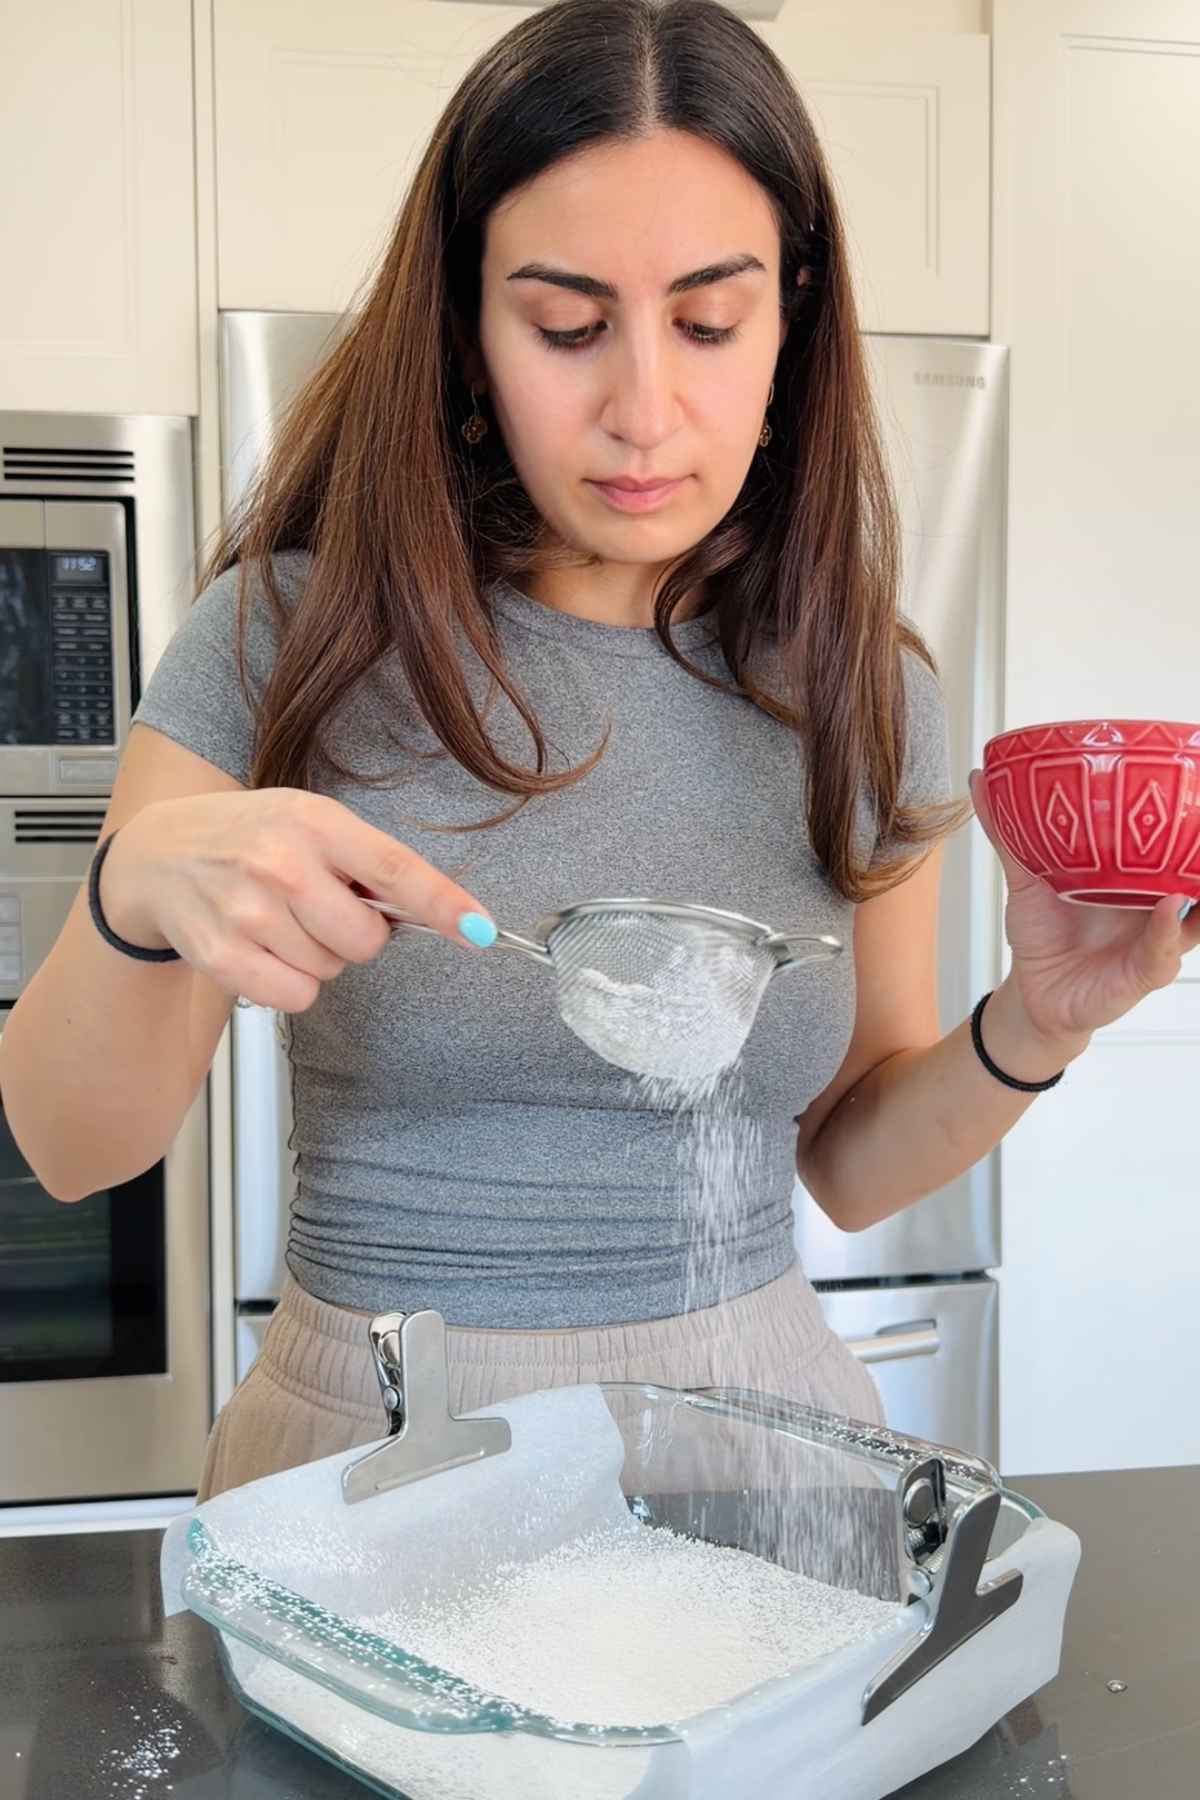
- Step 1: Line a 9x9-inch baking dish with non-stick parchment paper. Then, sift together ¼ cup powdered sugar and ¼ cup cornstarch into a small bowl to create your dusting mixture. Set both aside for later.
Minoo's Pro Tip: Line the pan with enough parchment so that it hangs over the sides and can be easily gripped. Trust me. These "makeshift" handles will allow for easy removal from the pan later!
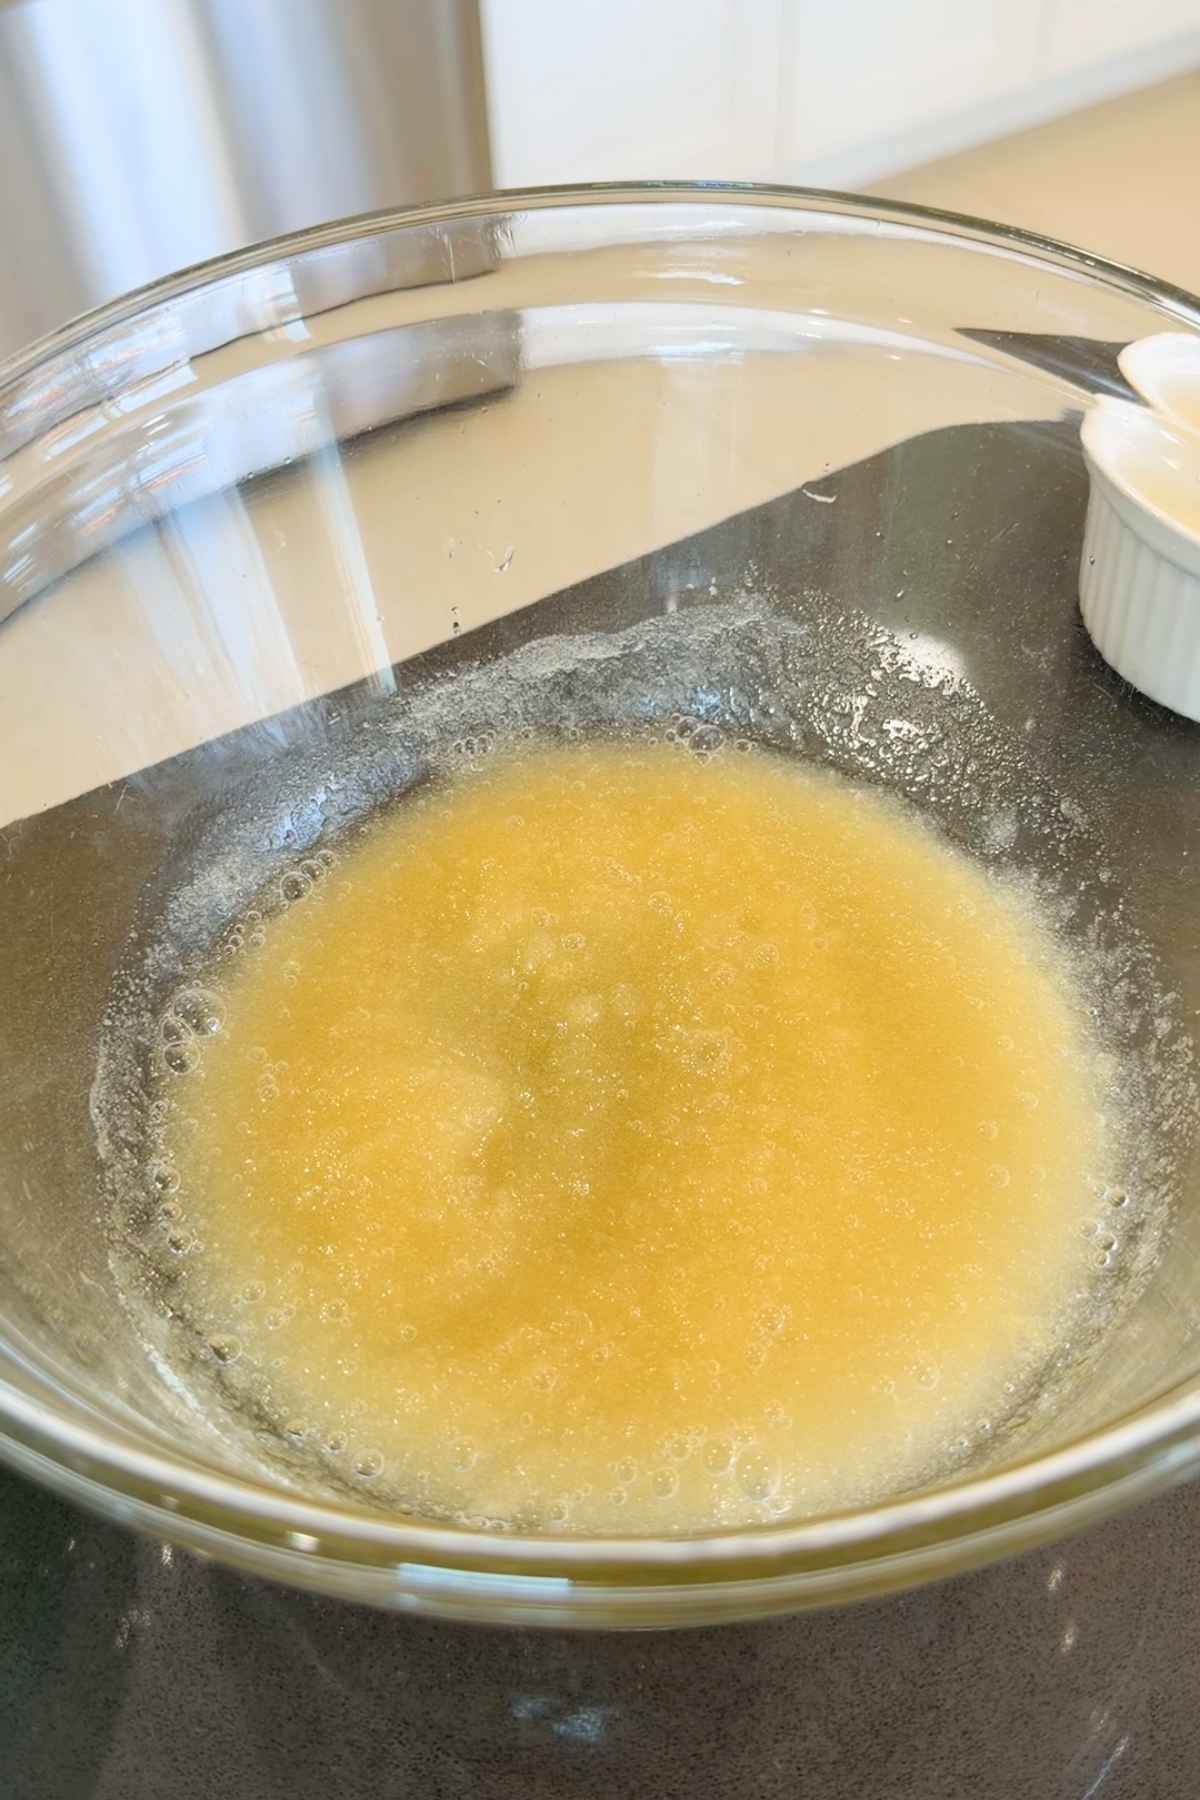
2. Step 2: Pour ½ cup cold water into a large mixing bowl. Sprinkle 2 tablespoons of gelatin into the water and whisk briefly to combine. Set the mixture aside for 10 minutes to thicken up. This process is what "blooms" the gelatin and gives it the right consistency for your marshmallows.
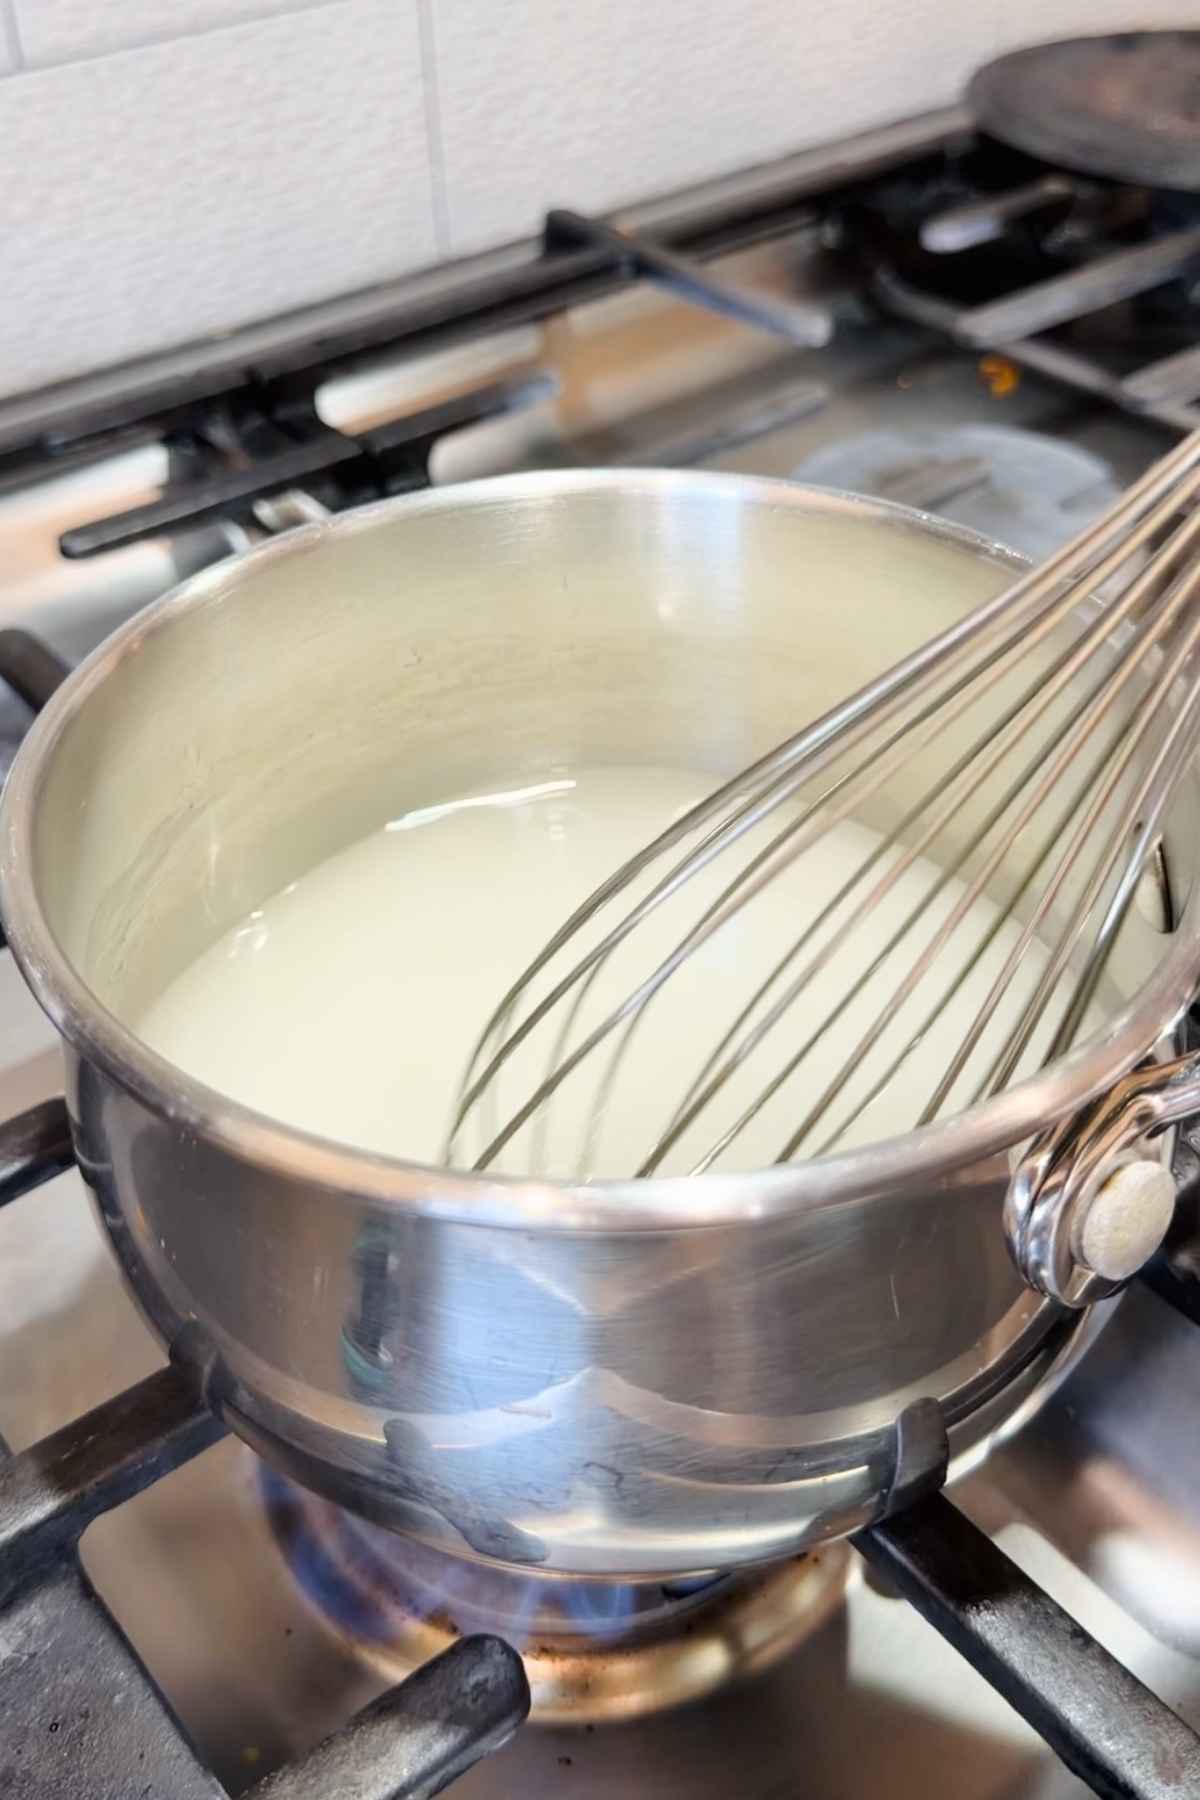
3. Step 3: Combine the remaining ½ cup cold water, 1½ cups granulated sugar, and a pinch of salt in a small saucepan. Heat over medium-high and stir until the sugar is completely dissolved and syrup-like.
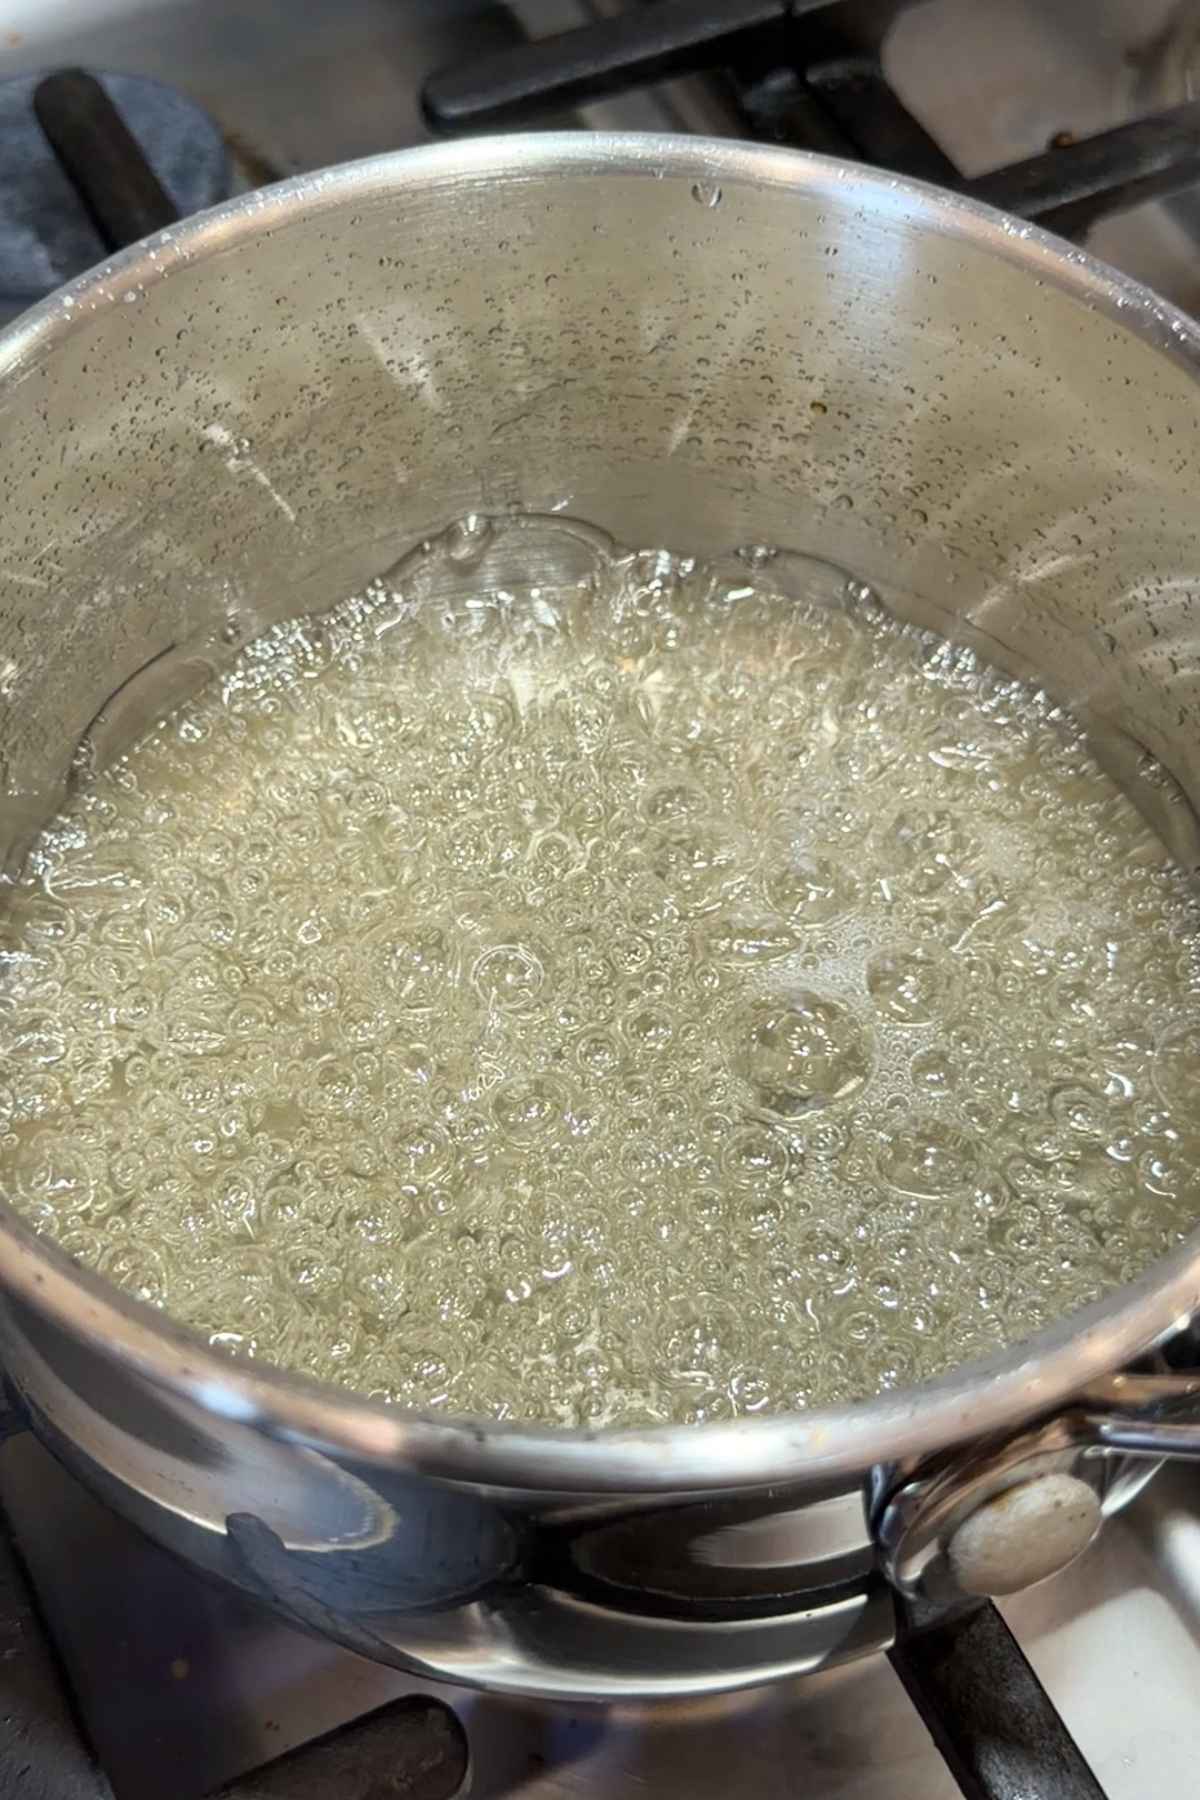
4. Step 4: Bring the sugar syrup to a boil. Cook without stirring for 8 to 10 minutes, or until the temperature reaches 242°F. The syrup will look glossy and slightly thickened when it's ready.
Minoo's Pro Tip: Use a candy thermometer to know exactly when your sugar mixture has hit the right temperature.
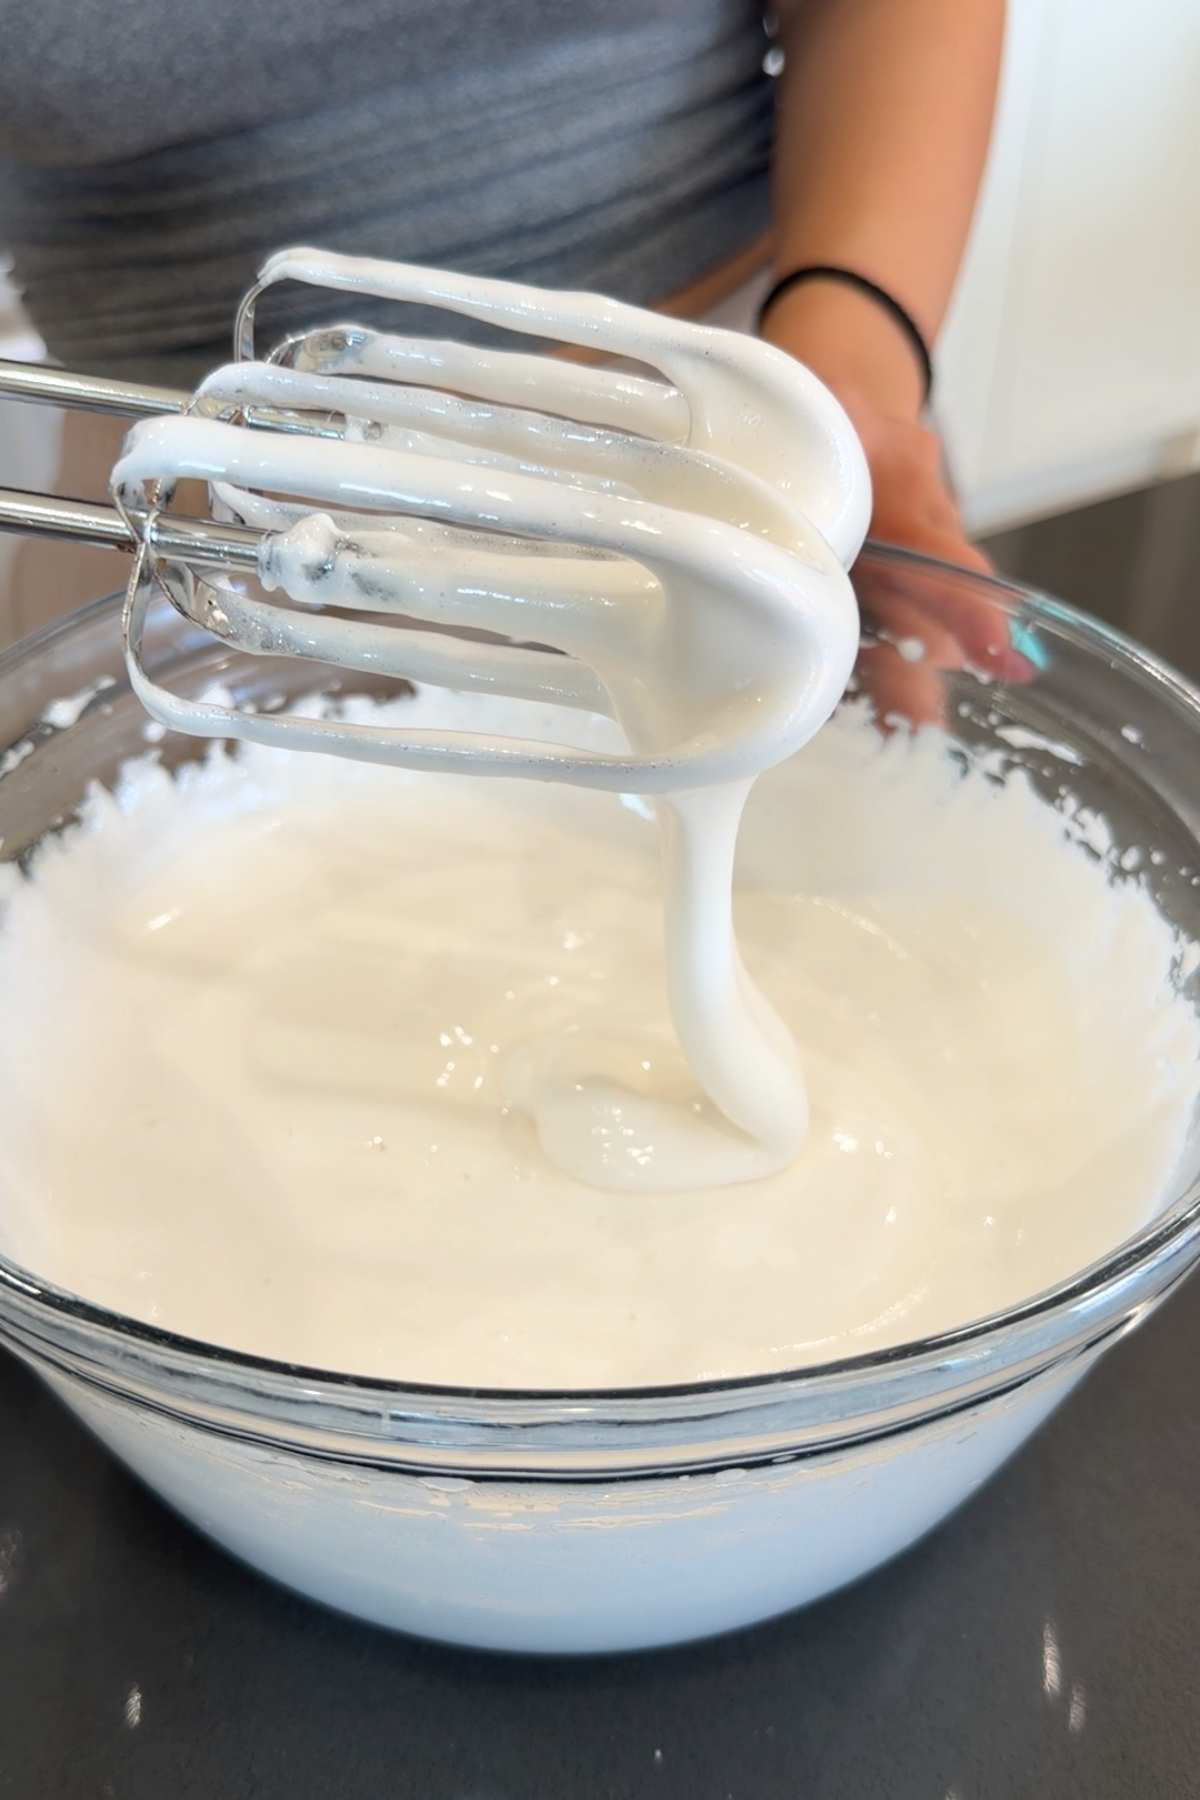
5. Step 5: Slowly pour the syrup into the bowl of gelatin while running a hand mixer at low speed. Once both ingredients are fully combined, mix at high speed for 8 to 10 minutes, or until the mixture is thick, glossy white, and has tripled in volume.
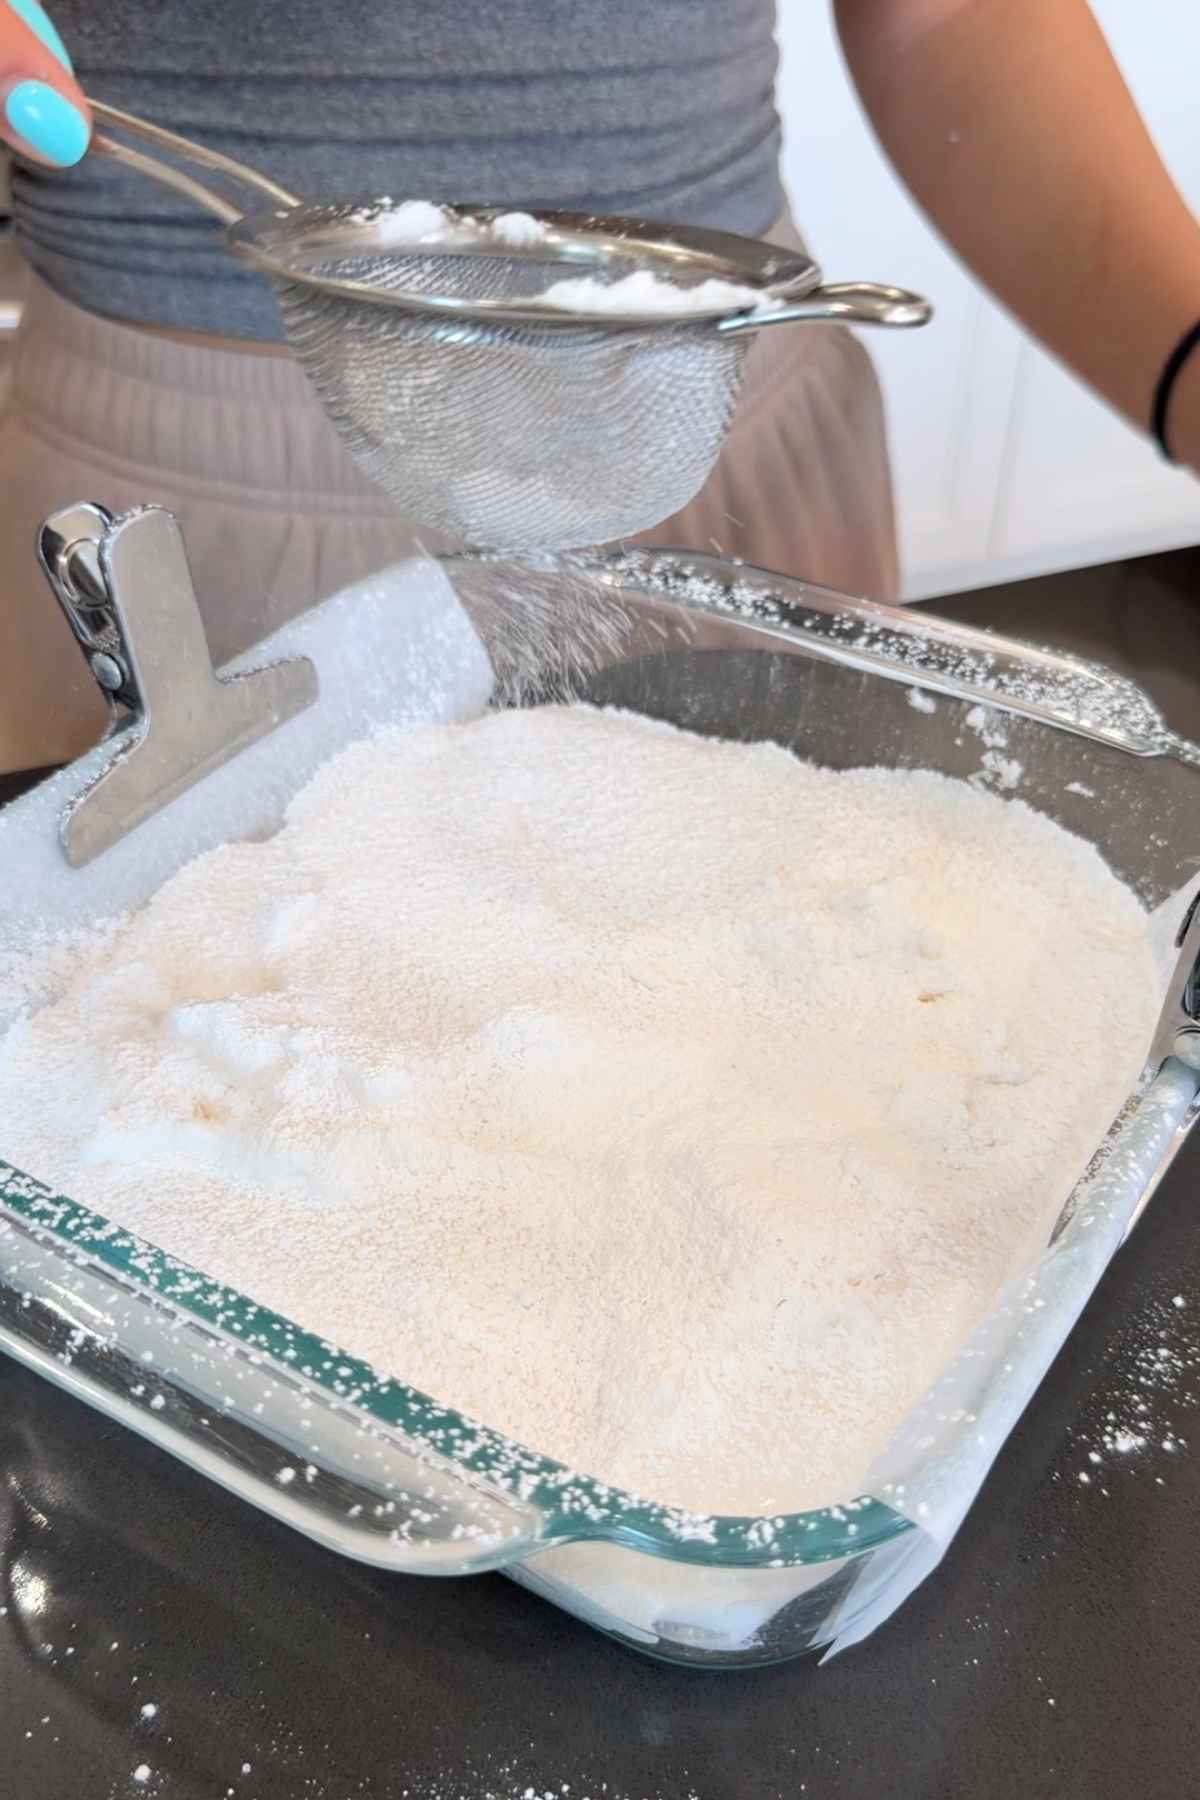
6. Step 6: Pour the marshmallow mixture into the prepared pan and spread evenly. Generously sprinkle some of the prepared dusting powder on the top, and then refrigerate the marshmallow mixture for at least 2 hours, or overnight, until completely firm.
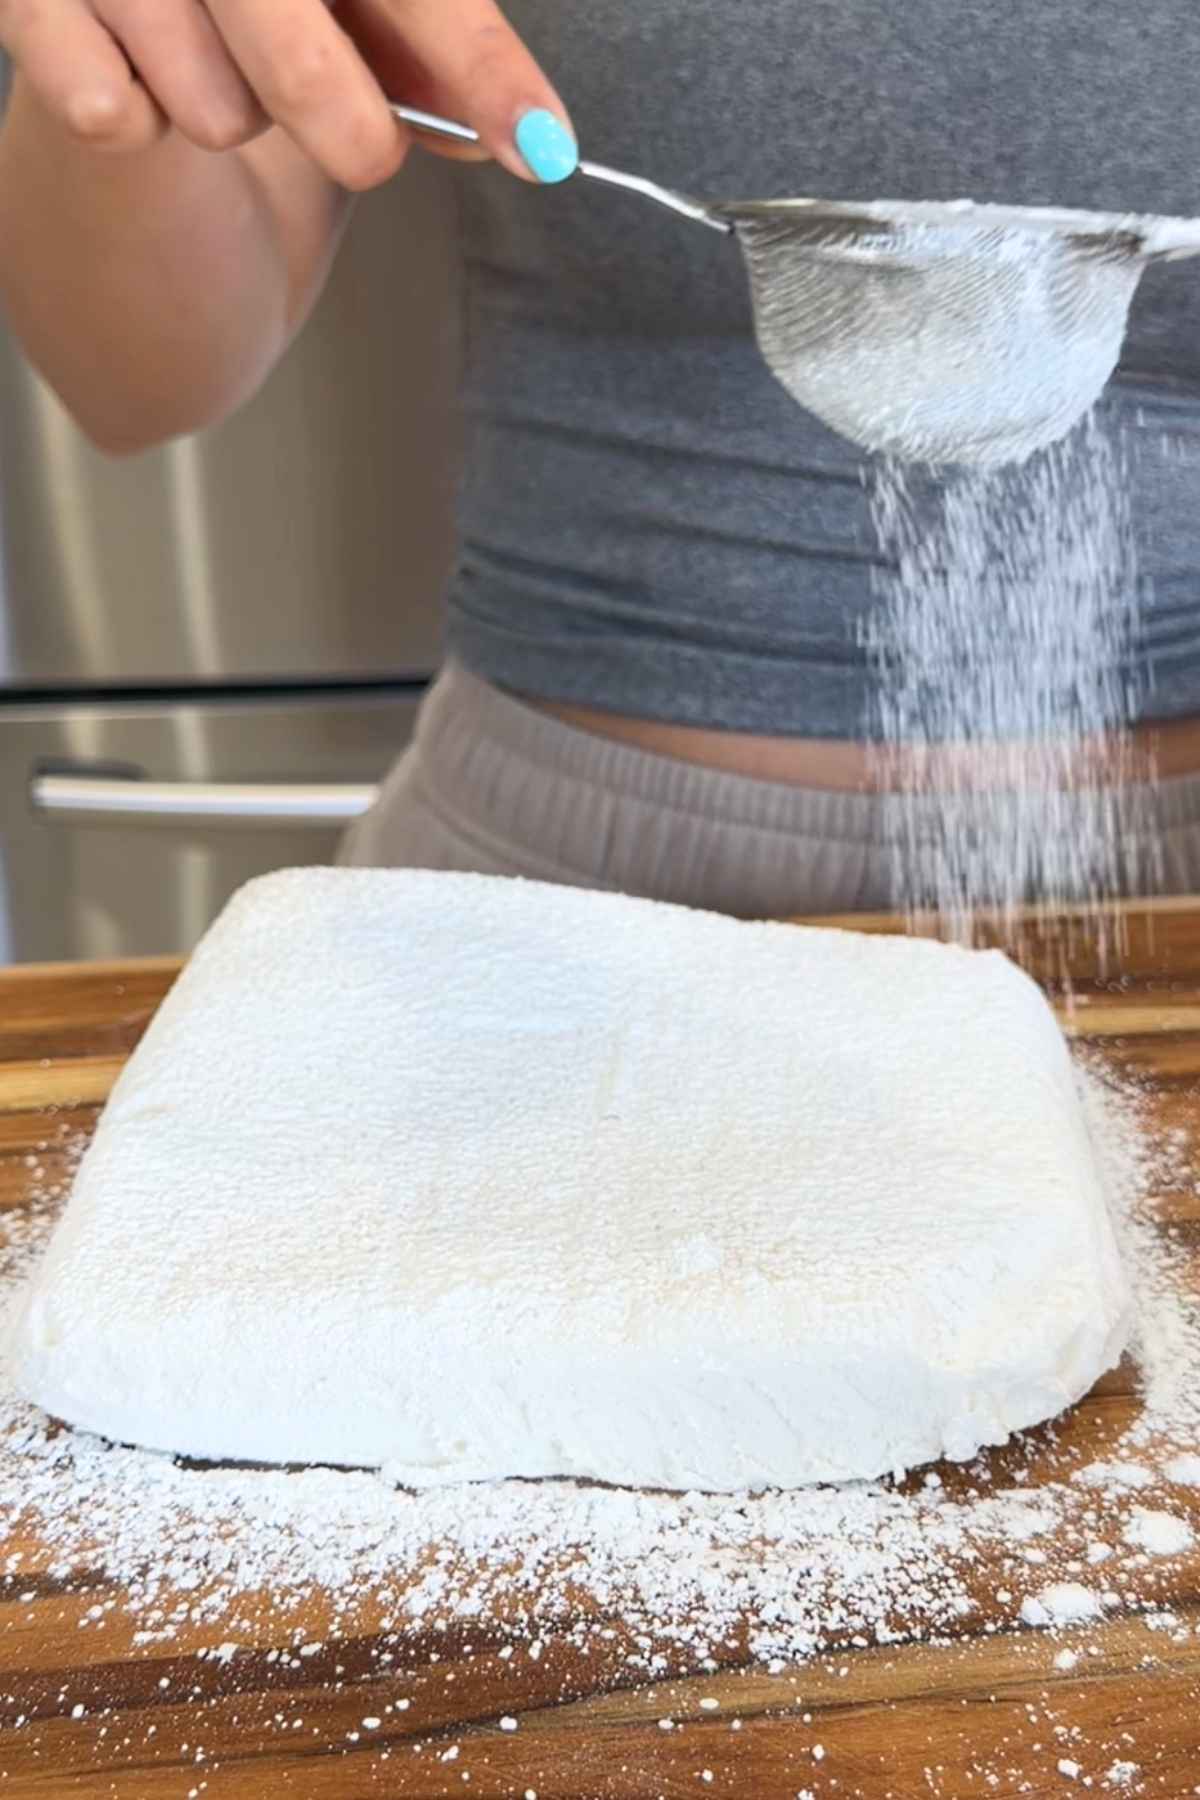
7. Step 7: Once the mixture has set into a slab, remove it from the pan and place onto a cutting board. Peel away any parchment. Dust the marshmallow slab on both sides with the dusting powder.
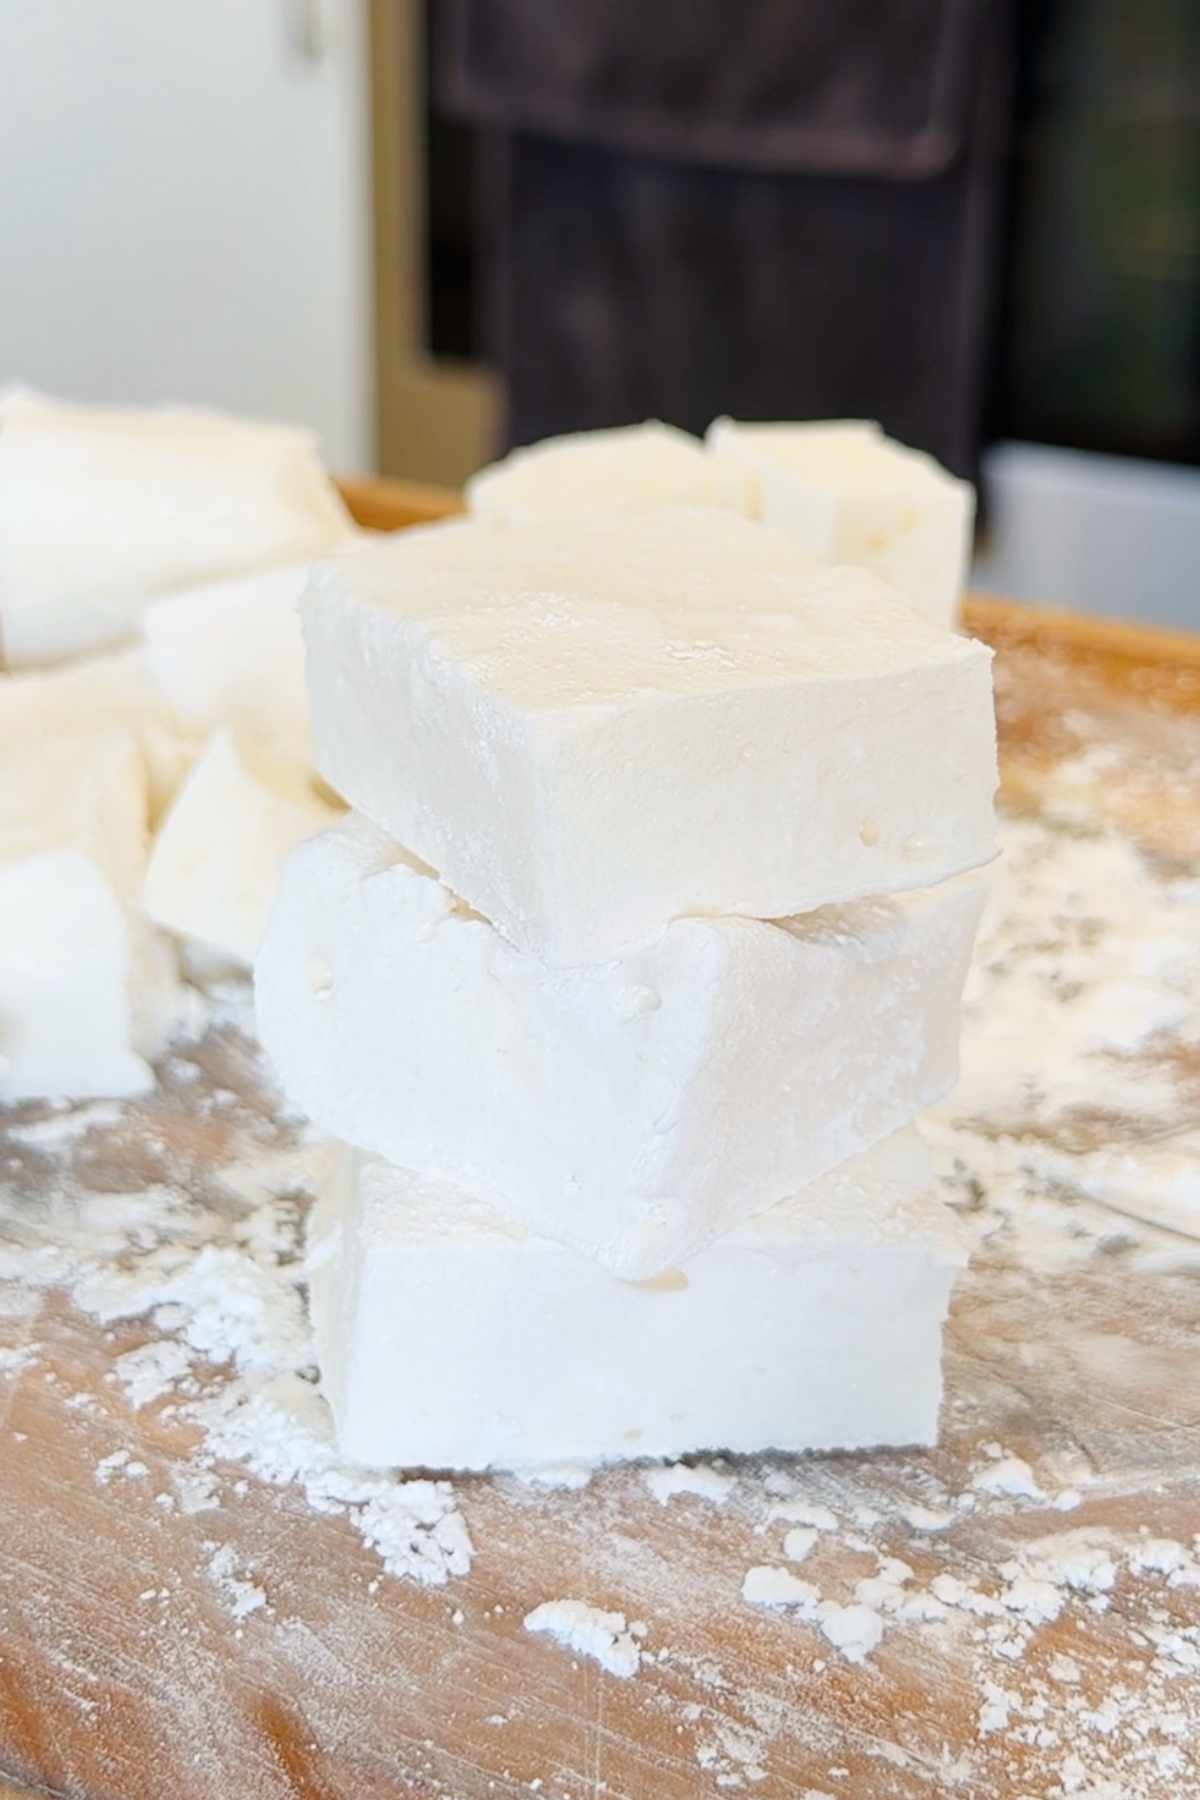
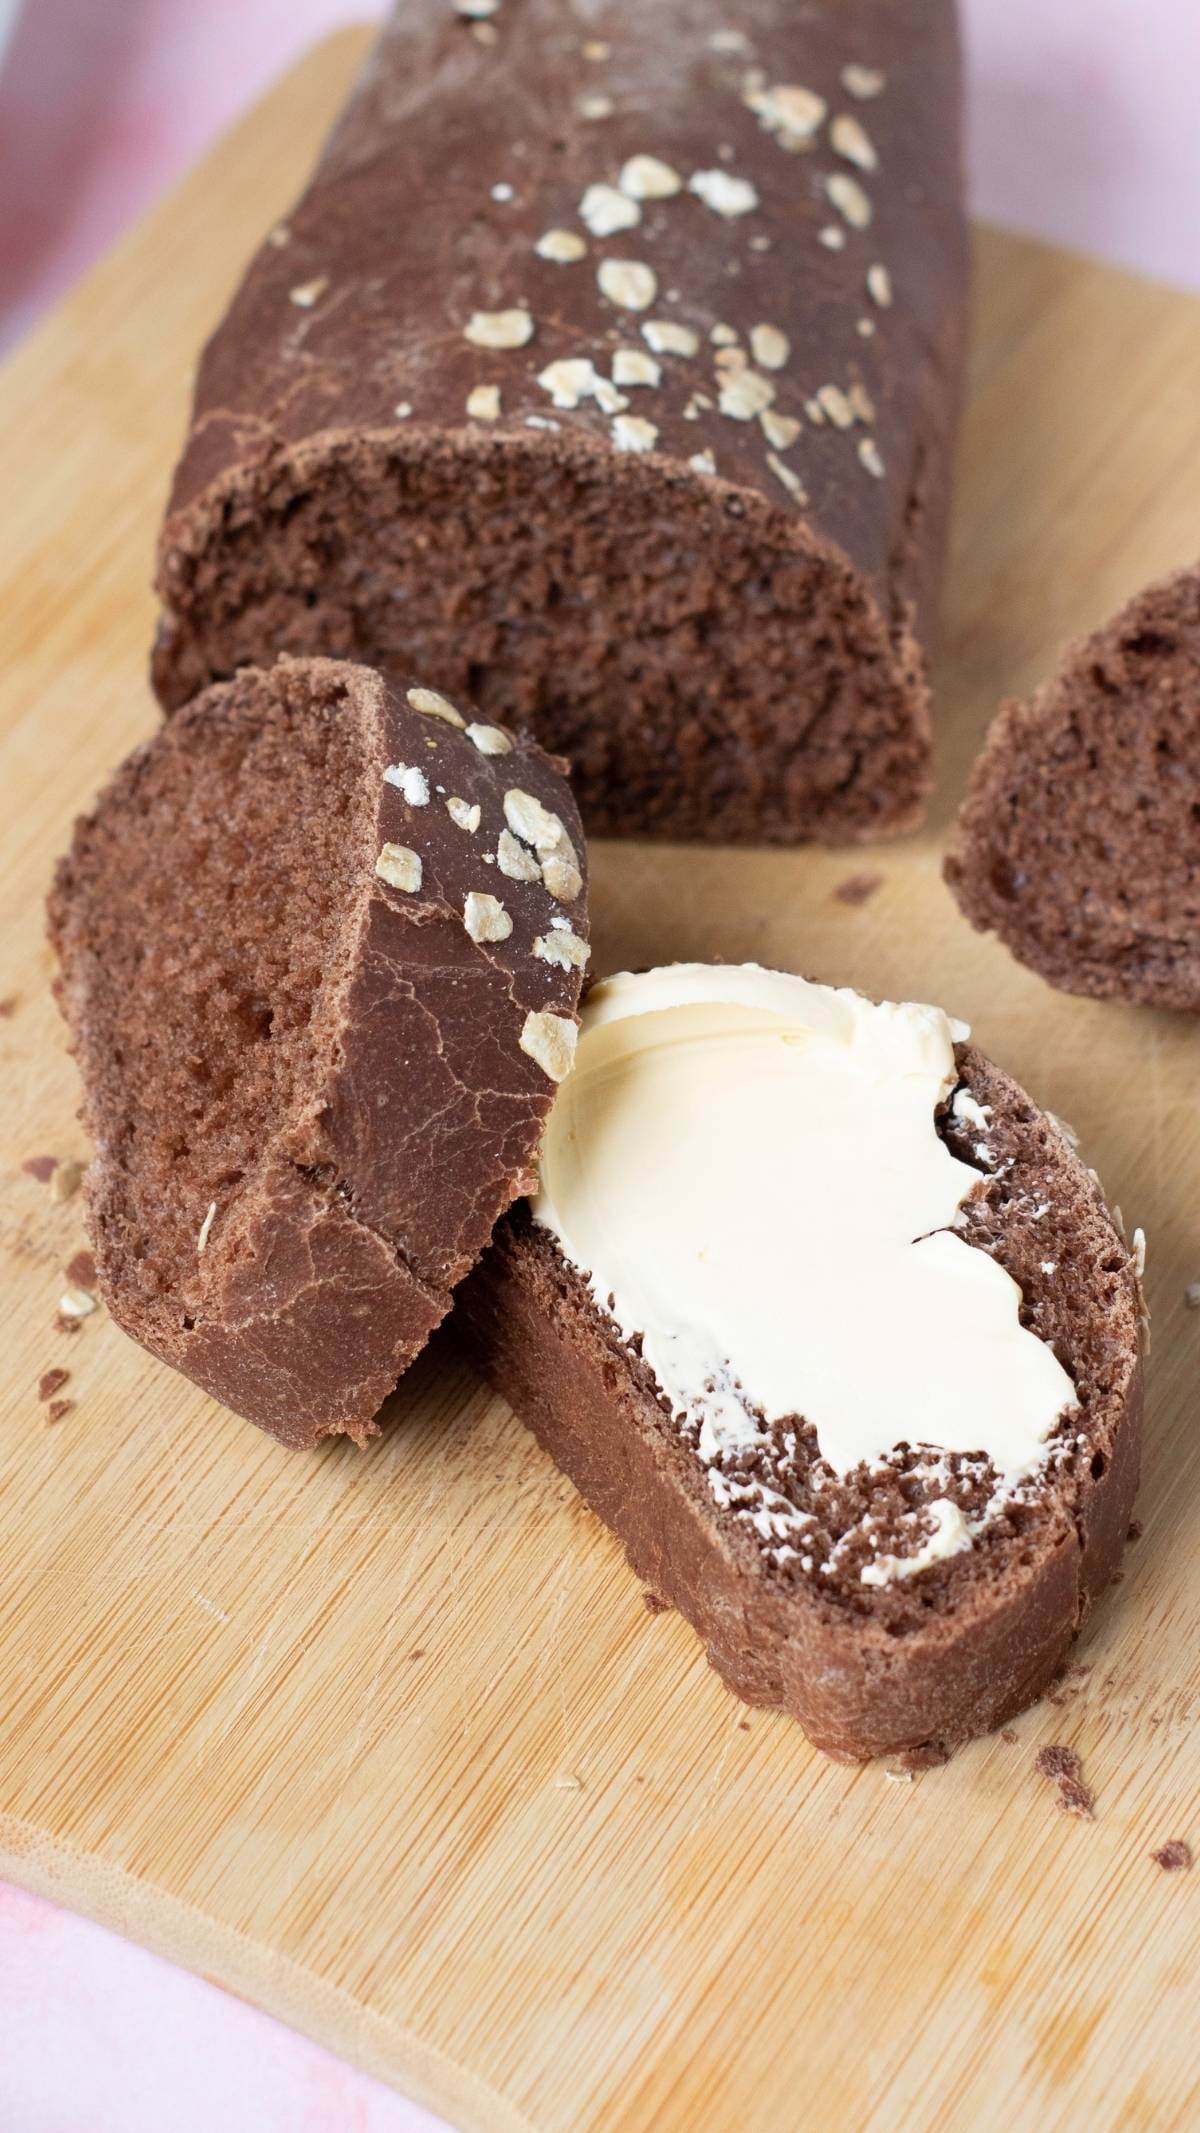
8. Step 8: Cut the slab into bite-sized squares (or your preferred shape) with a sharp knife. Then, toss the marshmallows in a bowl with the leftover dusting powder to coat all sides and prevent sticking. Serve immediately or store in an airtight container for up to a week. Enjoy in hot cocoa, or use as a fun topping on baked goods like my brioche donuts or chocolate chip bread! You can also use them as a fun filling in my easy Oreo recipe for a s'mores-inspired twist on the classic sandwich cookie.
Expert Tips
- Use the cold water test in a pinch: If you don't have a candy thermometer on hand, you can check the temperature with the cold water method. Prepare a small bowl of cold water while boiling. Every few minutes, drop a spoonful of the boiling syrup into the water. Once the syrup holds together in a soft, pliable ball, your syrup is ready, and it's time to take it off the heat!
- Let the gelatin bloom: This is the secret to that oh-so-fluffy, bouncy marshmallow texture. Without enough time to bloom, the gelatin won't dissolve properly and will cause a clumpy consistency. Be patient and let the magic happen (your s'mores will thank you).
- Don't overmix the marshmallows: You want your mixture to be thick, but still pourable and easy for your whisk to glide through. I learned this the hard way. The first time I made marshmallows, I used a stand mixer and left it to do the work while I prepped my tahini latte… The minutes blurred, and before I knew it, my marshmallow mix had turned into a stiff, unspreadable mess.
- Skip marshmallow-making on a humid day: The sugar will soak up the excess moisture in humid air and turn your marshmallows soggy. You can run a dehumidifier in your kitchen for an hour beforehand to help manage the humidity, but it's best to reschedule for a cool, dry day if you're a candymaking novice. Why not make my refreshing homemade Mountain Dew instead to beat the heat?
Homemade Marshmallow Recipe FAQs
In my experience, sugar crystals in the syrup are the usual culprit. Remember to check that your sugar is fully dissolved before boiling. You should also avoid stirring the syrup while it boils; this can "agitate" the syrup and encourage crystallization (aka the process that causes a clumpy, not-so-fluffy texture).
As another "insider" tip? Once you've finished stirring, brush away any stubborn sugar stuck on the side of the pot. You can use a pastry brush dipped in water for this. Trust me: It makes a difference.
If your marshmallows aren't fluffing up, it's possible that you didn't get the right consistency while mixing. If it's stiff and dense, you overmixed. If it's soggy or mushy, you undermixed. Remember: The mixture should still be pourable when it's tripled in size.
Another common cause is that your sugar was likely too cool. Don't just rely on the recommended time, as the exact duration can vary depending on the saucepan, your hob, and even how humid it is outside. Only take your sugar off the heat once it hits 242°F.
You can't salvage a bad batch, but your 'mallows will still toast gorgeously over a fire… Giving you the perfect excuse for s'mores. You can also re-melt them and use in baked treats like rice crispy cakes or my easy brownies (a family favorite in my household).
My homemade marshmallows last for up to a week when stored in an airtight container at room temperature. Separate your marshmallows with layers of parchment paper to stop them from sticking together.
You can also freeze them for up to 3 months. Just place your marshmallows on a parchment-lined baking pan, freeze overnight, then transfer the frozen marshmallows into a freezer bag. When you're ready, just defrost and add to my diner pancakes for ultimate fluffiness.
They also thaw beautifully for baking, making them a fun addition to my homemade cosmic brownies, where they melt into soft, gooey pockets of chocolatey goodness.
My homemade marshmallows don't last as long as the shop-bought kind… But that's a GOOD thing. The reason why the bagged stuff keeps so well is because it's packed with artificial preservatives rather than whole, fresh ingredients. And trust me. This shows in the flavor and texture. Once you taste my bundles of puffy, fluffy goodness? You'll never go back (and your kids will likely devour them within a day anyway).
More to Try
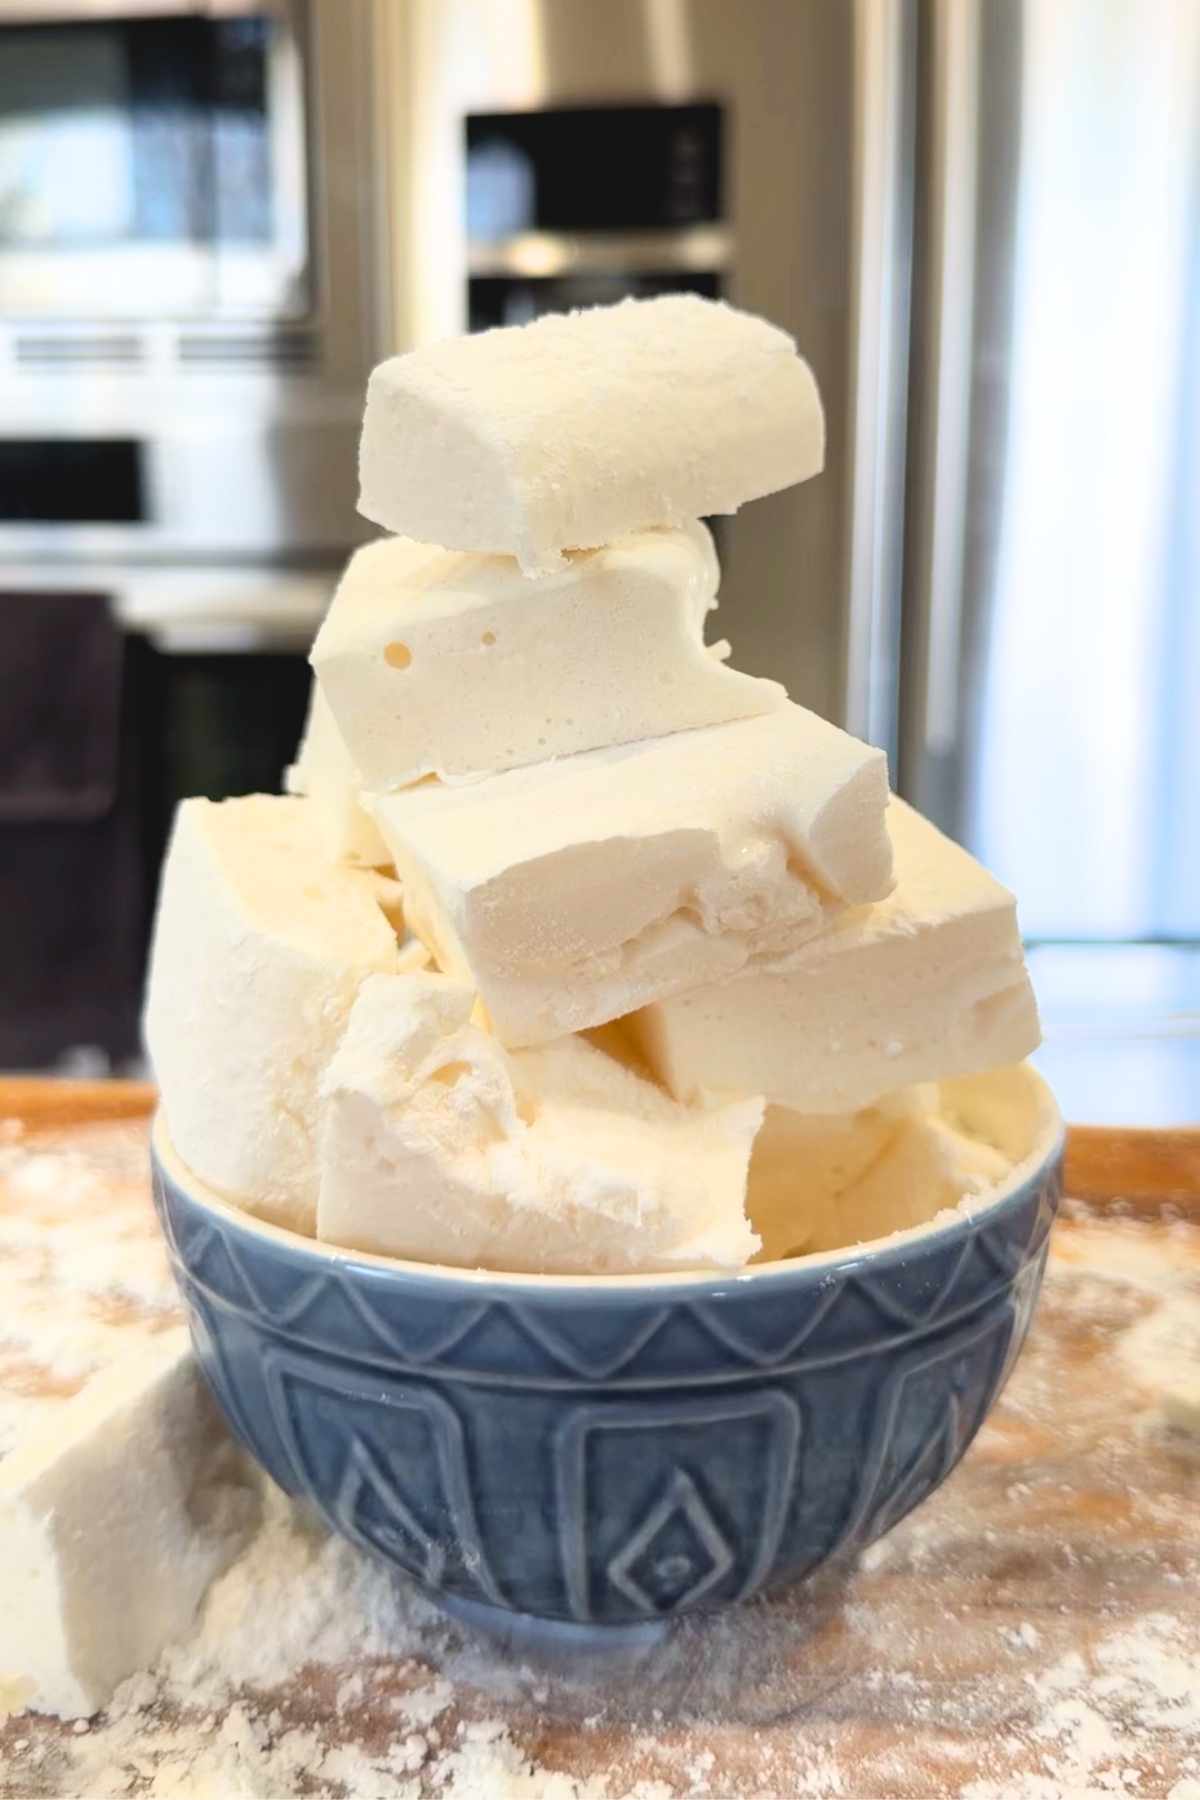
My homemade marshmallows prove popular for any occasion, and they're just as versatile. Besides your classic s'more, you can use my marshmallows to give irresistible indulgence to recipes like:

Enjoying This Recipe?
It would mean the world to me if you left a quick review or any questions you have in the comments below!
Recipe Card
Homemade Marshmallow Recipe
EMAIL THIS RECIPE
Enter your email and I'll send this directly to you.
Plus you'll get new recipes from me every week!
Ingredients
Marshmallow
- 1 cup Cold Water Divided
- 2 tablespoon Unflavored Gelatin Powder
- 1½ cups Granulated Sugar
- Pinch of Salt
Dusting
- ¼ cup Powdered Sugar
- ¼ cup Cornstarch
Instructions
- Line a baking pan with non-stick parchment paper. Then, sift the powdered sugar and cornstarch together into a small bowl to create the dusting mixture.
- Pour ½ cup cold water into a large mixing bowl. Add gelatin and whisk to combine. Set aside for 10 minutes to let the gelatin bloom.
- Combine granulated sugar, salt, and the remaining ½ cup cold water in a small saucepan. Heat over medium-high and stir until sugar dissolves.
- Bring the saucepan to a boil. Cook without stirring for 8 to 10 minutes or until the temperature reaches 242°F (soft ball stage) and the mixture is glossy and syrup-like.
- Pour the syrup into the bowl of gelatin while running a mixer at low speed. Once both ingredients are combined, mix at high speed for 8 to 10 minutes or until tripled in size and glossy white.
- Pour the mixture into the prepared pan and spread evenly. Sprinkle dusting powder on top, and then refrigerate for at least 2 hours to set.
- Once the mixture has set, remove from the pan and dust both sides with dusting powder.
- Cut into squares or your preferred shape, then toss marshmallows in a bowl with the leftover dusting powder to coat all sides and prevent sticking. Serve immediately.
Notes
- Work quickly: Spread the marshmallow mixture quickly when you pour it into the pan. It will cool and start to set within seconds.
- Get the temperature right: Too cold, and the marshmallows will turn out mushy. Too hot, and they'll become overly firm and chewy instead of that iconic melt-in-the-mouth gooeyness. Keep a close eye on the syrup's temperature with a candy thermometer, or use the cold water test in a pinch.
- Be generous when dusting: The dusting powder is what stops your marshmallows from sticking together (and to your fingers and apron). Don't hold back, and dust your fingertips before you cut n' toss your marshmallows.
Nutrition
Want To Save This Recipe?
Share your email & we'll send it over! PLUS, you'll get new recipes from us weekly
These are softer and squishier than anything store bought!! Obsessed
Can marshmallow be flavoured or coloured by adding flavoured essence or food dyes? Thank you.
Hi Louis! Yes you absolutely can. You can add those in as your adding the sugar syrup (: