 Grab My Super Easy Bread Cookbook

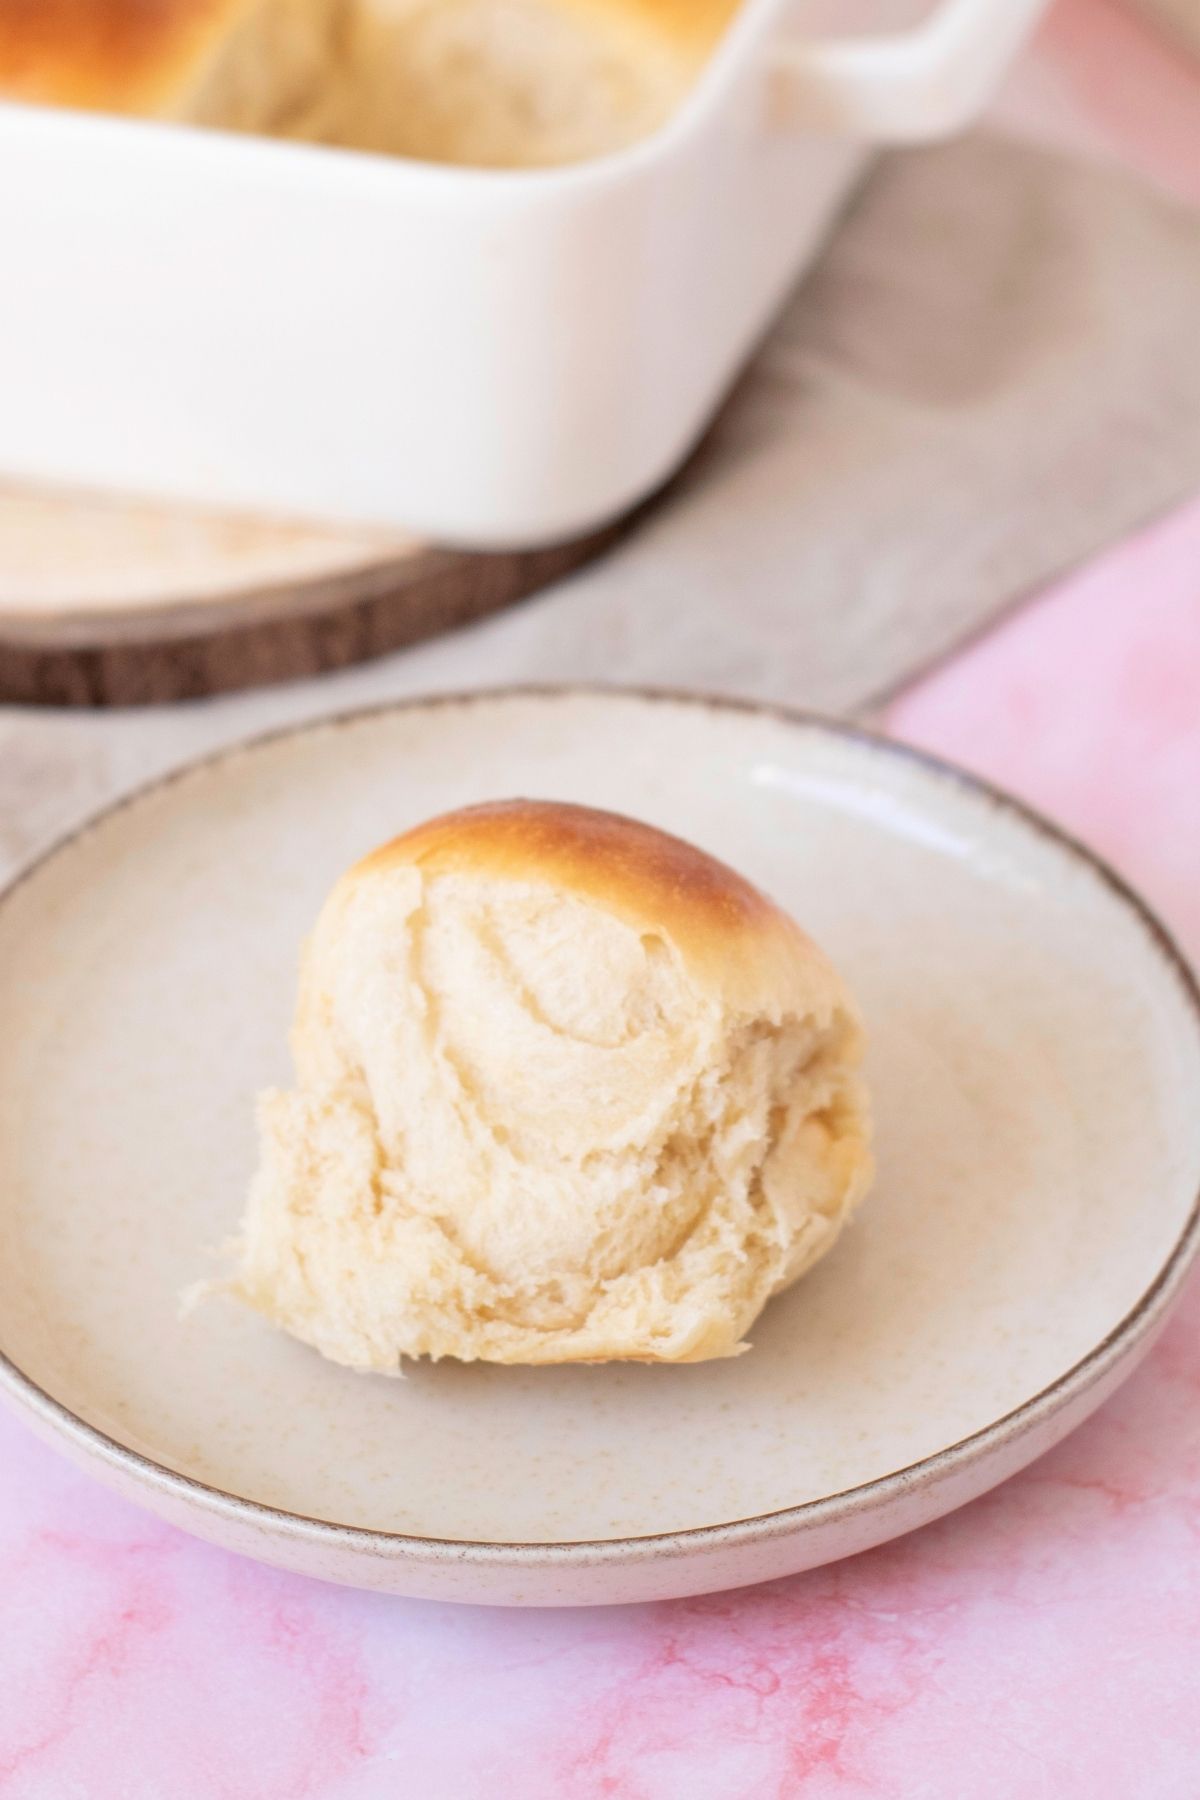
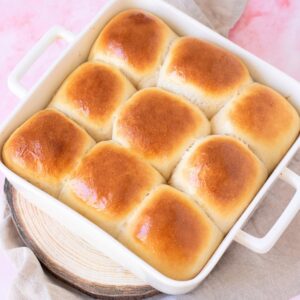
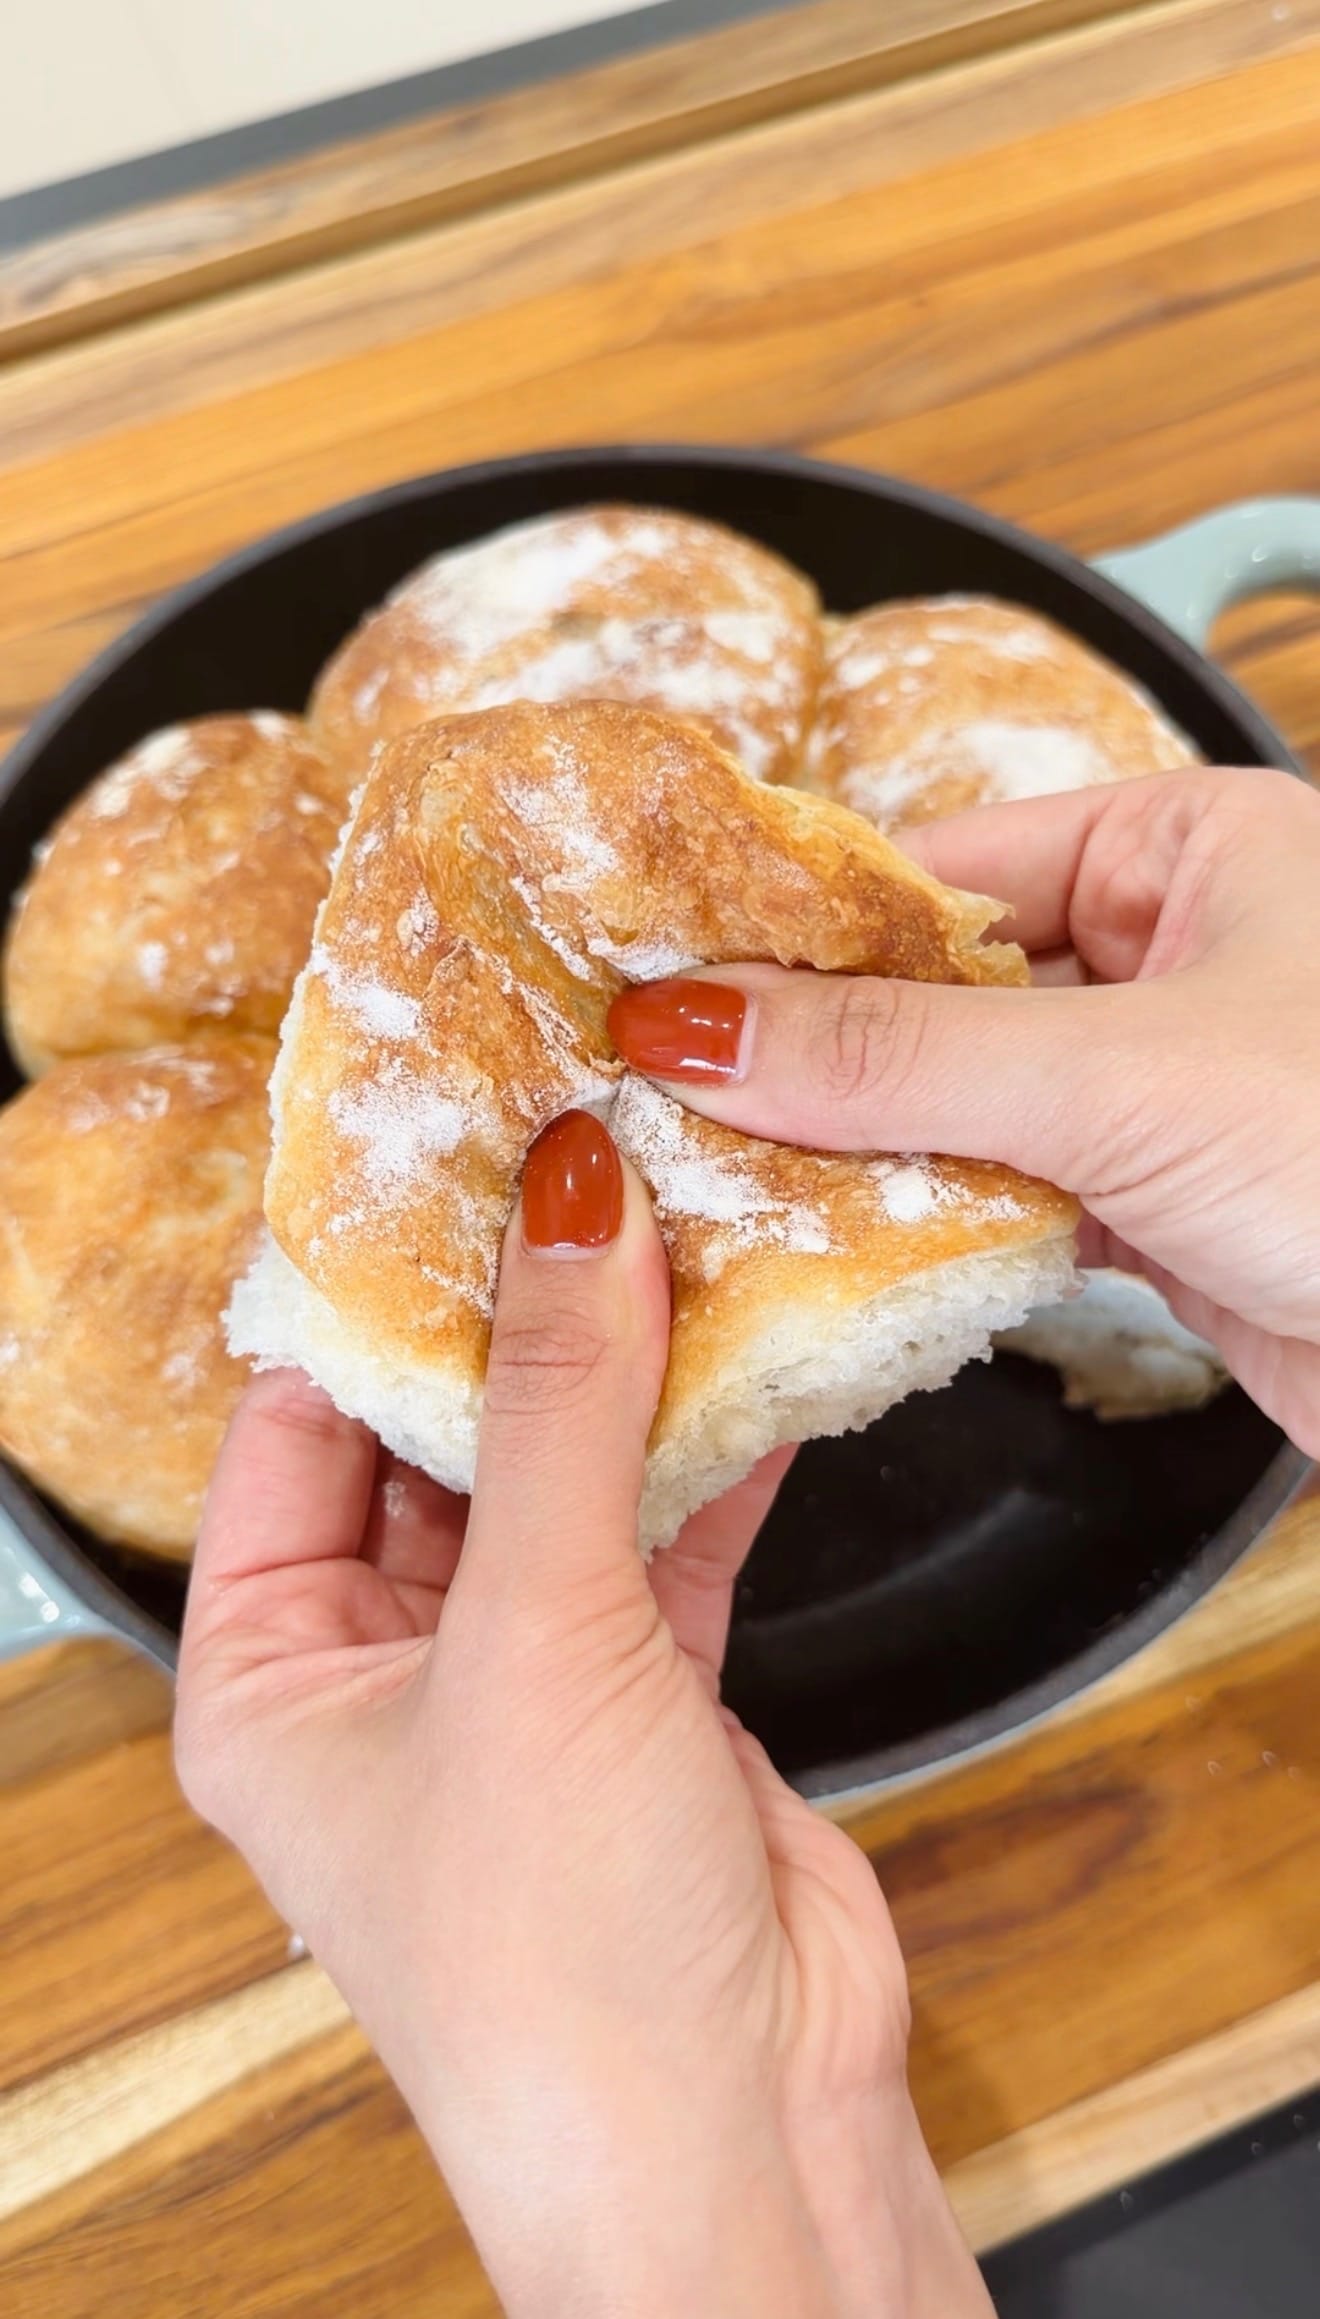
My easy dinner rolls recipe has a short bake time, is prepped in 15 minutes, and only involves 5 pantry staples… But trust me: These will be the softest and fluffiest dinner rolls you'll EVER taste. Slather on my DIY butter, use to soak up my one-pot lasagna soup, or toast and spread on my strawberry chia jam for a sweet, fiber-packed treat!
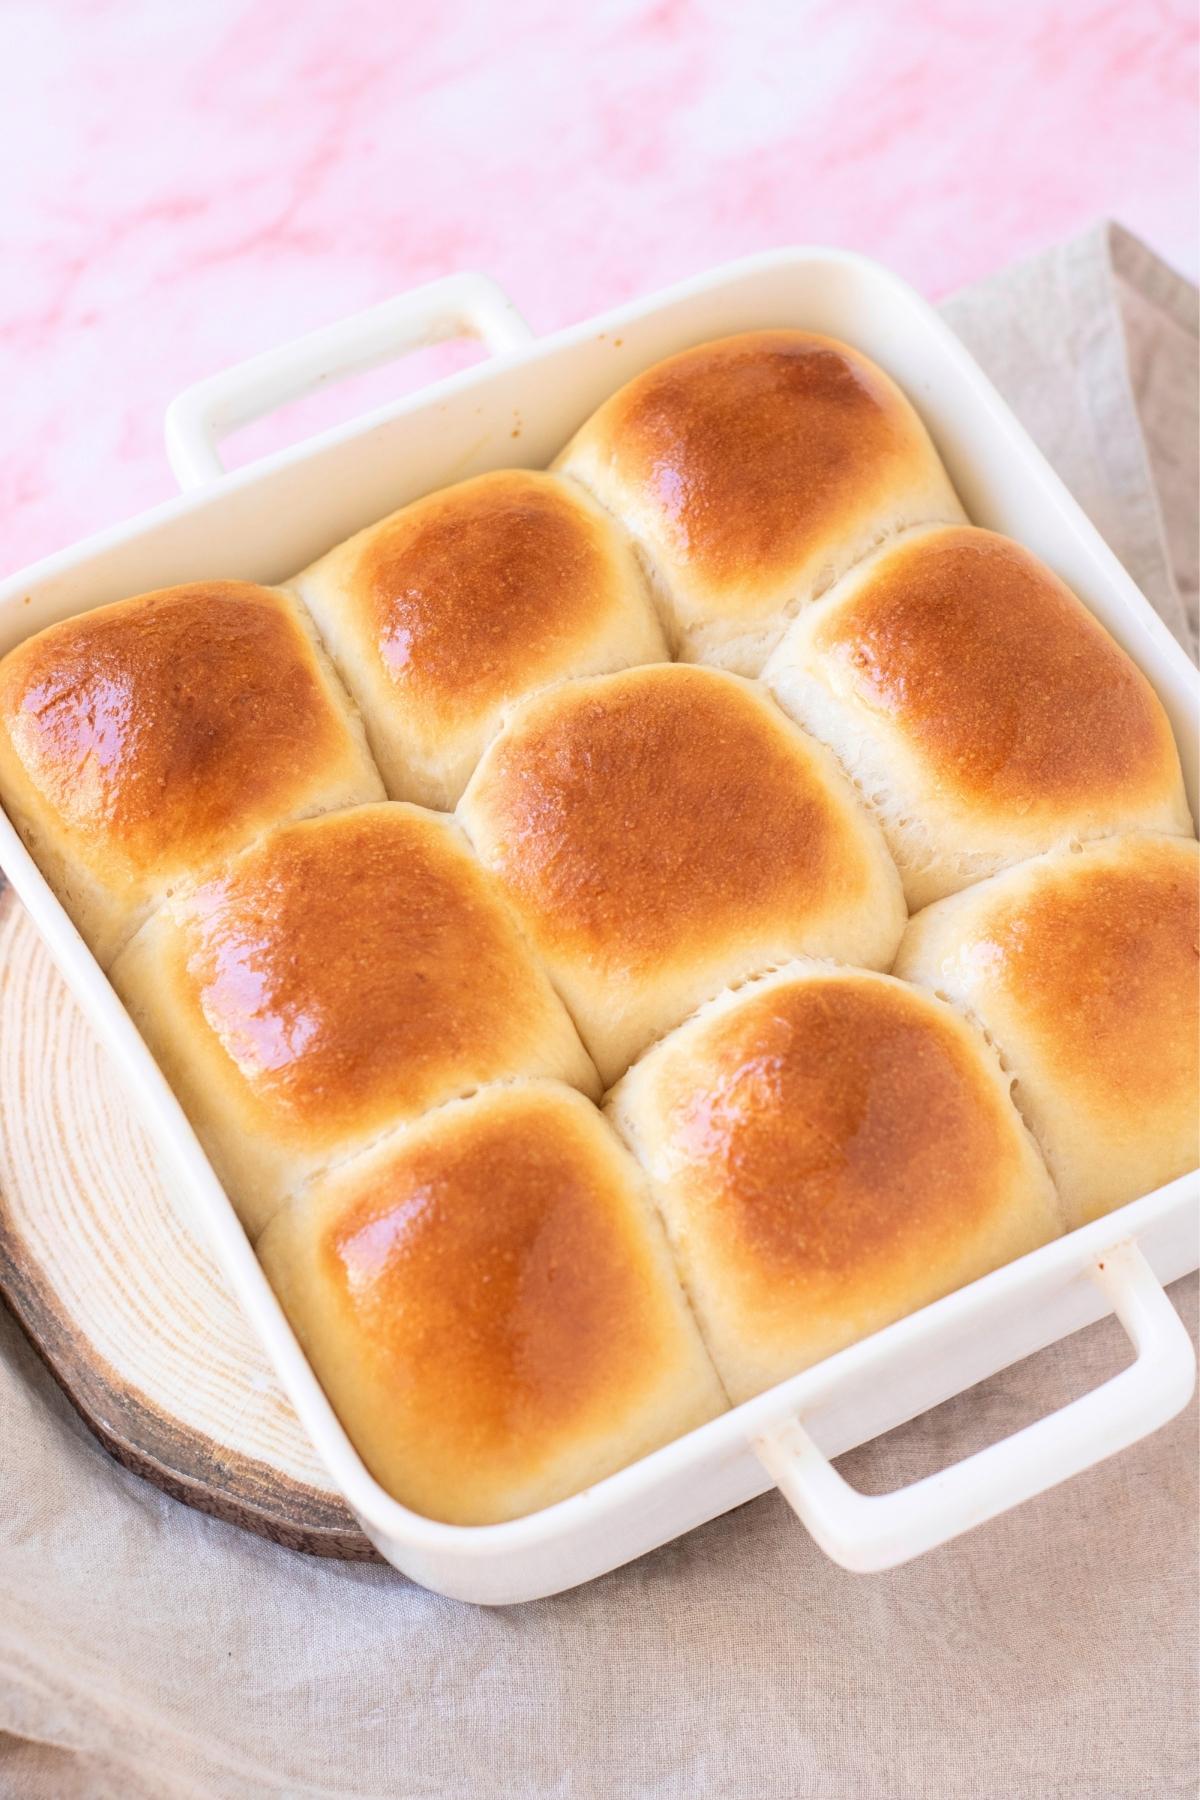
Quick Look: Easy Dinner Rolls Recipe
- Prep Time: 15 Minutes
- Cook Time: 15 Minutes
- Rest Time: 3 Hours
- Total Time: 3 Hours 30 Minutes
- Yield: 9 Rolls
- Difficulty: Beginner
- Method: Mix, knead, rise, shape, and bake!
- Optional Add Ins: Rosemary, thyme, Italian herbs, cheddar, parmesan, paprika, chilli flakes, garlic powder, cinnamon, sugar, raisins, pumpkin, chocolate chips
- Why This Works: The softest, fluffiest dinner rolls you'll ever taste, but with a fraction of the effort you'd usually need when breadmaking? It's the ultimate recipe for first-time bakers.
SUMMARIZE & SAVE THIS CONTENT ON
Why We Like This
- The perfect recipe for first-time bakers: Traditional breadmaking is tough. You can put in hours or even days of effort, only to end up with dense, undercooked bread. I've made my dinner rolls with first-time bakers in mind. Even if you've never worked dough before, this recipe is foolproof. It's just 15 minutes of prep, a quick rest, and no overly complicated steps (yes, really!).
- Bakery-style irresistible fluffiness: Dinner rolls are a staple in any home and any dinner table, but the ones from the store are usually dense, dry, and rarely last longer than a day before they turn stale. One taste of these, and you'll never buy the shop-bought kind again. The fluffiness here is unbeatable.
- Ingredients you actually know: If their dense, dry texture wasn't a dead giveaway, pre-packaged dinner rolls are filled with unnecessary additives and preservatives. My dinner rolls are so fluffy and soft BECAUSE they're made with real ingredients that you actually know. This also makes them super easy to customize. You can add cayenne for a smoky dinner roll or even throw in garlic powder to make garlic butter dinner rolls. Both variations pair perfectly with my American cheese recipe!
- Ready in a few hours: I LOVE hosting dinner parties for my friends, but with so many different schedules to account for, plans often change at the last minute. I have to be flexible. These dinner rolls allow for just that. They're ready in 3 hours, meaning you won't need to prep them the day before or even the morning of the party. They also complement other staple party treats, like my cheese pizza bites.
Minoo's Pro Tip: Once you've mastered the base, ANYTHING is possible. You can make pumpkin dinner rolls for a cozy fall vibe or Italian herb rolls and pair them with my broccoli cheese soup recipe. You can even throw in chocolate chips for dessert-style chocolate rolls!
Ingredients
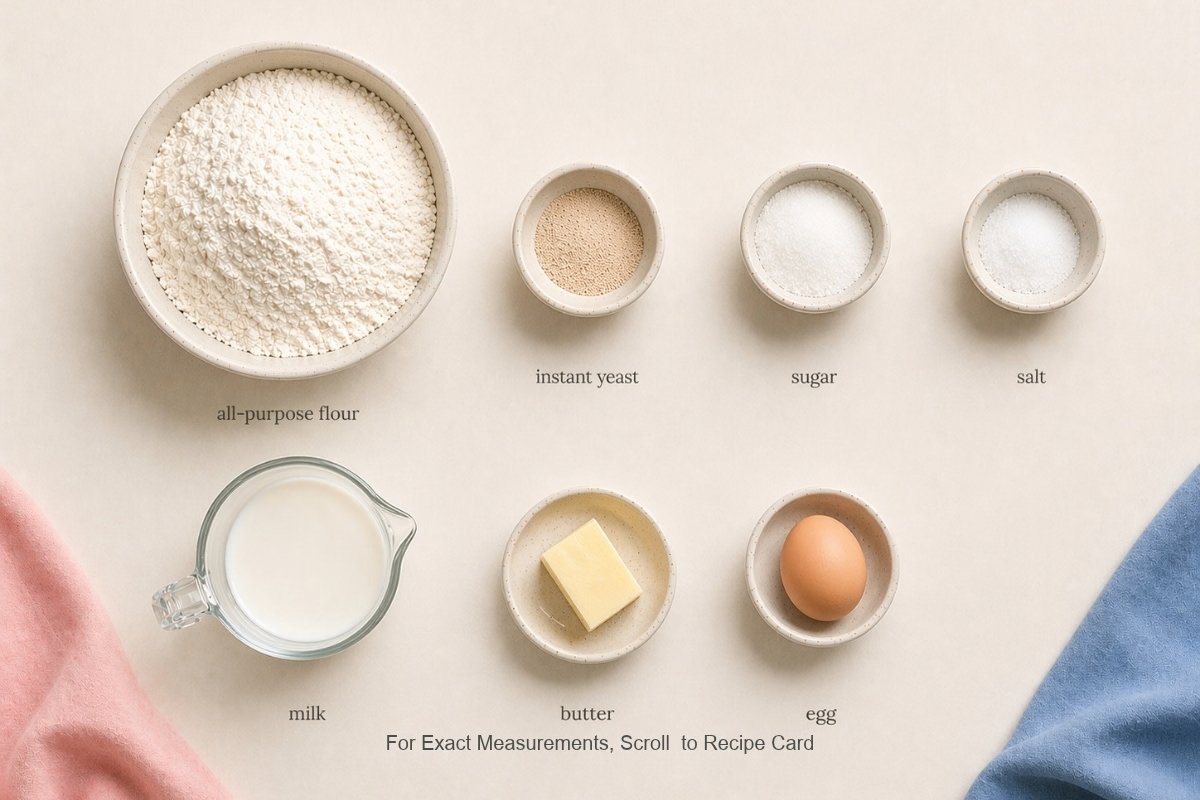
My dinner rolls get their buttery, pillowy softness from just a few basic ingredients, including:
- All-Purpose Flour: I use all-purpose because it's convenient. I've found that no matter what brand you use, the rolls always turn out great. However, if you want to give your dinner rolls an extra chewy bite? Substitute all-purpose flour with bread flour at the same amount, with an extra splash of milk. I tend to reach for bread flour when I'm pairing dinner rolls with soups, like my creamy lasagna soup, as it soaks up sauces perfectly!
- Milk: Full-fat milk gives you that brioche-style softness and irresistible creamy taste. You can use a low-fat option if you're looking to cut down on calories, but the dinner rolls won't be as creamy. Milk and butter can also be replaced with water and oil in a pinch, though again, you won't get the same flavor and texture.
- Instant Yeast: Pretty much all of my easy bread recipes rely on instant yeast. There's a reason: Instant yeast is quick and much more reliable than dry yeast, since you don't have to activate it yourself. You can still use active dry yeast in a pinch, but just make sure to activate it first.
Minoo's Pro Tip: Check expiration dates. Old, out-of-date yeast won't work, and instead of rising, your dinner rolls will resemble flat, dense pancakes. If your yeast is expired and you don't have time for a quick grocery run, why not make my no-yeast sourdough kefir bread instead?
How to Make My Easy Dinner Rolls Recipe
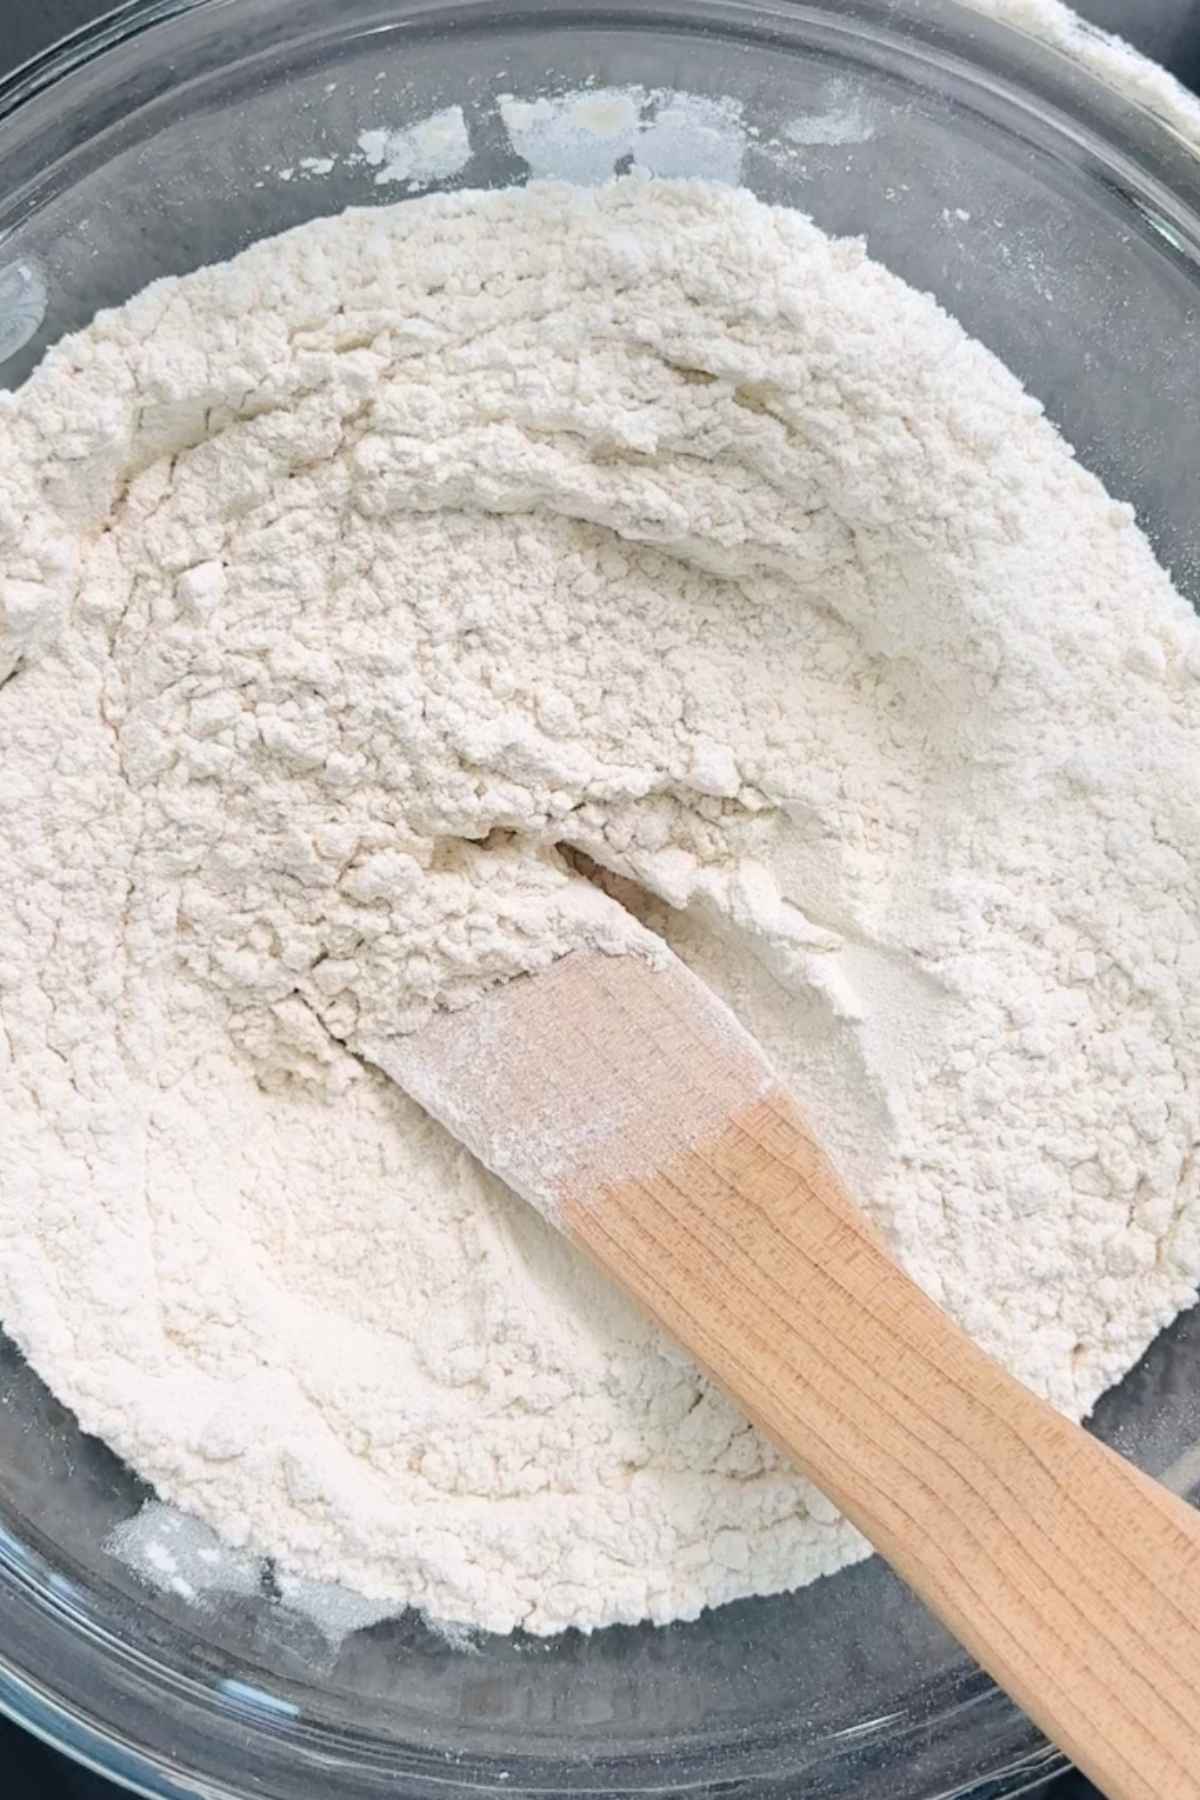
- Step 1: In a large bowl, combine 3½ cups all-purpose flour, 1½ teaspoon instant yeast, 2 tablespoon sugar, and 1 teaspoon salt.
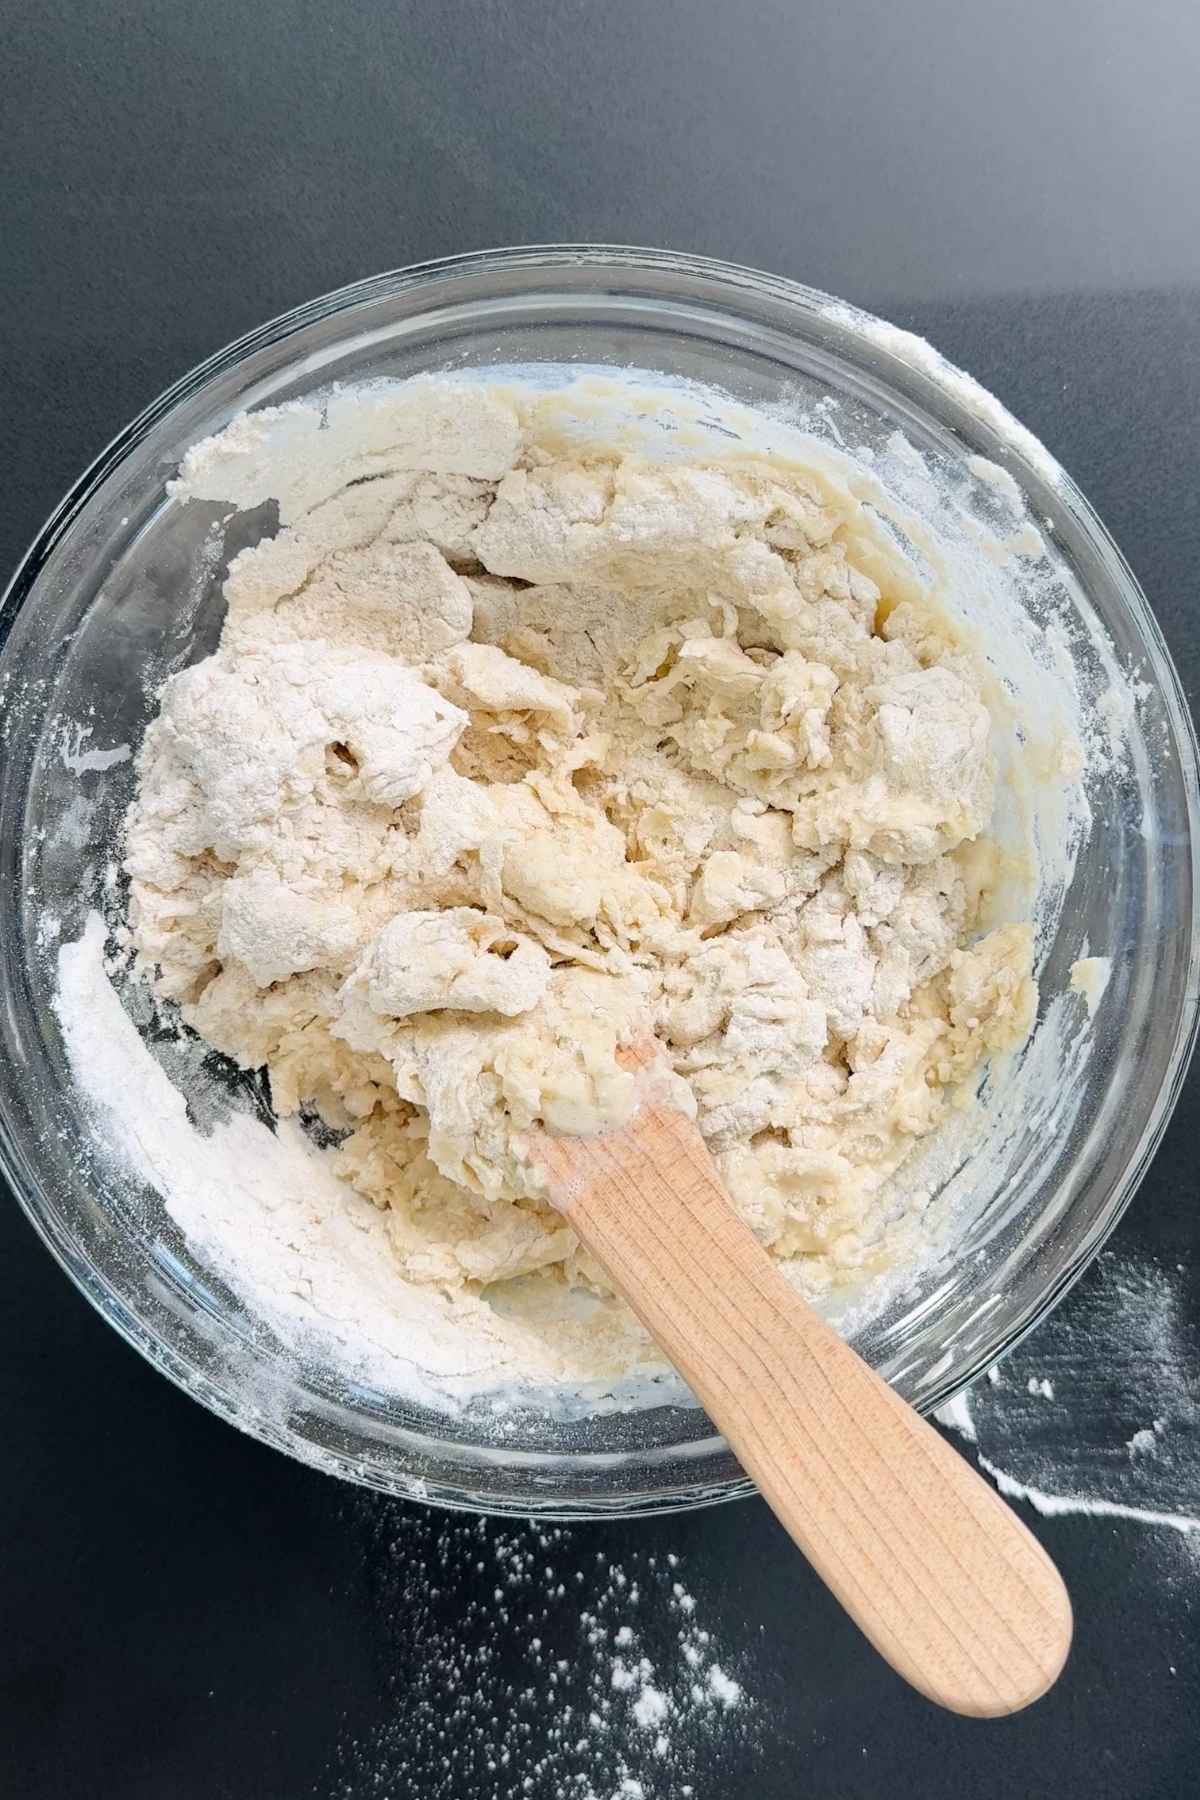
- Step 2: Warm your milk and butter in a microwave for 45 seconds to 1 minute, or until the butter is just melted. Add the liquids to the dry mixture, and stir until a shaggy dough forms. For first-time bakers not familiar with the "shaggy" stage, you're looking for the moment when the dough is lumpy, rough, and sticky, but with no visible spots of flour.
Minoo's Pro Tip: Your milk should be warm to the touch, not hot. Around 110°F is perfect. If it's too hot, let it cool for a minute or two, as otherwise you'll kill the yeast and your dinner rolls won't fluff up as they bake!
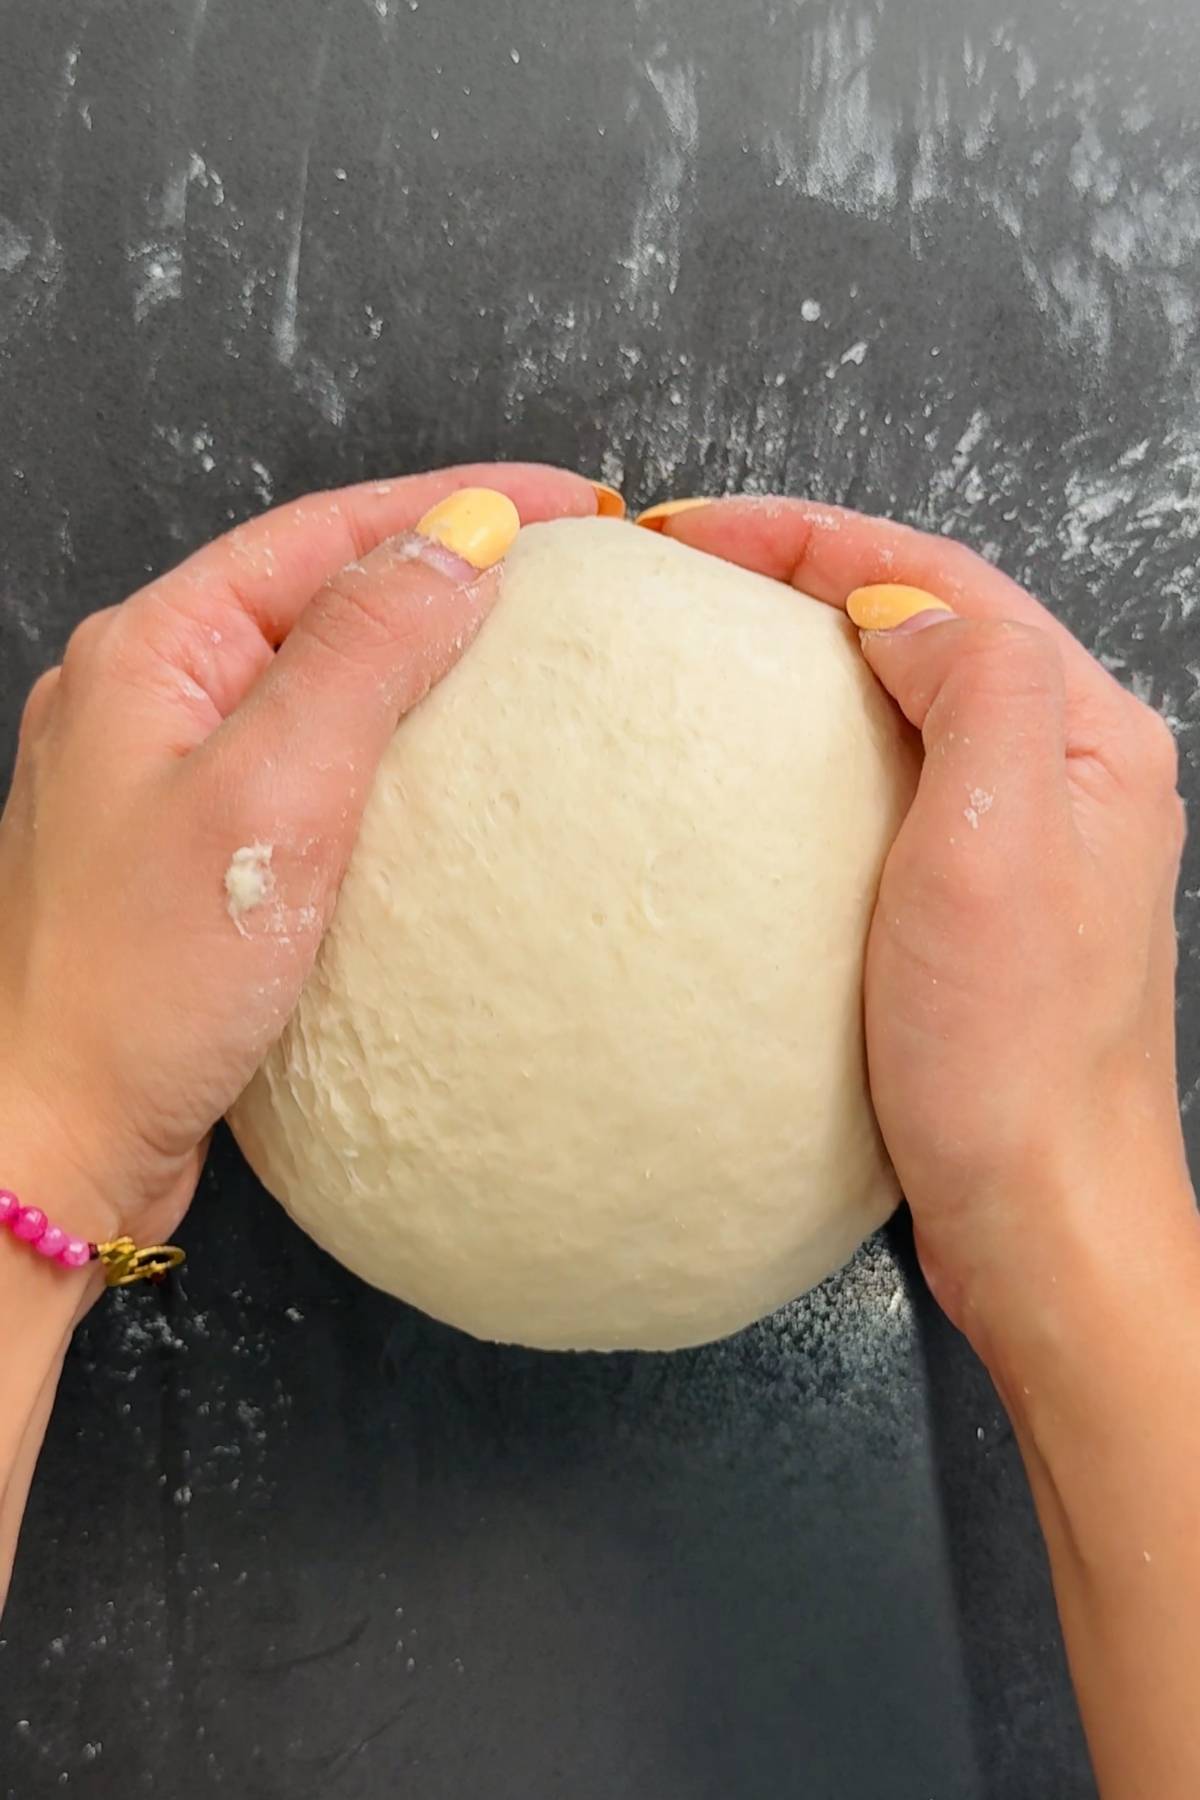
- Step 3: Pour the dough out onto a well-floured surface. Knead for 5 minutes or until smooth and elastic. It should spring back when lightly pressed. Don't overknead your dough here, as this can cause your rolls to end up overly dense and dry!
Minoo's Pro Tip: If you're using bread flour instead, you'll need to work the gluten more and knead for a bit longer.
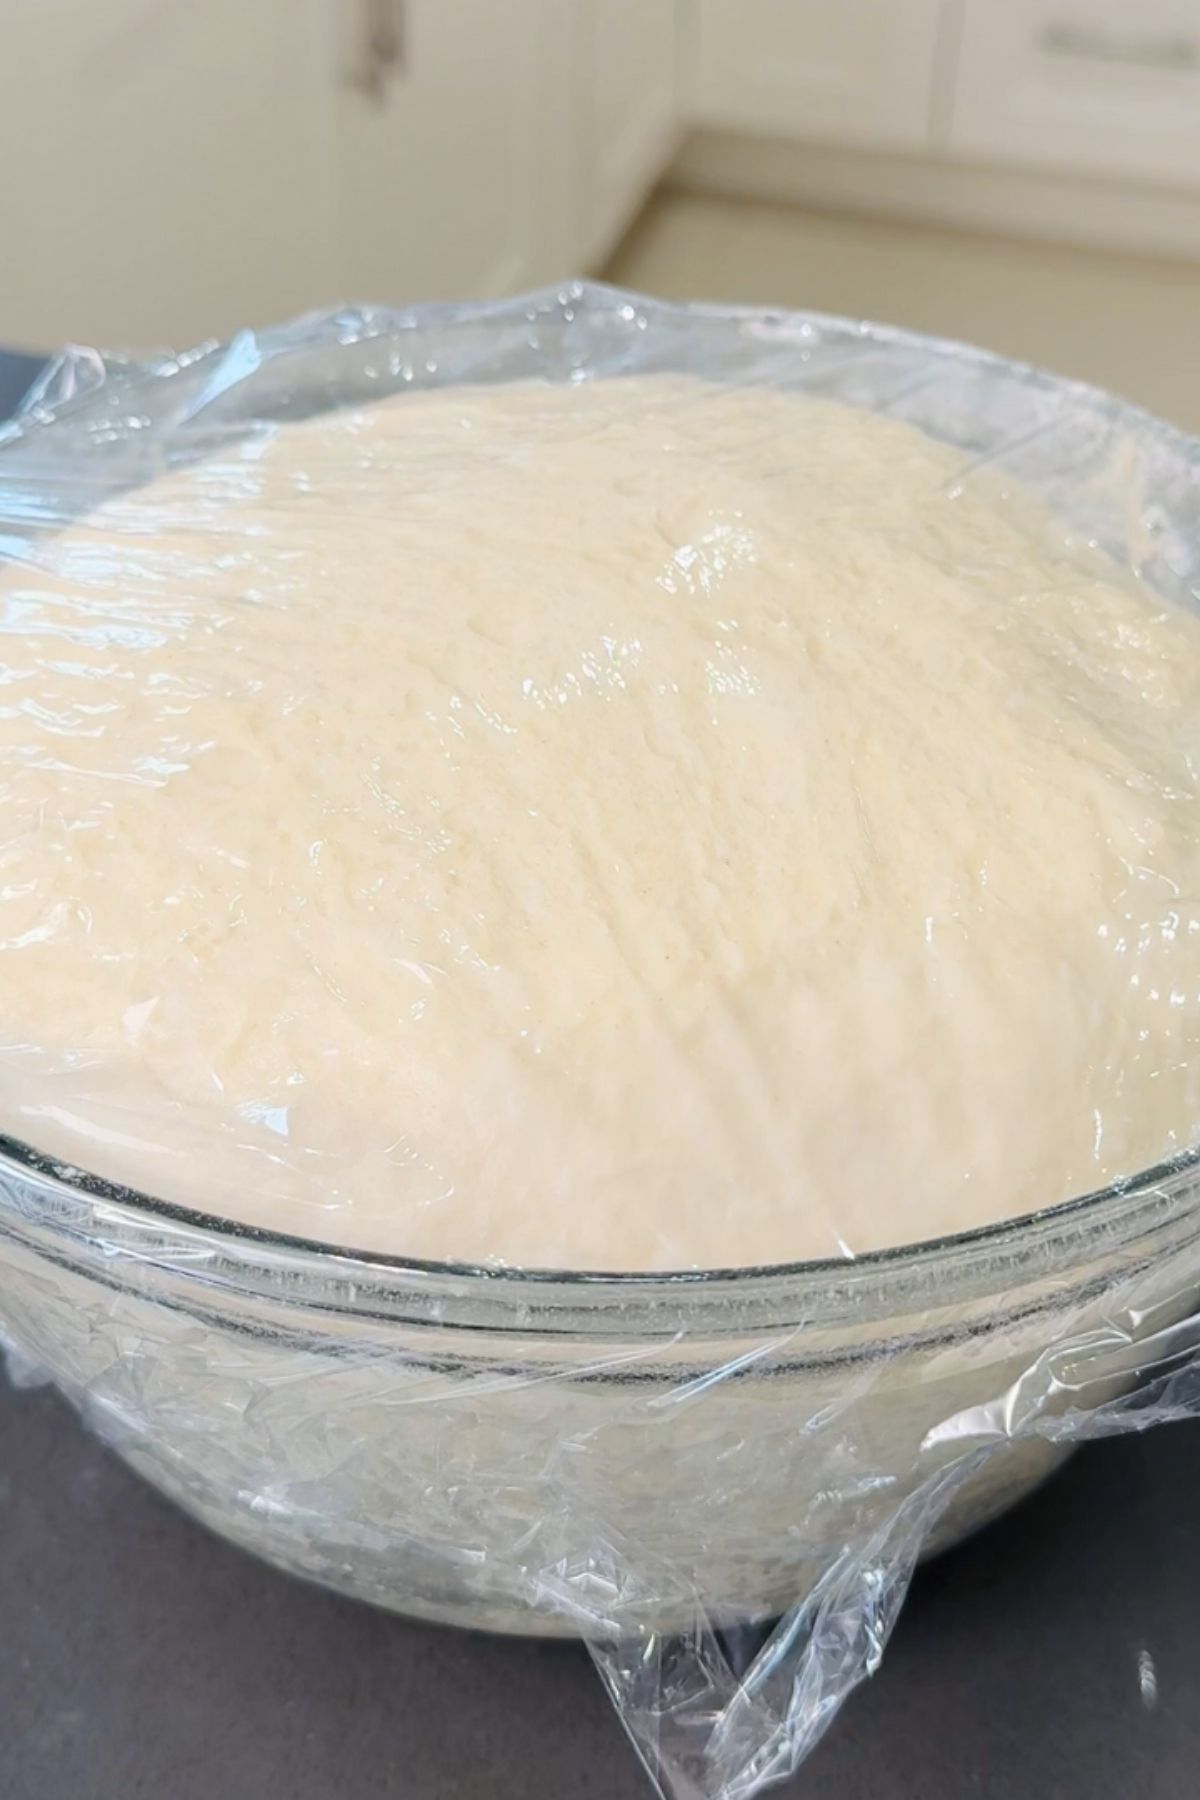
- Step 4: Place your dough in a lightly oiled bowl and cover with a kitchen towel or plastic wrap. Allow the dough to rise in a warm spot for 1 to 2 hours, or until it has doubled in size.
Minoo's Pro Tip: In the winter, use your oven to create the perfect rising spot. Just turn the light on (heat off!), pop your dough inside, and shut the oven door. I've found it always rises well.
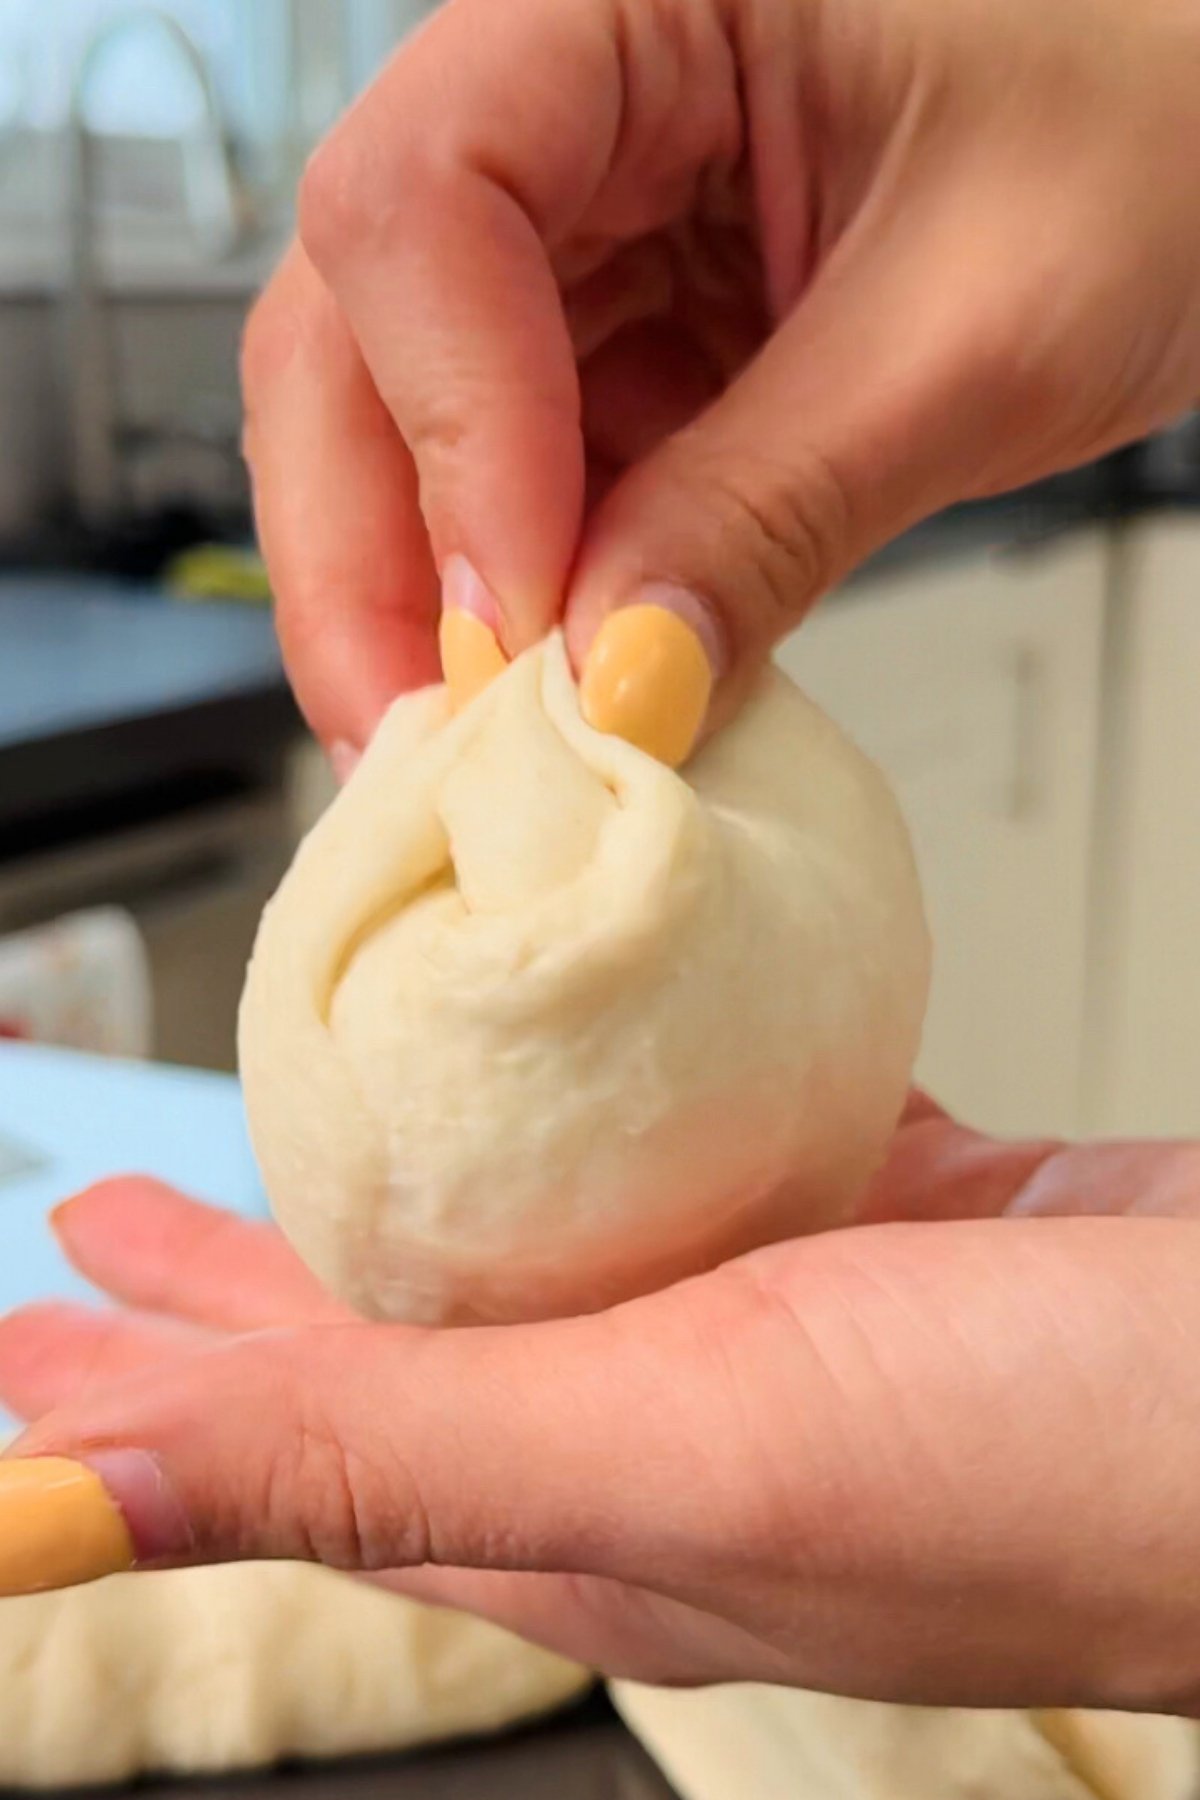
- Step 5: Punch down the dough to release the excess air and divide into 9 equal pieces. Shape each into a rough ball by pulling their edges toward the center, and then place on a slightly damp counter. Using your palm, press down gently and roll each ball in a circular motion until you have a smooth, tight ball. You can shape my soft hamburger buns recipe or my pretzel buns recipe in the same way, so remember this technique!
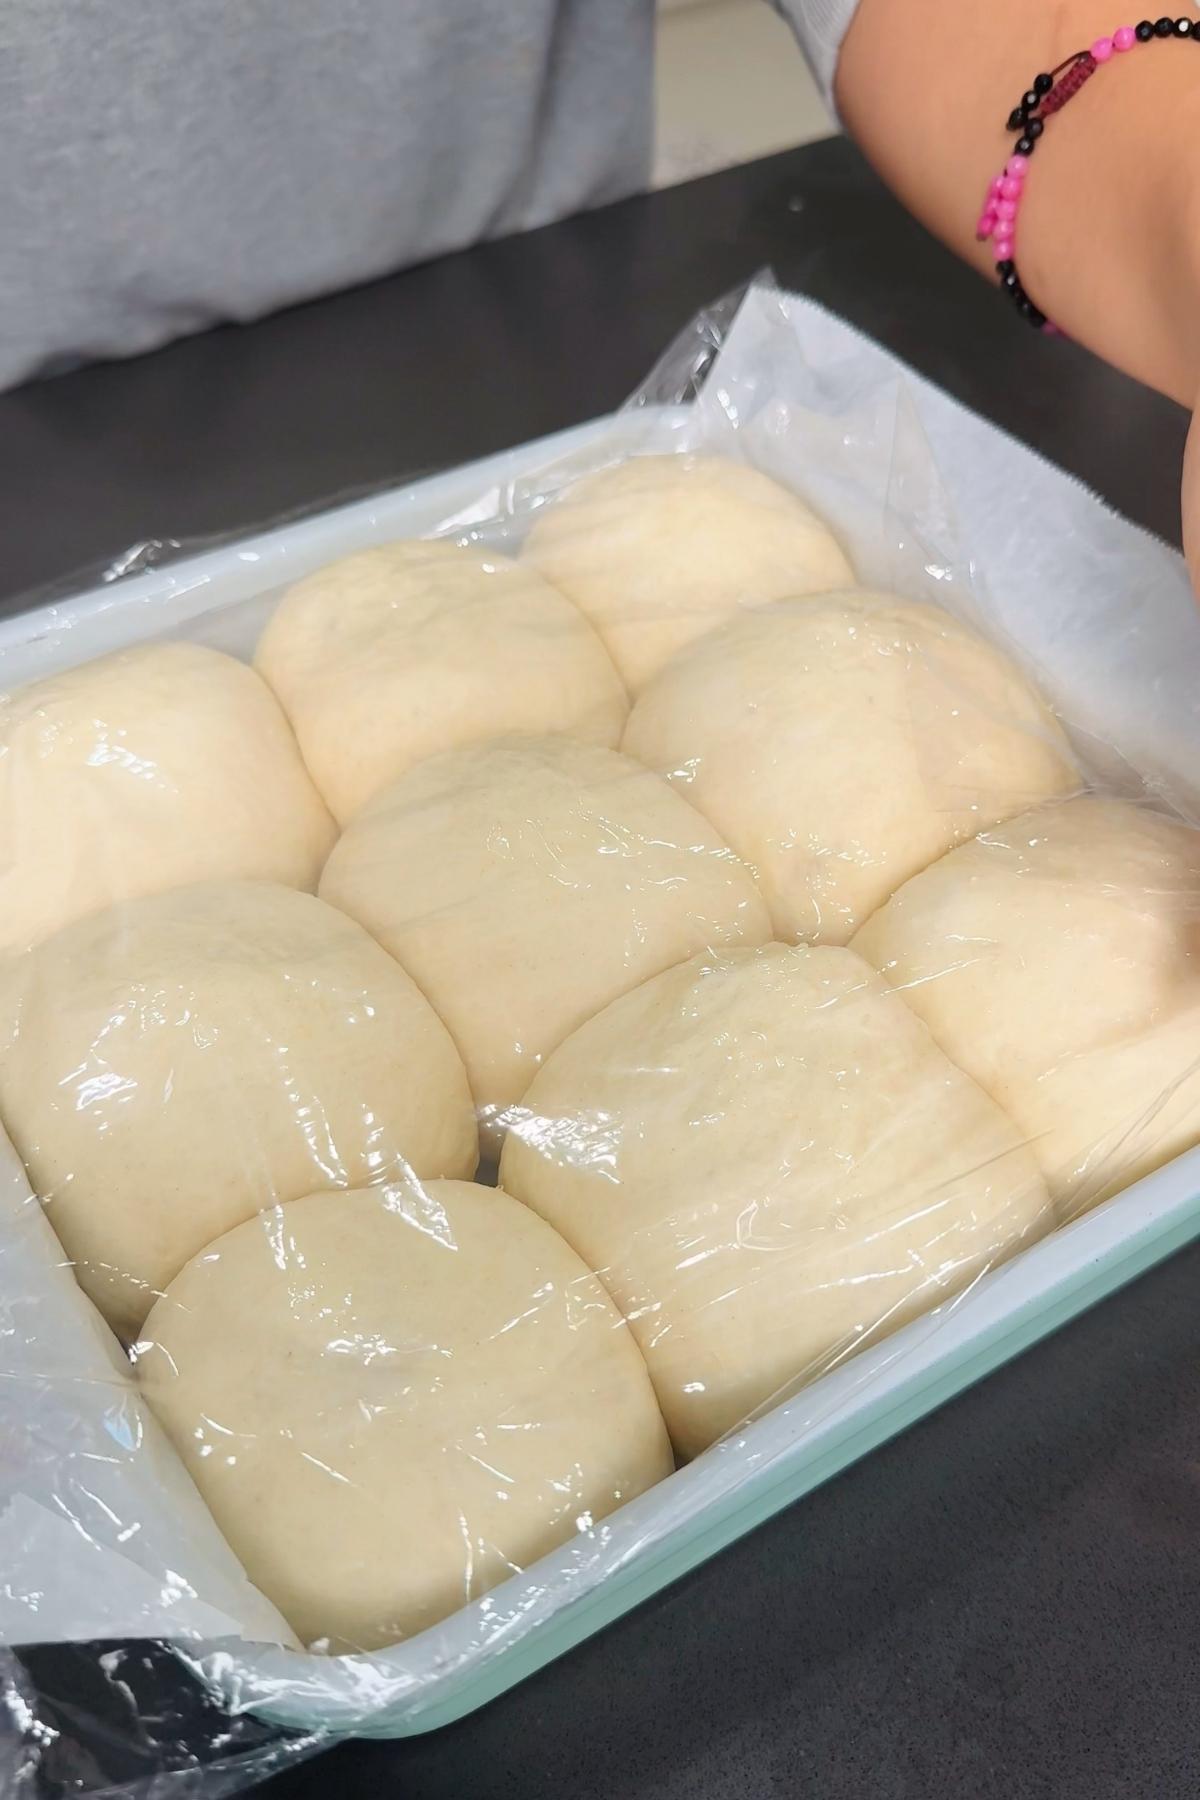
- Step 6: Place the dough balls into a parchment-lined square baking dish, giving enough space between them so that their sides almost (but don't) touch. Cover and allow to rise for another hour, or until they've puffed up
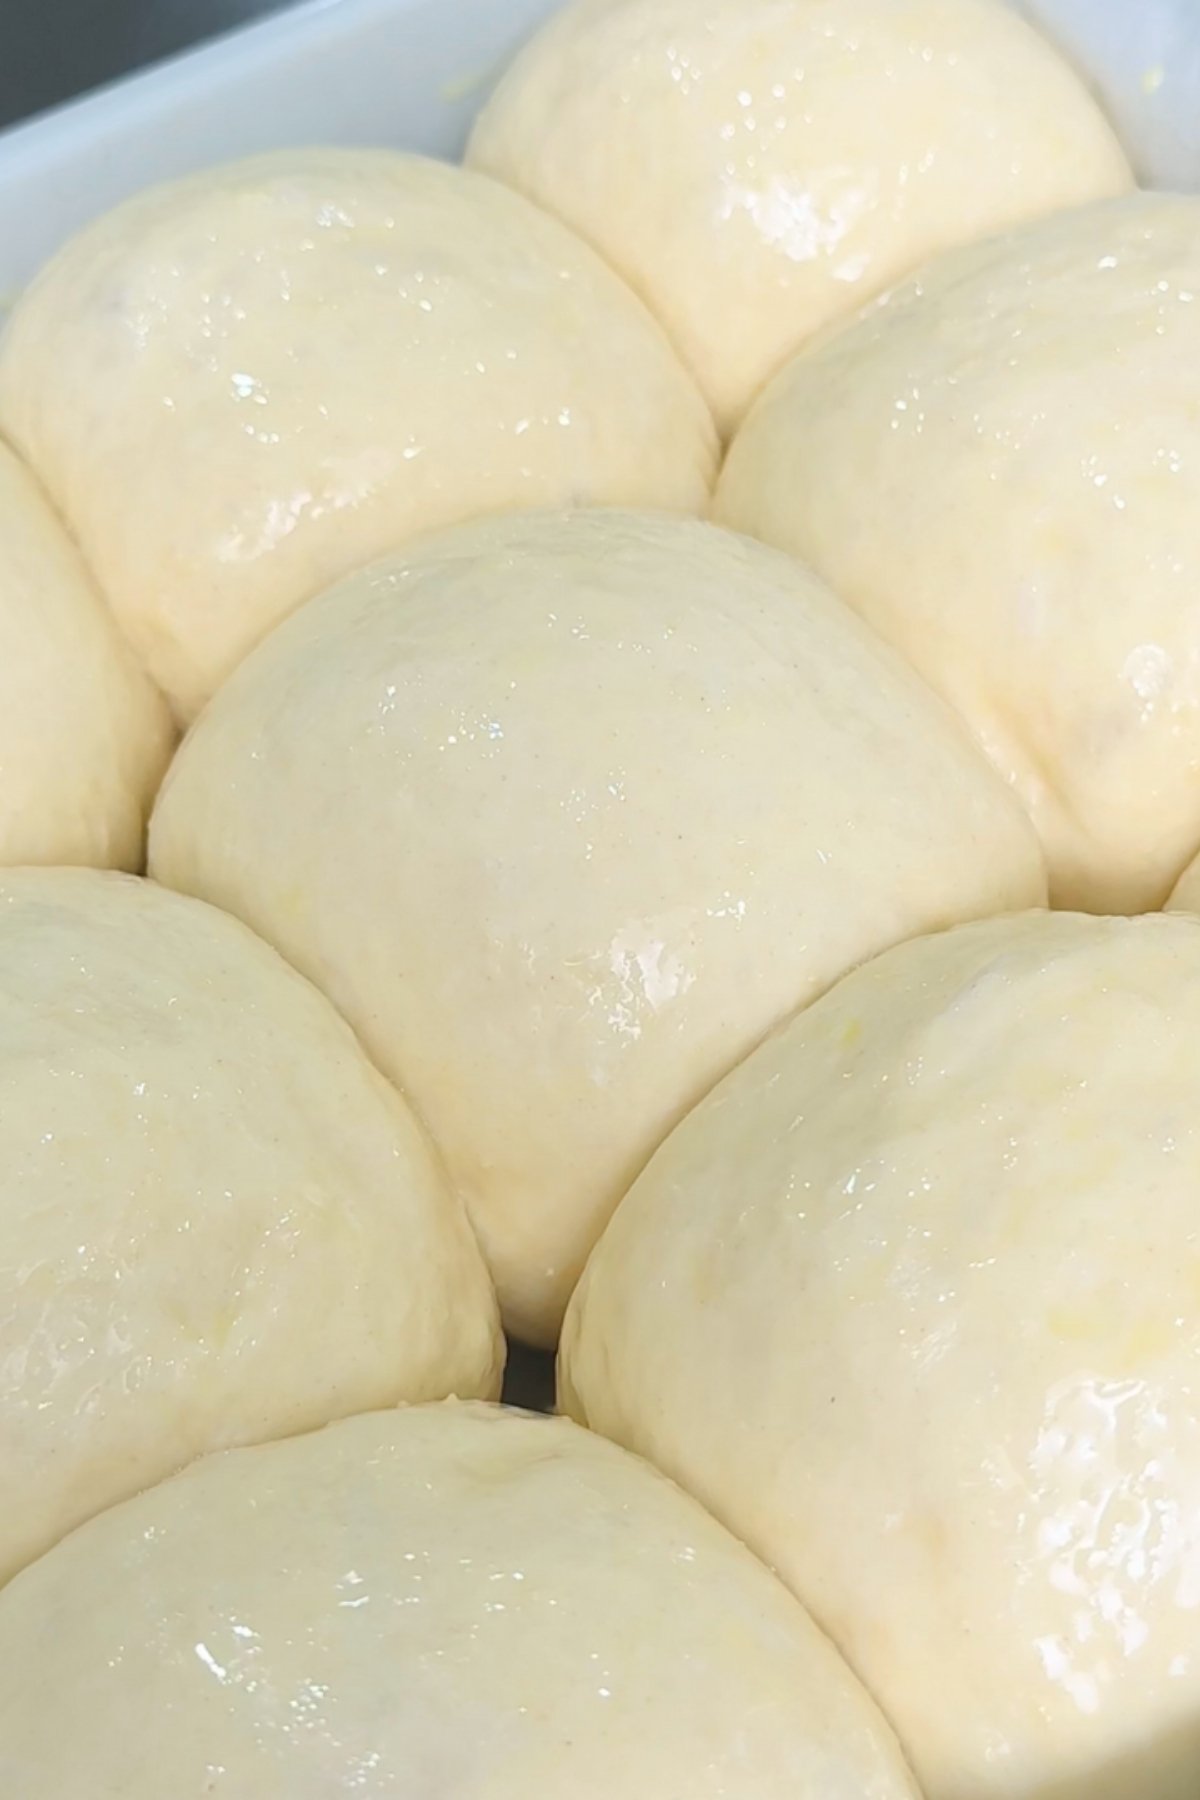
- Step 7: Preheat your oven to 400°F (200°C). In a measuring cup, beat an egg with 1 tablespoon milk to make an egg wash. Gently brush the egg wash on top of your rolls. This will give them that signature golden, shiny crust.
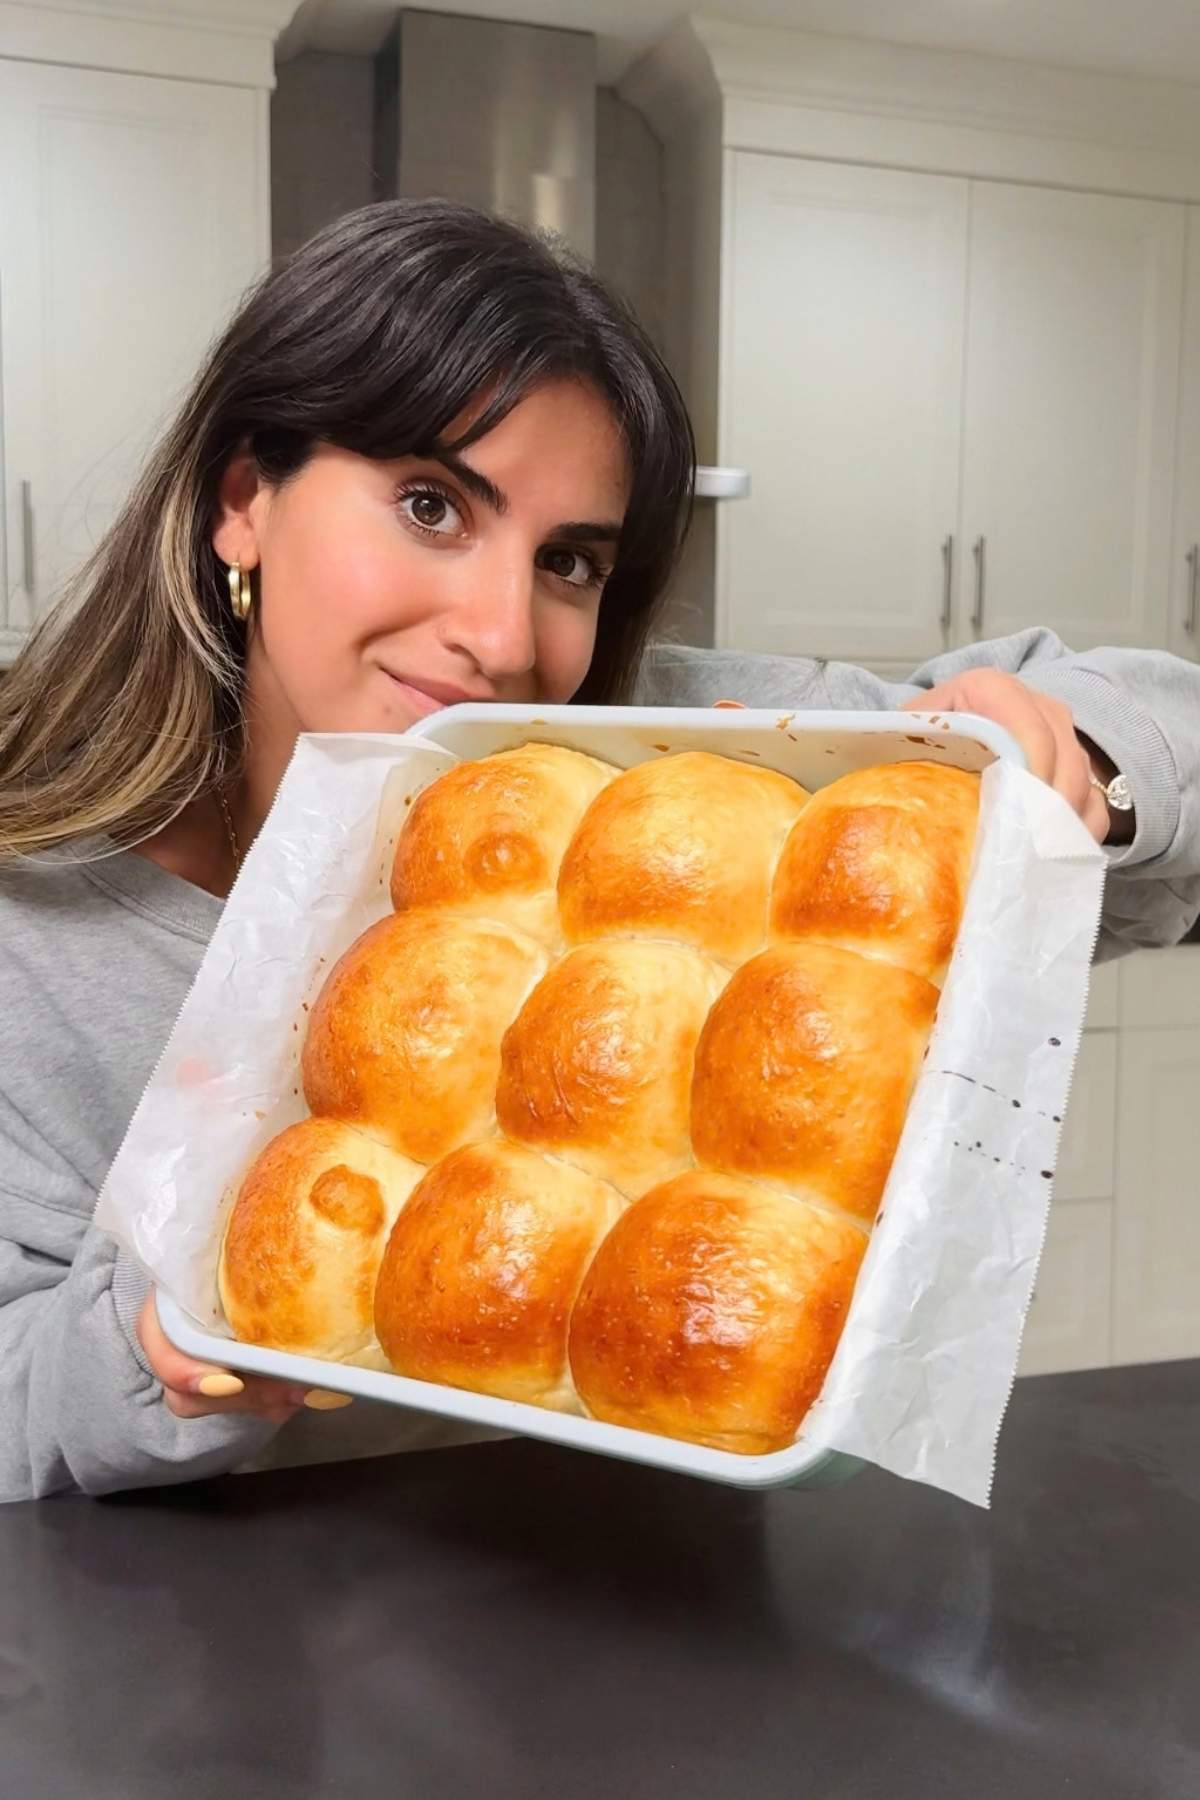
- Step 8: Bake the dinner rolls for 10 to 15 minutes, or until golden brown. Remove from the oven and allow to cool completely.
Minoo's Pro Tip: Brush your rolls with butter and add a pinch of flaky salt when they come out of the oven. Trust me: This makes such a huge difference to the flavor.
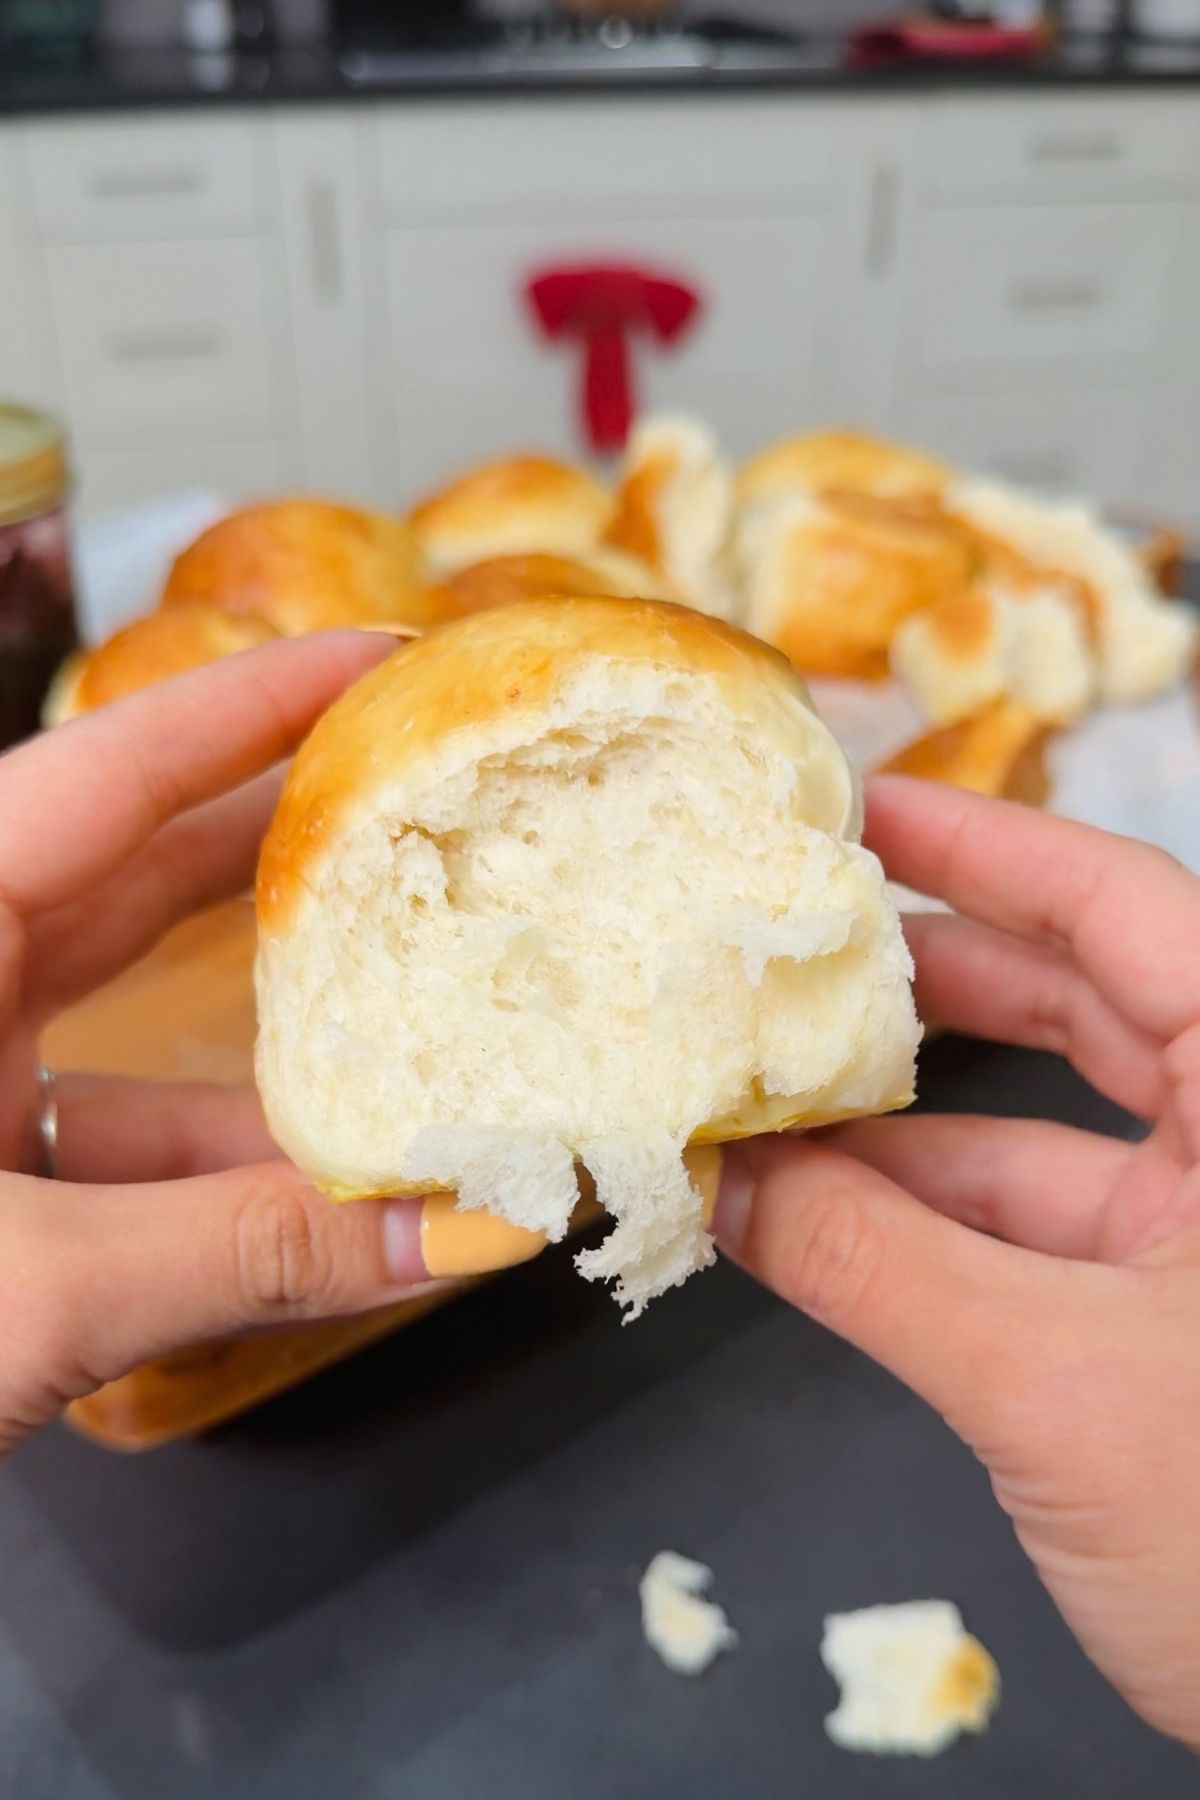
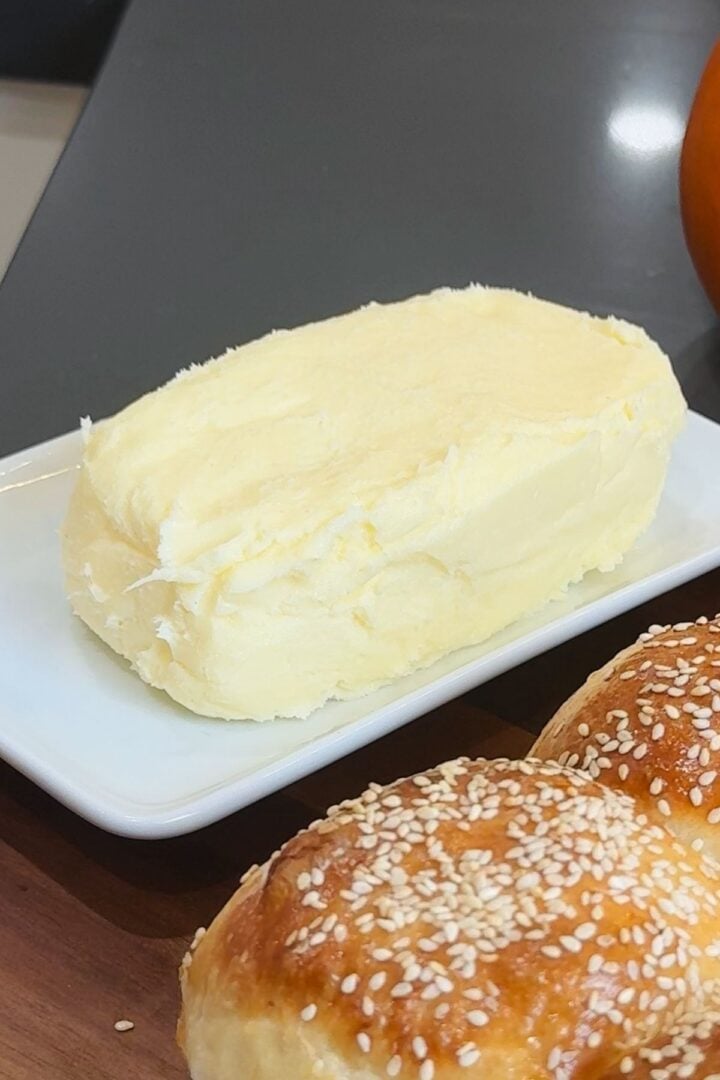
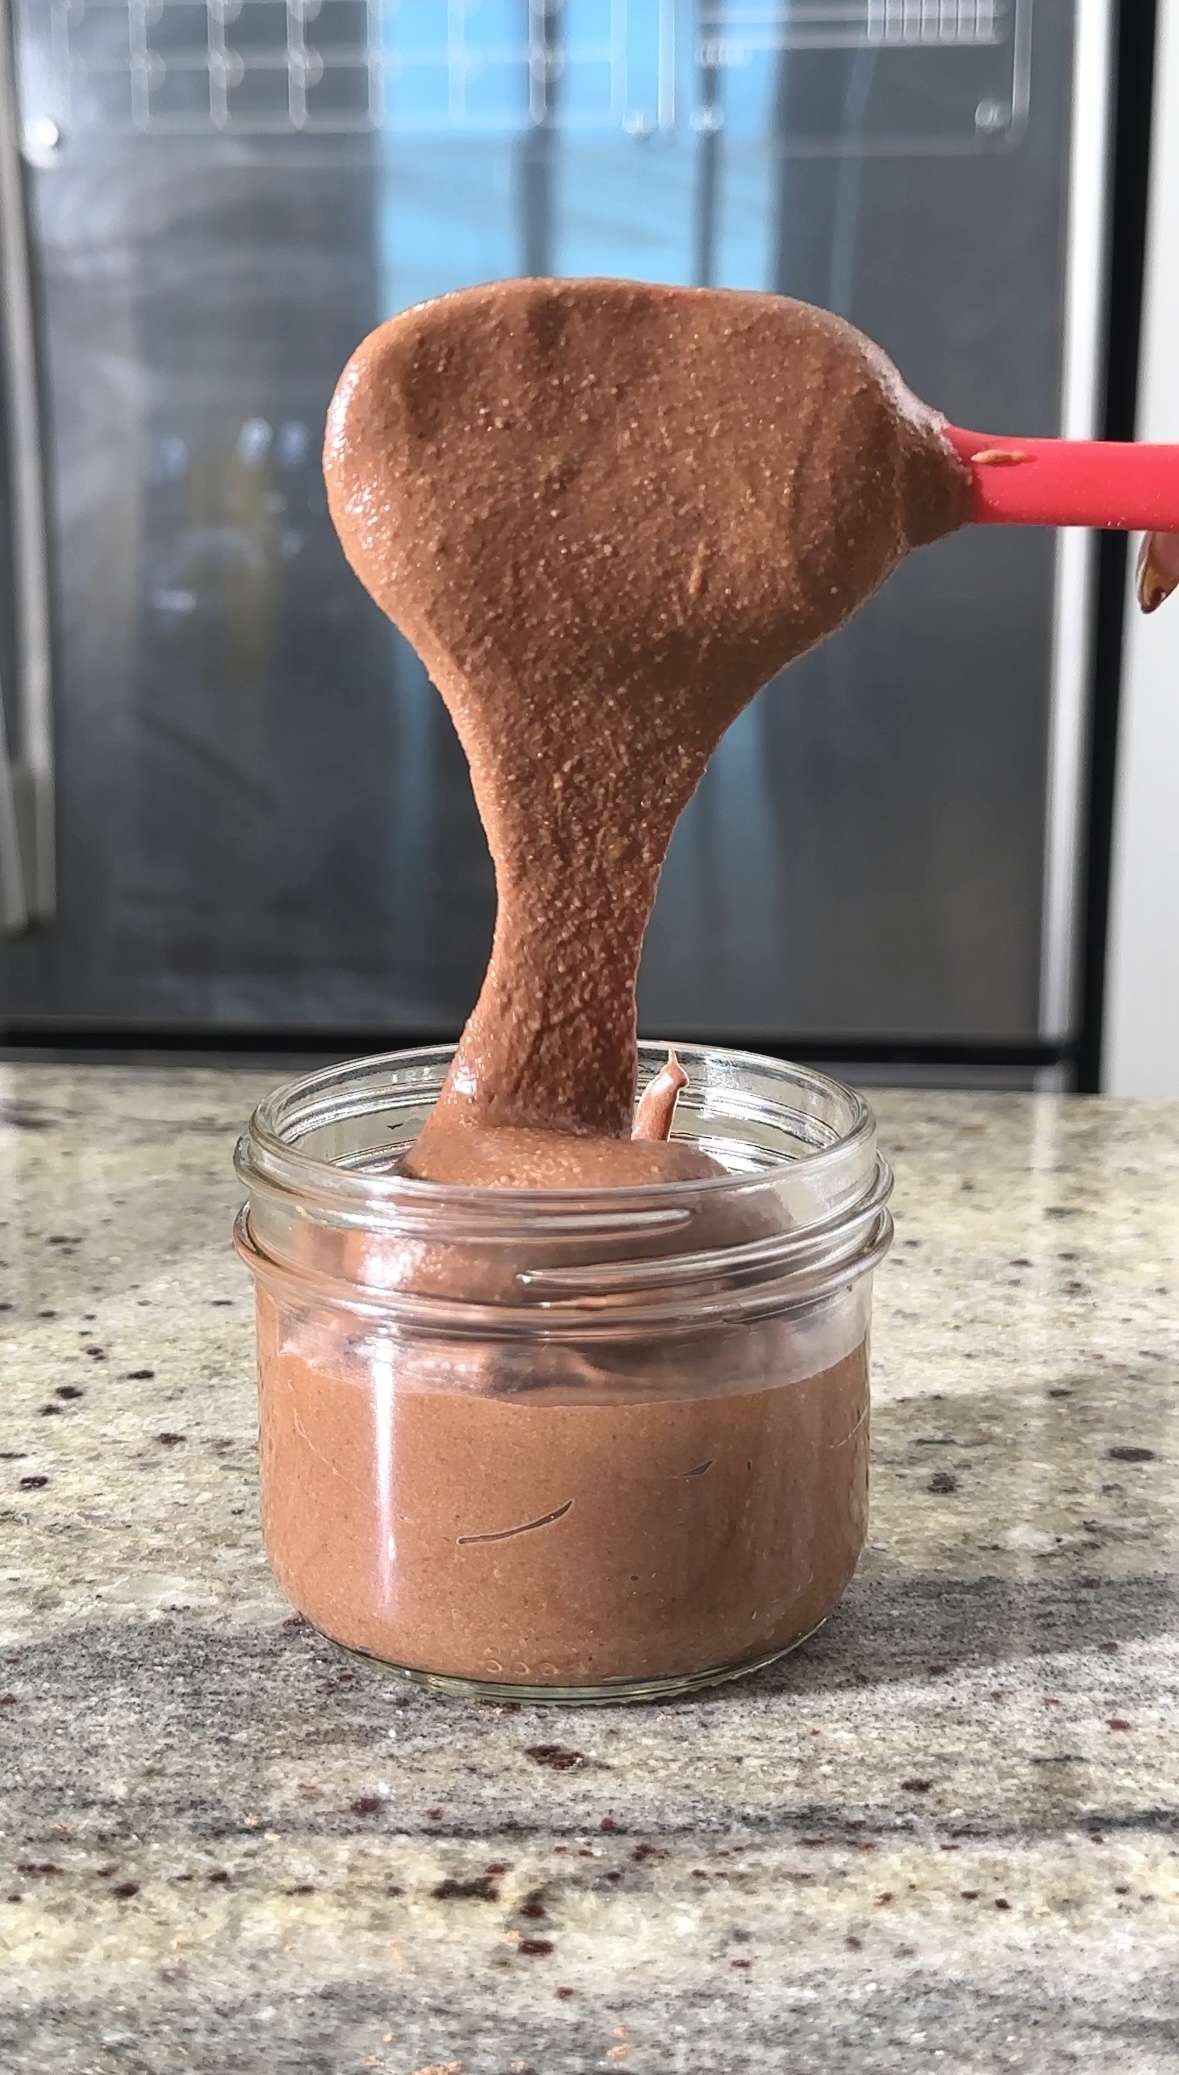
- Step 9: Serve and enjoy! Spread on my heavy cream butter, throw them into a bread bowl, stuff with deli meat, or serve as an appetizer for my comforting mac and cheese pasta. If you have a sweet tooth like me, you can even slather on my homemade Nutella recipe.
Expert Tips
- Don't skip the cooling time: If the rolls don't cool completely, they'll still be raw on the inside. I learned this the hard way. The steam helps them cook even after they've come out of the oven. Struggling to keep your hands off? Distract yourself and make my easy homemade cream cheese to pair with them!
- Shape the balls tightly: Tight shaping will give you the most beautiful and smooth dinner rolls. They'll look stunning in your bread basket, especially alongside my equally showstopping focaccia rolls. But don't worry too much. Even if they're not super smooth, the rolls will still taste great and have a homely rustic vibe.
- Don't overcrowd your pan: Your rolls should have around ½ inch of space between them in the baking dish, and should be just touching after the second rise. These expand a lot, and if they don't have the space to do so, they won't bake properly!
- Use a stand mixer for easy kneading: Kneading by hand works fine, but if you're looking to avoid an arm workout, use a stand mixer with a dough hook. Set it to medium-high speed for 5 to 10 minutes.
Easy Dinner Rolls Recipe FAQs
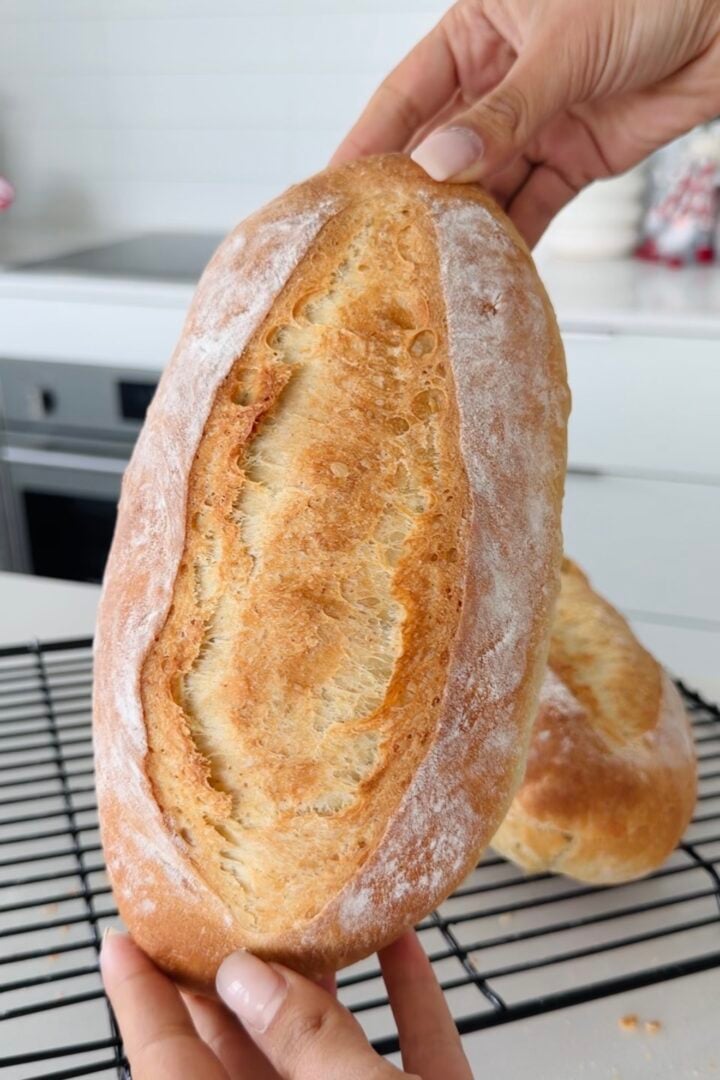
My dinner rolls will keep for up to 3 days when stored in a bag on the counter. They may be a little dry by the third day, but you can easily revive them by splashing them with water and reheating in the oven for 5 minutes at 350°F. This little trick works for practically ANY bread, even breads like my easy artisan bread, so remember this the next time you're breadmaking!
You can also freeze my dinner rolls for up to 3 months if you want them to last longer. Pop the rolls in a freezable bag, and when you're ready to serve, reheat in the oven at 375°F for 10 minutes.
You may have overkneaded the dough. Some bread recipes involve A LOT of heavy kneading, but for my dinner rolls, you really only want to knead for a few minutes (hence why they're so easy!).
I've found this tends to happen the most if you're using a stand mixer, especially if you've set the speed too high. Mix on medium speed, and stop the moment the dough is smooth and elastic. In the future, if you think you've overkneaded your dinner rolls, just give them more time to rise before shaping them. This will help the gluten relax again.
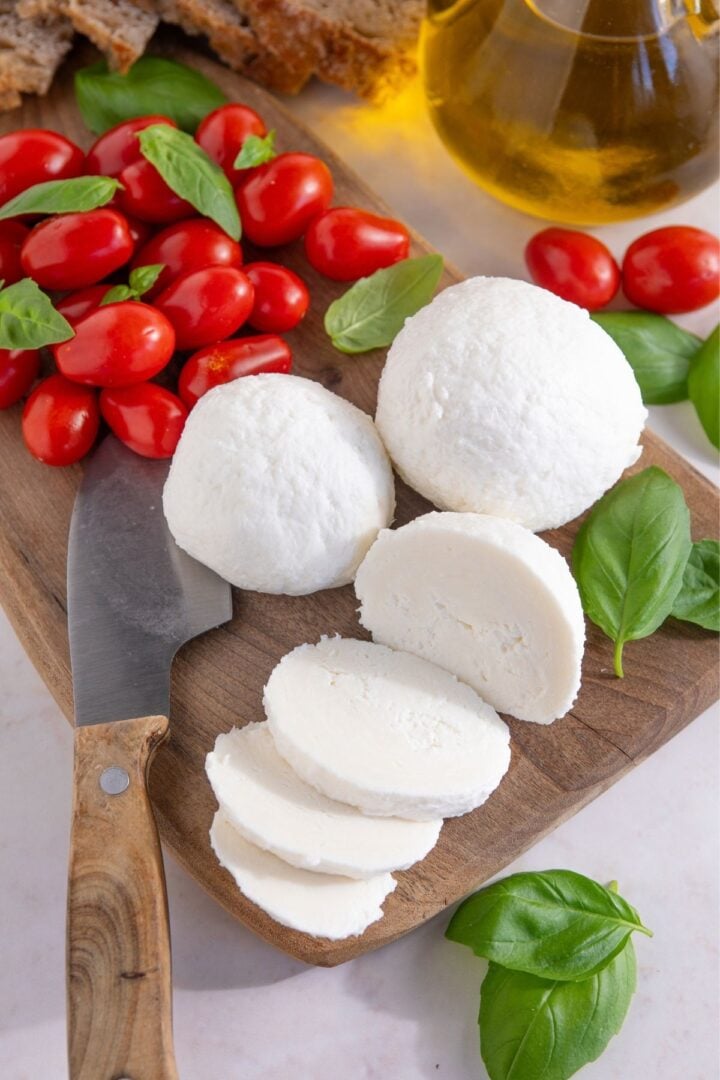
And don't throw away dense bread! While it may not be as soft and fluffy as you'd like, I've found it makes the perfect base for bruschetta, especially when paired with my sun-dried cherry tomatoes and fresh mozzarella recipe. You can also repurpose it into croutons or breadcrumbs.
You likely killed the yeast! This is usually caused by your liquids being too hot. Aim for around 110°F when you're melting your milk and butter, don't boil them. If you do accidentally boil your liquids, give them time to cool down before you throw them into your dry mixture.
If you're confident hot liquid isn't to blame, then check your yeast. Even if the packaging says it's in date, if you've left it open or stored it improperly, it may have expired.
My mom taught me an easy way to check if your yeast is good: Dissolve ½ teaspoon of sugar in a ½ cup of warm water, then add 2 teaspoon of yeast, and wait for 10 minutes. If it bubbles up, the yeast is still viable. If there's no reaction? It's expired, and you'll need to replace it!
More to Try
These rolls have earned their "easy dinner rolls" status for good reason! They're incredibly simple to make, and they pair with absolutely anything. Here are the combos I always come back to:

Enjoying This Recipe?
It would mean the world to me if you left a quick review or any questions you have in the comments below!
Recipe Card
Easy Dinner Rolls Recipe
EMAIL THIS RECIPE
Enter your email and I'll send this directly to you.
Plus you'll get new recipes from me every week!
Ingredients
- 3½ cups all-purpose flour
- 1½ teaspoon instant yeast
- 1½ cups milk
- 2 tablespoon sugar
- 1 teaspoon salt
- 3 tablespoon butter
Egg Wash
- 1 egg
- 1 tablespoon milk
Instructions
- Combine flour, yeast, sugar, and salt in a large bowl.
- Warm milk and butter in the microwave for 45 seconds to 1 minute, or until the butter is melted, then add to the dry mixture. Mix until a shaggy dough forms.
- Pour the dough onto a floured surface. Knead for 5 minutes or until smooth and elastic.
- Place dough in a lightly oiled bowl. Cover and allow to rise in a warm place for 1-2 hours, or until doubled in size.
- Punch down the dough and divide into 9 equal pieces. Shape each into a ball. Place the balls onto a damp counter surface, and then roll each one with your palm and fingertips in a circular motion until smooth and tight.
- Place the dough balls into a parchment-lined square baking dish. Cover and allow to rise for another hour.
- Preheat oven to 400°F (200°C). Beat an egg with milk to make an egg wash, then use to brush the tops of the rolls.
- Bake the rolls for 10-15 minutes or until golden brown. Remove from the oven and allow to cool.
- Serve and enjoy with your desired toppings!
Notes
- Use warm liquids, not hot: Only microwave your milk and butter to the point where they're just melted (110°F). Never let the liquids boil. Too hot, and you'll kill the yeast.
- Don't forget to punch the dough: It's key for the structure. This "degases" the dough and removes any excess large air pockets.
Nutrition
Want To Save This Recipe?
Share your email & we'll send it over! PLUS, you'll get new recipes from us weekly

Keep this going please, great job!
I will keep the recipes coming your way Veta, don't you worry (:
Hi! Can I prepare the rolls up until baking and let them sit in the pan in the refrigerator for two days. I am pressed for time. Thank you!
Hi Joanna! I would prepare them till their first rise. After that put it in the fridge and they will do the second rise slowly in the fridge. Take them out about an hour before baking (:
What temperature and how long to make into a loaf?
375 for approximately 35-45 minutes! If you see that its getting too dark on the top just add some foil to cover it so it doesn't burn (:
I'm unsure if my house is too cold or if I used too much flour or what went wrong. I kneaded my dough by hand, covered the bowl and placed it in the microwave. It didn't rise. I have it on the stove while the oven is preheating praying that it will rise. All liquids were warm not hot or cold. Should I tru to knead it again? Will it matter this late?
Makayla, don’t panic yet! If it hasn’t risen at all, the most common reasons are either inactive yeast or the room being too cold. The microwave (turned off) is usually fine, but if your kitchen is chilly it can slow things down a lot. I wouldn’t knead it again at this point — that won’t help the rise. Give it more time in a warm (not hot) spot and see if it starts to puff up. If there’s absolutely no movement after a while, the yeast may have been the issue.
Hi can I use bread flour in dates of all-purpose?
You absolutely can Sara! But I will warn you bread flour absorbs water differently than all purpose flour so start with the amounts the recipe suggests but you may have to adjust to get the right dough which should be smooth and easy to knead but not sticky!
I followed this recipe to the letter and wound up with soup, not a shaggy dough. How much more flour is needed to have a successful dough? I mixed in my "Kitchen Aid" for fifteen minutes.
Hi Bill! That is very strange. This is not really a wet dough at all and shouldn't be sticky! Did you by chance use a different flour than all purpose? Using bread flour would require different measurements for your wet ingredients. If that's not the case, try mixing your dough lightly then letting it sit for a few minutes before mixing with the kitchen aid. Your flour may not have had enough time to absorb the liquid causing it to be overly runny!
Hi! We loved your roll recipe. However, is there anyway to make it sweeter? Thank you!
Hi Joanna! I'm SO happy to hear that (: And there absolutely is. You have plenty of options. You can just increase the sugar that the recipe already has, but if you want to get creative you can also knead some chocolate chips in the dough, or add cinnamon sugar for a fun variation too!
Thank you for answering my question. To add the sweetness, can I add honey along with the sugar?
You absolutely can Joanna! Maple syrup works great as well if you have access to it.
How much honey or maple syrup should I add? Thank you!
Hi Joanna!! You can swap it 1:1 with the sugar—so about 2 tbsp honey or maple syrup It adds such a nice flavor too!
This is the 3 time that a make it and I really love it, easy , fast and perfect fresh bread !!!
Ahhh so happy to hear that Christine! I'm glad you love it (:
Can I use this recipe for bread.
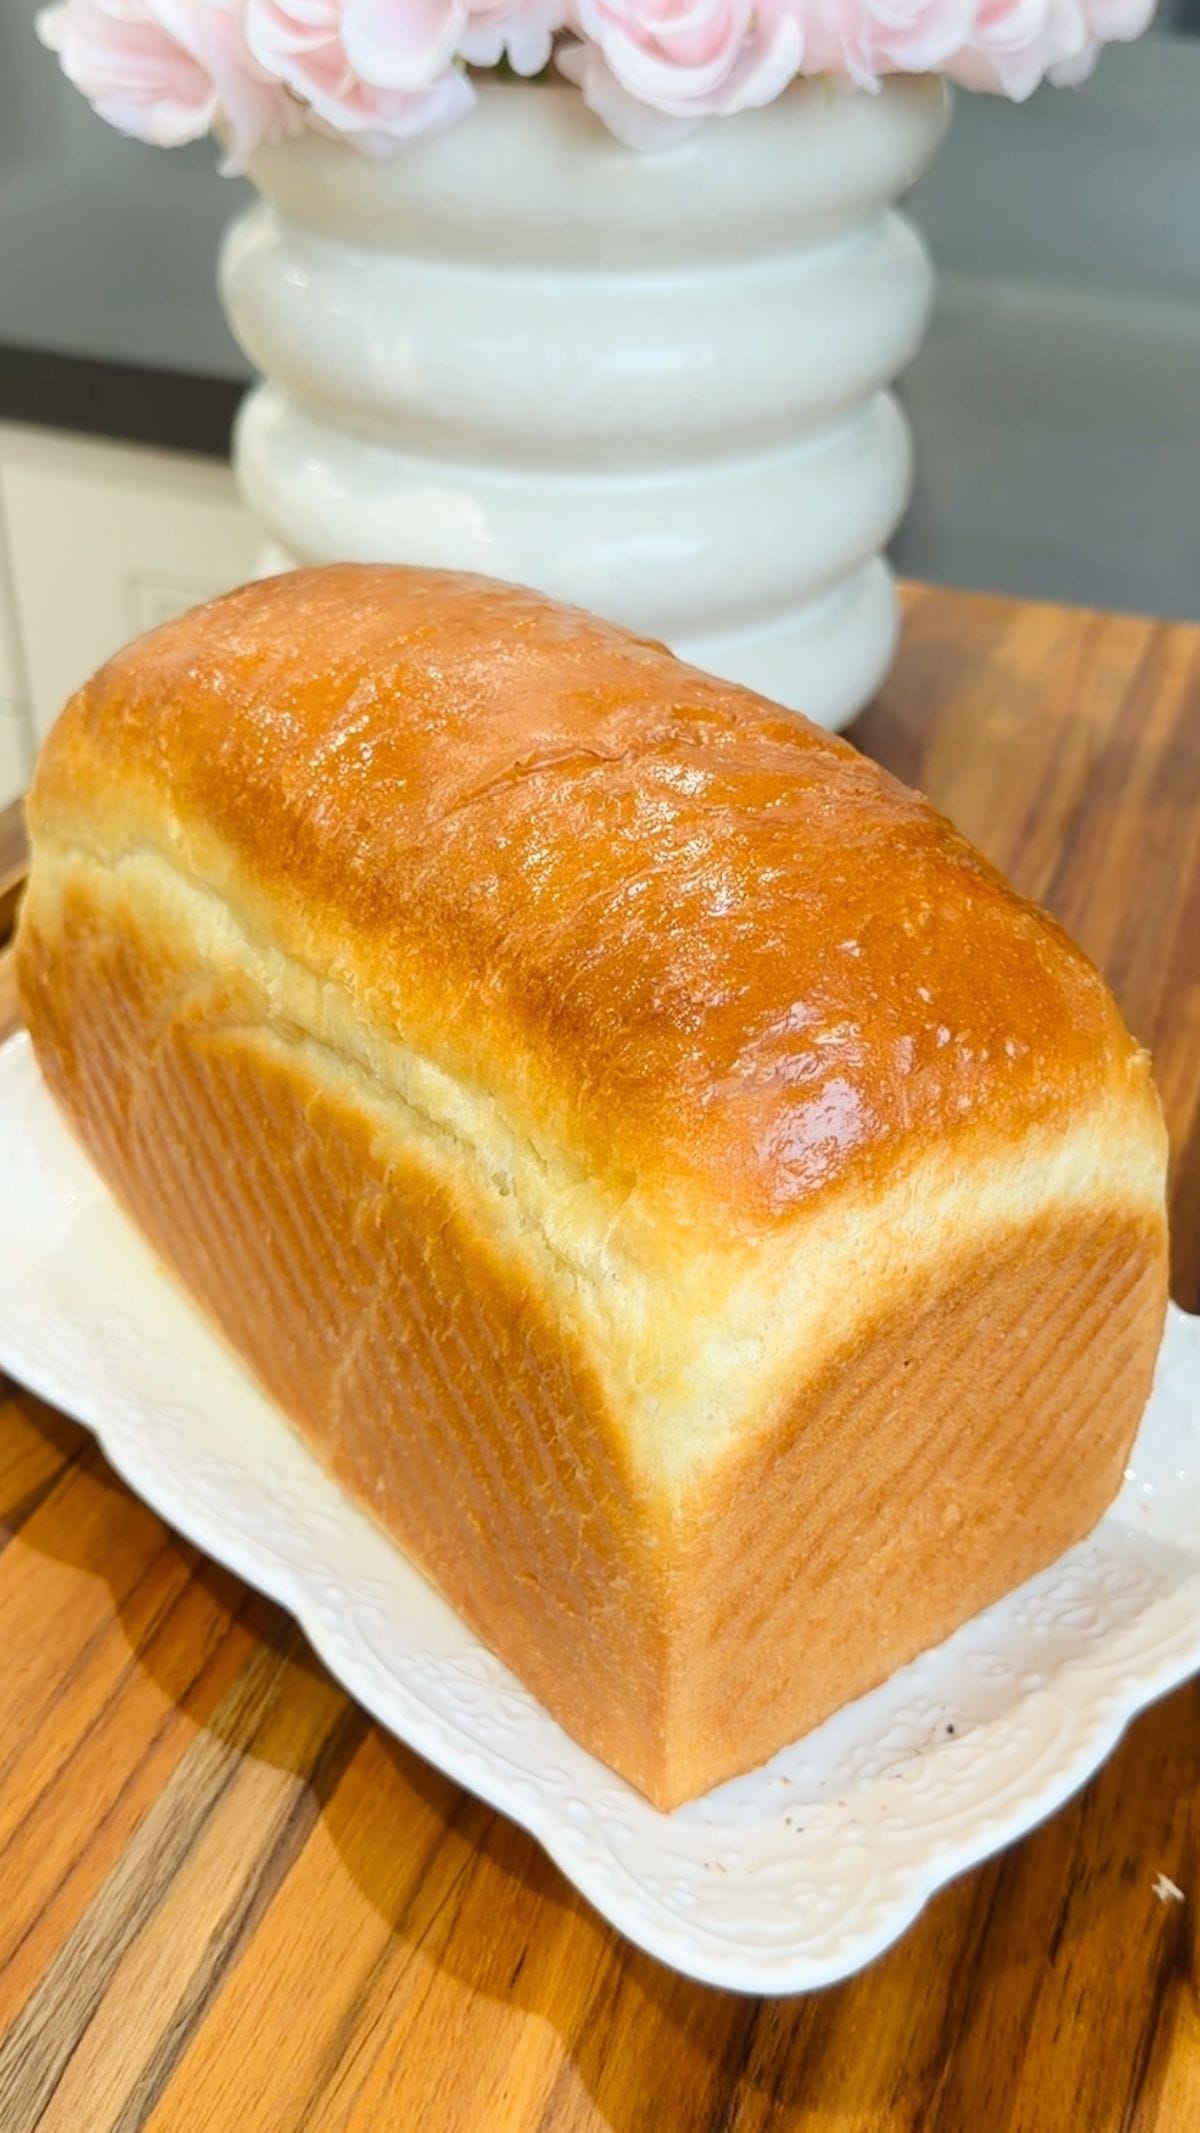
Yes you can! just shape it into a loaf instead of rolls. but you will have to adjust baking temperture. For loaves I usually do 350 for 30-35 min. You may also have to cover the top with foil if it's getting too brown while baking.
Yum bread! So easy to make and holds its form, soft, soooo yummy with real butter! Thank you for this recipe Minoo!!
ahh I'm so glad you loved it!! These dinners rolls are my favourite and the dough is so versatile, you can really make anything with it (:
Can you double the recipe?
You absolutely can Theresa!
Love all of your recipes! Extremely easy to follow. I just made dinner rolls and substituted milk (which I was out of) with 1/2 & 1/2 they came out awesome
That sounds absolutely delicious! You're buns must have been extra fluffy with the half and half (: Thank you so much for sharing!!
Can I reduce the sugar to one tablespoon? I don’t want any sweetness in my rolls.
Yes you can! I wouldn't add less than that though because the yeast needs to feed on the sugar.
Thank you for sharing ????????
so glad you liked it Dalia!!