
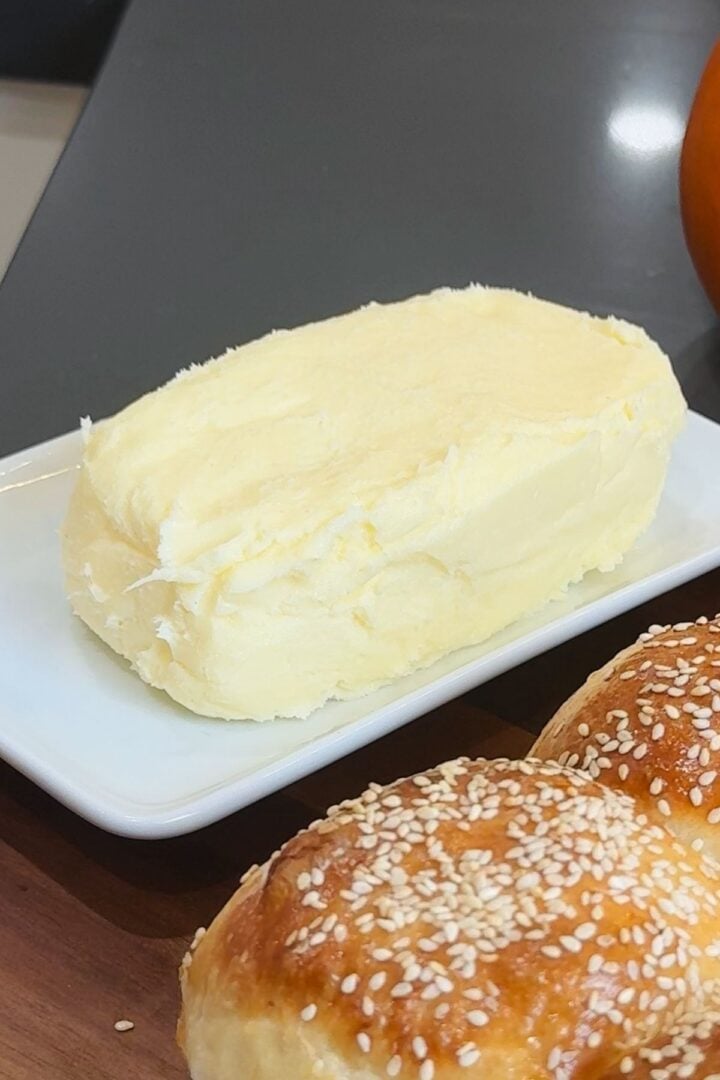
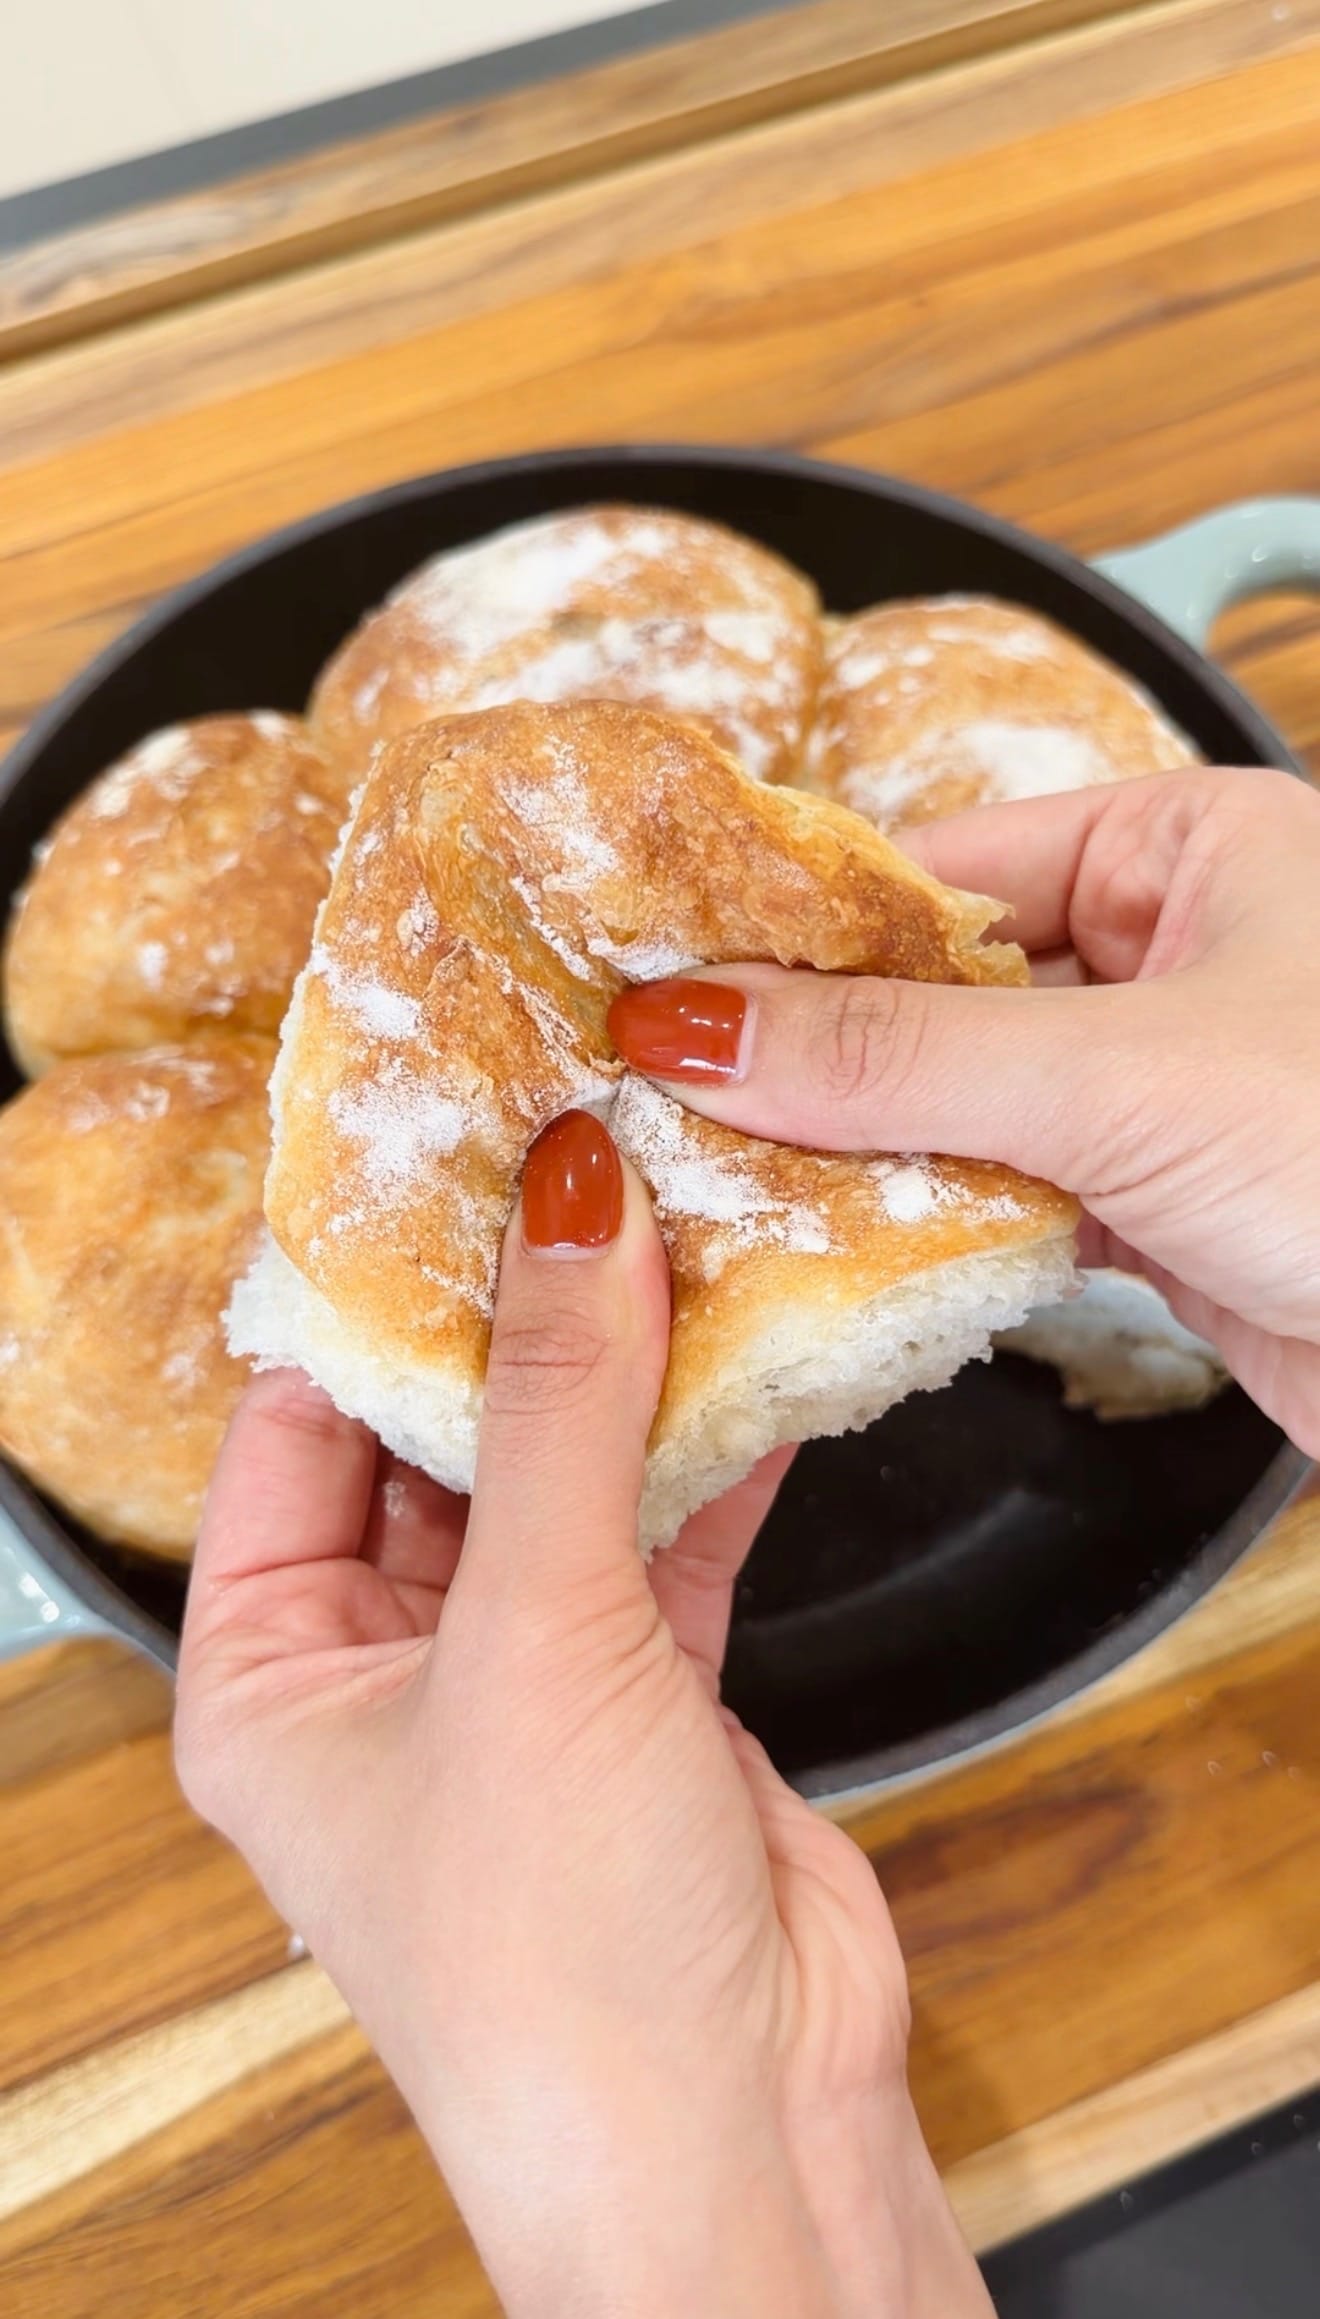
My kefir bread recipe is unbelievably simple, with just 2 ingredients, no yeast, and no rise time. It gives you the airy, tangy flavor of sourdough, but without any of the effort involved! Enjoy with my heavy cream homemade butter, dunk in my cheese broccoli soup, or use it to make sandwiches for an easy lunch that ACTUALLY fills your heart and stomach.
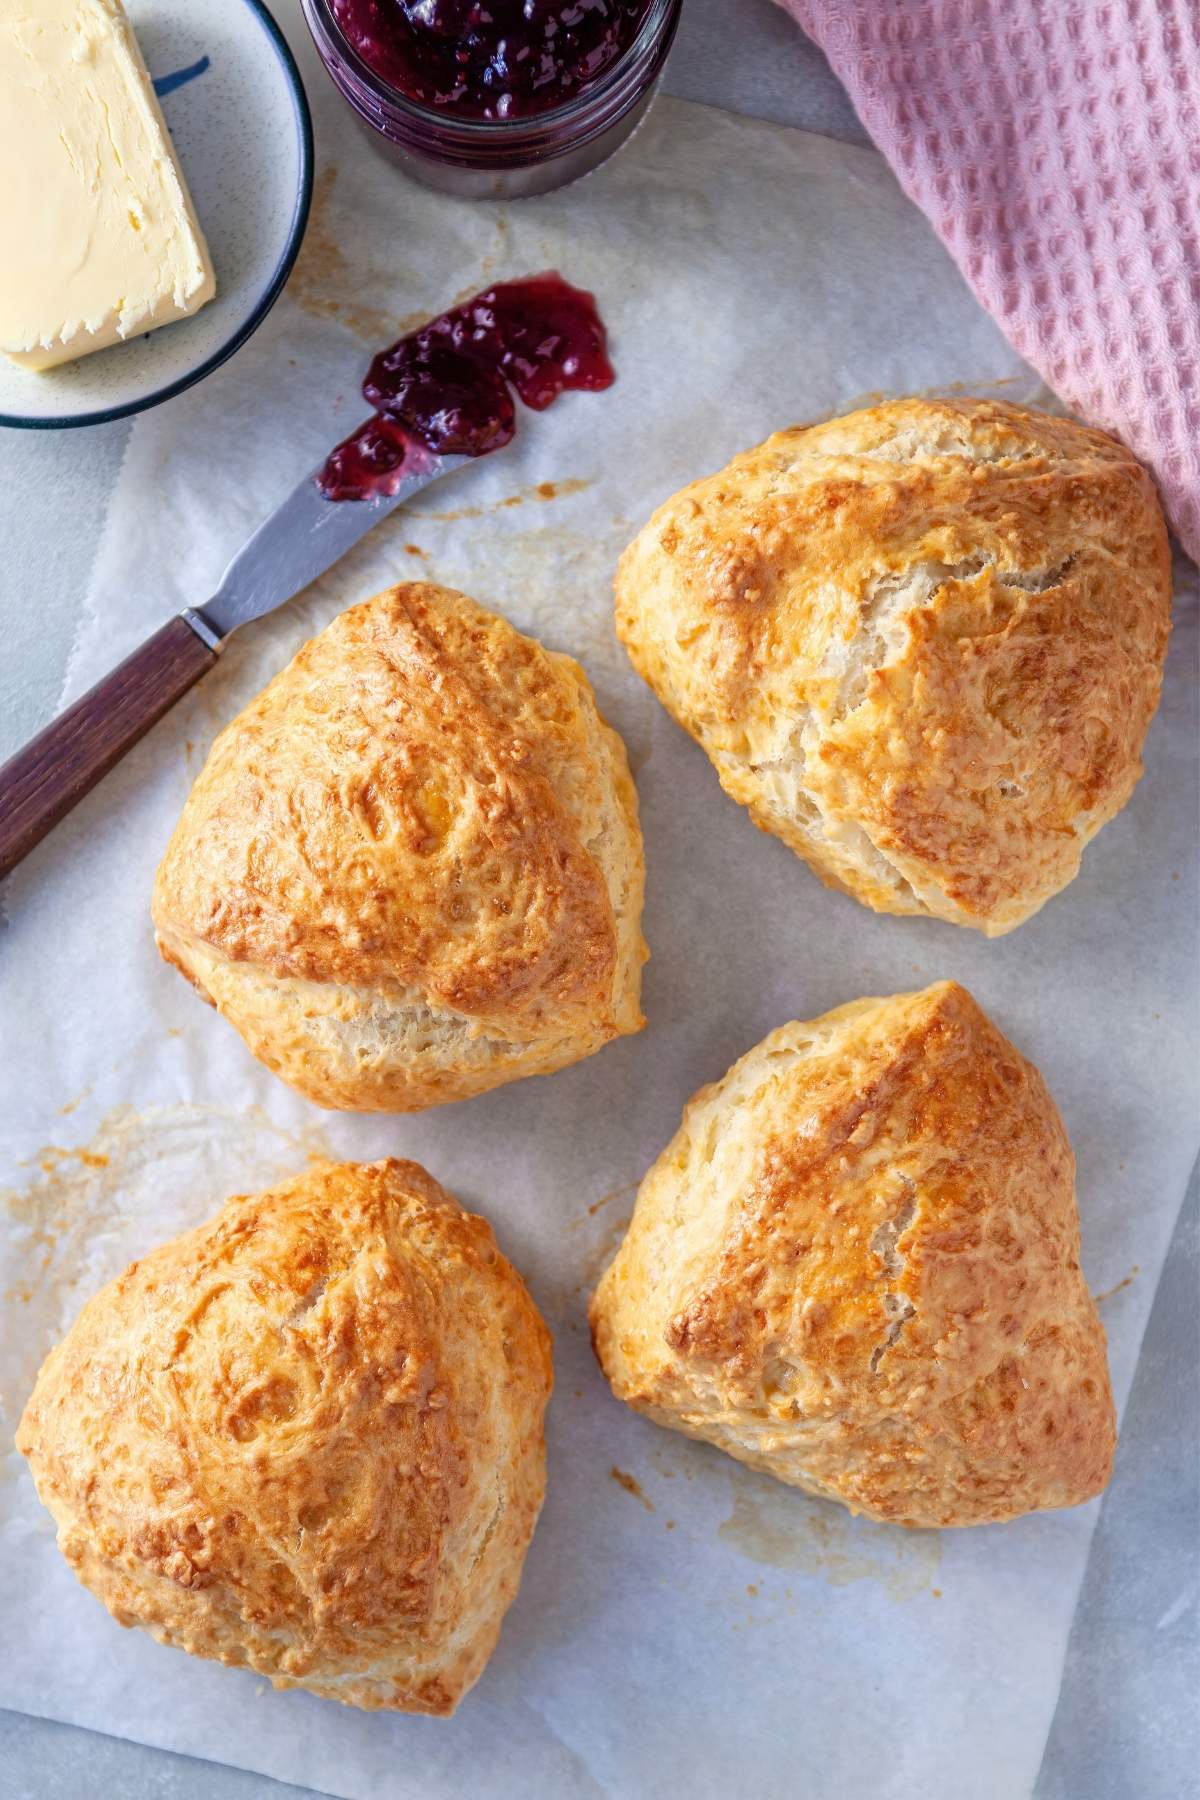
Quick Look: Kefir Bread
- Prep Time: 10 minutes
- Cook Time: 30 minutes
- Total Time: 40 minutes
- Yield: 4 Rolls
- Method: Mix, knead, shape, and bake!
- Optional Add Ins: Cinnamon, thyme, rosemary, paprika, garlic powder, chilli flakes, onion powder
- Difficulty: Beginner
- Why This Works: All the flavor and texture of sourdough but without the effort, and only 2 ingredients needed? This will quickly become a staple in your bread basket.
SUMMARIZE & SAVE THIS CONTENT ON
Why We Like This
- The complexity of sourdough without the effort: I ADORE sourdough, but as a home baker turned business owner juggling absolutely everything else? I find I rarely have the time to make sourdough from scratch. That's why I made this kefir bread recipe. You get that same tangy flavor, airy texture, and crunchy crust, without any of the effort involved. It's sourdough made so simple, you can whip it in the morning and have it ready before you start your busy day.
- You can actually use shop-bought kefir: Many kefir bread recipes you find online claim you need to use homemade kefir and not the kind you get from the grocery store… But let's be real: Who really has time for that? Any pure, unflavored kefir you get from the store will work just fine for my recipe.
- Only two ingredients needed: Yep, there's no starter, yeast, or magic at play here. You can throw in seasoning and add extras like my sun dried oven tomatoes for gourmet oomph, but these are completely optional. Trust me: With or without the "frills," this bread will outmatch any pre-sliced bread you find at the grocery store.
- Bread-making fun for the whole family: Getting your kids into bread-making is a challenge in itself, especially if there's a long rise time involved; "children" and "patience" don't exactly go together! My kefir bread is made with only the fun parts: the mixing, the kneading, and the baking! There's no aching elbow grease and no boring, long wait.
- Healthier choice over shop-bought bread: Pre-sliced, packaged bread from the store has an ingredient list that reads more like the ingredients for a science project than an actual loaf of bread. My kefir bread is made with ingredients you know and is healthier and fresher as a result!
Ingredients
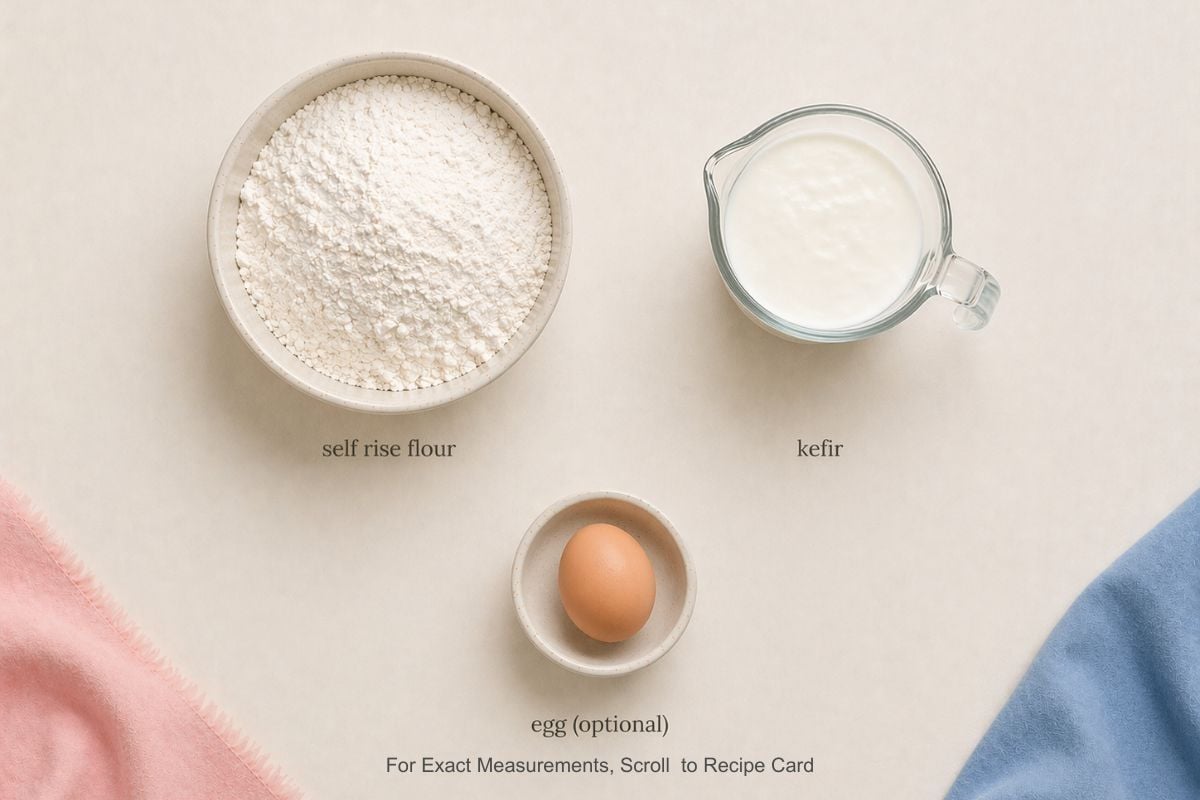
I'm a firm believer that an easy recipe to make shouldn't require any hard-to-find, unpronounceable ingredients. That's why my kefir bread just needs two grocery store staples:
- Kefir: Kefir is fermented milk. It performs similarly to a sourdough starter and will give your bread that iconic sour tang. If you can't find kefir, then yogurt is a great alternative. It won't have that same subtle sourness, but it'll still taste divine. Just keep in mind yogurt is thicker, so start using 2 cups of flour with 1.5 cups of yogurt and adjust the ratio till you get a smooth dough.
Minoo's Pro Tip: I find room-temperature kefir mixes more easily, but cold kefir still works, so don't panic if you forget to take it out the fridge!
- Self-Raising Flour: Self-raising flour is the key to that quick rise time. You can pick this up from practically any store, but in a pinch, you can DIY your own self-raising flour with 2 cups all-purpose flour, 3 teaspoon baking powder, and 1 teaspoon salt. You can also make my recipe gluten-free easily! Just substitute the flour with your choice of gluten-free alternative at the same amount.
Minoo's Pro Tip: The best part about this dough is that you can customize it SO easily to your liking or your little picky eater's… ahem, your kid's fine palate. Add thyme, garlic powder, rosemary, my homemade paprika, or even cinnamon for a sweet version! For the ultimate treat (or pick-me-up breakfast)? Toast and slather on my hazelnut cocoa spread. Trust me: It melts into that airy, fluffy bread texture SO perfectly.
How to Make Kefir Bread
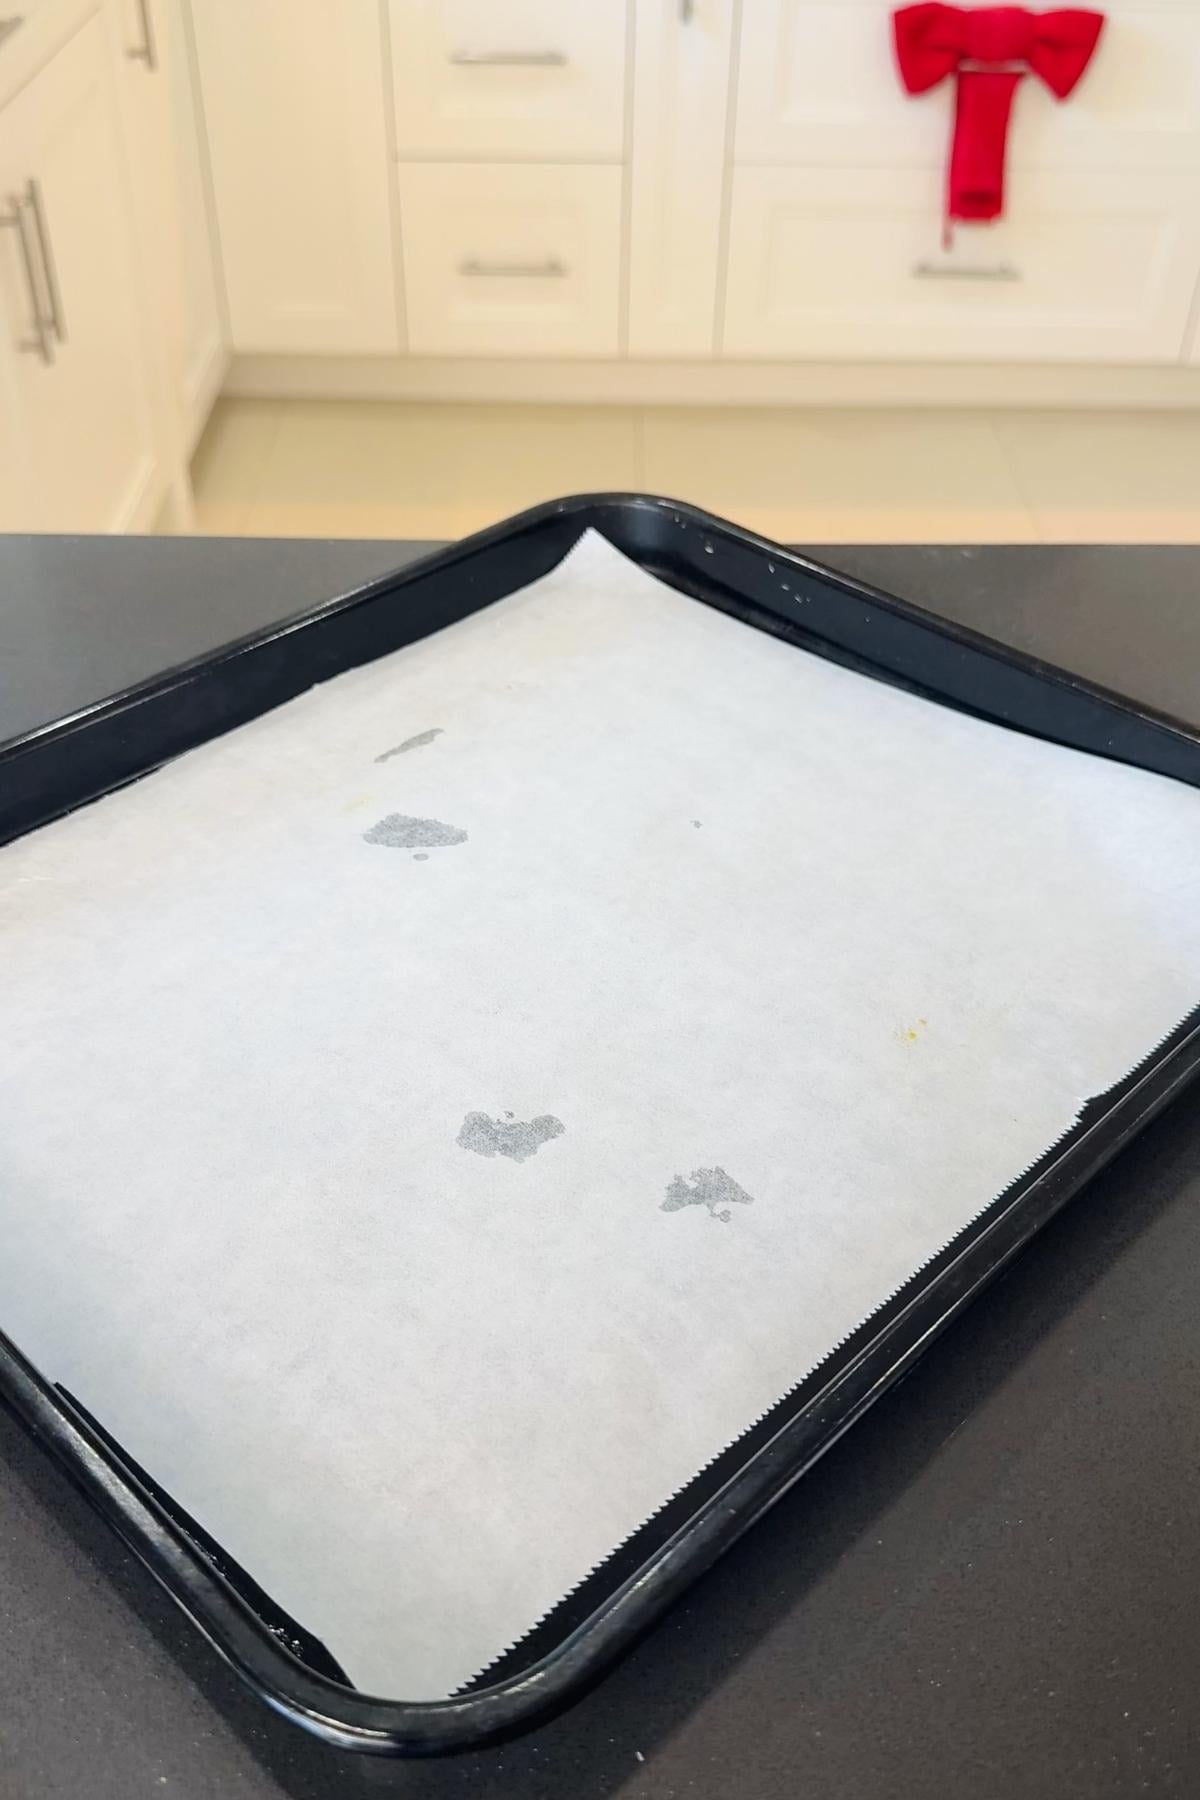
- Step 1: Preheat your oven to 375°F (190°C) and line a baking sheet with parchment paper.
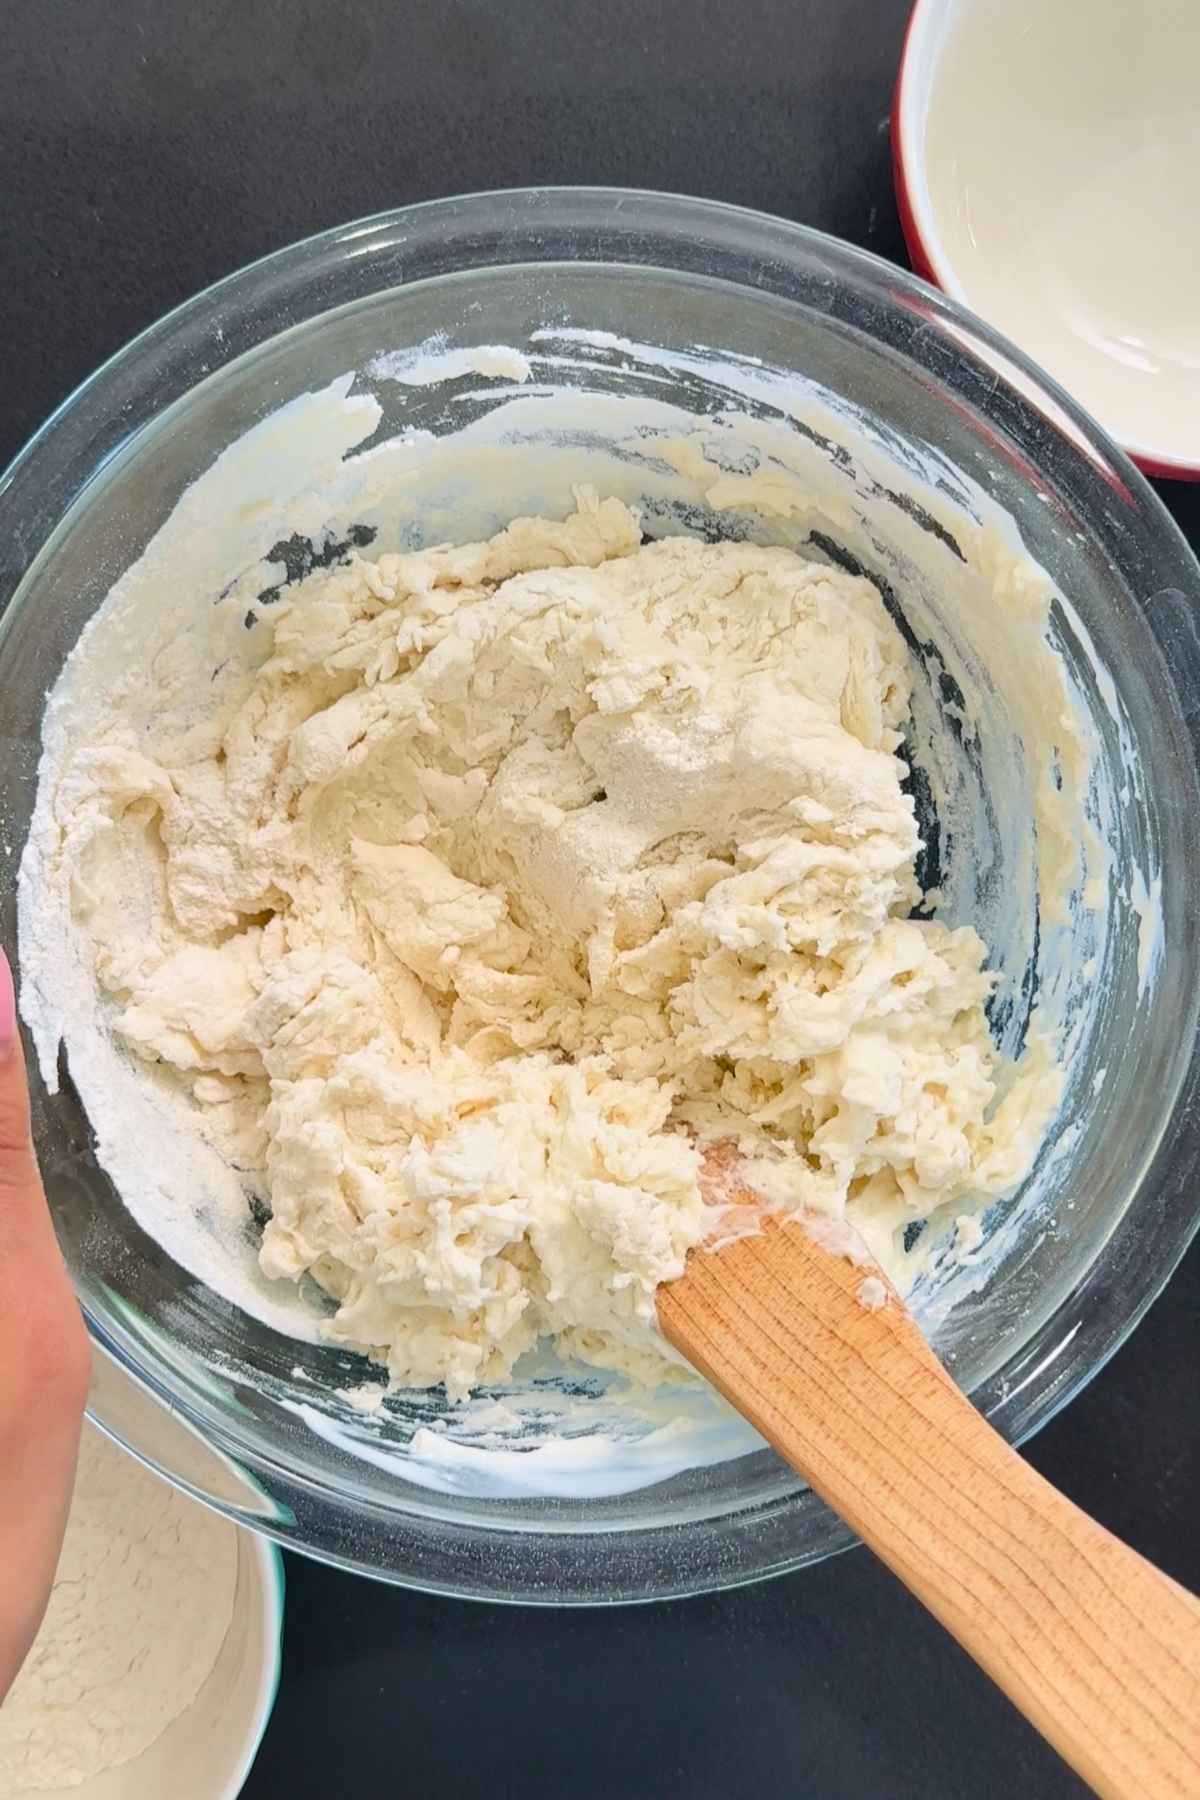
- Step 2: Combine 2 cups self-raising flour with 1 cup kefir in a large bowl and mix until a "shaggy" dough forms. It will look uneven and lumpy, but that "mess" is EXACTLY what you want!
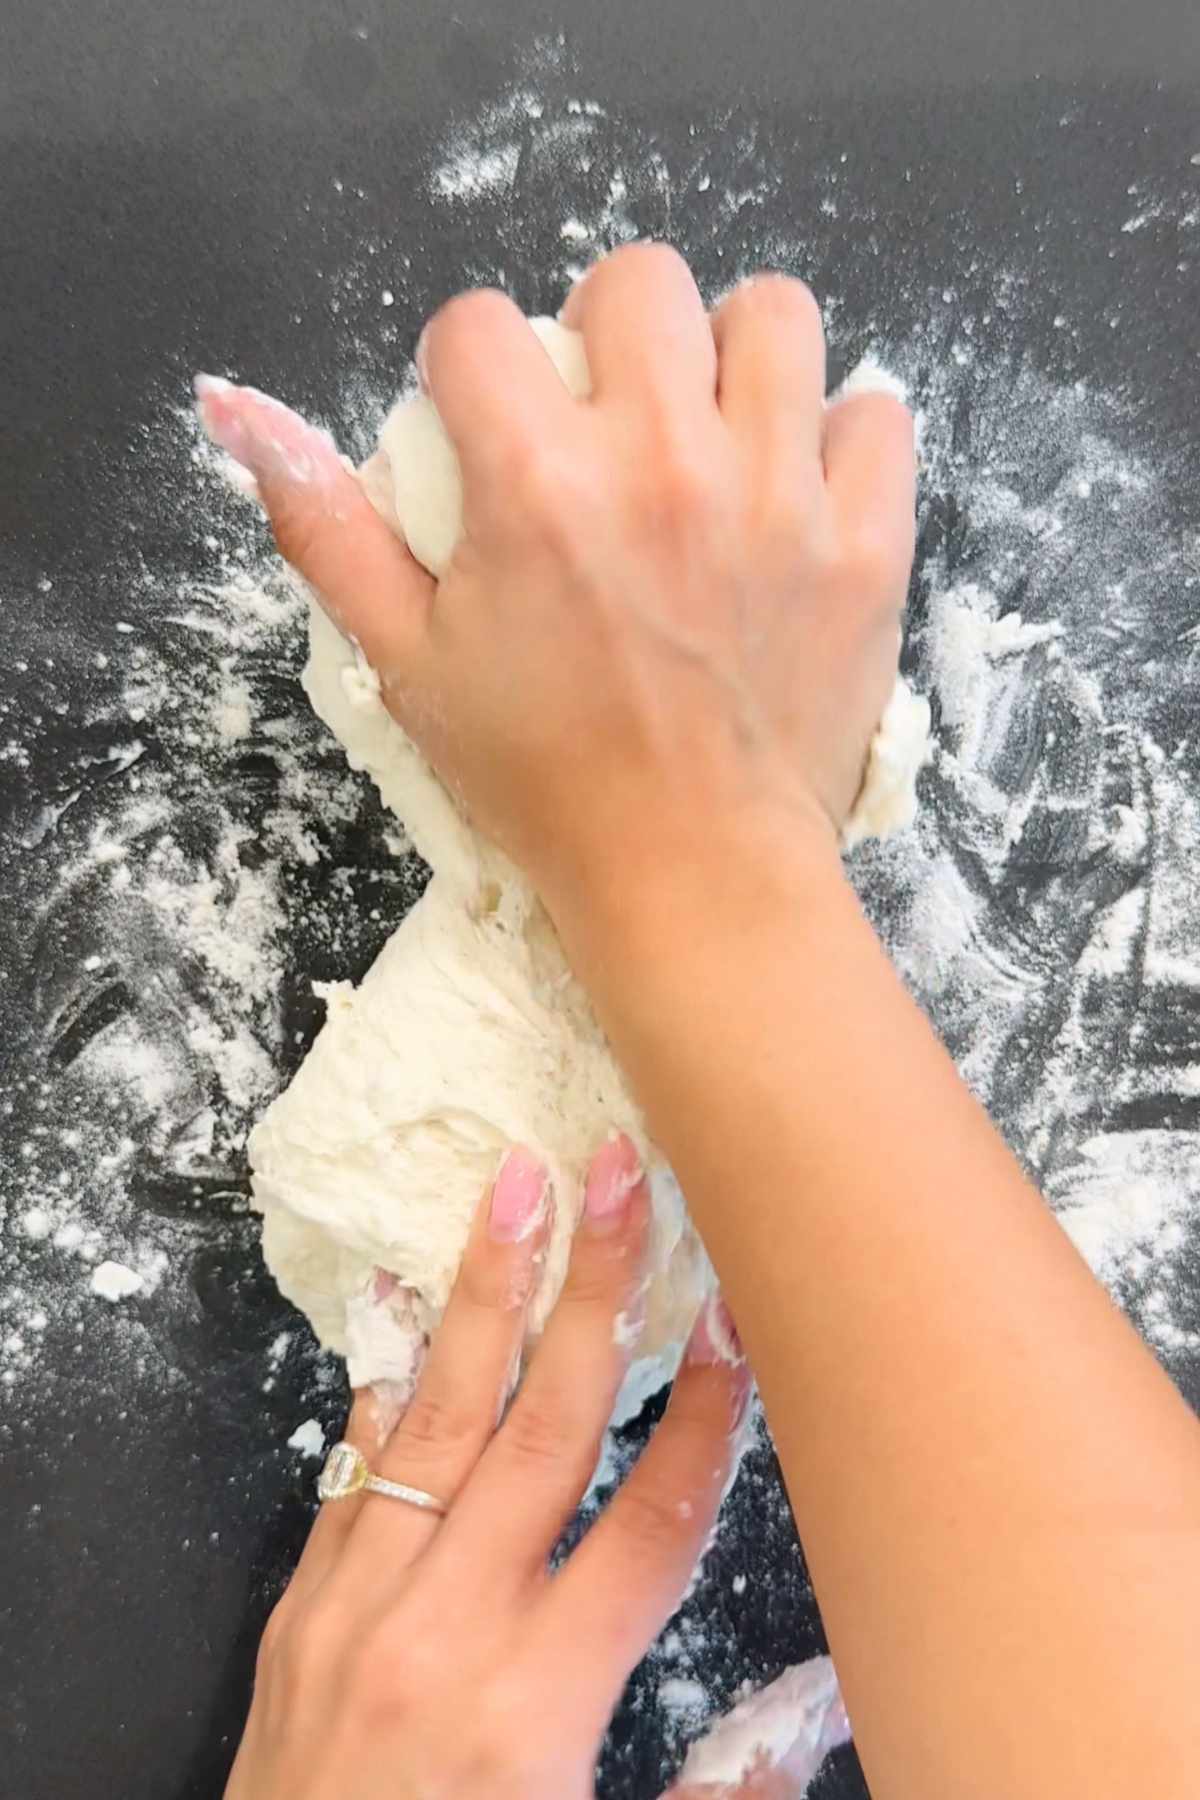
- Step 3: Pour the dough out onto a lightly floured surface. Knead the dough for 3 to 4 minutes, or until smooth. Lightly flour or wet your hands if the dough is too sticky to handle.
Minoo's Pro Tip: Don't overknead! Stop once the dough is smooth so the kefir rolls stay light.
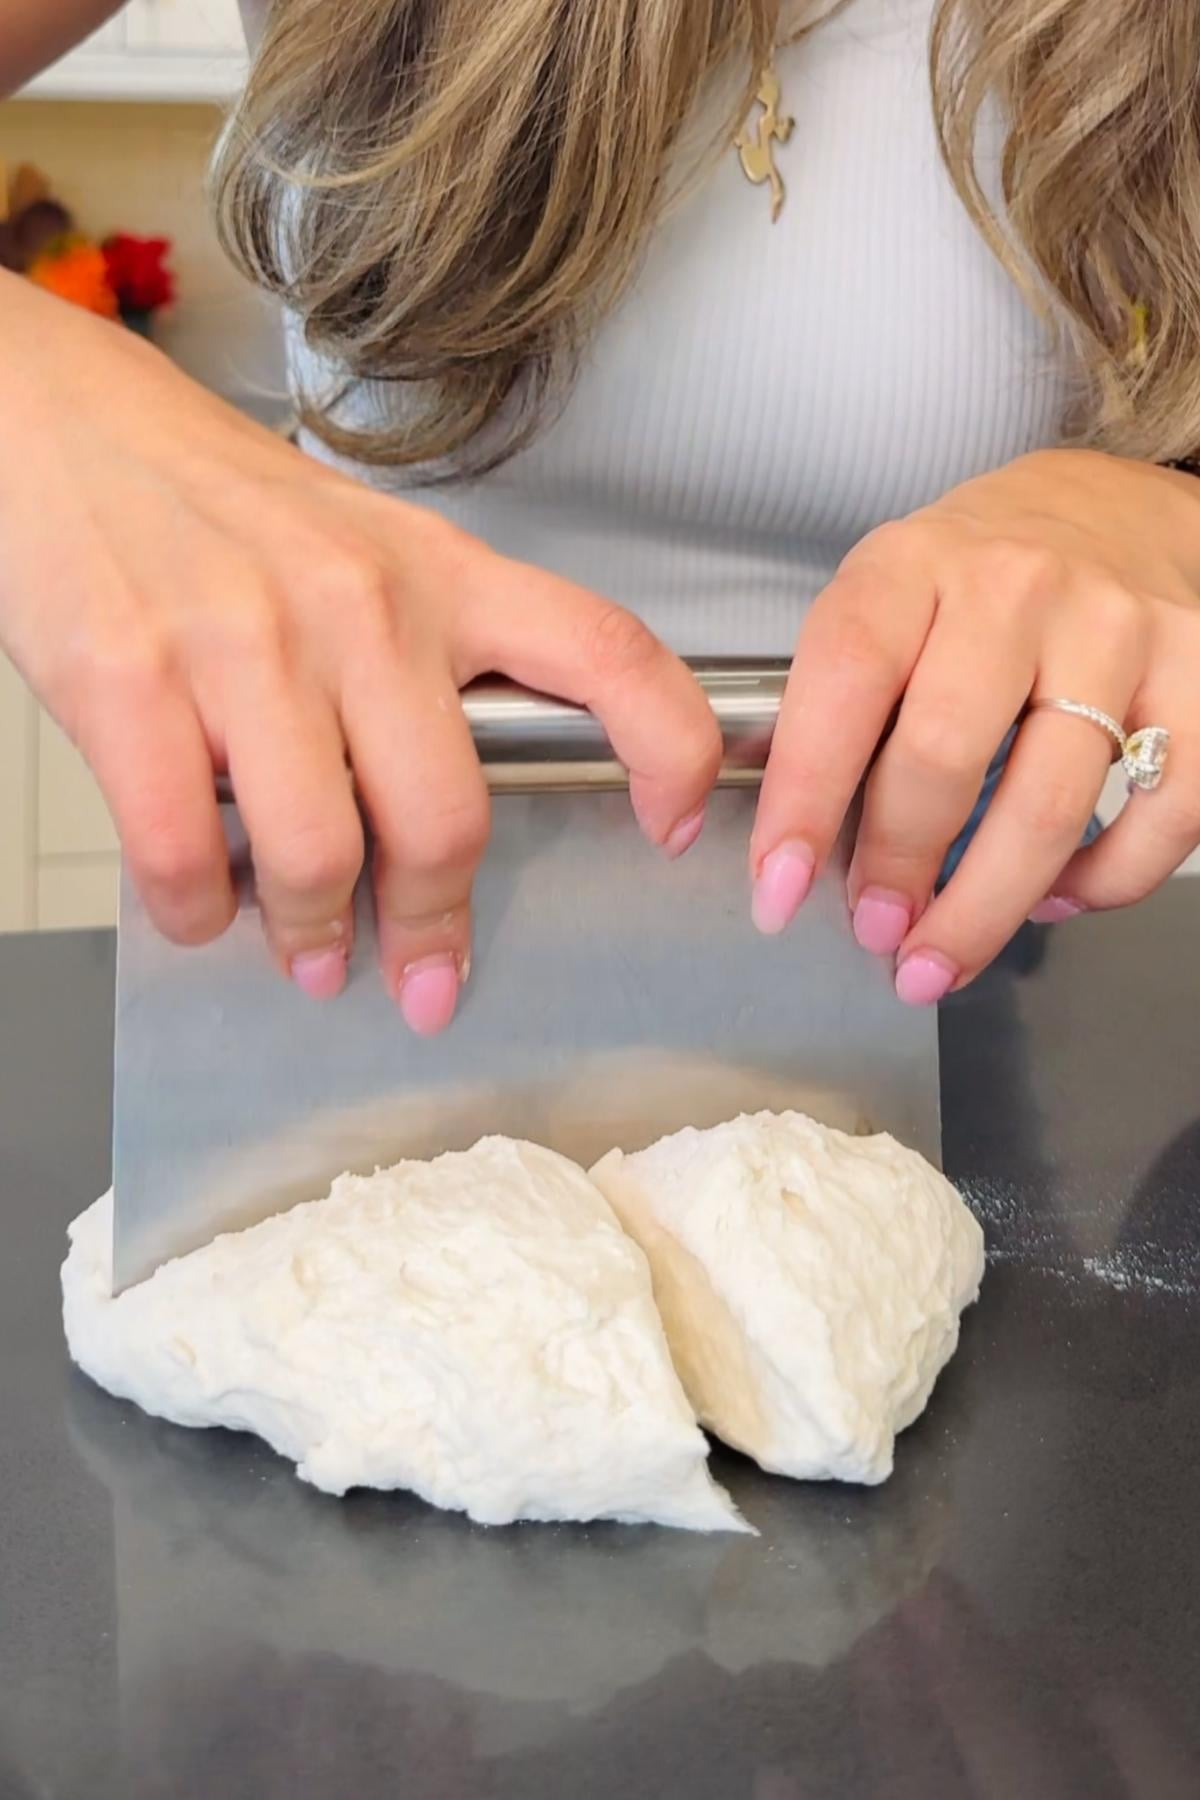
- Step 4: Shape the dough into a ball, and then divide it into 4 equal-sized portions with a knife or bench scraper. Dividing evenly is the key here: It ensures your rolls will bake at the same pace.
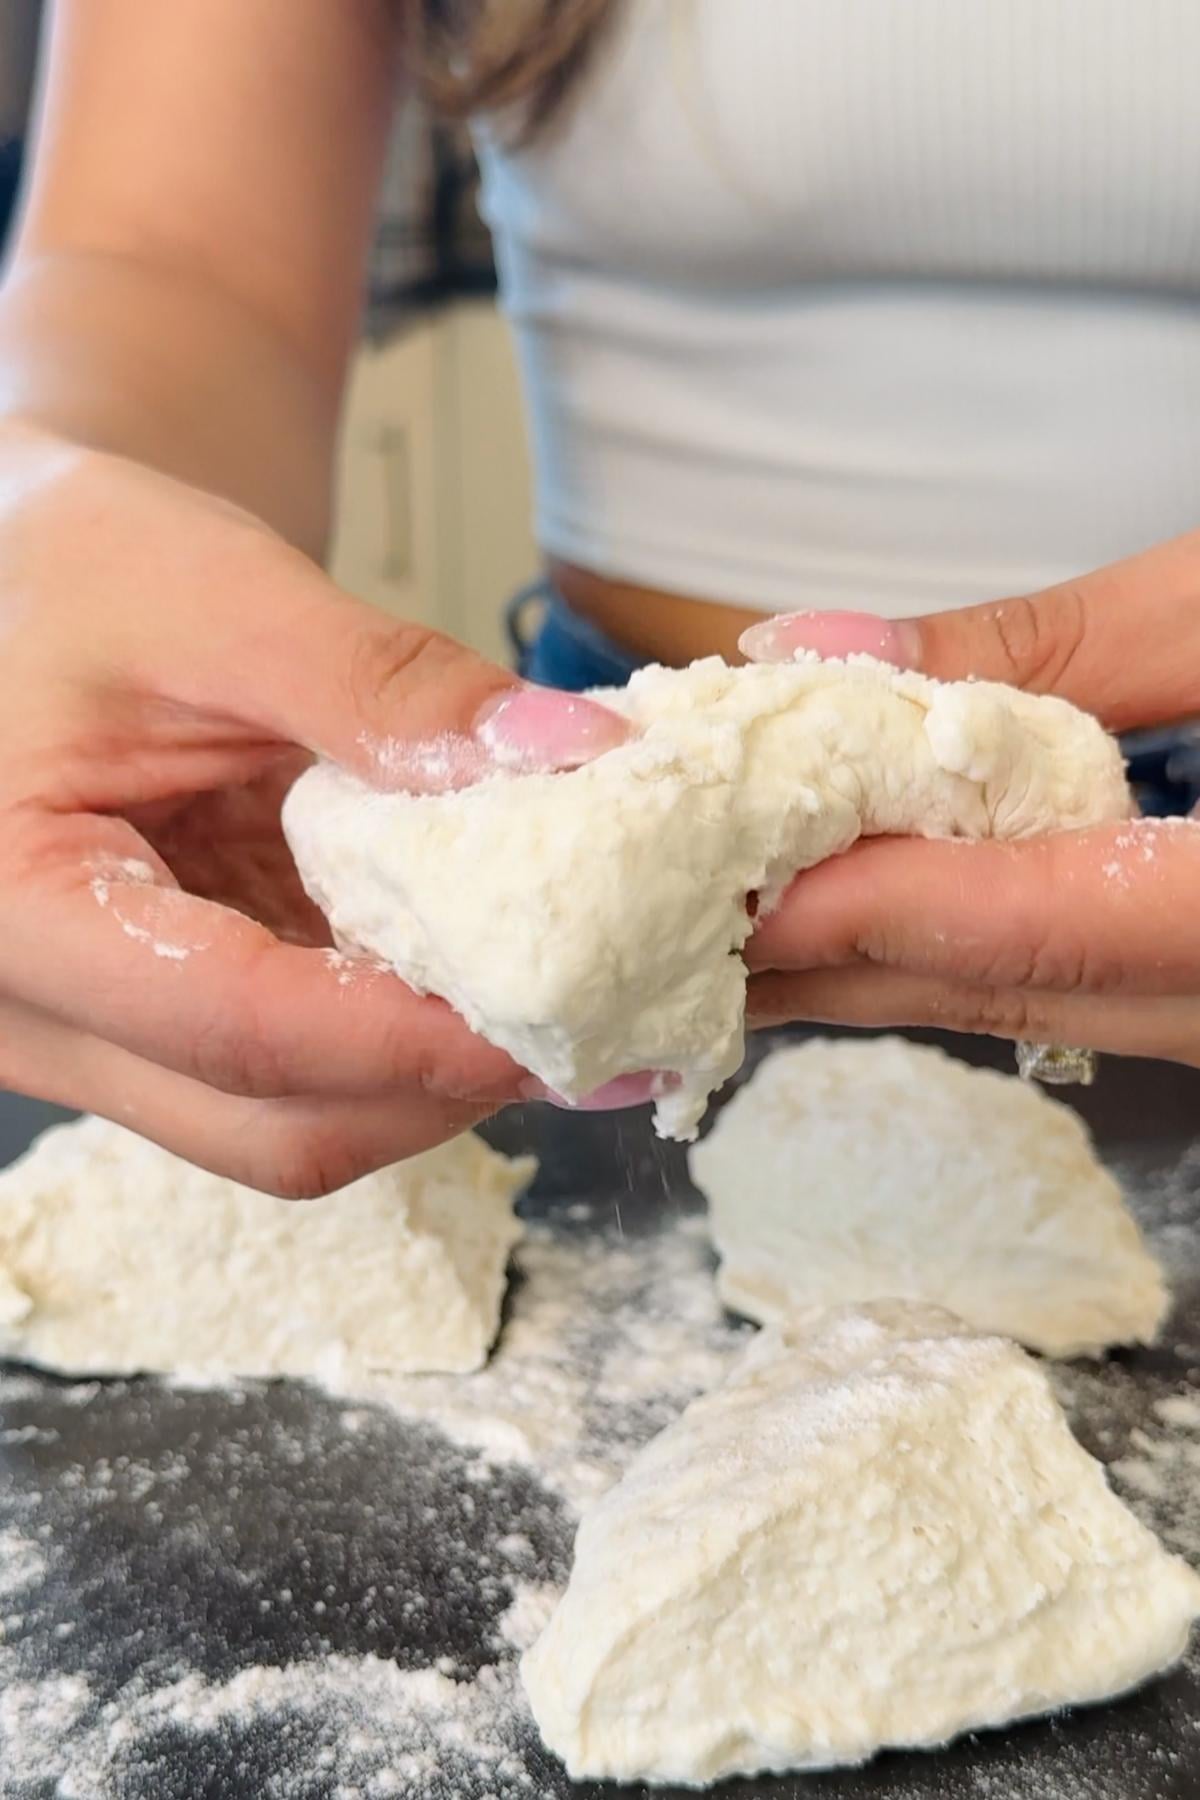
- Step 5: Flatten each portion to 1-inch thickness, and place them on your prepared baking sheet. Be gentle here. Too much force, and you'll end up with dense, tough rolls instead of airy, melt-in-your-mouth goodness.
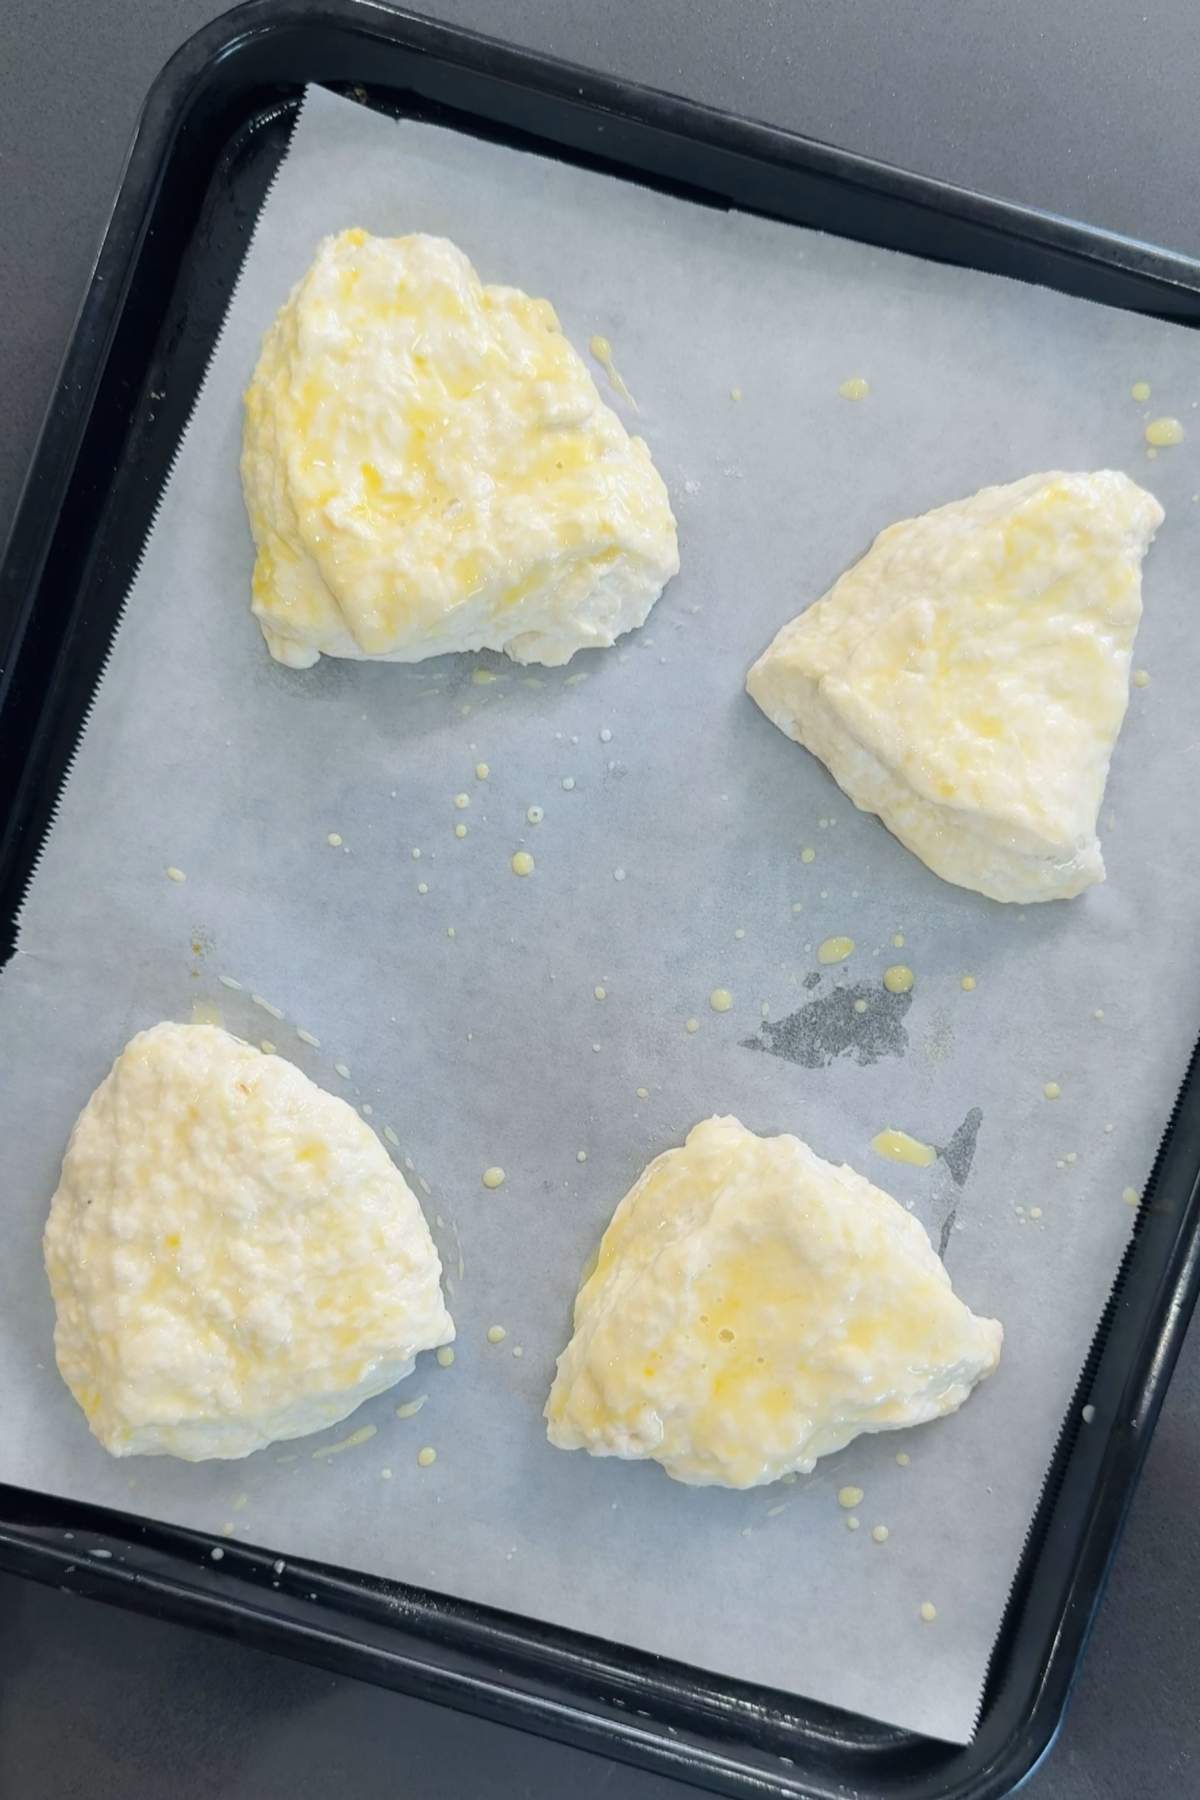
- Step 6: After an extra golden crust? Brush the tops with an egg wash (1 egg beaten) before you bake them in the oven! This is completely optional, but it's a great way to use up any leftover eggs, and it'll make your kefir rolls look as fabulous as they taste!
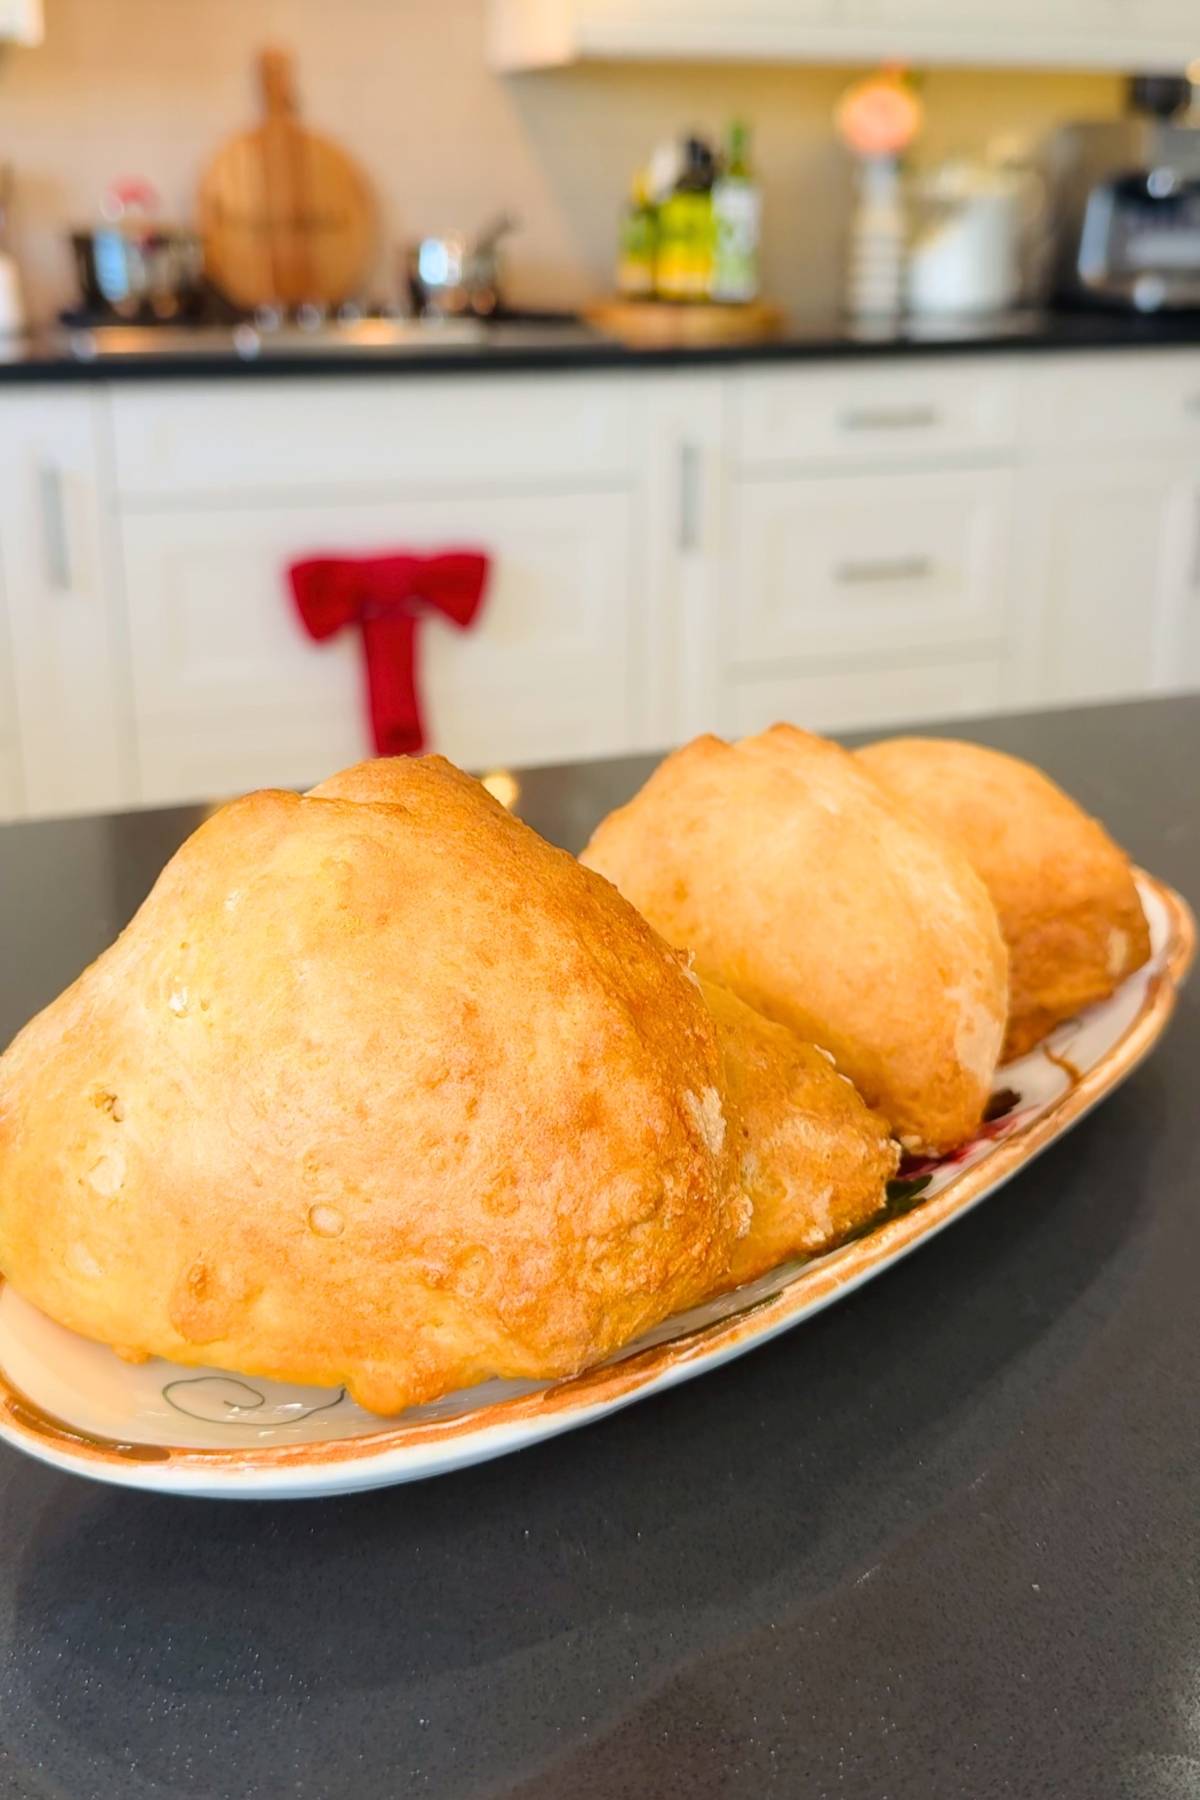
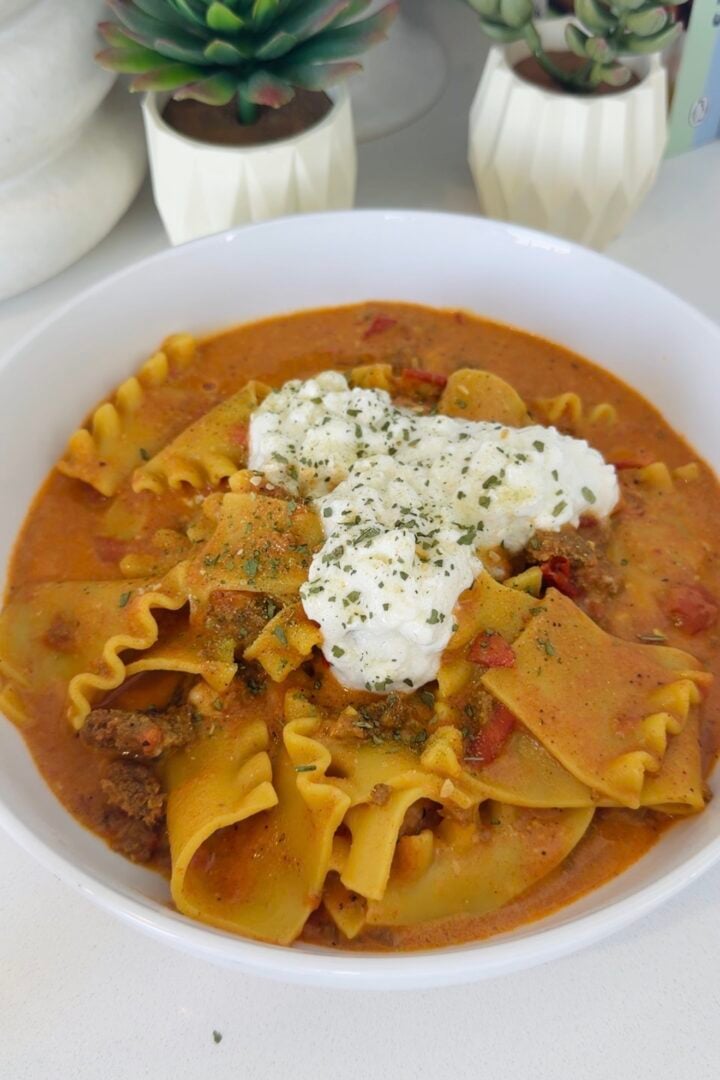
- Step 7: Bake for 20 minutes at 375°F (190°C) to get that crispy crust, then reduce to 350°F (180°C) and bake 10 minutes more. Cool completely before serving to give your bread time to reach that perfect, fluffy texture. Once it's ready, slice and pair with my easy cream cheese recipe or use to soak up my homemade lasagna soup.
Minoo's Pro Tip: Your rolls are plain so you can make them your own! Add frozen blueberries, top with jalapeños and cheddar, and bake in some sausage and cheese (YES, this works amazingly, trust me!). The possibilities are endless.
Expert Tips
- Don't overdo it with the flour while kneading: Sticky dough? You can dust it with a little flour while kneading to make things a little easier, but DON'T overdo it. If you keep adding flour, you will end up with a very dense bread, and nothing like the light, airy sourdough-esque texture we're after! If it feels sticky, use wet hands to handle the dough. I find this works just as well, and it won't affect your dough's consistency.
- Don't forget to drop the temperature as you bake: This is the secret to getting the rolls "just right!" The high temperature toasts up your crust to make it golden and irresistibly crispy, while lowering the temperature gives the center time to properly cook throughout without causing that crust to turn from crispy to burnt.
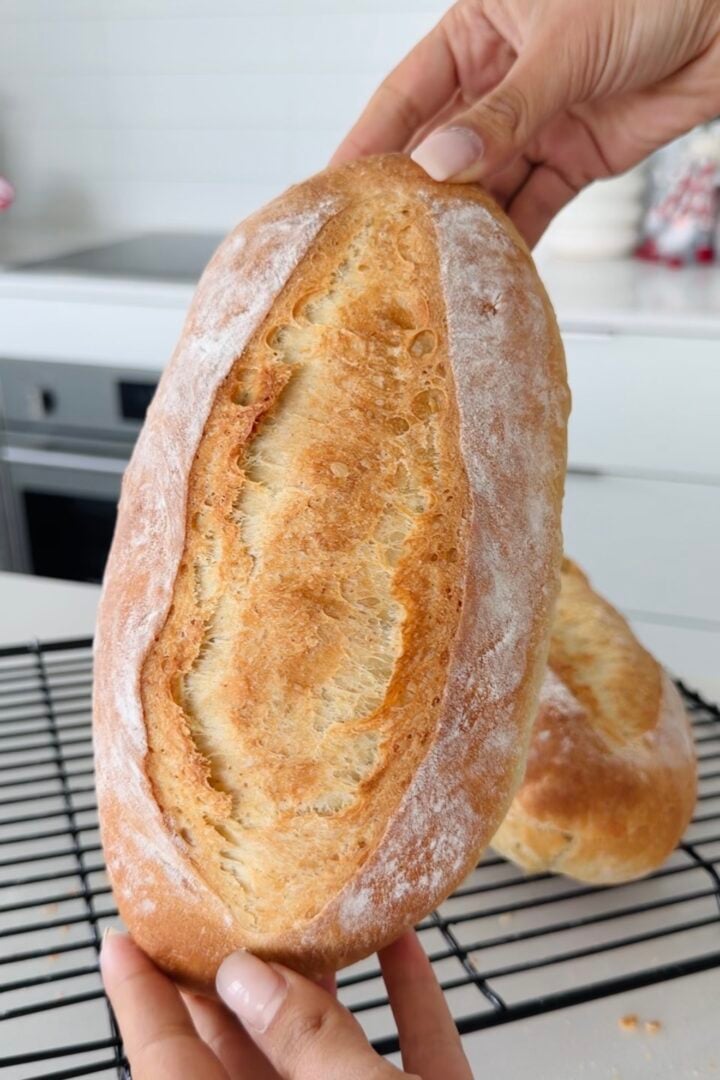
- Keep a close eye on your oven: Every oven is different, so treat the times above as a rough guide rather than a hard rule. Your bread is ready once it has a golden brown top and sounds hollow when tapped. If it looks pale, bake for a few minutes longer. Fyi, this tip applies to many of my homemade bread recipes, so remember this if you go on to make my Italian baguette or my artisan bread rolls recipe!
Kefir Bread Recipe FAQs
My kefir bread is best enjoyed fresh, but it'll keep for up to 3 days if stored in a paper or plastic bag on your counter. You can also freeze my kefir bread for up to 3 months. Just store in a freezable plastic bag and defrost when you're ready to enjoy.
If your kefir bread rolls have gone a little stale, don't panic! You can usually revive their texture by dampening the tops with water and popping them in the oven for a few minutes at 350°F (180°C). You can also repurpose the stale bread to make a DIY base for a cheesecake, an old school butter pudding, or even croutons to top a bread soup bowl.
The probiotics you find in kefir won't really survive the heat of the oven. They tend to die off once temperatures are above 115°F (46°C). However, you'll still get that flavorful sour tang and airy texture, and other nutritional benefits from the vitamins and calcium.
In my experience, I've always found that even despite the lack of probiotics, my homemade kefir bread is A LOT more digestible than shop-bought bread.
If you're mainly looking to add more probiotics to your diet, though, then it's best to add kefir in other ways. Use it as a substitute for buttermilk in my thick pancakes recipe or mix it into a fruit smoothie for an immune boost. You can even use it as a base for a yogurt bowl and top with my strawberry chia jam recipe!
You probably flattened the dough with too much force. This is the mistake I made when I first made this recipe. I tried to rush through the process, and my rolls unfortunately paid the price. You need patience and a gentle hand here, as otherwise, you'll lose that airy, fluffy texture and end up with dense bread.
You should also make sure you haven't gone overboard with the flour while kneading. Even if you have the initial measurements right, adding flour to keep that stickiness at bay can quickly turn your dough heavy if you're not being mindful; those "light sprinkles" here and there add up quickly! If you're finding the dough too sticky to work with, wet your hands lightly with water instead.
More to Try
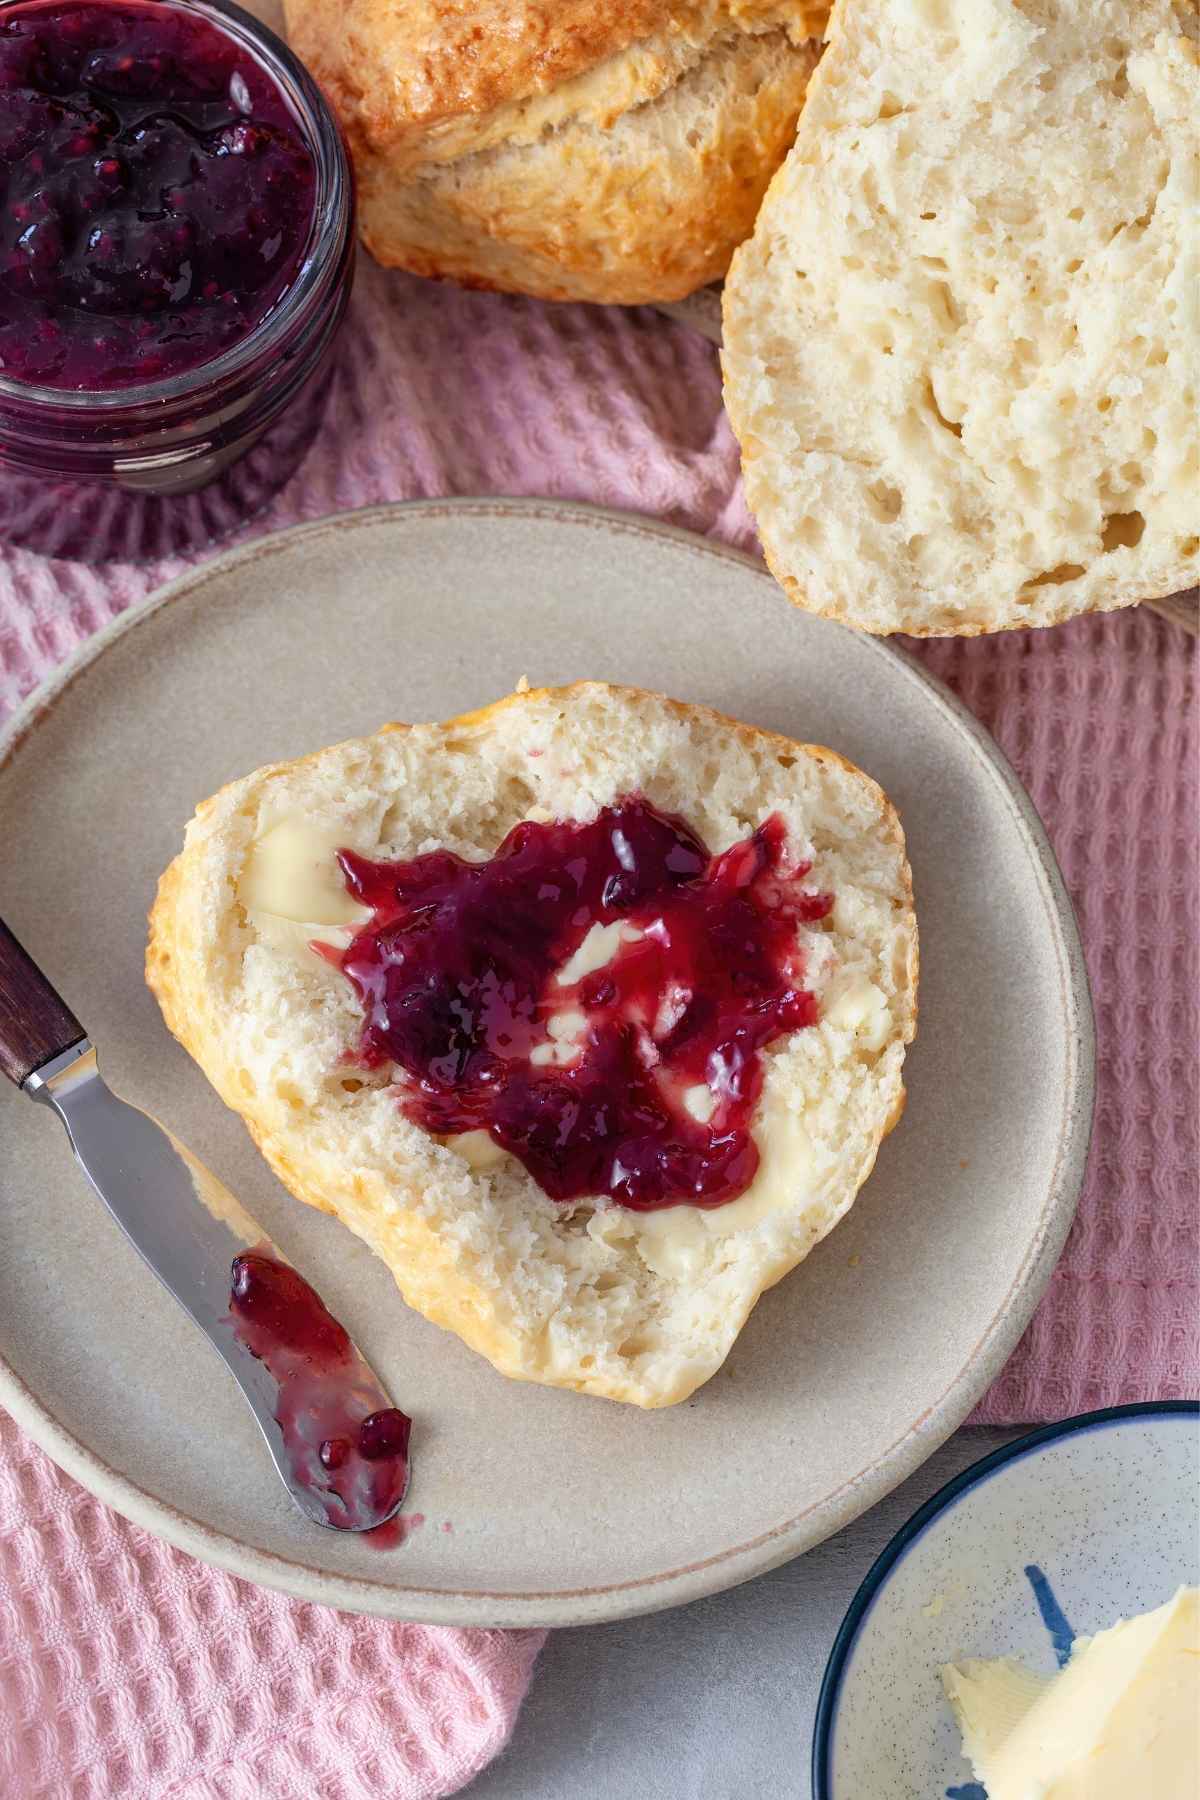
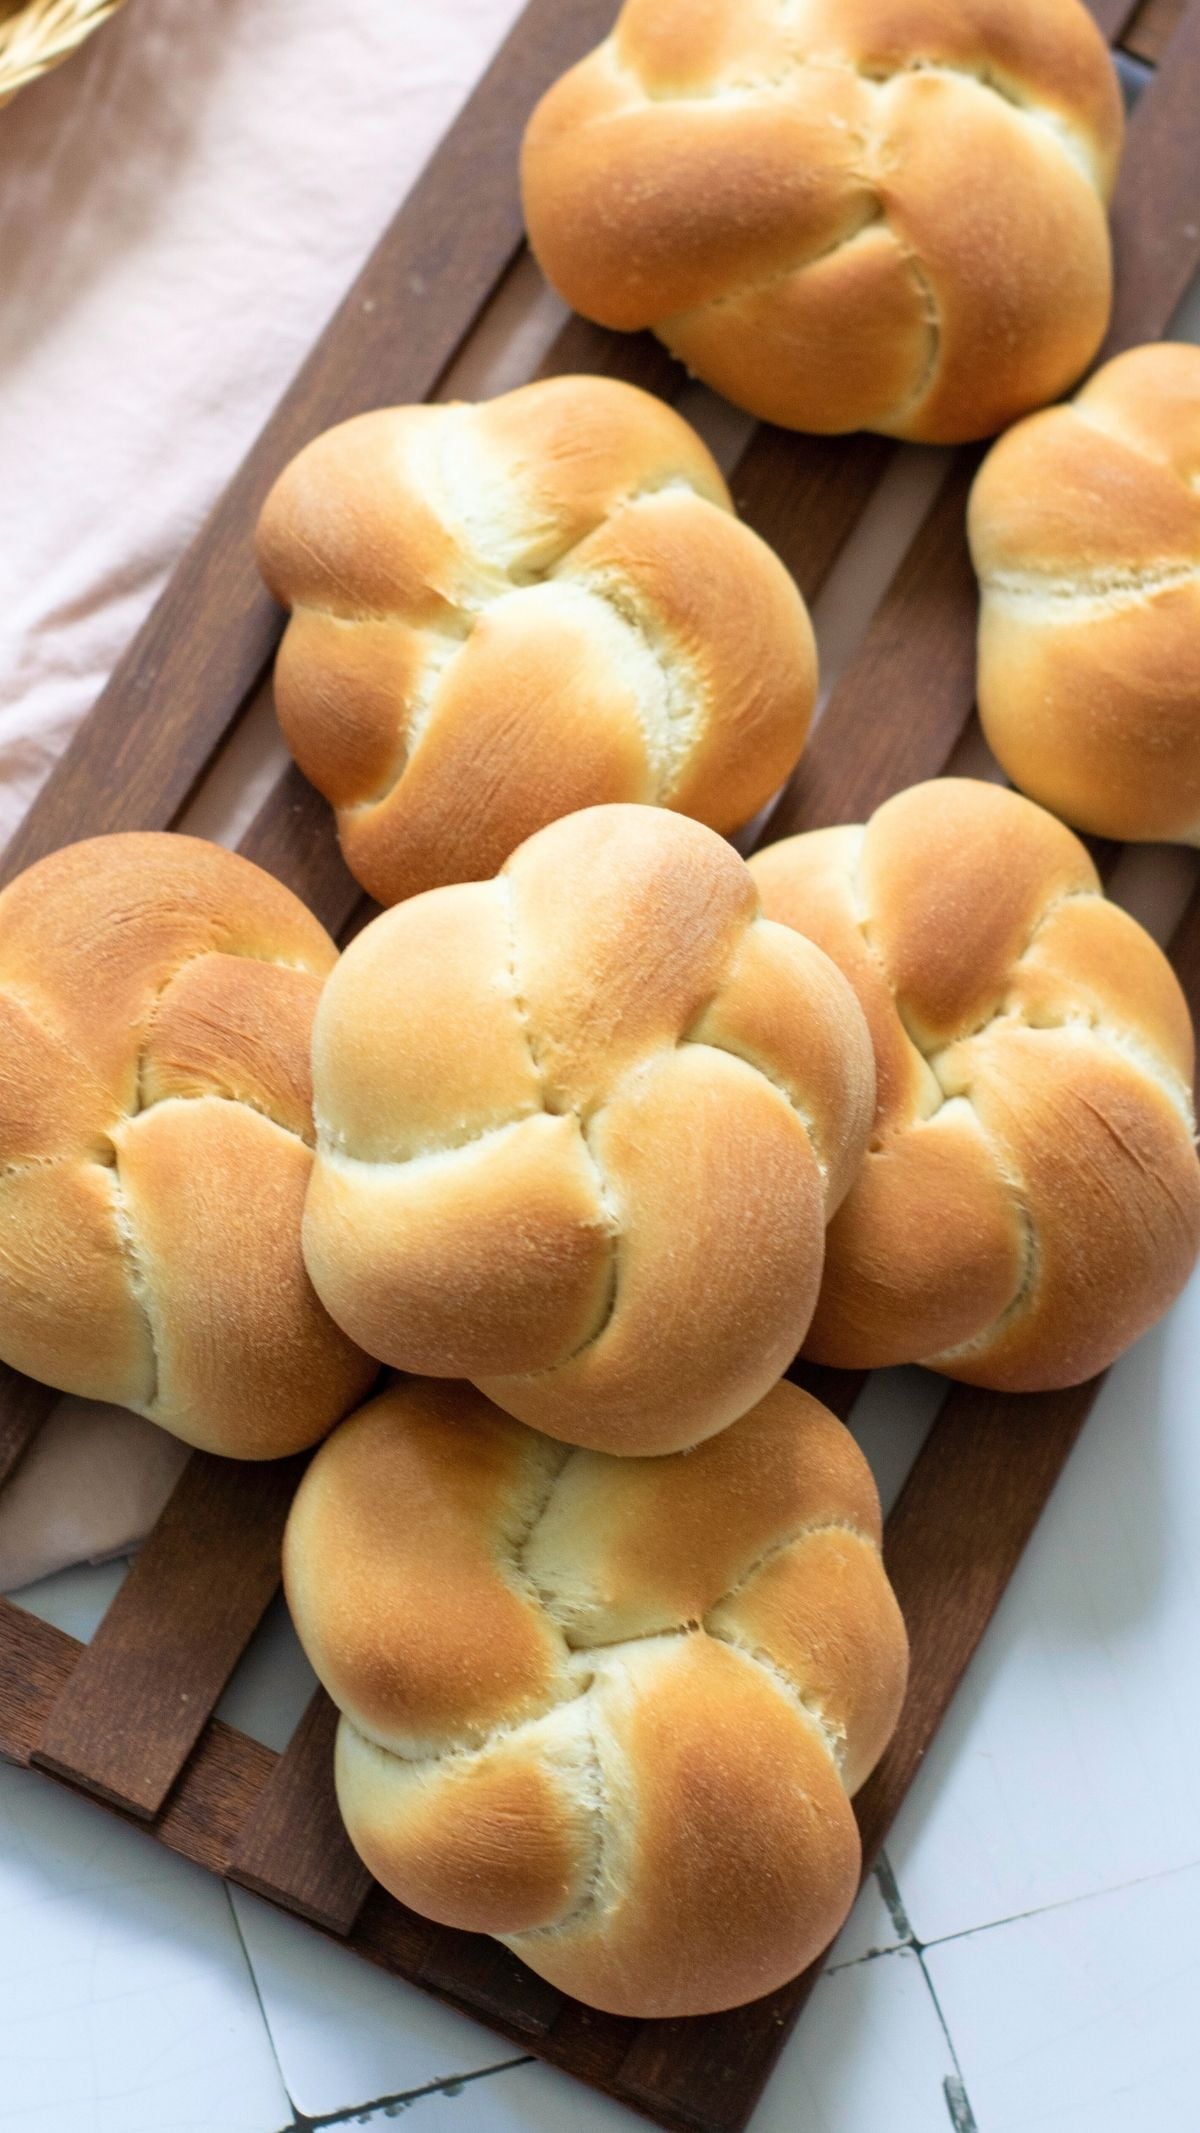
My kefir bread's sour tang pairs beautifully with so many dishes, and you can even serve it as part of a bread basket! Here are some of my personal fave combos:
Enjoying This Recipe?
It would mean the world to me if you left a quick review or any questions you have in the comments below!
Recipe Card

Kefir Bread Recipe
EMAIL THIS RECIPE
Enter your email and I'll send this directly to you.
Plus you'll get new recipes from me every week!
Ingredients
- 2 Cups Self-Raising Flour
- 1 Cup Kefir
Optional Topping:
- 1 Egg beaten
Instructions
- Preheat oven to 375°F (190°C) and line baking sheet with parchment paper.
- Combine flour and kefir in large bowl and mix until a shaggy dough forms.
- Pour dough onto a floured surface and knead 3-4 minutes until smooth.
- Shape the dough into a ball and divide into 4 equal portions.
- Flatten each portion to 1-inch thickness and place on the prepared baking sheet.
- Brush the top of the rolls with an egg wash before baking to get an extra golden, bakery-style crust.
- Bake 20 minutes at 375°F, then reduce to 350°F and bake 10 minutes more. Cool completely before serving.
Notes
- Take your kefir out of the fridge in advance: Cold kefir will still work, but I've found room-temperature kefir mixes much better and is easier to work with.
- Flatten the dough gently: This keeps the rolls from turning dense.
- Use wet hands or flour while kneading: If your dough feels sticky, add a little extra flour or use wet hands while kneading until it's smooth and workable.
Nutrition
Want To Save This Recipe?
Share your email & we'll send it over! PLUS, you'll get new recipes from us weekly

I was looking for a way to use up homemade kefir and came across this recipie. Being skeptical of 2 ingredients I wasn't sure what to think, but these turned out great! My son tried his with butter and jelly, and I tried butter and honey. So good! I cant wait to try again, but throw in some different seasoning like garlic powder for savory or even cinnamon or pumpkin pie spice to try with apple jelly.
They would make a great breakfast sandwich!
I think I will also try making them a bit smaller, maybe 6 instead of 4. They are a little heavy and I think the size would work best. Will need to figure out the baking time if making them smaller, but what a great recipe!!
Hi Jill! I'm so happy to hear that you loved this recipe. I was skeptical too but it really is as easy as mixing two ingredients. And I'm so glad your son loved to too, the possibilities are endless and it's a great way to get the kids involved in baking too (: Thank you again for all the kind words!!
Have you tried making these with whole wheat flour? I make all my bread with freshly ground wheat berries.l
Hi Lynne! That is awesome!! You can definitely make these will whole wheat flour just remember to add the baking powder and salt and you may have to increase the amount of kefir you put to get the correct consistency.
This is genius! So much better than fat laden biscuits. Cheap, quick and easy, and oh so good. But I think you lose the probiotic factor of the kefir after 120* ?
Whatever, these are wonderful. No more Frozen or canned biscuits, thanks for posting this
Though some of the probiotics do die at higher temperature the kefir does still retain its gut friendly characteristics and also have plenty of nutrients and vitamins still in your bread (: So glad you like the recipe Caroline!!! Appreciate you.
Can I use cottage cheese cheese instead of kefir? I'm lactose intolerant
You can! You will just have to add a bit less cottage cheese and also I reccommend blending it for the best texture.
I can’t wait to try this ????
let me know how it goes!!
Tried it with milk plain kefir and the dough came out perfect and fluffy.
Baking as directed and can't wait to see the result
Thanks for your willingness to help especially reduce butter consumption
Sandy
Hi so happy to hear that Sandy! So happy I could help (:
For this did you use water kefir or milk kefir? I think either would work but the milk kefir is thicker.
Either should be okay but I prefer milk kefir!