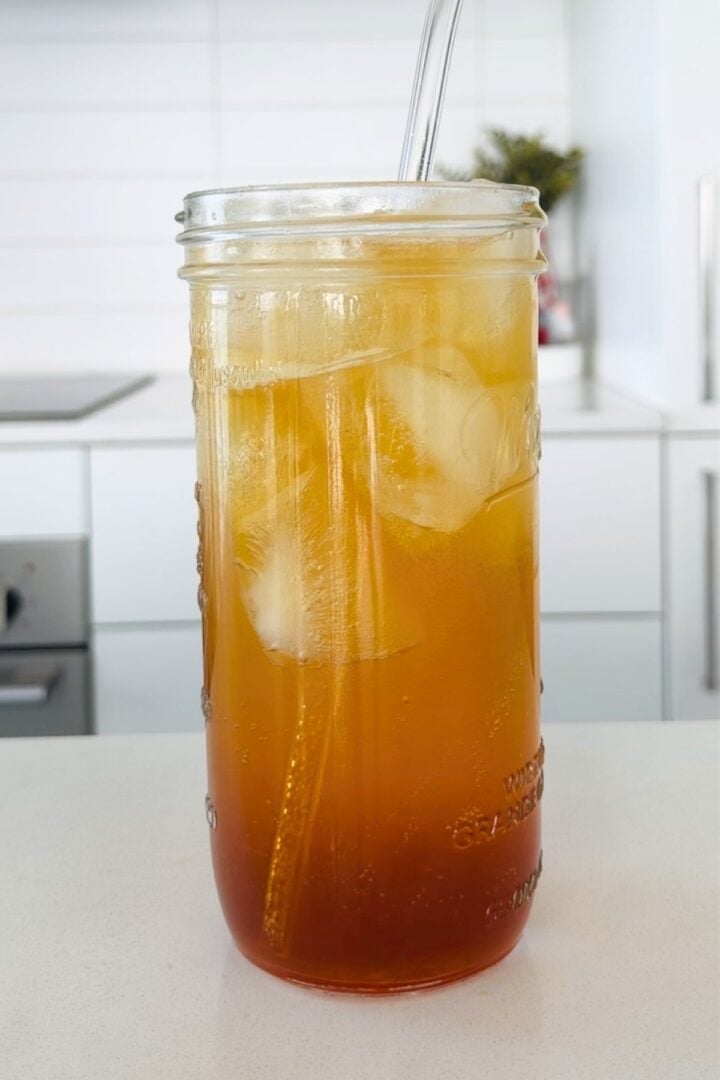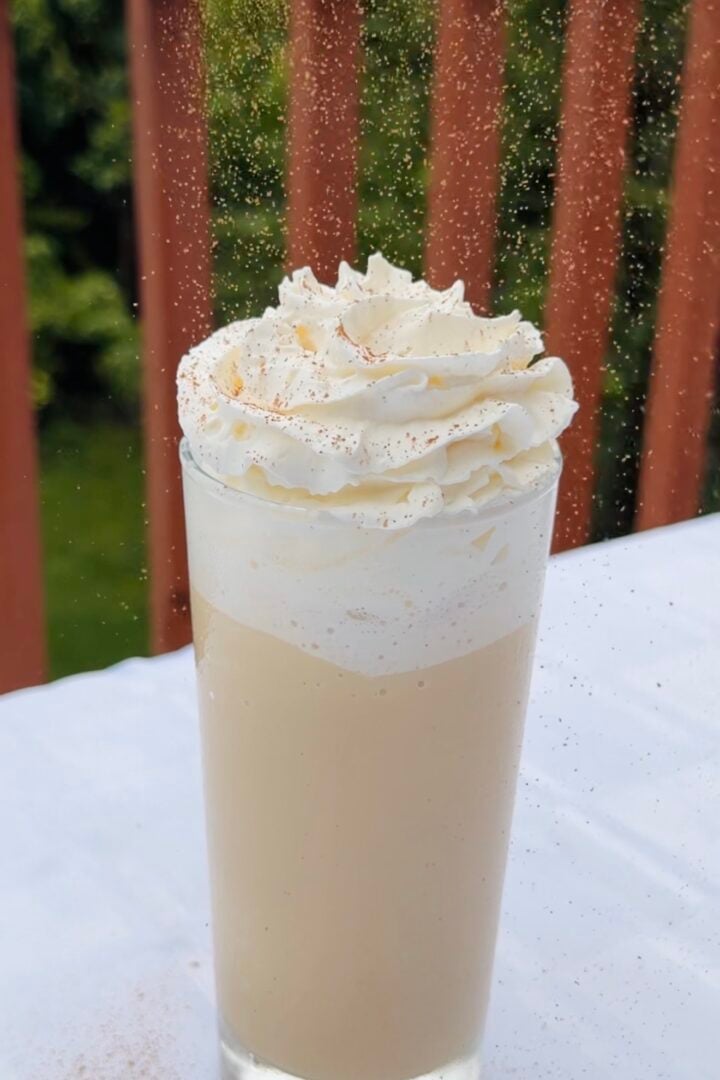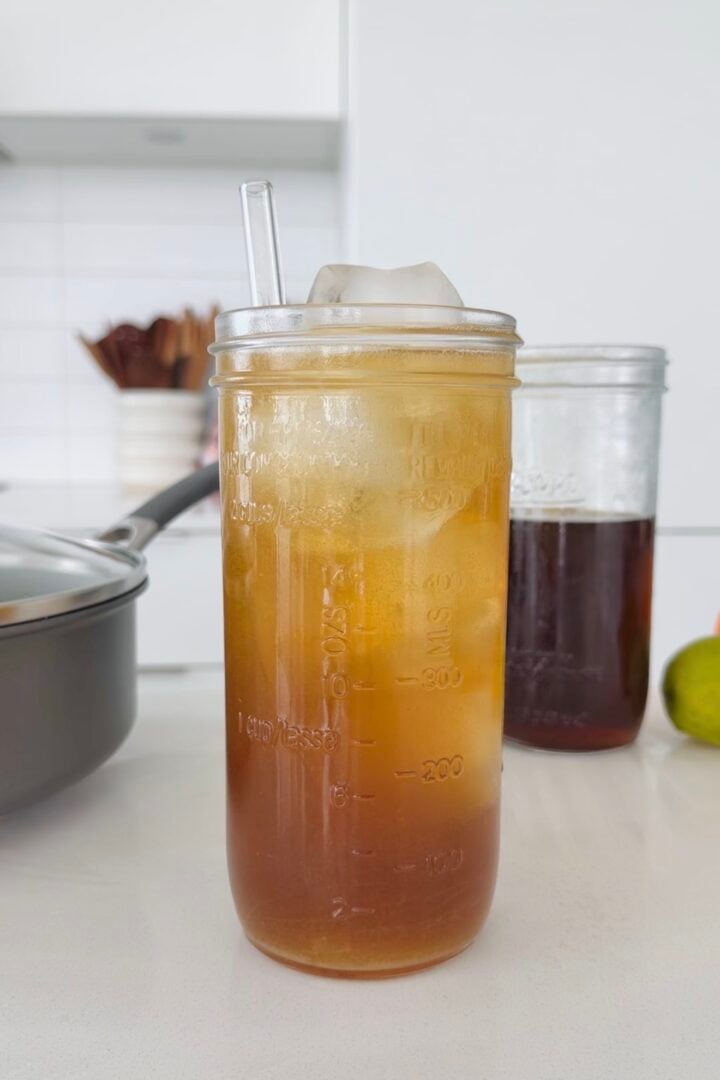
My hot cocoa mix recipe without dry milk is ready in 5 minutes, requires just 2 key ingredients, and costs CENTS to make. It's also vegan-friendly since you add the milk later! A single sip of this hot cocoa on a cold winter day, and you'll never crave the watered-down store cocoa again. Enjoy with whipped cream and fluffy marshmallows, pair with my fruit muffins recipe, or gift to your loved ones (if you can resist!).
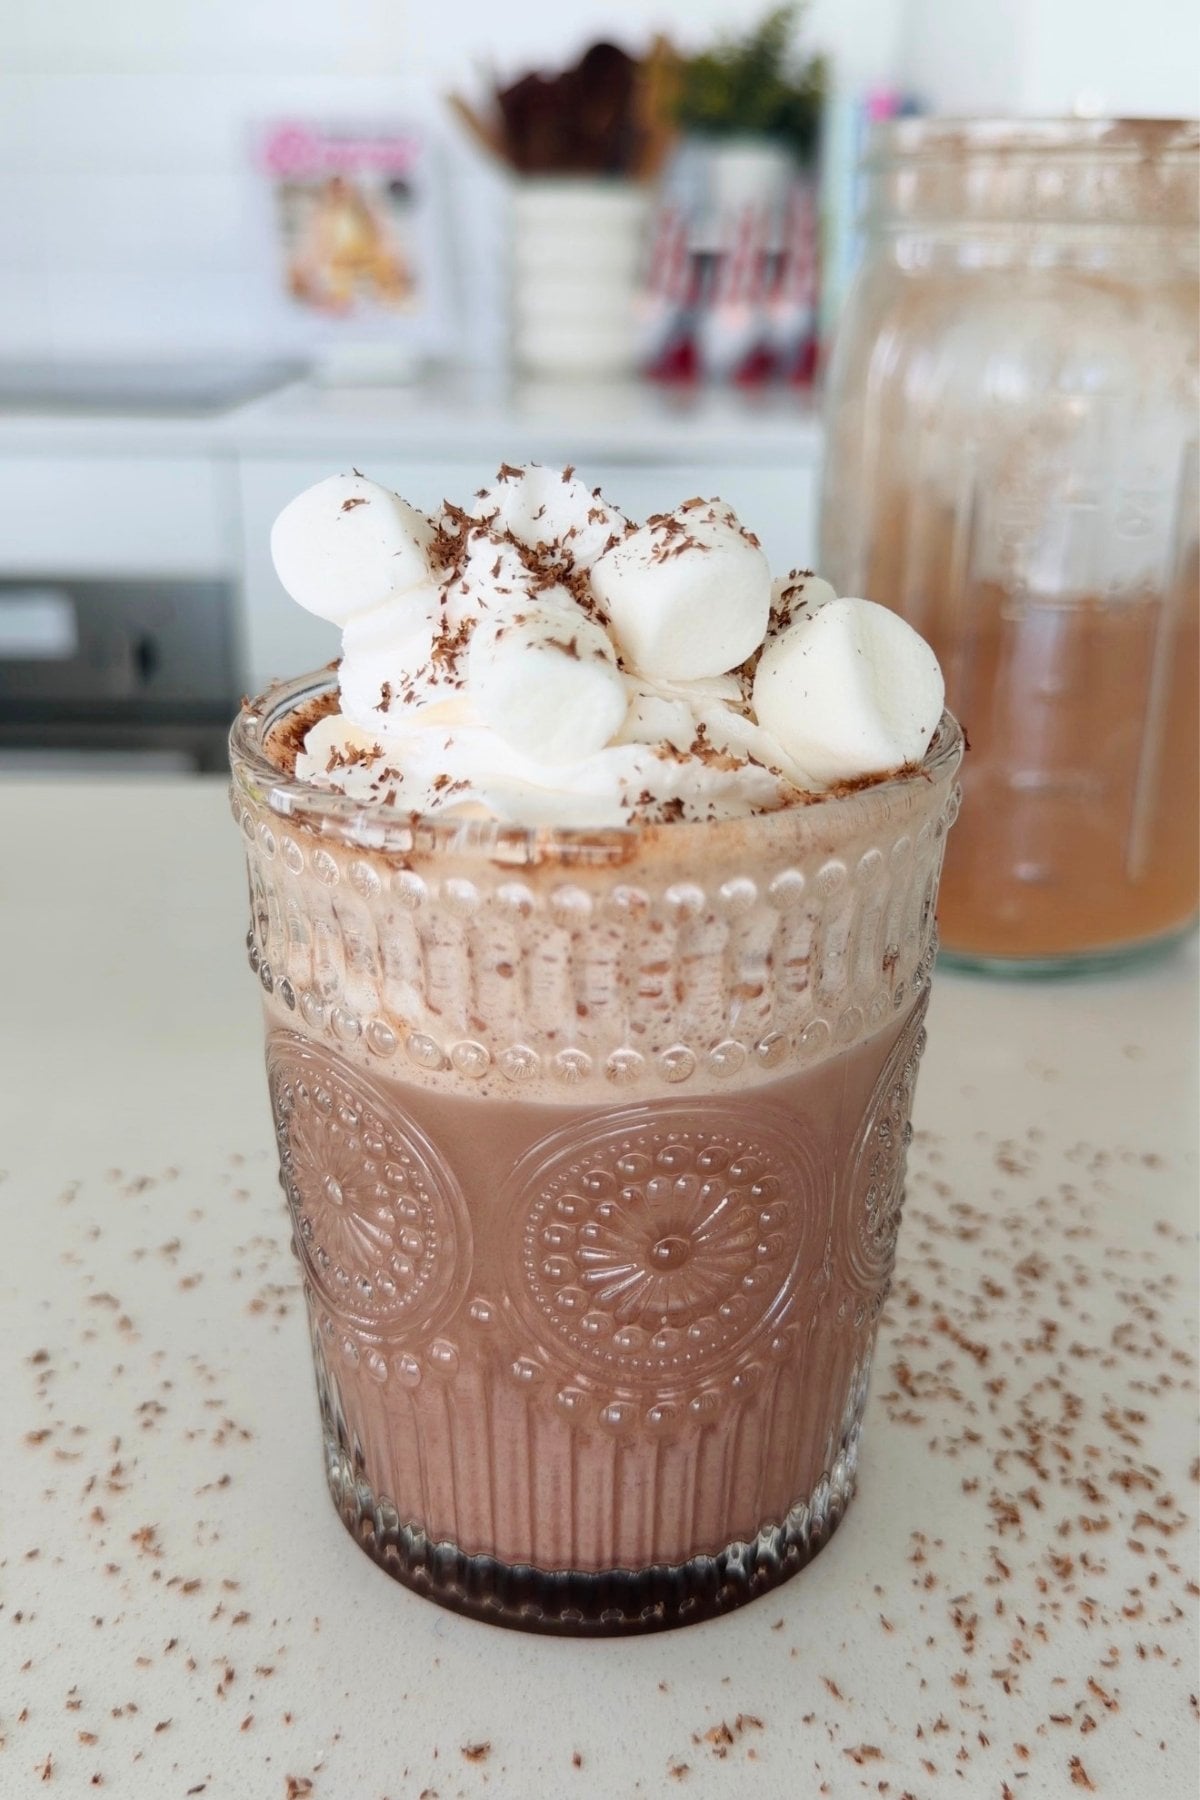
Quick Look: Hot Cocoa Mix Recipe Without Dry Milk
- Prep Time: 5 Minutes
- Total Time: 5 Minutes
- Yield: About 1 ¾ cups of mix (14 servings)
- Difficulty: Beginner
- Dietary Info: Vegan-friendly (use plant milk)
- Optional Add-Ins: Cinnamon, peppermint, nutmeg, chili powder, cayenne, ginger, vanilla, marshmallows, whipped cream, chocolate shavings, chocolate chips, cookies, candy canes, honey, syrup, rum
- Why This Works: With 5 minutes of prep, 2 basic ingredients that cost cents, and no dry milk required, anyone can make and enjoy this hot cocoa!
SUMMARIZE & SAVE THIS CONTENT ON
Why We Like This
- Unbeatable chocolatey taste: Every store-bought cocoa I've tried has tasted watered down and left a sickly sweet aftertaste in my mouth. My homemade hot cocoa mix is made primarily with unsweetened cocoa powder, so the chocolate actually shines through and satisfies that craving. Top with whipped cream to give your cocoa a touch more decadence, and pair with my easy Japanese milk bread or wonder bread recipe!
- No artificial additives or preservatives: Not only does store-bought hot cocoa skimp on the cocoa, but its flavor is also masked by DOZENS of artificial fillers. My hot cocoa mix takes an extra minute of prep, but trust me: it's SO worth it for both taste and peace of mind. You'll know exactly what goes in.
- No dry milk required: So many hot cocoa recipes online require dry milk. While there's nothing wrong with this, it does frustrate me! Dry milk is so expensive, and it makes it hard to accommodate different dietary needs (if you use dairy). It also means you can't adjust the cocoa's milk ratio afterward. I've found that some guests want milkier hot cocoa than others, and dry milk just takes away that flexibility. That's why my recipe is made WITHOUT dry milk. You only add the milk when you're ready to serve, exactly to your preference.
- It costs CENTS to make: The average store price for a hot cocoa mix is $15, and you're lucky if you get more than 8 servings out of that. It just makes sense to make this at home, especially if you're like me and host a lot of parties during the festive season!
- A festive gift your family won't "regift": Skip the socks. A homemade hot cocoa mix is a gift your loved ones will actually cherish and enjoy! Instead of the "Oh… how thoughtful of you," you'll get genuine happiness and be on their "nice list" next Christmas. My homemade brownie bites also make a stunning gourmet gift for chocolate lovers, so I love to gift them together with my cocoa!
Minoo's Pro Tip: For an extra personal touch, customize the mix to the person's preferences! My mom absolutely adores gingerbread - an obsession that started after she tried my gingermen cookies - so I always add ginger and nutmeg to her cocoa mix.
Ingredients
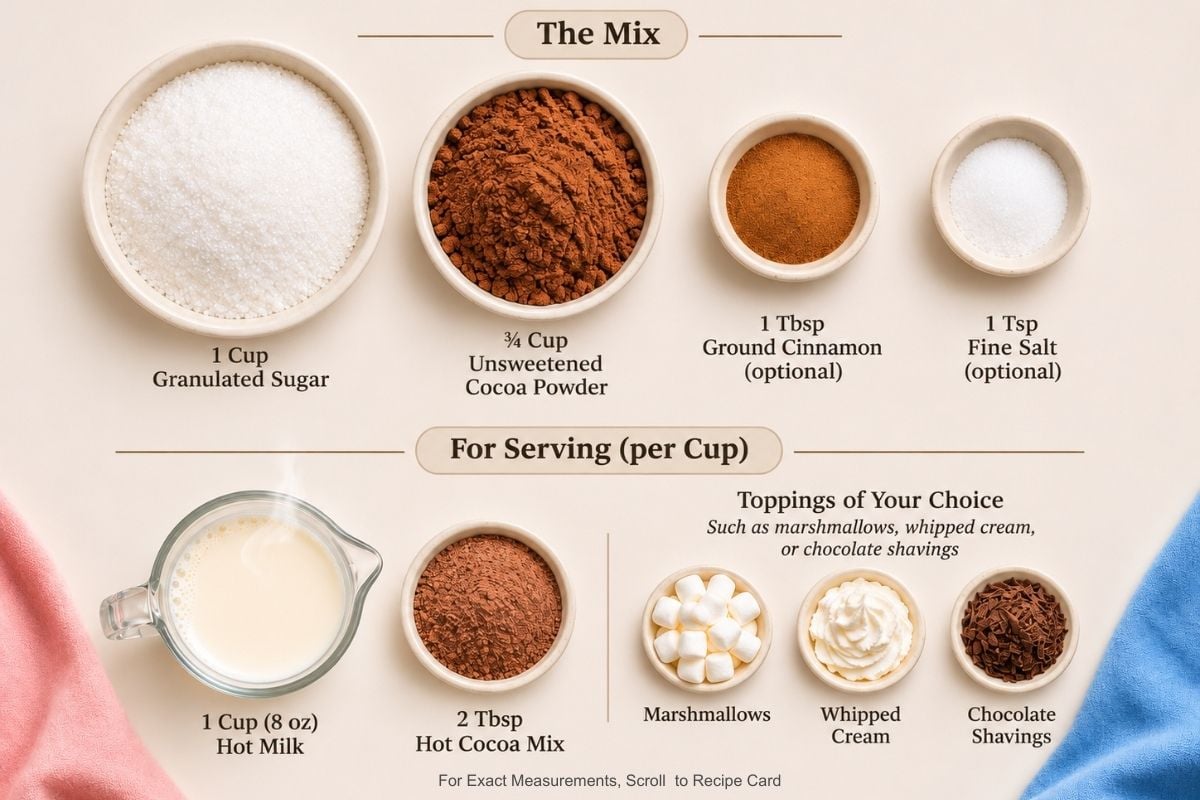
There's nothing quite as comforting as a mug of hot cocoa… But knowing you can make your own from scratch with just 2 key pantry staples? I'd say that's pretty comforting too!
- Cocoa Powder: I use unsweetened cocoa powder since it costs cents and gives your hot cocoa a more "traditional" chocolatey taste, but you can use Dutch-processed cocoa if you prefer. Dutch-processed cocoa is slightly mellower, so it's perfect for those who want something a little less indulgent. Dutch-processed is actually what gives my copycat Oreos their unique flavor!
- Granulated Sugar: Granulated sugar is my go-to for convenience. Coconut sugar and brown sugar work fine too; brown sugar will give your hot cocoa a more caramelized undertone, which I've found pairs perfectly with my Starbucks pumpkin muffin recipe! You can also make this sugar-free by swapping the sugar for monk fruit sweetener. Substitute at the same amount.
Minoo's Pro Tip: Another perk of homemade cocoa? You can customize it and really channel your inner Willy Wonka! Add peppermint, vanilla, or even a tiny pinch of cayenne for a kick. You can also adjust the sugar amount to your liking. I find that 1 cup gives the perfect balance, but you can add more if you want something sweeter, or less if you want a richer cocoa.
How to Make My Hot Cocoa Mix Recipe Without Dry Milk
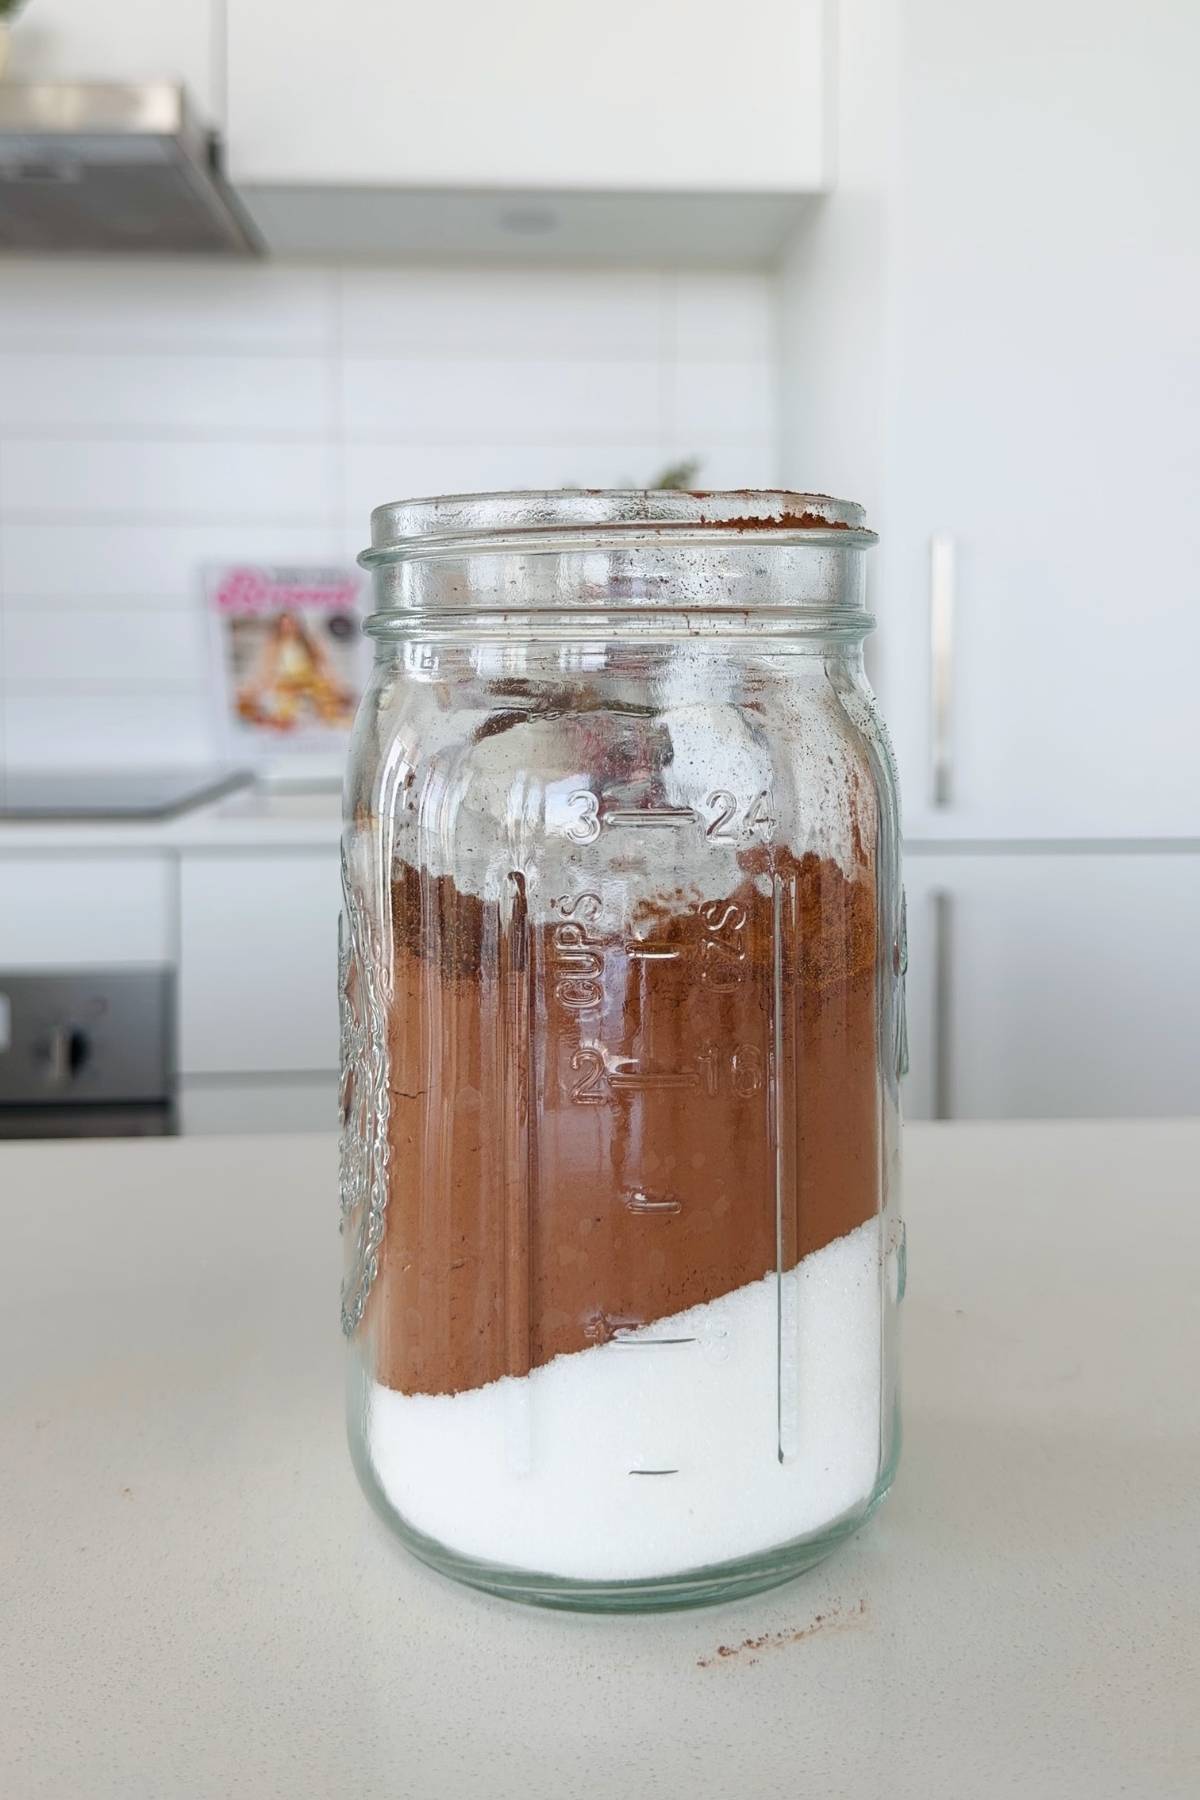
- Step 1: In a large jar, add 1 cup of granulated sugar, ¾ cup of cocoa powder, and, if using, 1 tablespoon of cinnamon and 1 teaspoon of salt.
Minoo's Pro Tip: Save yourself the cleanup! Use a funnel when adding your ingredients to avoid getting cocoa powder everywhere.
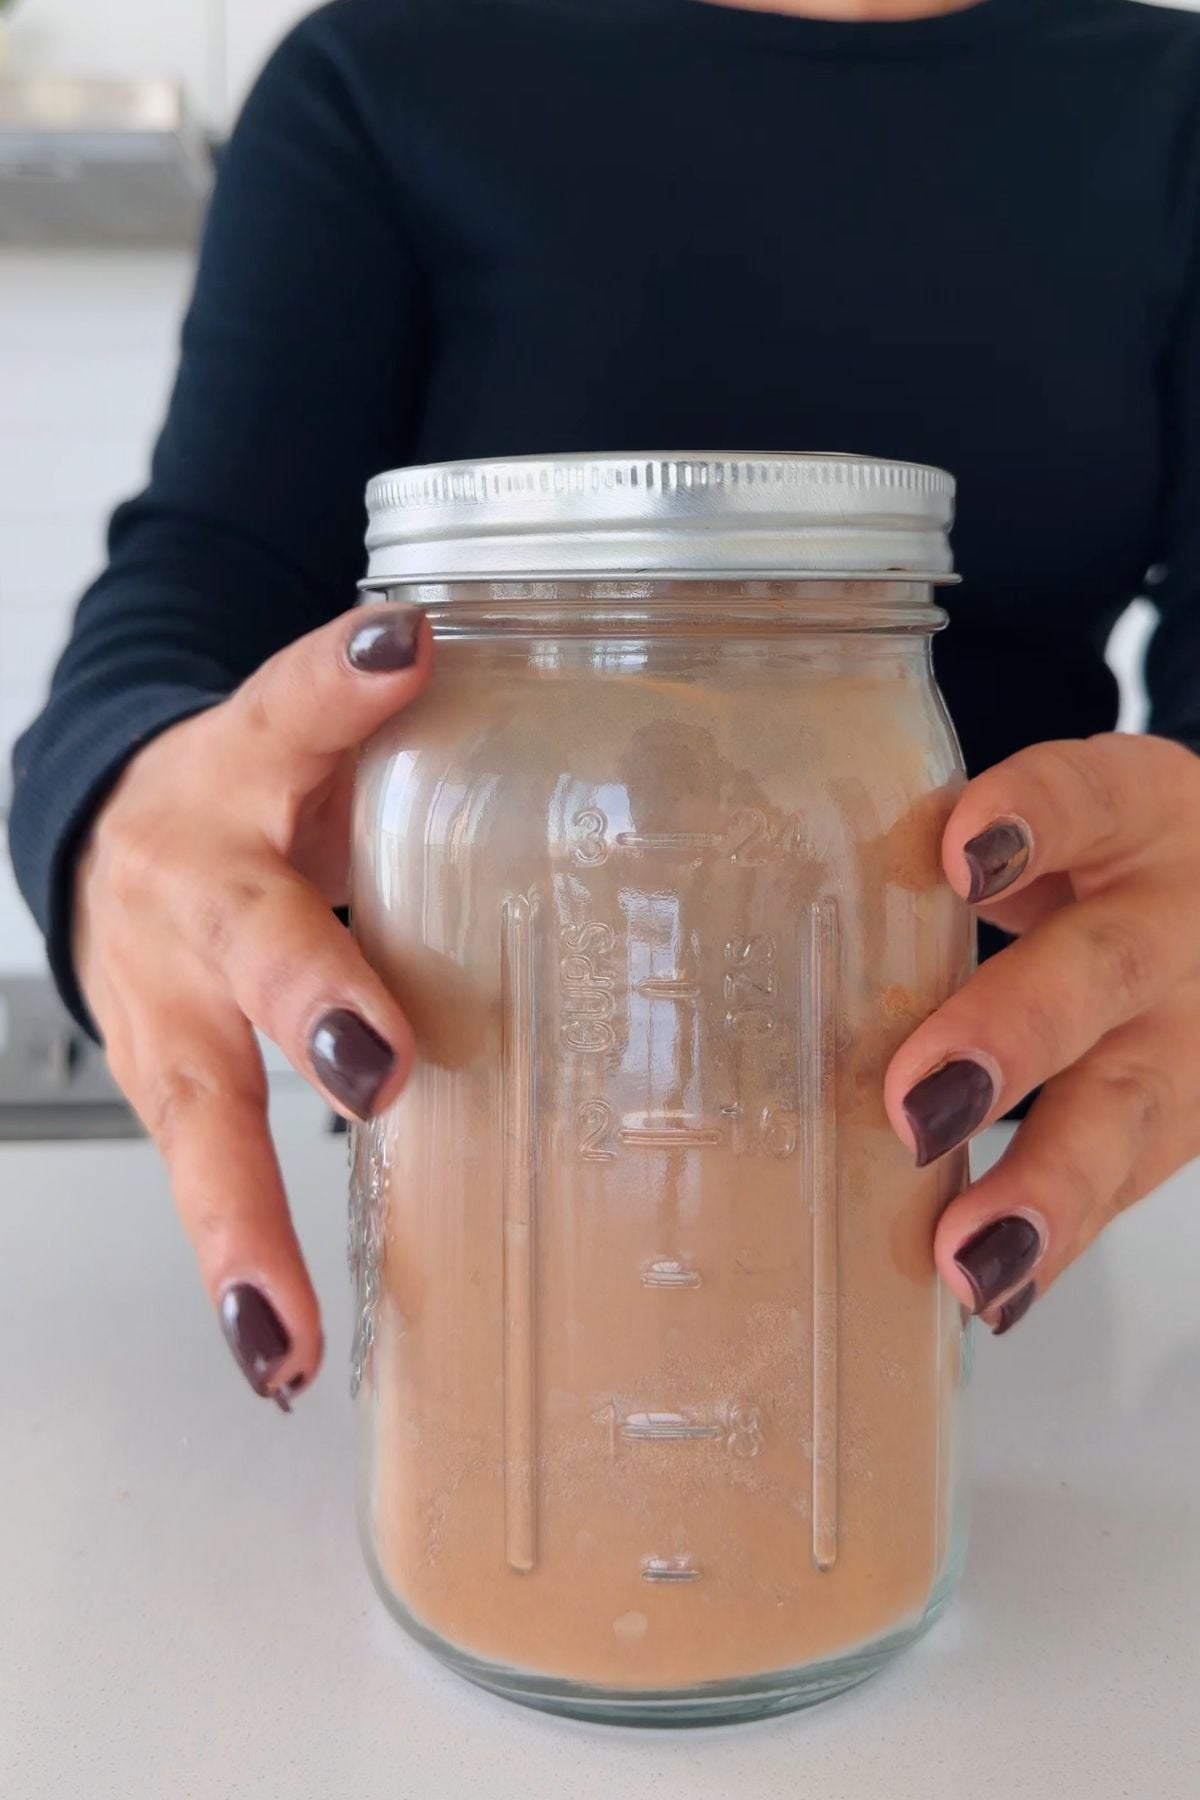
- Step 2: Close the jar's lid and shake it vigorously for about 30 seconds, or until the mix is fully combined. It should look one uniform color with no streaks of white sugar remaining.
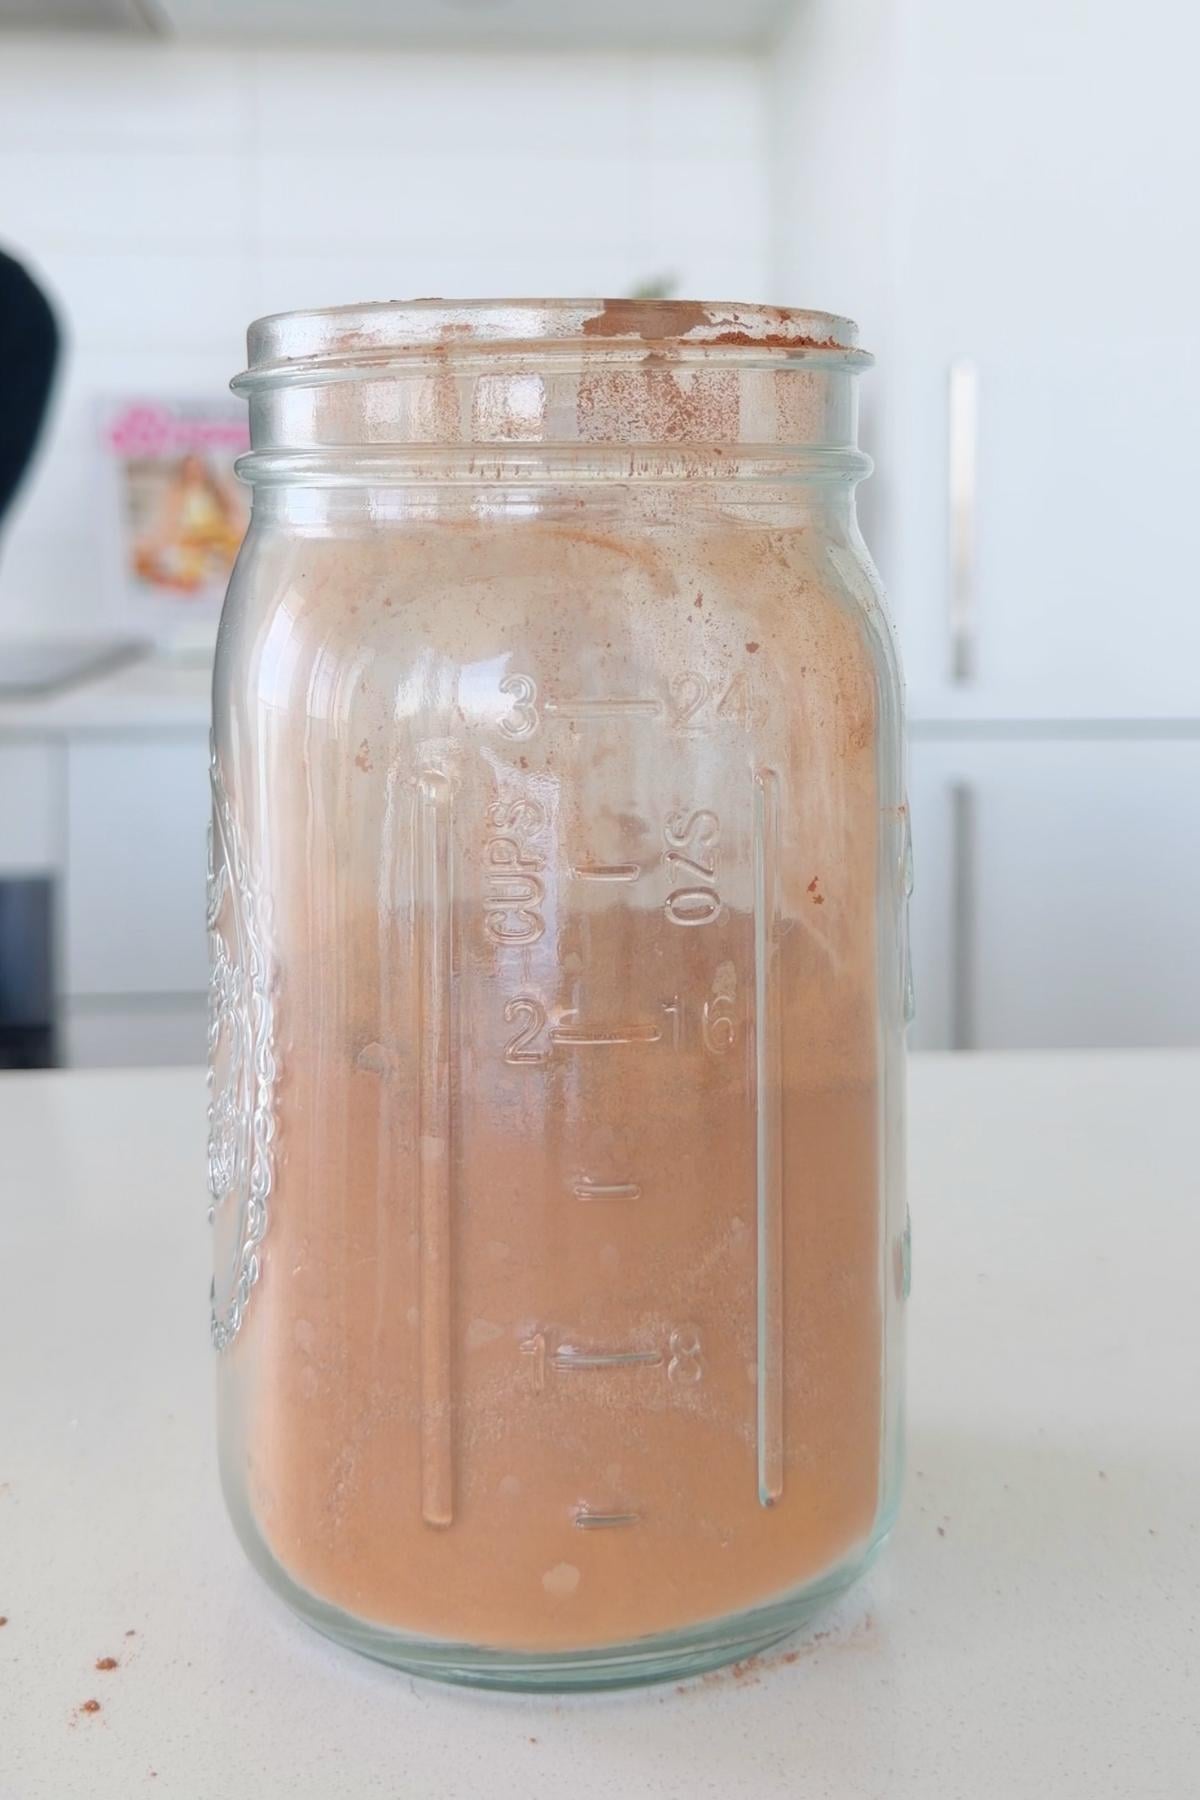
- Step 3: If any cocoa clumps remain, stir the mixture with a spoon to break them apart. Make sure to scrape against the bottom and the sides of the jar, as these areas are where the cocoa tends to stick and clump the most. Your cocoa mix is now ready! Keep stored in a dry, cool place for up to 6 months.
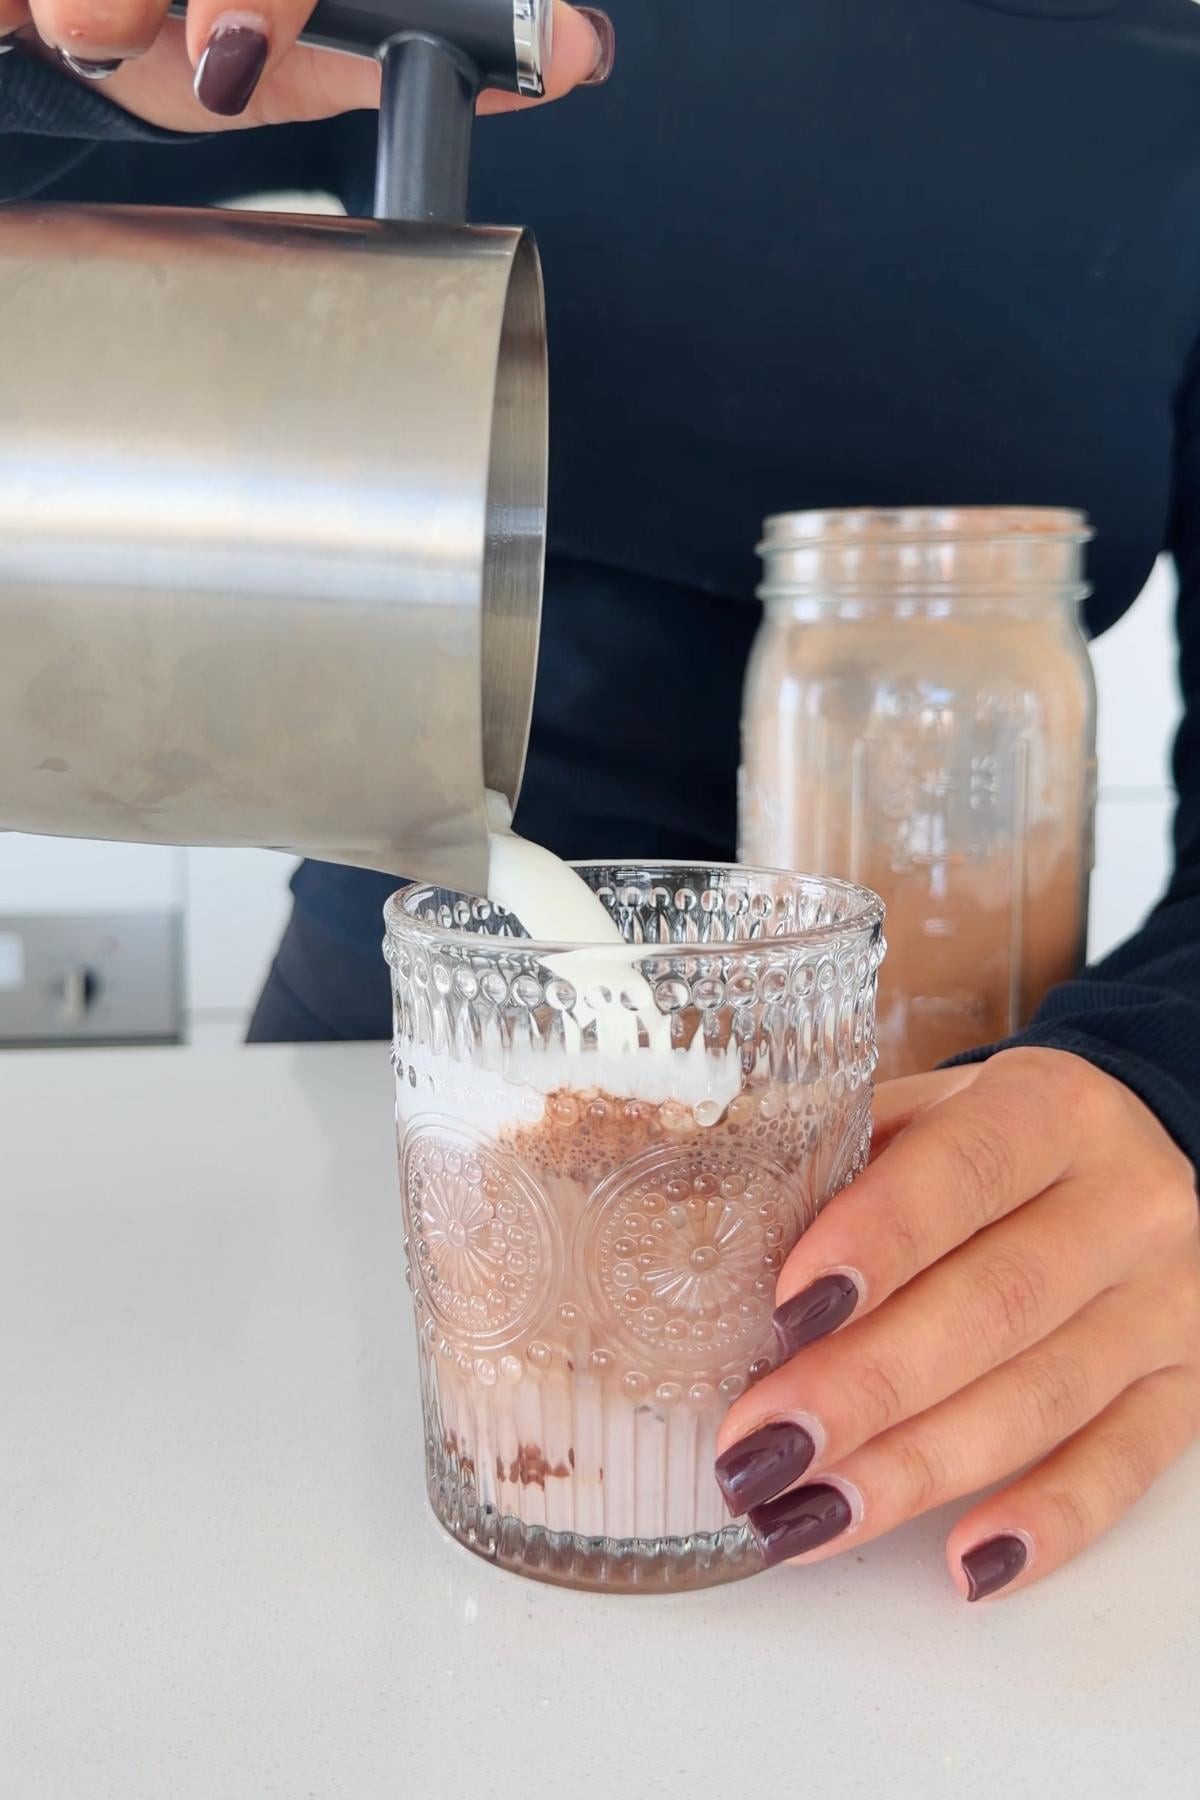
- Step 4: To make a cup, heat 1 cup of milk for 2 minutes on the stove over medium heat, or until steaming and just beginning to bubble at the edges. You can also heat your milk in the microwave for 90 seconds instead if you don't want to fire up the stove.
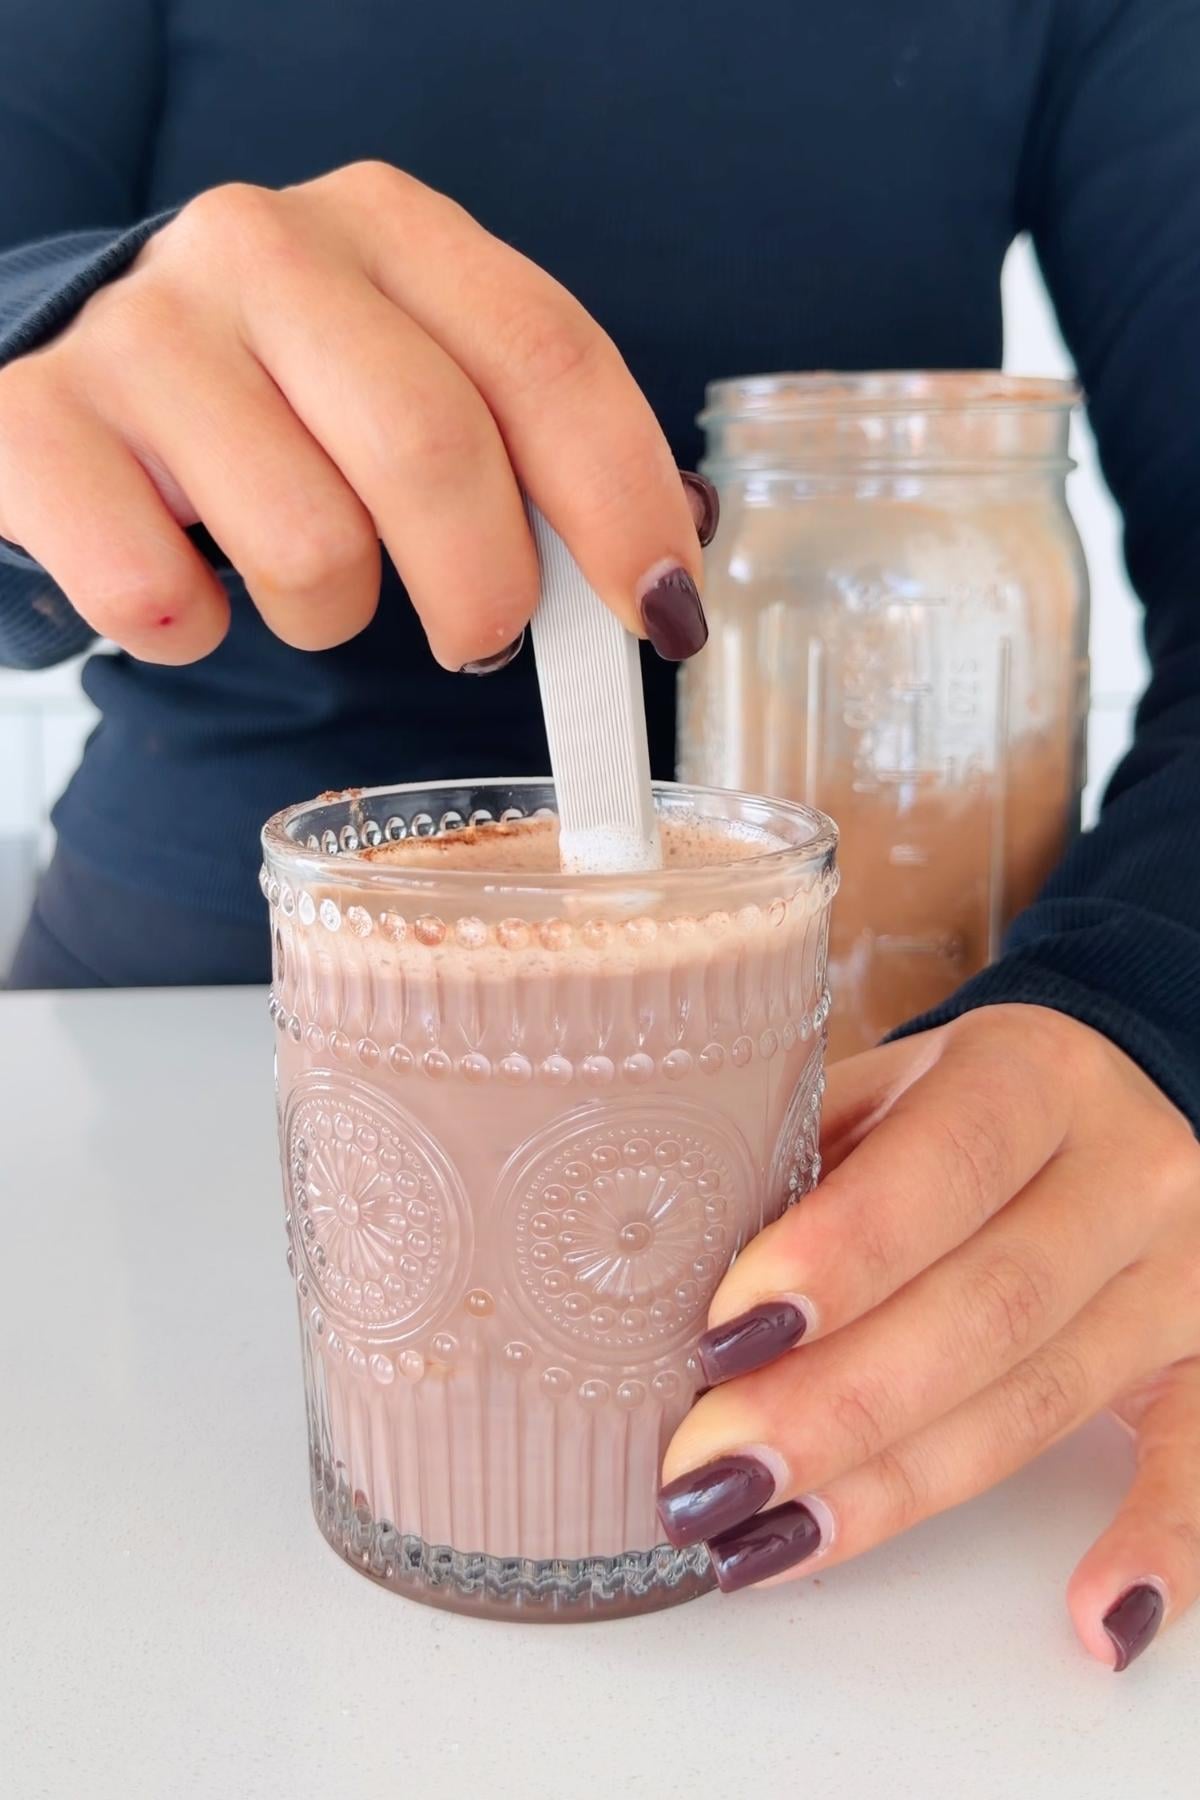
- Step 5: Add 2 tablespoon of the cocoa mix to the hot milk (1 tablespoon for every 4 oz of milk). Stir continuously for 20 to 30 seconds, until fully dissolved and no powder floats on the top.
Minoo's Pro Tip: Don't let the milk boil! Aim for a temperature between 140°F and 165°F. Too cold, and you'll have clumps and powder floating on top, but too hot, and you'll burn your cocoa and be left with a bitter aftertaste.
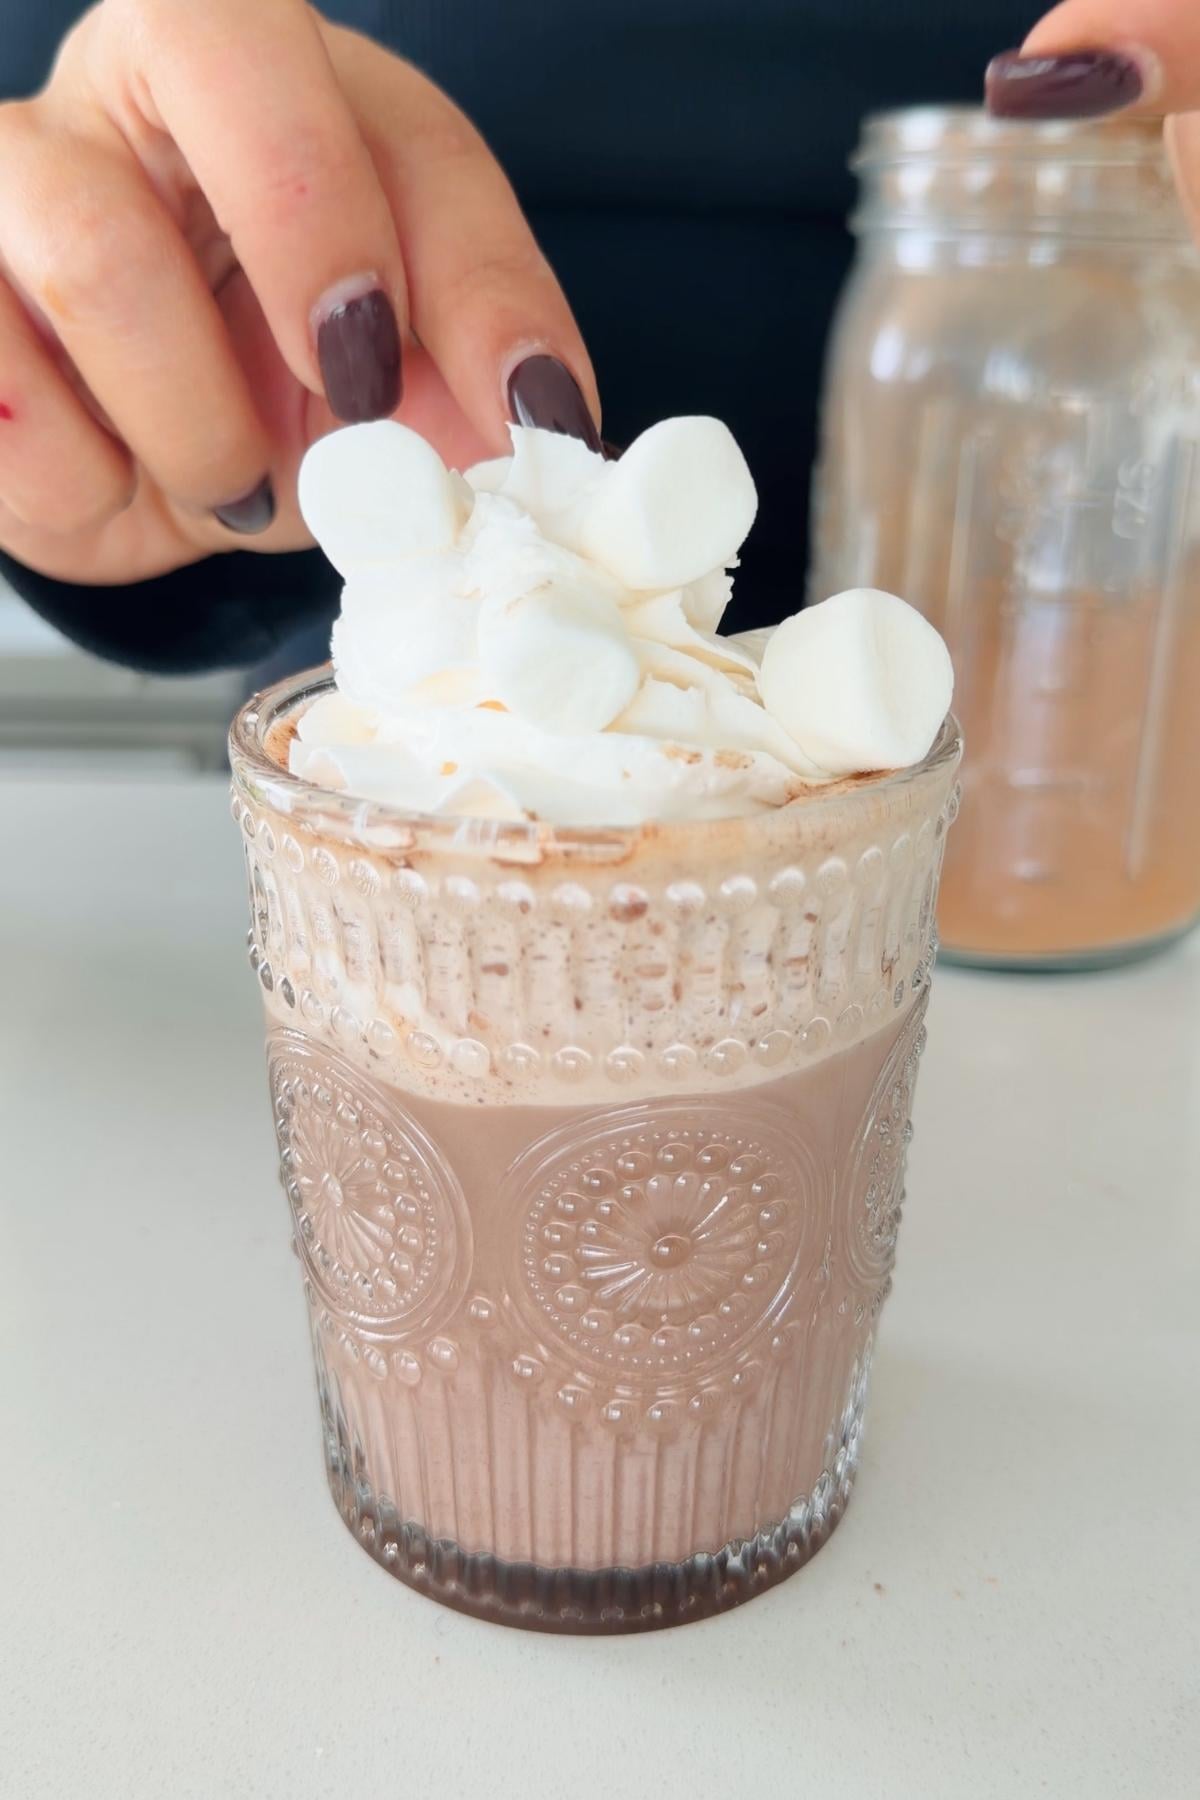
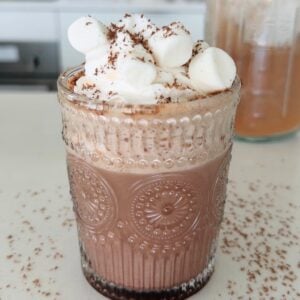
- Step 6: Pour into your mug and serve the cocoa while it's still hot. Sip as is or spruce up with your favorite toppings! I love to pair mine with melting marshmallows, chocolate shavings, and whipped cream, but my husband loves to top his with a slather of my homemade chocolate spread. You can even add a splash of rum (don't tell the kids).
Minoo's Pro Tip: Your cocoa mix isn't just for making decadent hot cocoa. Mix it into breads, my homemade crescent rolls recipe, and even cheesecake for an indulgent chocolate kick! You can even add a scoop to my tahini latte recipe to turn it into a tahini "mocha." Let's be real: EVERYTHING is better with chocolate.
Expert Tips
- Don't skip out on the cinnamon or salt: The salt enhances the flavor of the sugar and cocoa, while the cinnamon imparts the most comforting warmth to your cocoa. The cinnamon note here also pairs gorgeously with my fluffy cinnamon rolls, among other winter-warming favorites.
- Don't forget that extra stir: I know it's tempting to skip the stir after shaking, but those clumps will come back to haunt you like Scrooge's ghosts. It's the key to a smooth cup of cocoa rather than a lumpy mess. Stirring also makes sure the sugar and cocoa powder are evenly dispersed throughout, so that every single cup you have is equally as good; not too milky, not too chocolatey, just right!
- Add chocolate chips for extra indulgence: Want something a little richer? Add chocolate chips to your hot milk after you've mixed in your cocoa powder. Stir for a few minutes, and as the chocolate chips begin to melt, your cocoa will thicken up beautifully! I find that this version also makes a PERFECT chocolate dip for churros, cookies, or even my pumpkin dinner rolls.
- Froth up your cocoa: Use a milk frother if you have one on hand! While it does involve a little more cleanup, it really helps to give your cocoa a sippable, velvety-smooth mouthfeel.
- Add a splash of milk into the cocoa mix: My mom taught me this trick! Add a splash of hot milk into your cocoa mix first, give it a stir to create a "paste," and then pour it into the rest of the milk. Trust me: This really helps to keep your cocoa smooth and clump-free!
Hot Cocoa Mix Recipe Without Dry Milk FAQs
My hot cocoa mix usually lasts for 3 to 6 months. Store the mix in a dry, cool place, like a pantry, and in a jar with a tight lid (or an airtight container). The cocoa can clump up a little over time, so I like to give it an occasional stir to help keep it smooth.
Gifting the cocoa mix? Decorate the jar for a festive vibe! You can really get creative here. I usually paint candy cane stripes on the jar, wrap it in tinsel, and then glue on sequins for the finishing touch. It does involve getting a little crafty, but the effort is so worth it: Your loved one's eyes WILL light up. Every person I've gifted this to has kept the jar and repurposed it as a Christmas decoration the following year.
Yes! You can easily swap cocoa powder with cacao powder in equal amounts. However, there will be a slight difference in taste. This is a result of how the beans are processed. Cocoa is made from beans that have been fermented and roasted at high temperatures, while cacao is only fermented and processed at much lower temperatures than cocoa.
In practice, this gives cacao a slightly bitter taste. If you use cacao powder, it'll make your drink more akin to a very dark hot chocolate, so it's a perfect substitute if you find traditional hot cocoa sickly sweet!
If you do use cacao powder and want to bring back some of that sweetness, just add a splash of syrup to your drink when serving. It'll balance out the bitterness beautifully! You can also pair your hot cacao with something sweet, like my brioche donut recipe.
Yes, but your hot cocoa won't be as creamy and rich! I typically only use water for my cocoa when I want something a little lighter or less filling, or as a last resort (aka I've run out of milk).
If you're using water, I recommend adding a tablespoon of milk powder to the mix to help bring that creaminess back. You can also add dry dairy-free creamer.
More to Try
My hot cocoa already takes the chill out of those frosty winter days, but for extra winter-warming coziness? Try pairing your hot cocoa with these recipes:



Enjoying This Recipe?
It would mean the world to me if you left a quick review or any questions you have in the comments below!
Recipe Card
Hot Cocoa Mix Recipe Without Dry Milk
EMAIL THIS RECIPE
Enter your email and I'll send this directly to you.
Plus you'll get new recipes from me every week!
Ingredients
For the Mix
- 1 cup granulated sugar
- ¾ cup unsweetened cocoa powder
- 1 tablespoon ground cinnamon optional
- 1 teaspoon fine salt optional
For Serving (per cup)
- 1 cup 8 oz hot milk
- 2 tablespoon hot cocoa mix 1 tablespoon for every 4 oz of milk
- Toppings of your choice
Instructions
- Add sugar, cocoa powder, and, if using, cinnamon and salt to a large jar.
- Secure the jar's lid and shake for 30 seconds, or until the mix is a uniform color with no streaks of white sugar.
- If necessary, stir with a spoon to break up any clumps of cocoa.
- To make a cup of hot cocoa, heat 1 cup of milk for 2 minutes over medium heat (90 seconds in the microwave), or until steaming and gently bubbling at the edges.
- Add cocoa mix to the hot milk and stir for 20-30 seconds, until fully dissolved and no powder floats on top.
- Top with your favorite toppings and enjoy!
Notes
- Play around with the ingredient ratios: Taste test and add more cocoa if you want something a little more chocolaty! You can also customize the initial sugar amount to your preference.
- Shake your cocoa mix vigorously: If you don't shake the mix enough, you'll be left with clumps! You should also stir it afterward for good measure.
- Use hot milk: The temperature is key for everything to combine smoothly. Aim for between 140°F and 165°F.
Nutrition
Want To Save This Recipe?
Share your email & we'll send it over! PLUS, you'll get new recipes from us weekly