
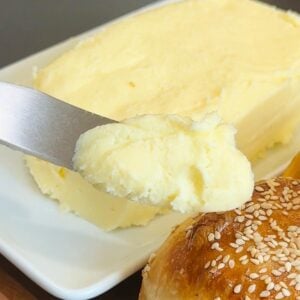
I better not catch you buying butter from the store, not when you can learn how to make butter from scratch with ONE main ingredient and no churner in only 25 minutes. It's rich, creamy, and tastes way better than anything store-bought, PLUS you also get fresh buttermilk to use in diner pancakes, easy homemade buttermilk biscuits, or any other homemade bread recipe that calls for milk.
Quick Look: How to Make Butter from Scratch
- Ready In: 25 minutes
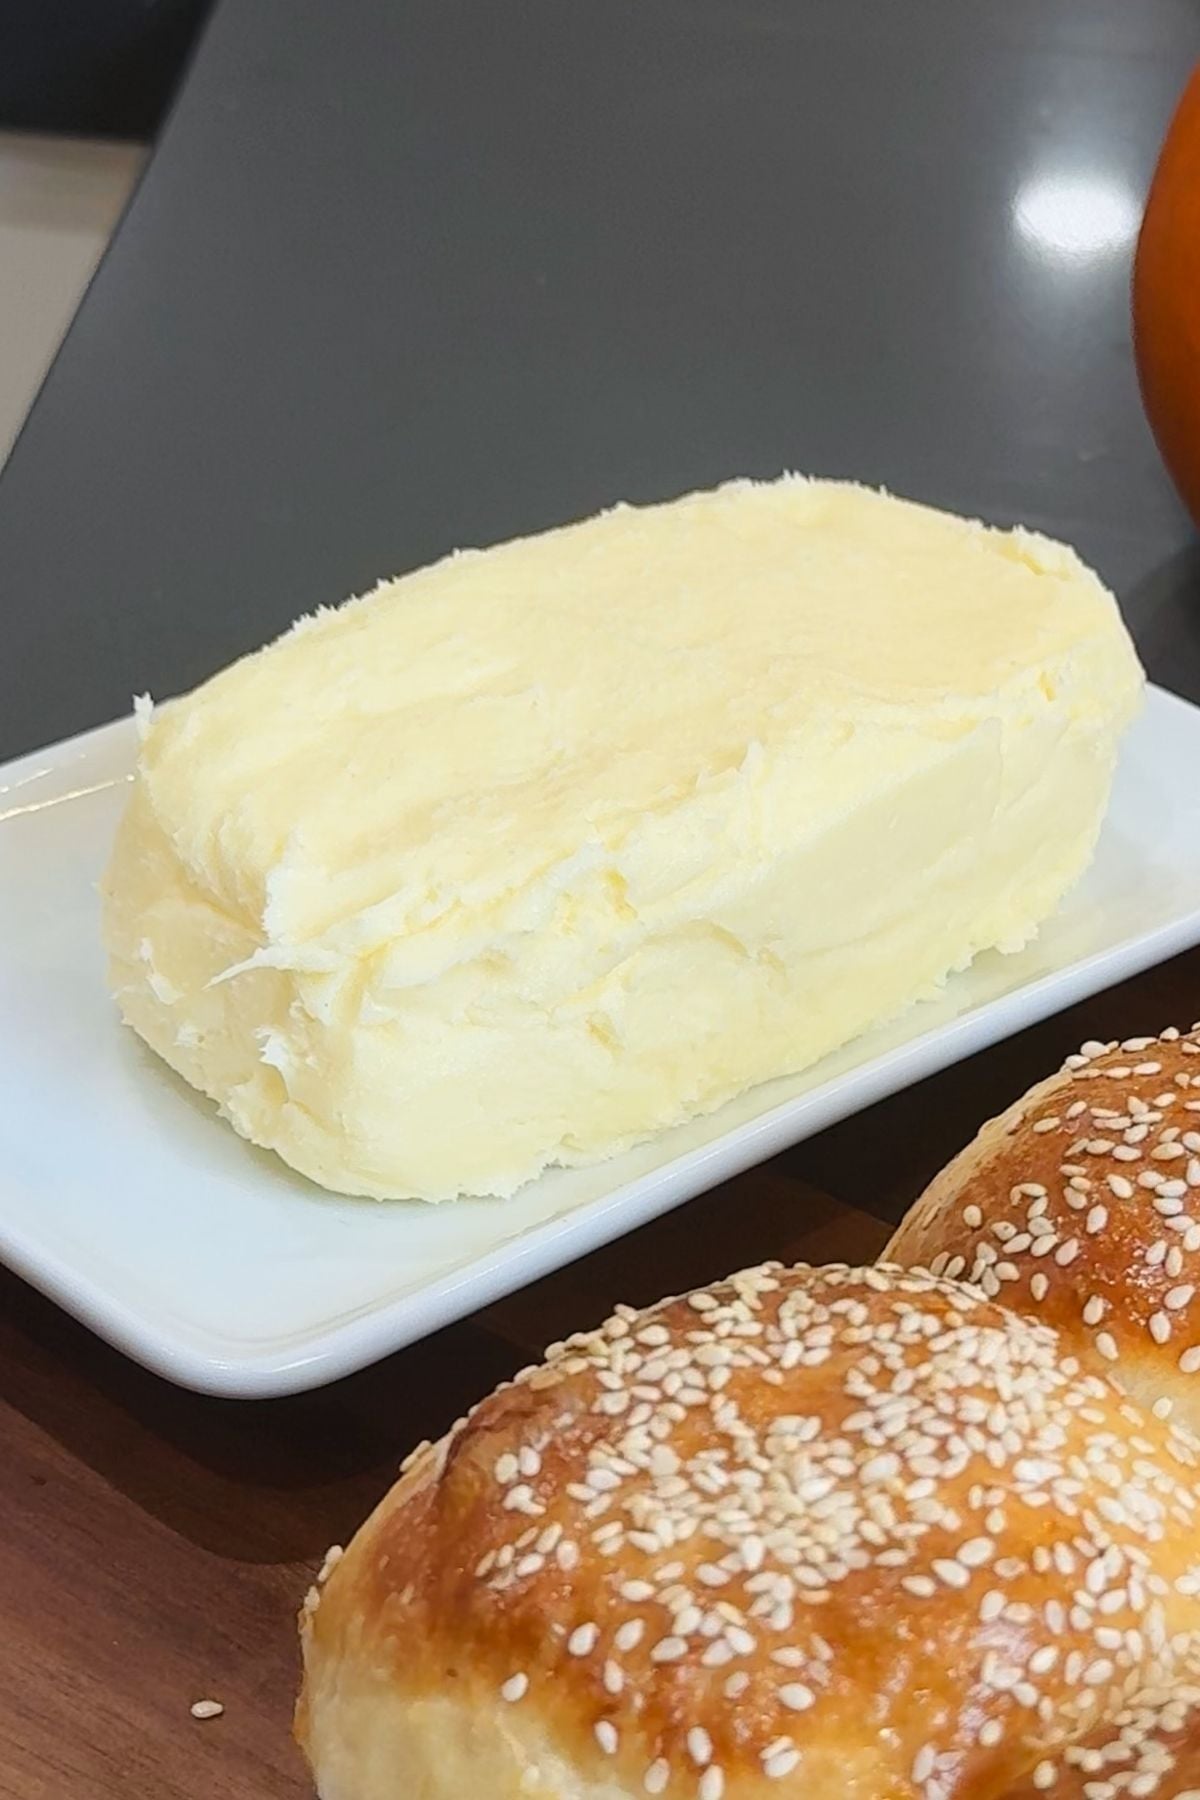
- Serving: 4 sticks of butter (1 pound), PLUS buttermilk
- Main Ingredient: Heavy cream (35% whipping cream)
- Method Options: Stand mixer, hand mixer, or a blender
- Optional Add-Ins: Salt, garlic, herbs, cinnamon sugar, honey
- Skill Level: Beginner-friendly
SUMMARIZE & SAVE THIS CONTENT ON
Why You'll Love Homemade Butter
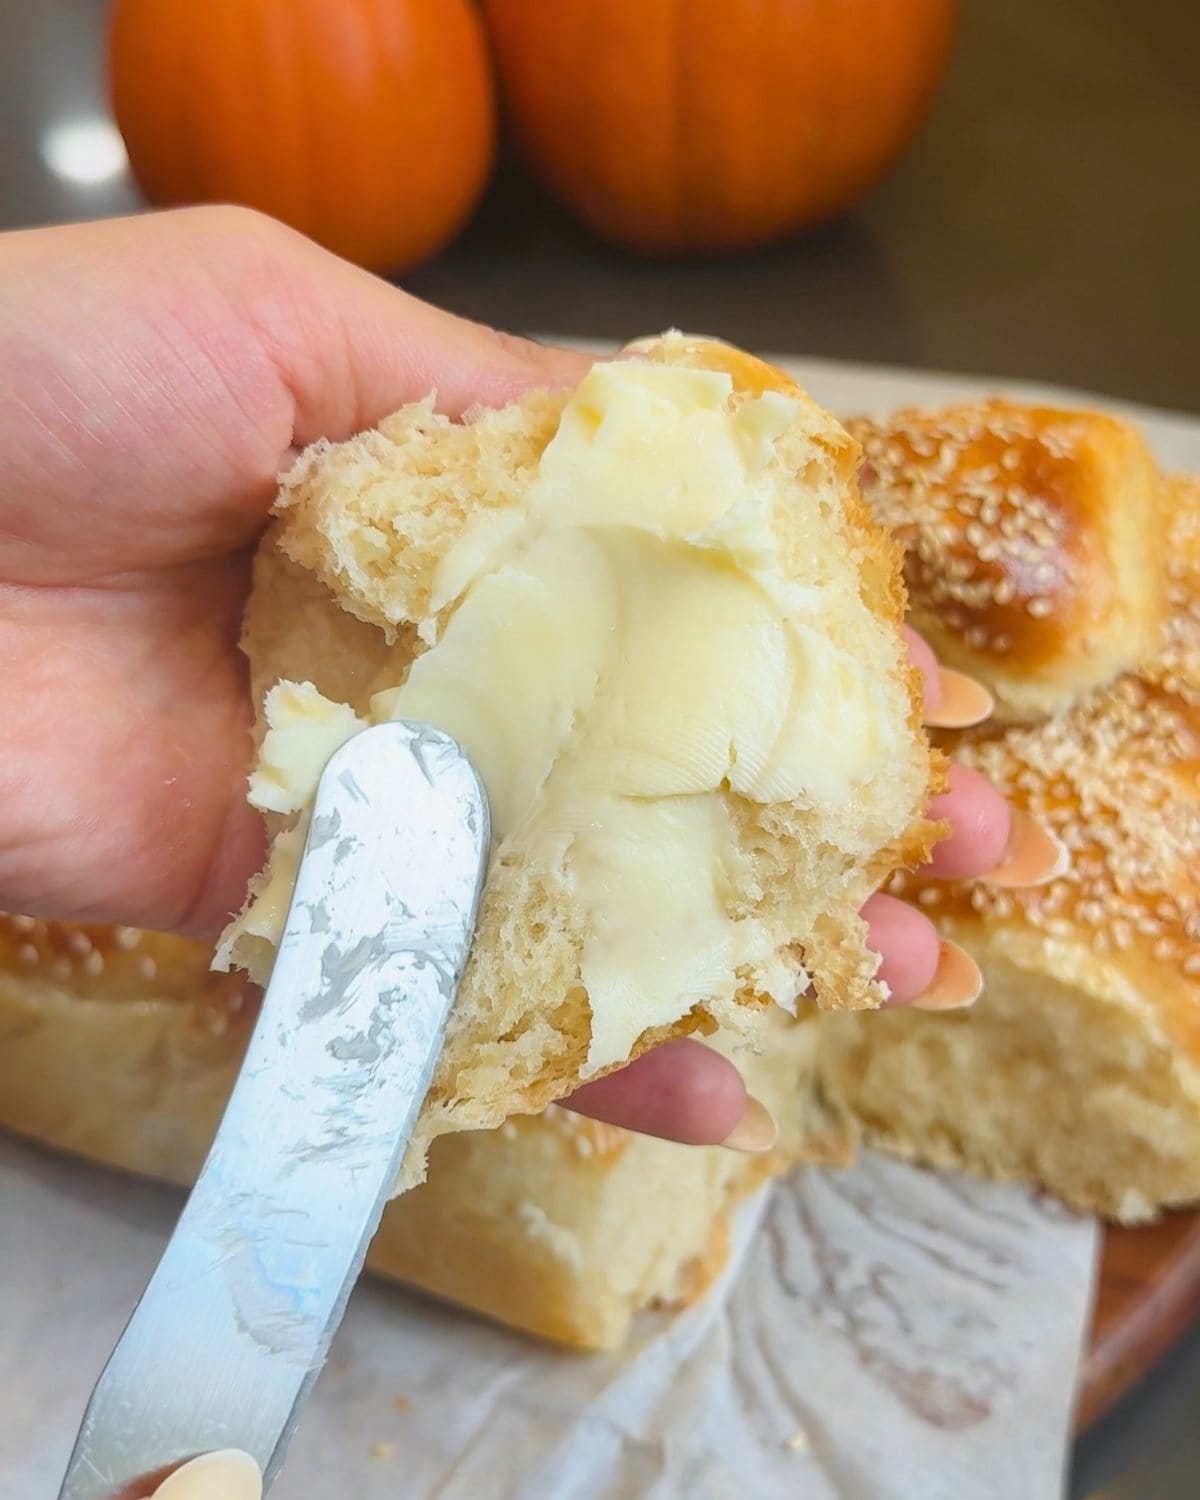
- You're in control: salted, unsalted, whipped, or packed with garlic and herbs that spread perfectly on your soft homemade dinner rolls! You decide exactly how it tastes.
- It's way easier than you think: no churner, no special tools, and honestly… It's pretty hard to mess up once you know what to look for.
- It's the perfect gift: Wrap it in parchment, and you've got something special. I included homemade butter in my bridesmaids’ proposal boxes, and they all LOVED IT.
- Over 6.7 million views for a reason: this recipe is foolproof! It went viral on Facebook for a reason.
- It tastes better: fresher, creamier, and more flavorful than anything sitting on a grocery store shelf.
Jump to:
Ingredients
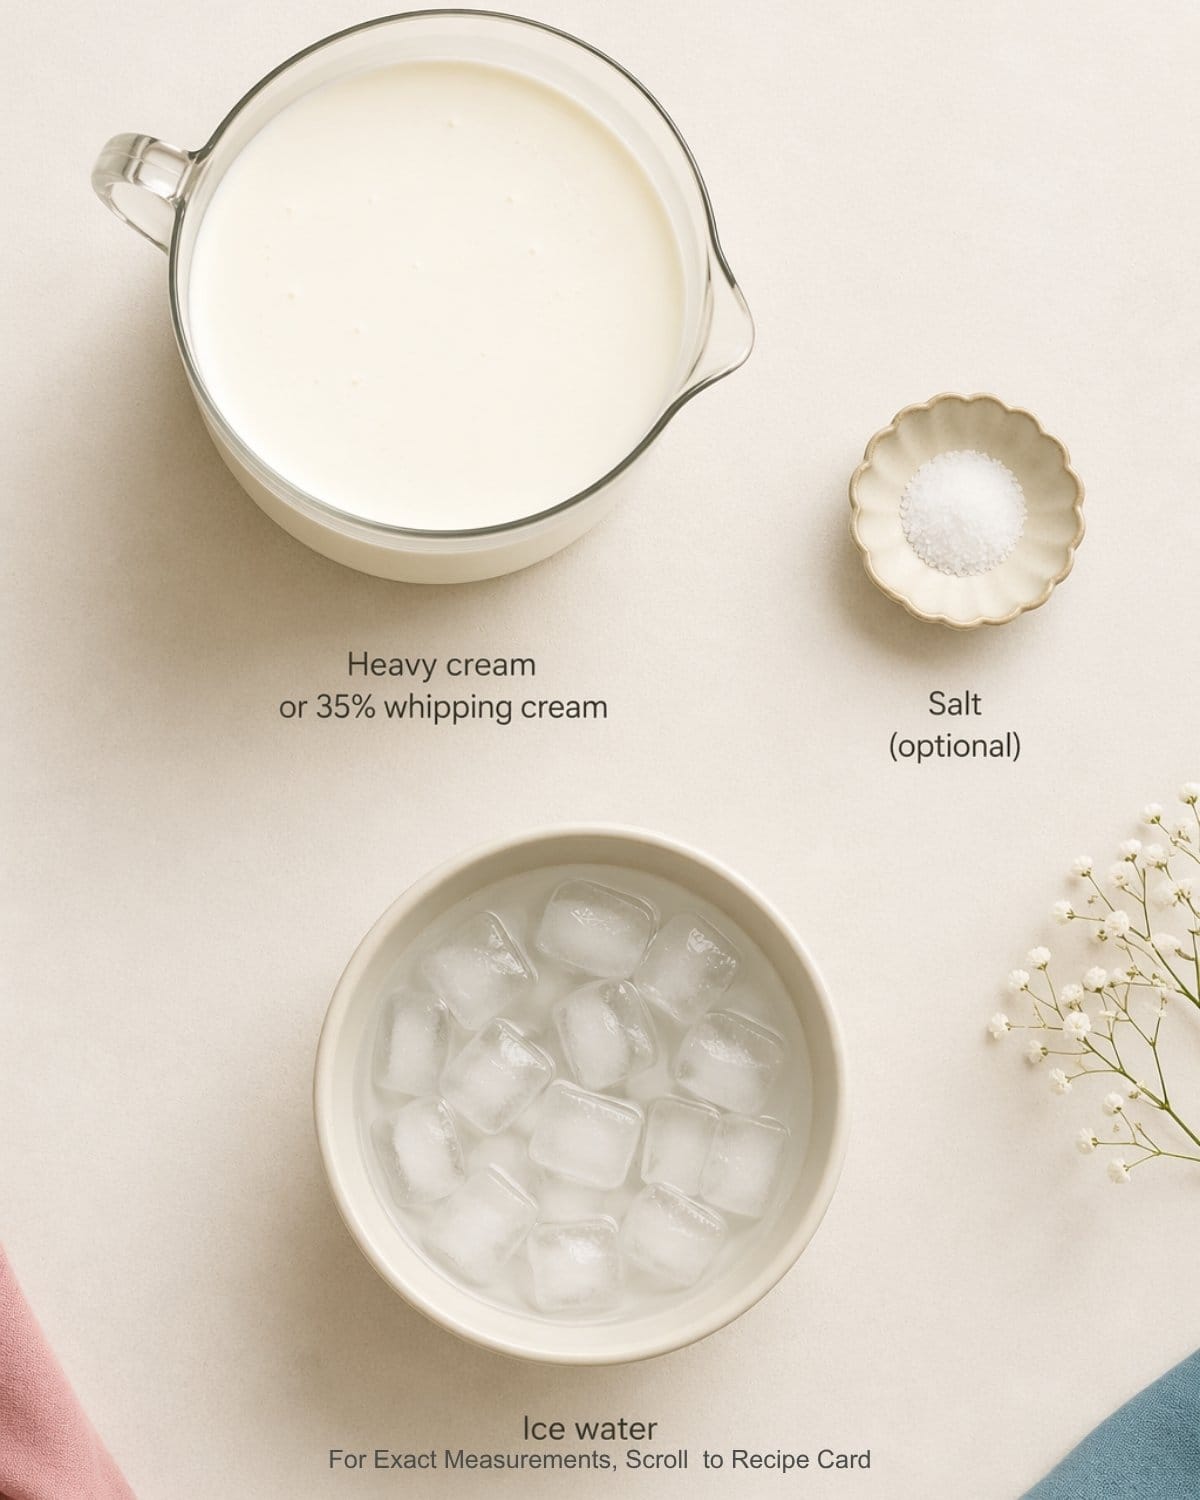
You only need ONE main ingredient to learn how to make butter from scratch:
Heavy cream: This is everything. Use full-fat cream (at least 35%), or it won't separate. Buying in bulk can also make your homemade butter surprisingly cost-effective.
Salt (optional): I prefer unsalted butter… But this part is totally up to you. Adding just a teaspoon of salt enhances the flavor and helps preserve the butter a little longer.
Minoo’s Pro Tip
Keep your cream cold, straight from the fridge.
I learned this the hard way. I left my cream out "just for a minute"… and no matter how long I whipped it, it never separated. If it gets too warm, it can get stuck at the whipped cream stage.
Easy Butter Flavor Variations
Once your butter is fully washed and squeezed dry, you can turn it into something completely different:
Cinnamon Sugar Butter: Add 2 tablespoons of powdered sugar and 1 teaspoon of cinnamon. Goes perfect with my copycat Texas Roadhouse rolls, just like they serve at the restaurant.
Honey Butter: Blend in 2 tablespoons of honey for a soft, slightly sweet butter, perfect with any of my easy bread roll recipes.
Garlic Herb Butter: Mix in 2 minced garlic cloves, 1 tablespoon fresh chopped parsley, 1 teaspoon fresh thyme, and a pinch of salt. Perfect for topping steak.
My Favorite… Jalapeno and Cheddar Butter: Mix in 1 finely chopped jalapeño (seeds removed) and about ½ cup grated cheddar. Amazing on toasted New York style bagels.
How to Make Butter from Scratch
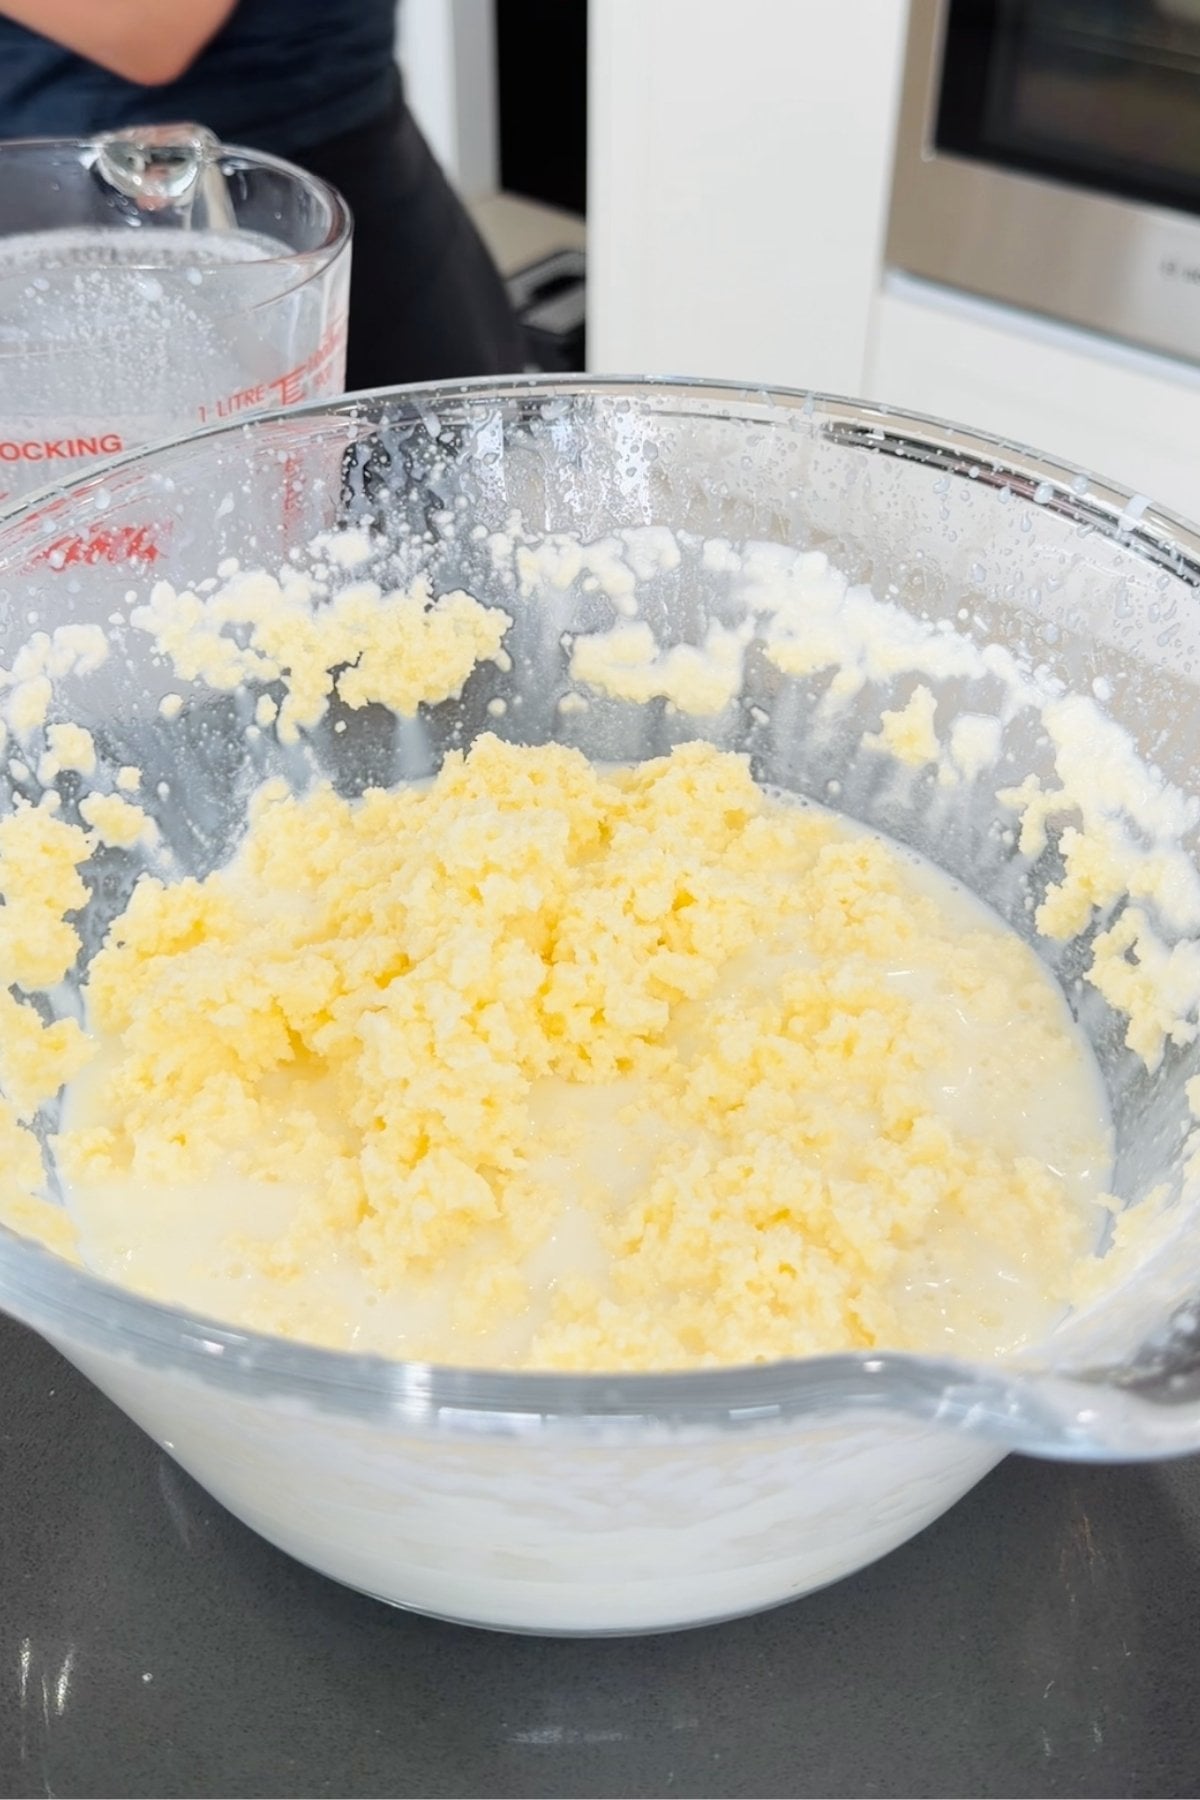
- Step 1: Add 1 liter of cold heavy cream to a mixer or blender. Mix on medium-high for about 8-12 minutes. Keep mixing until it separates into liquid and buttermilk. (see the visual guide below if you're unsure what to look for)
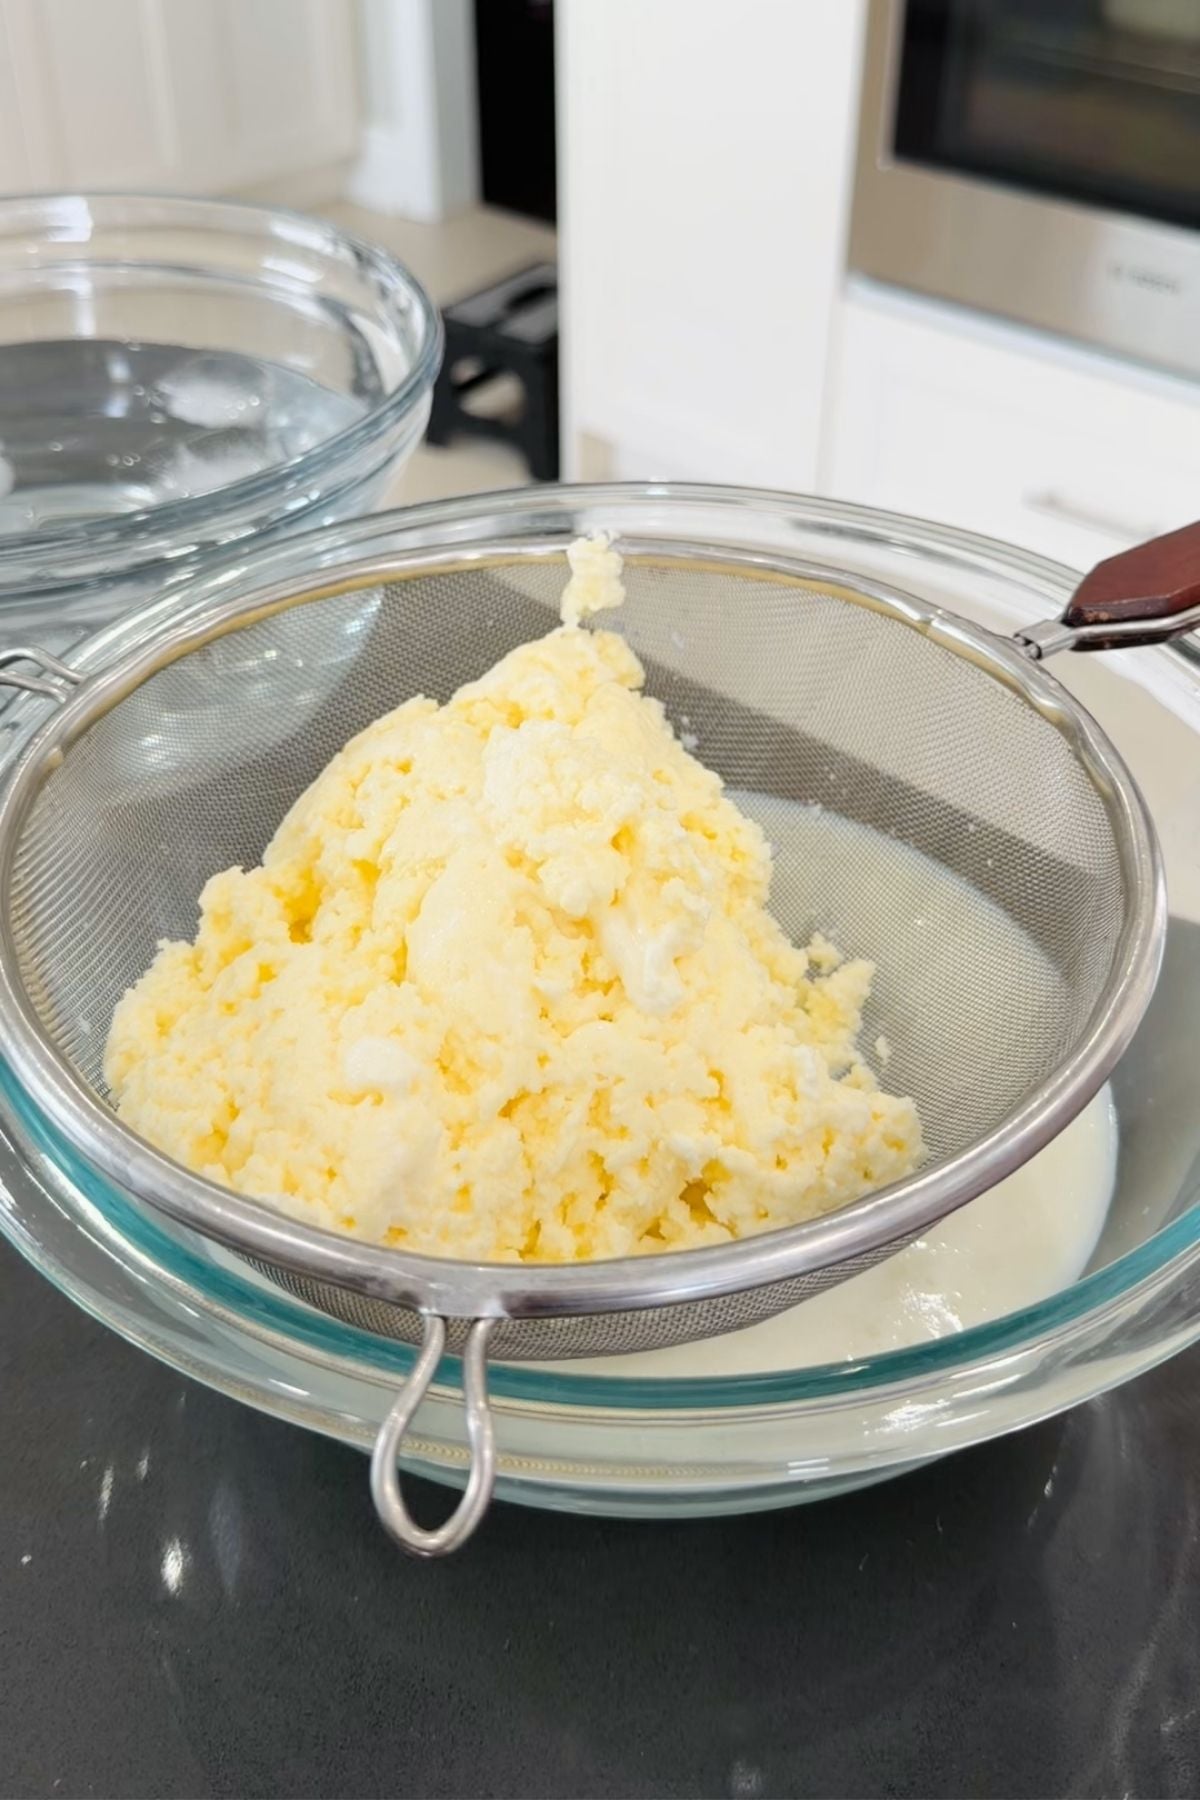
- Step 2: Pour everything through a strainer to leave you with solid butter and liquid buttermilk. Refrigerate the buttermilk immediately.
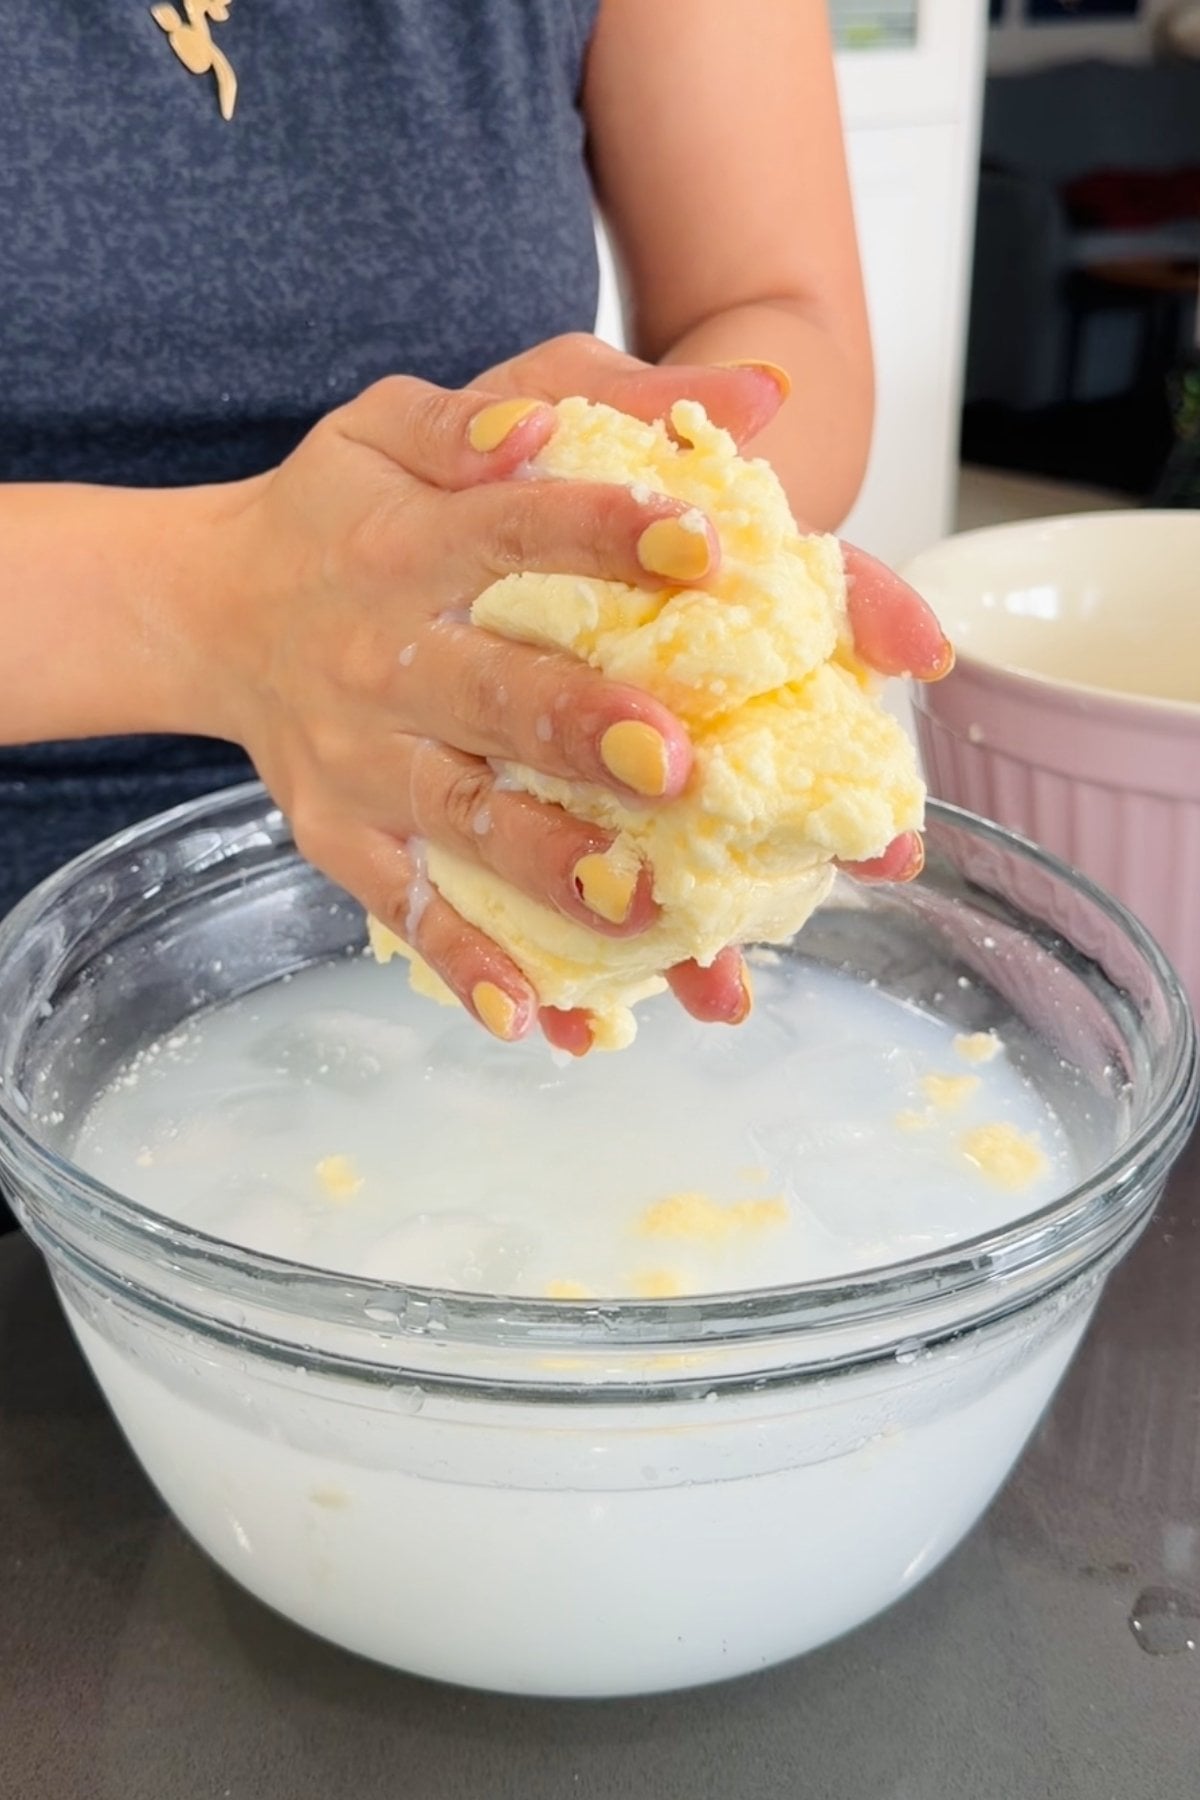
- Step 3: Place the butter in a bowl of ice water and squeeze it by hand. The water will turn cloudy. Pour out the cloudy water and replace it with fresh cold water. Repeat this 2-3 times, until the water stays clear when you squeeze the butter.
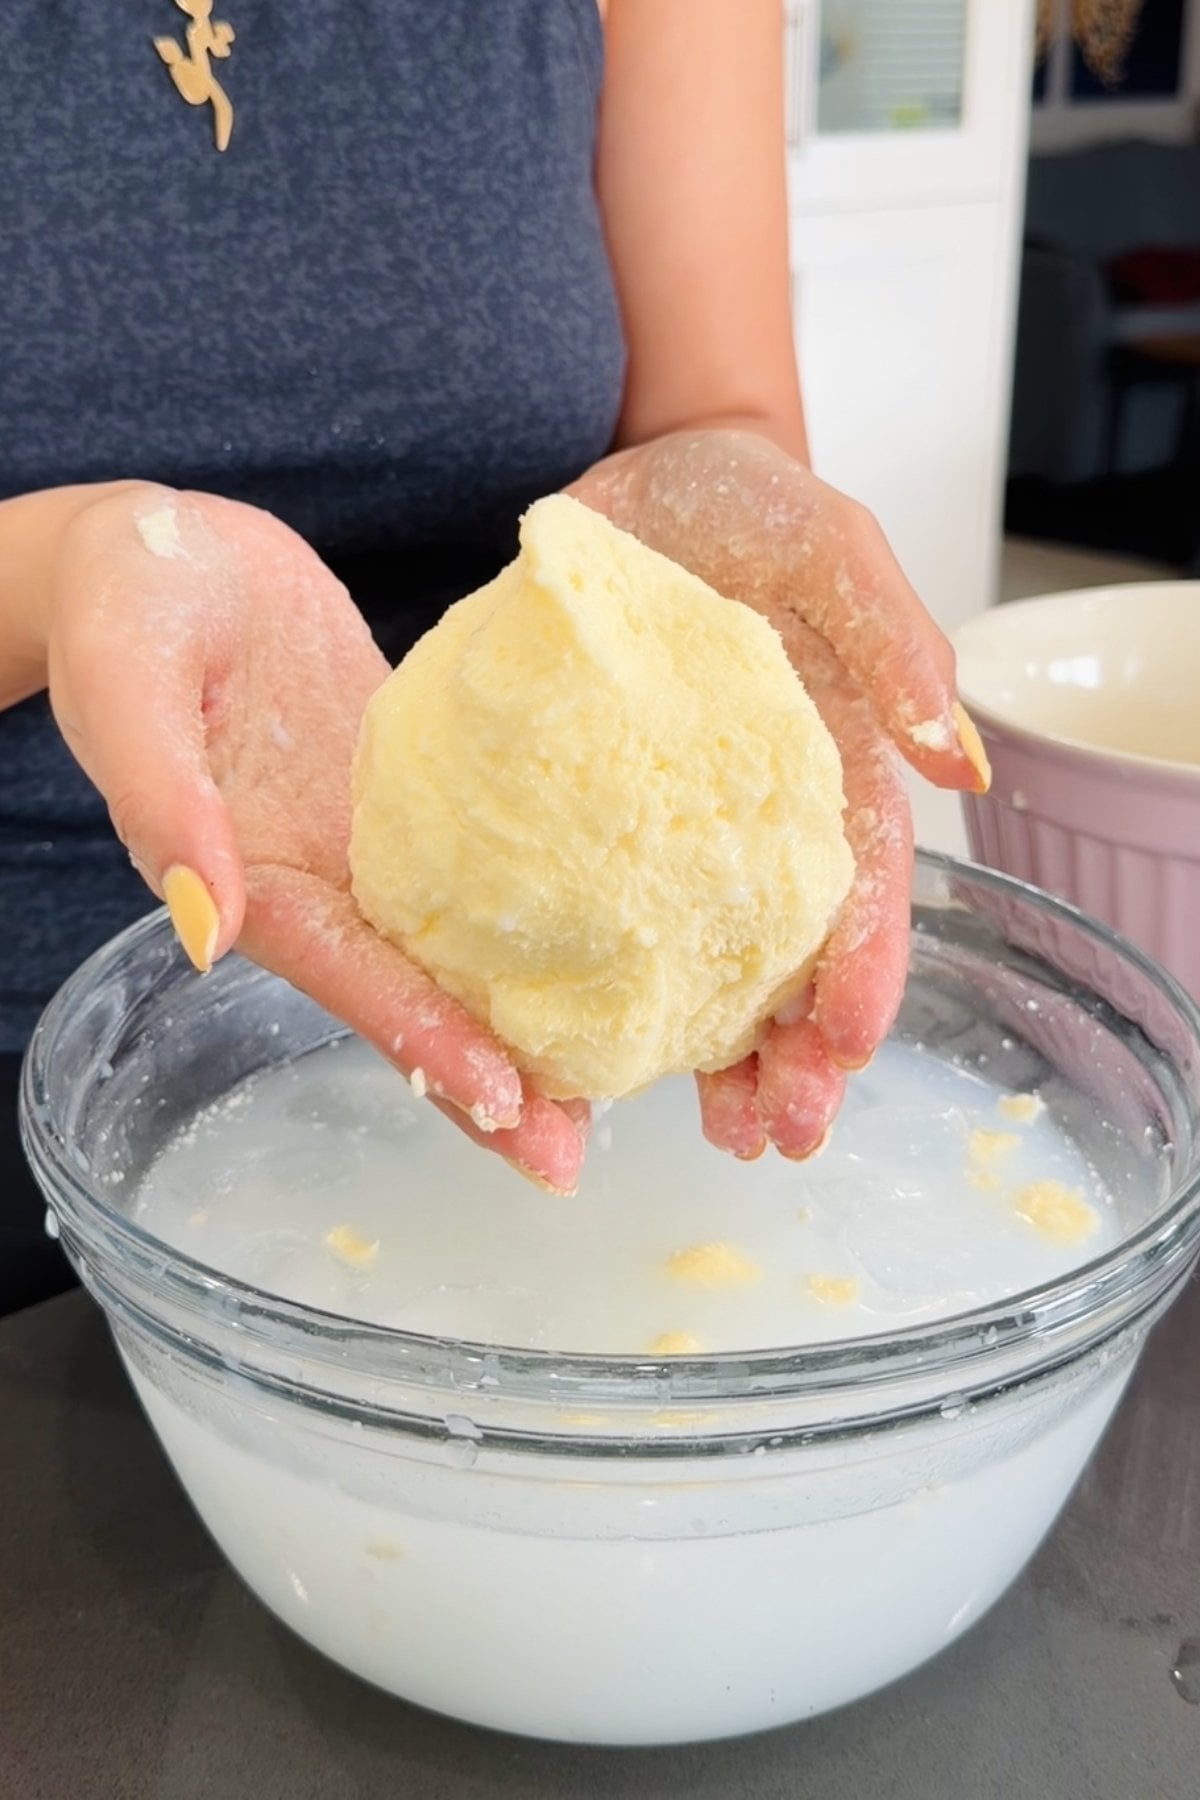
- Step 4: Remove from ice water and squeeze out any remaining water. This is where you can knead in any additional flavoring like salt or other variations I mentioned above.
Expert Tips
- Keep your cream cold: I learned this the hard way. I left my cream out "just for a minute"… and it never turned into butter. If it's not cold, it can get stuck at the whipped stage.
- Use a stand mixer if you can: I've tried all three. The stand mixer is the easiest and most reliable. Hand mixer works great, too. Blender works, but it's the least consistent.
- Cover your mixer before it splits: The first time I made this, buttermilk went everywhere. Now I always throw a towel over the mixer once it starts looking grainy.
- Squeeze out all the water: Make sure you squeeze out every last drop of water from the butter, or your homemade butter won't last as long.
Butter Mixing Stages (Visual Guide)
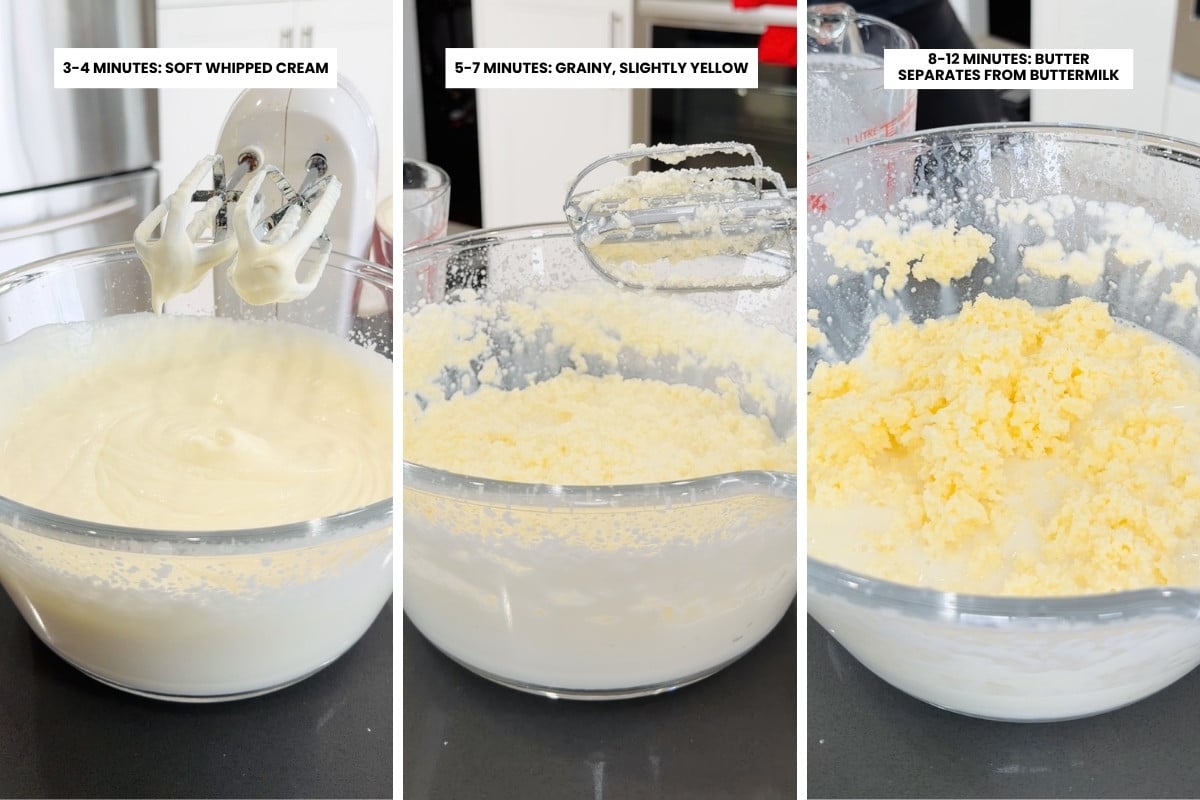
Use this visual guide to see exactly what your cream should look like at each stage, so you know you're on the right track.
- 3-4 minutes: Soft whipped cream
- 5-7 minutes: Grainy, slightly yellow
- 8-12 minutes: Butter separates from buttermilk
How to Make Butter from Scratch FAQs
Properly washed and stored homemade butter will last up to 2 weeks in the fridge and up to 3 months in the freezer. The key is removing as much water as possible during the washing step, leftover moisture is what makes butter spoil faster.
Can be store, and use it in recipes like easy homemade buttermilk biscuits, fluffy diner-style pancakes, or other homemade bread recipes by swapping it in for milk.
Your Freshly Made Butter Would Go Perfect With These
I'm Persian, so my favorite way to enjoy this is with warm barbari bread recipe, butter, Bulgarian feta, pistachios, walnuts, and a drizzle of honey. It's simple, but SO good.
And if you want to use your butter in something a little more classic, here are some of my favorite recipes:

How Did You Like the Butter Recipe?
Let me know your thoughts or questions by leaving a comment below and make sure to share this recipe on Facebook and Pinterest.
Recipe Card
How to Make Butter from Scratch
EMAIL THIS RECIPE
Enter your email and I’ll send this directly to you.
Plus you’ll get new recipes from me every week!
Ingredients
- 1 liter heavy cream (35% whipping cream)
- Ice water for washing
- Salt optional
Instructions
- Pour 1 liter cold heavy cream into a stand mixer, hand mixer, or blender.
- Mix on medium-high for 8-12 minutes. It will turn into whipped cream first, then look grainy, and finally split into yellow butter and liquid buttermilk.
- Pour everything through a strainer. Save the buttermilk for later.
- Place the butter in a bowl of ice water and squeeze it with your hands. The water will turn cloudy. Pour it out and replace it with fresh cold water. Repeat 2-3 times, until the water stays clear when you squeeze the butter.
- Squeeze out as much water as possible from the butter. Then, if you'd like, mix in salt or any of the flavor variations mentioned above.
- Shape the butter into a block or log, then place it in an airtight container and store it in the fridge.
Video

Notes
Nutrition
Want To Save This Recipe?
Share your email & we'll send it over! PLUS, you'll get new recipes from us weekly
I honestly didn’t think this would work, but it did. I used my hand mixer and watched it turn into butter right in front of me. The taste is so much better than store-bought, and the buttermilk was a nice bonus.
That is awesome Ali! Honestly the process blows my mind every time… glad you enjoyed it (:
Cheese cloth is a more efficient and more comfortable way of washing the butter draining and shaping it. Plus, you can use the cheese cloth as a wrap.
Ahh Donna I love this suggestion!! So helpful, especially for shaping—thank you for sharing that with everyone!
Awesome
Thank you Lawanda!