My homemade American cheese recipe takes 10 minutes to prep, needs just 4 basic ingredients, and makes 8 thick slices. Yes, you can buy American "cheese" slices from the store, but this tastes so much cheesier and contains NONE of the artificial additives and preservatives. It's healthier with a perfect gooey ooze. Melt over hamburgers from scratch or pair with my no knead sandwich bread to make the ultimate grilled cheese!
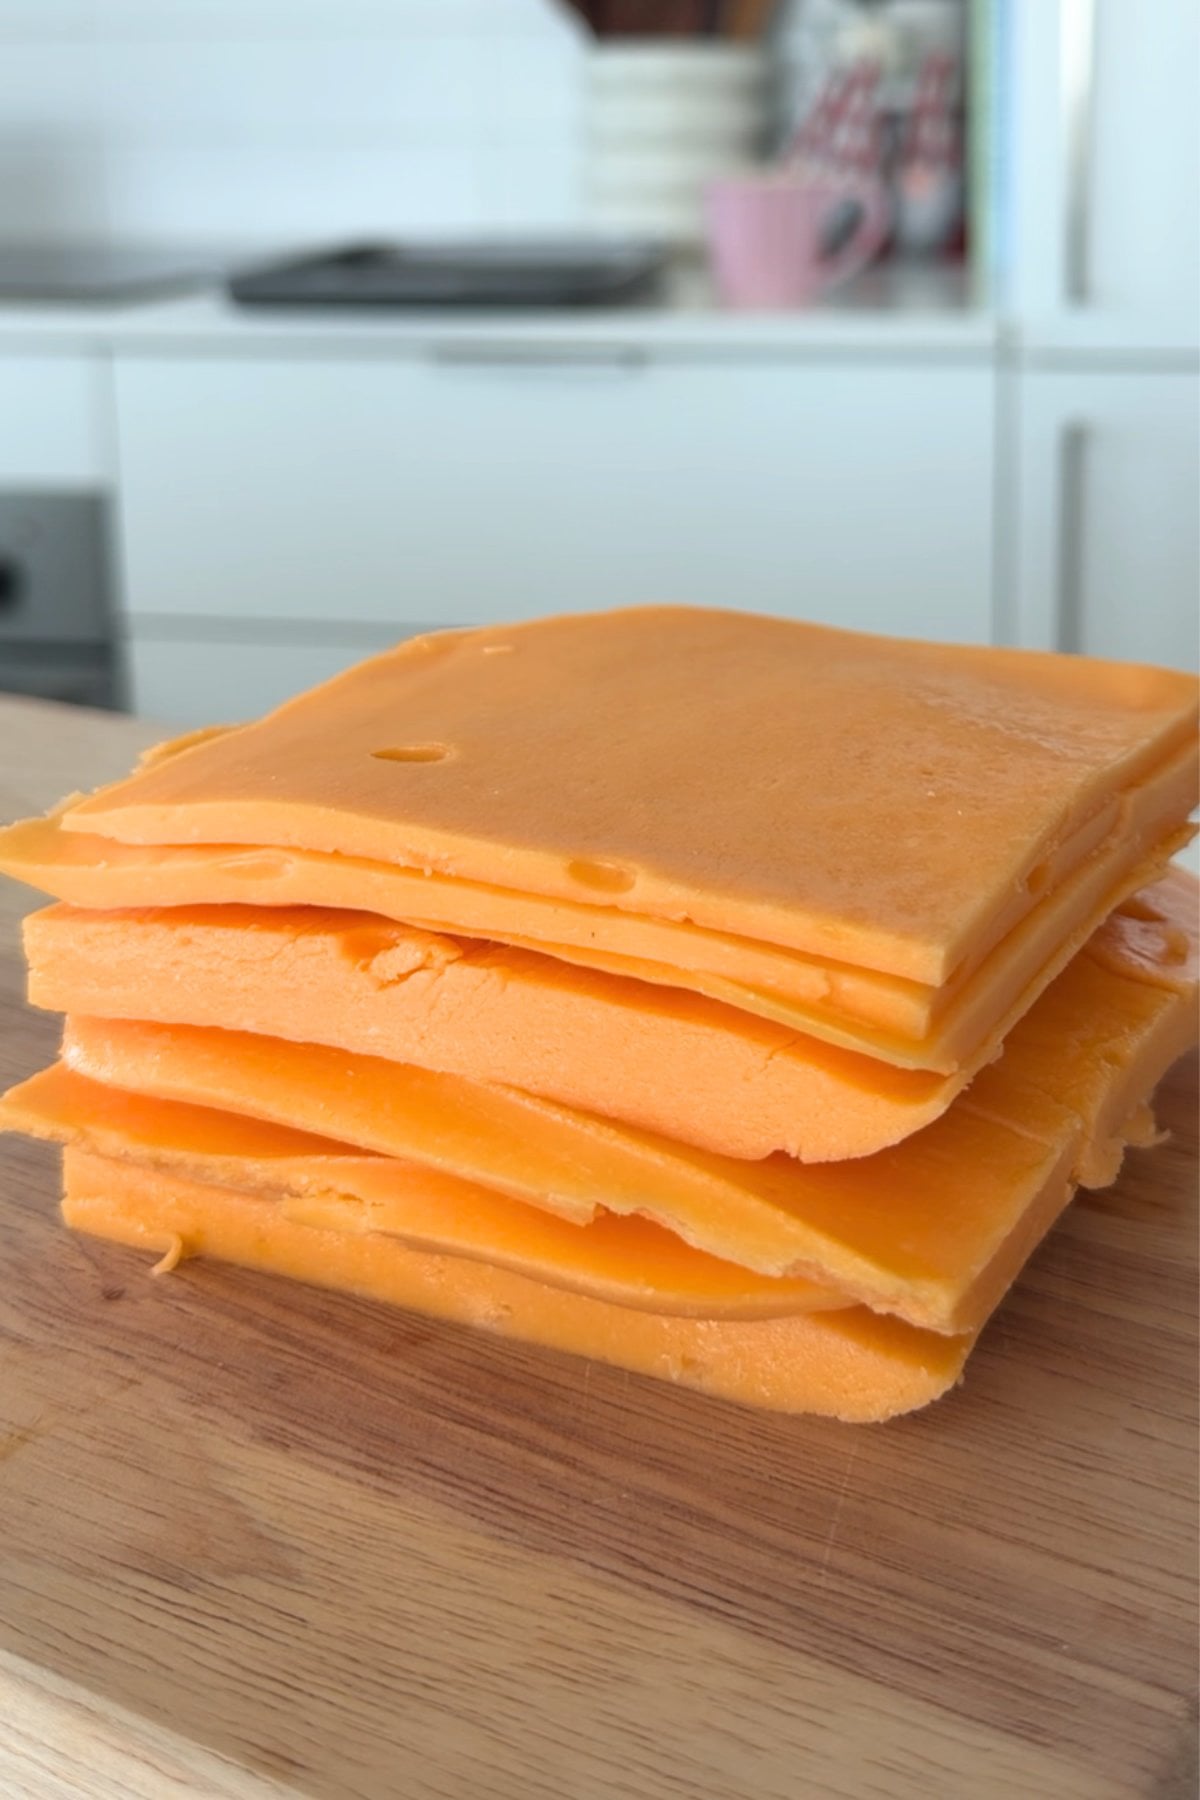
Quick Look: Homemade American Cheese Recipe
- Prep Time: 10 Minutes
- Cook Time: 10 Minutes
- Cool Time: 3 Hours
- Total Time: 3 Hours 20 Minutes
- Yield: 8 Thick Slices
- Difficulty: Beginner
- Method: Mix, heat, cool, and slice!
- Optional Add-Ins: Paprika, garlic powder, thyme, oregano, sun-dried tomatoes, cayenne, chili flakes, nutmeg, mustard, onion powder, black pepper
- Why This Works: 4 basic ingredients, a 10-minute prep time, and an instant melt with none of the unnecessary additives. So simple and oozingly good!
SUMMARIZE & SAVE THIS CONTENT ON
Why We Like This
- It puts the cheese in American "cheese": American cheese slices are overly processed and loaded with artificial fillers. The FDA doesn't even classify American cheese as "real" cheese! My homemade American cheese may take a little more effort to make, but it contains no artificial additives, and the main ingredient is real, fresh cheese. Trust me: It feels and tastes better as a result.
- An oozingly good melt: Through trial and error, and plenty of "laborious" cheesy taste testing, I've perfected this recipe for the ultimate melt. It's instant, deliciously creamy, and lava-like gooey without being overly runny or messy. I've piled this on BBQ hot dogs, pull apart garlic bread, and even homemade Doritos, and it has ALWAYS melted gorgeously.
- DIY sodium citrate: So many American cheese copycat recipes online use food-grade sodium citrate to get that meltable texture... But let's be real: Who actually has that in their pantry? My recipe shows you how to make your own sodium citrate from scratch using two basic ingredients: lemon and baking soda. So much easier, and you'll still get the same gooey melt and creamy flavor!
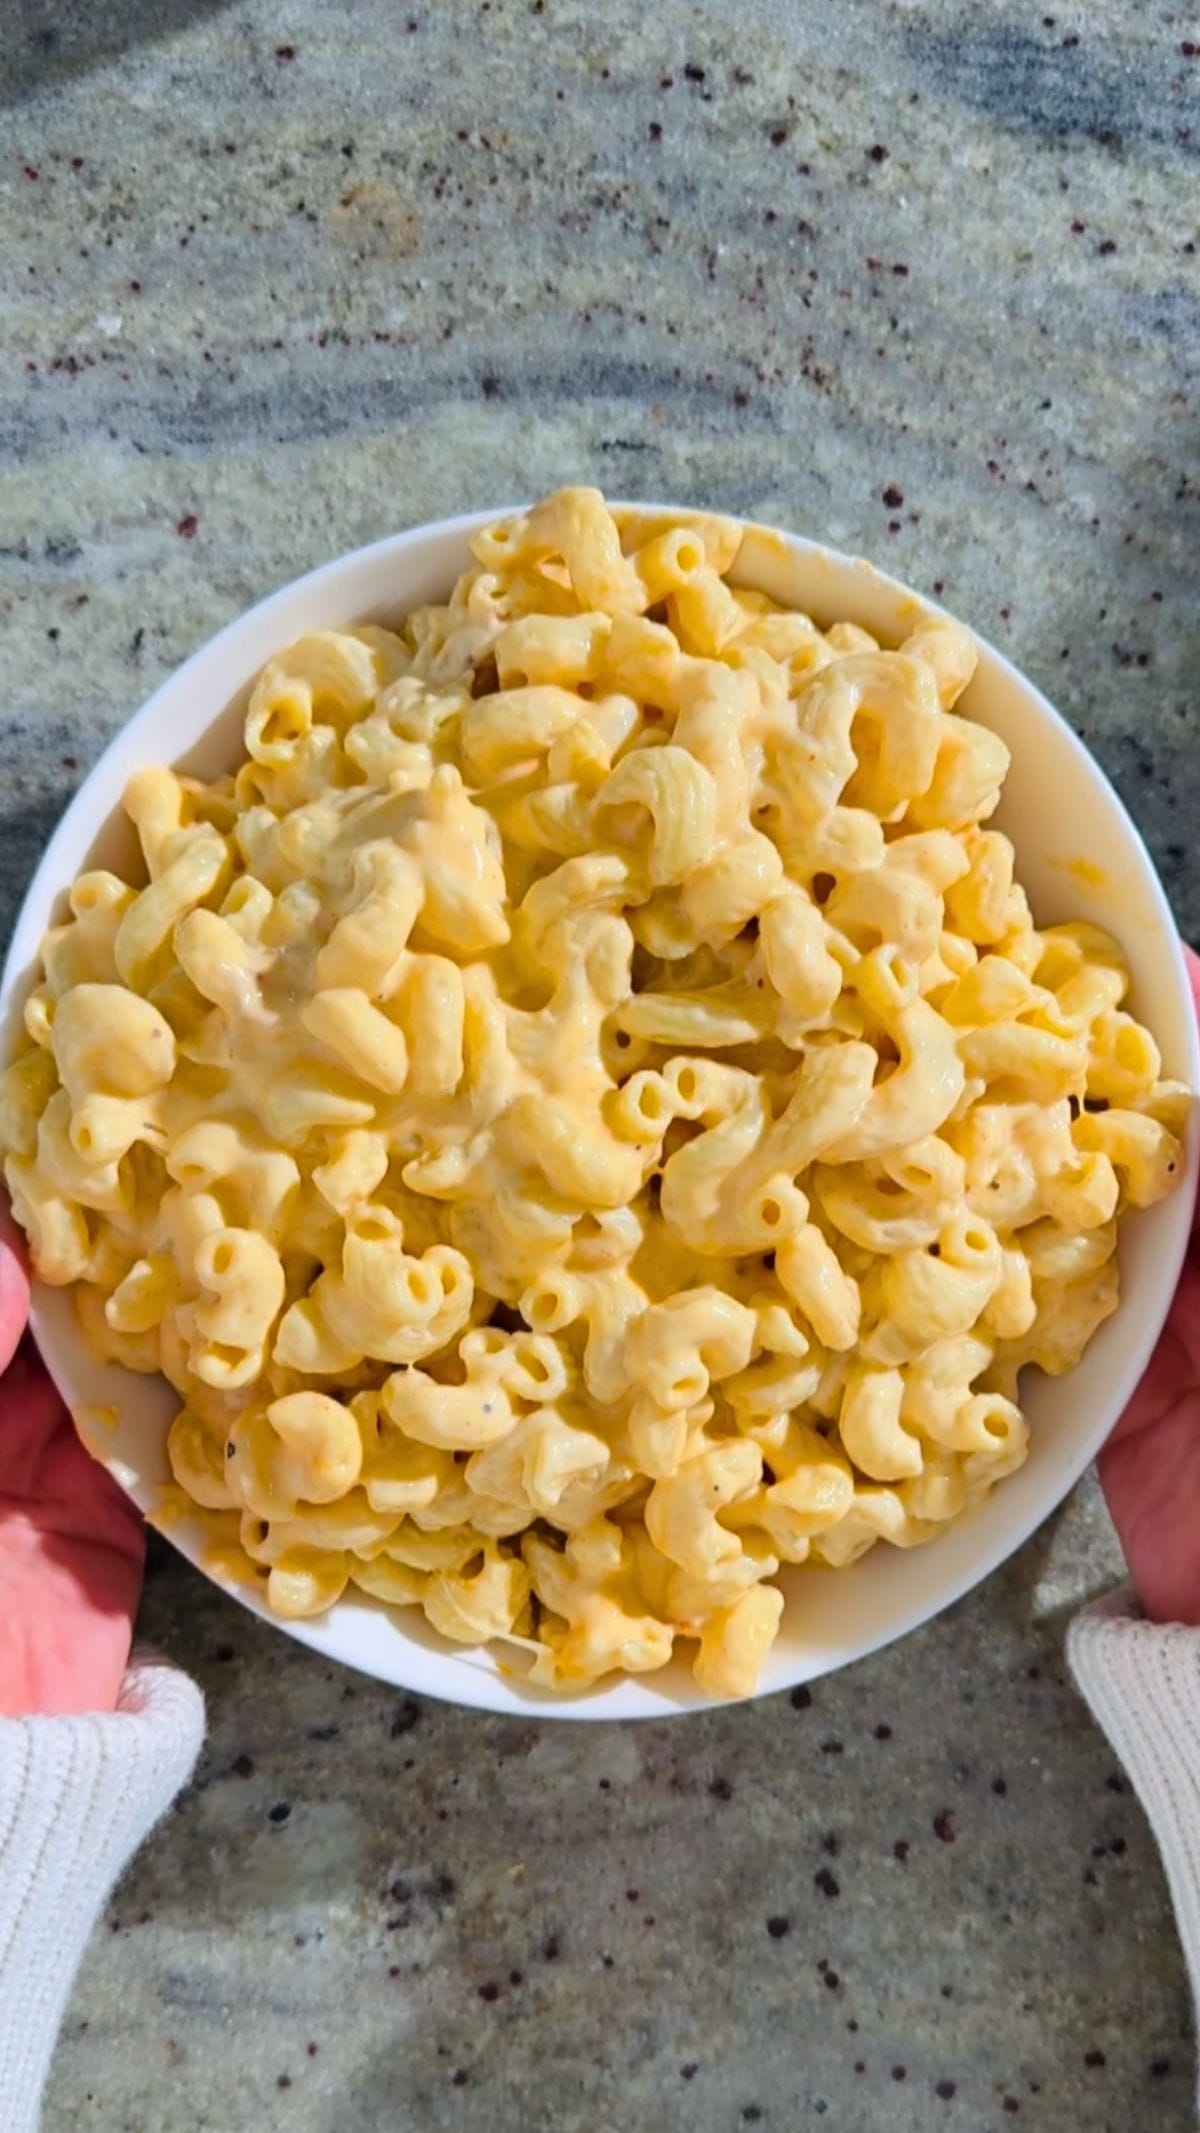
- A treat the whole family will approve of: It may be cheesy to say that this American cheese really brings the whole family around the dinner table, but in my experience? It truly does! It's nostalgic (and healthy) enough for adults to enjoy, but cheesy enough for kids of all ages. Even picky eaters will have a hard time resisting these cheese slices, especially if you melt them over my mac and cheese no flour recipe!
Ingredients
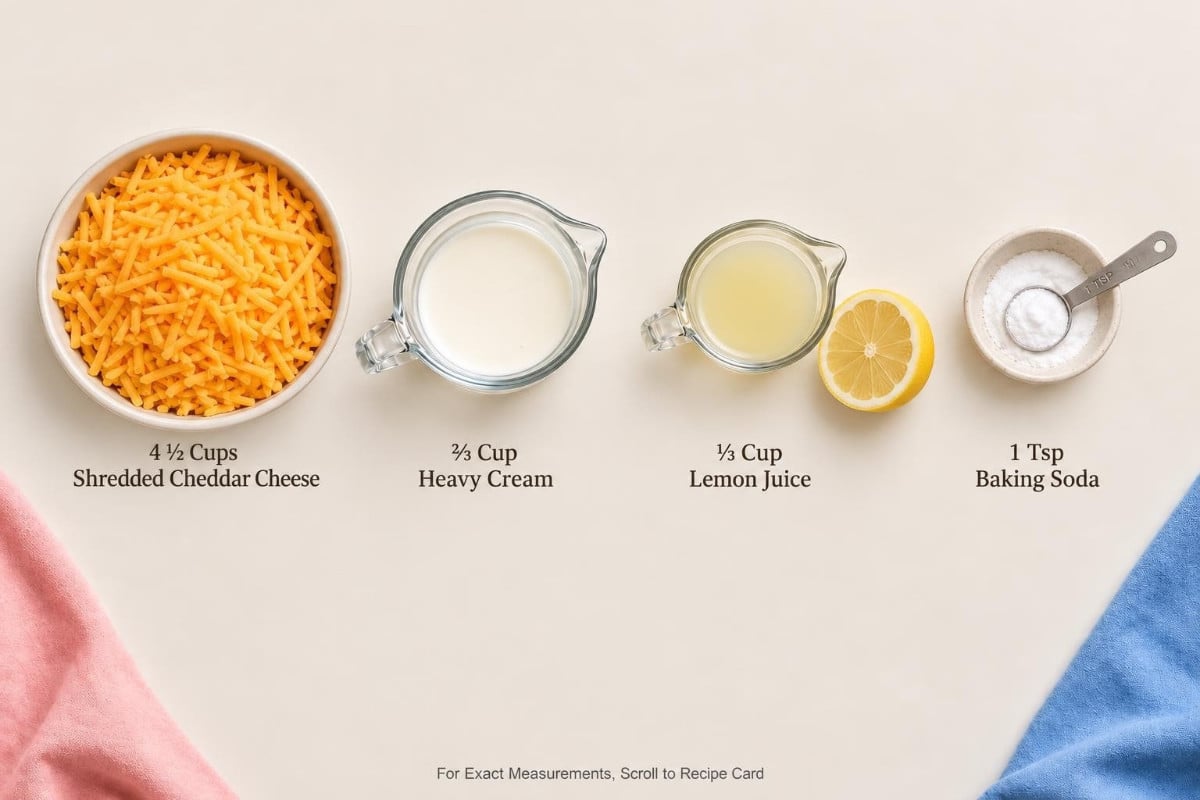
My recipe proves you don't need artificial additives and flavor enhancers to make super meltable, gooey American cheese! It just takes 4 basic ingredients (and a lil' elbow grease!).
- Shredded Cheese: I like to use cheddar since it's more traditional and imparts a gorgeous tang, but any meltable cheese works, even my cream mozzarella. However, shred your cheese from scratch! Pre-shredded cheeses are coated in anti-caking agents and do not melt as well as fresh cheeses. You can still use pre-shredded if you're really in a pinch, but trust me: The arm workout is so worth it here for that ultra-gooey melt!
- Lemon Juice: Lemon juice (combined with baking soda) acts as an emulsifier and gets your cheese super creamy and melty! Just note it can impart a subtle zesty flavor. I personally love it as I find it balances out the richness of the cheese, but if you really hate lemon, you can swap the lemon with lime juice. You'll get the same result.
Minoo's Pro Tip: Want your cheese to be as vibrant orange as the store-bought American cheese? You don't have to use artificial food dye! Just mix in homemade paprika powder. It will give you a near-perfect color match, and it'll also impart a gorgeous smoky kick.
How to Make Homemade American Cheese Recipe
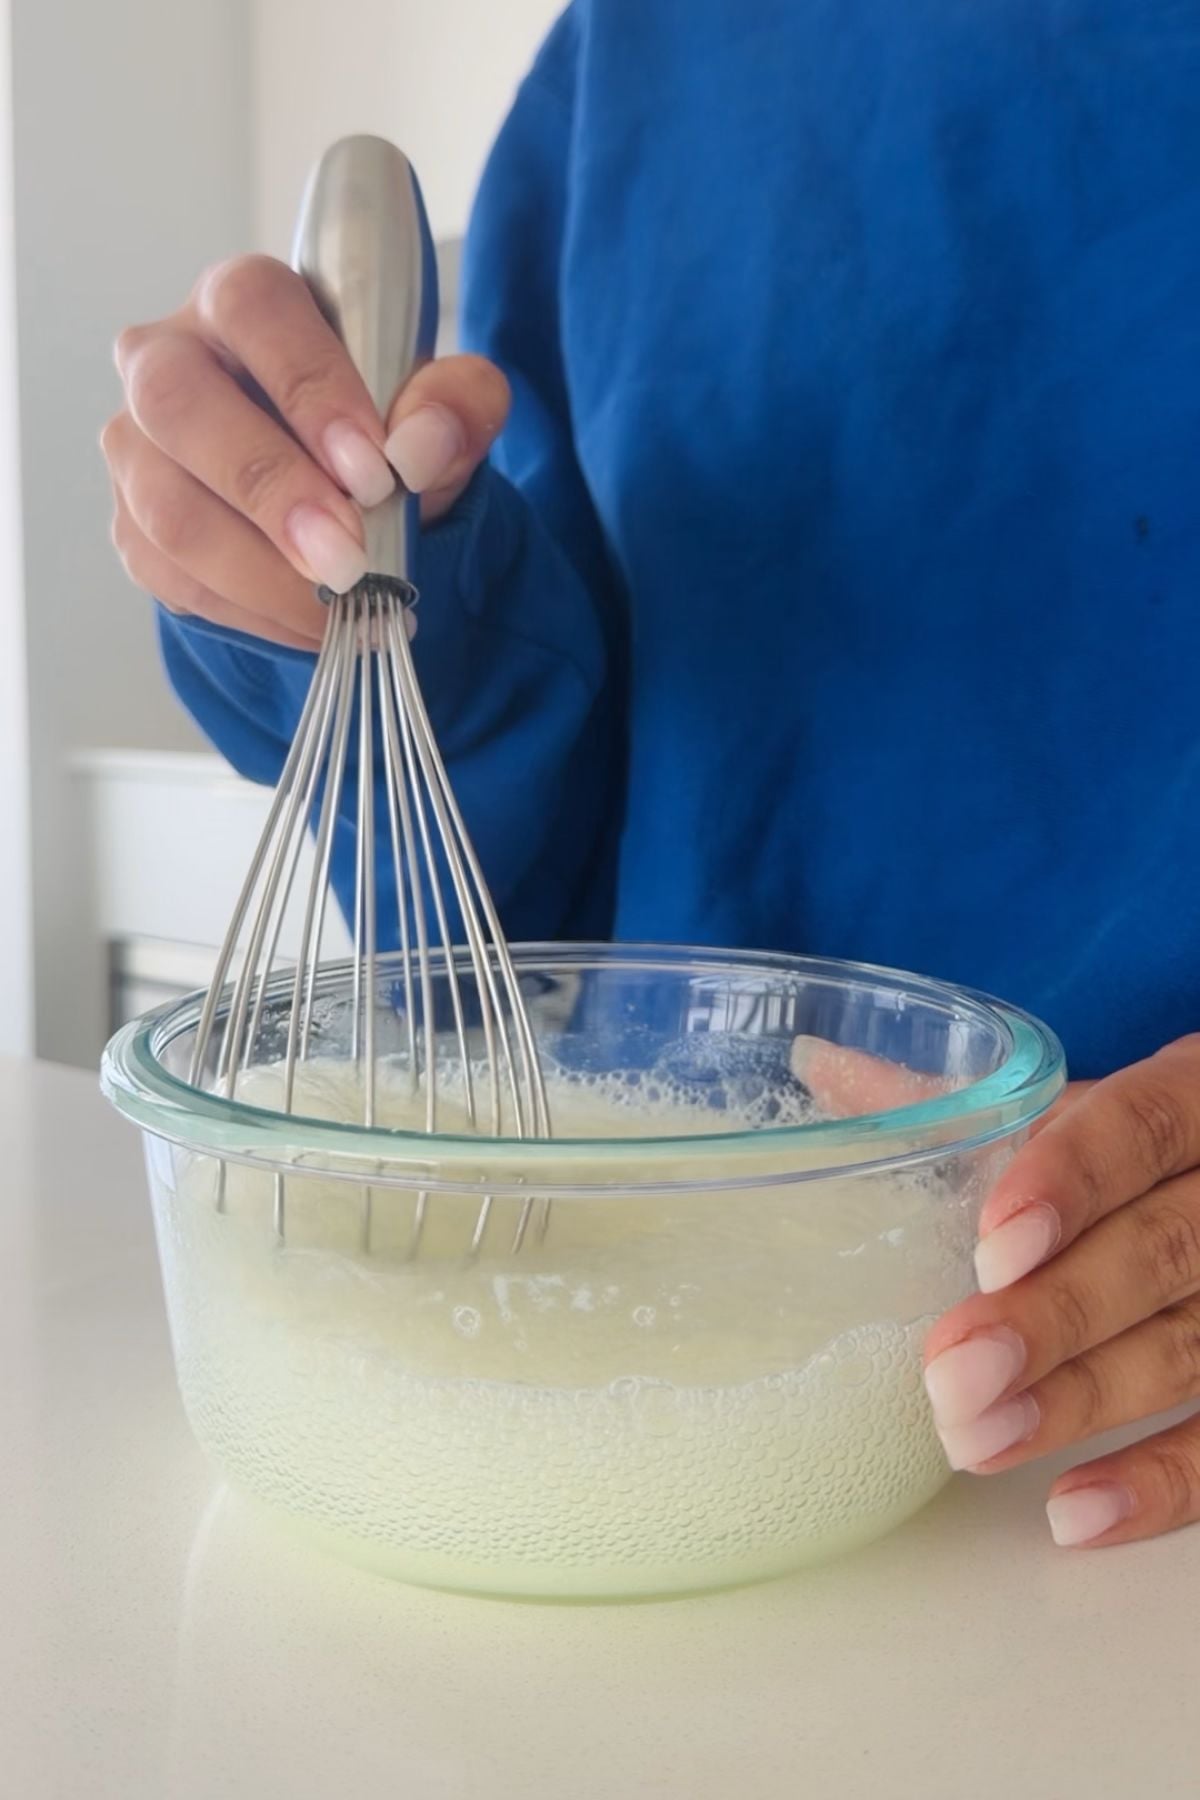
- Step 1: Whisk together 1 teaspoon baking soda with ⅓ cup lemon (or lime) juice in a bowl, until combined. It will fizz up slightly, but don't panic! That's exactly what we want. This reaction turns the mixture into an emulsifier (sodium citrate) and gives your cheese slices the smoothest, meltiest texture possible!
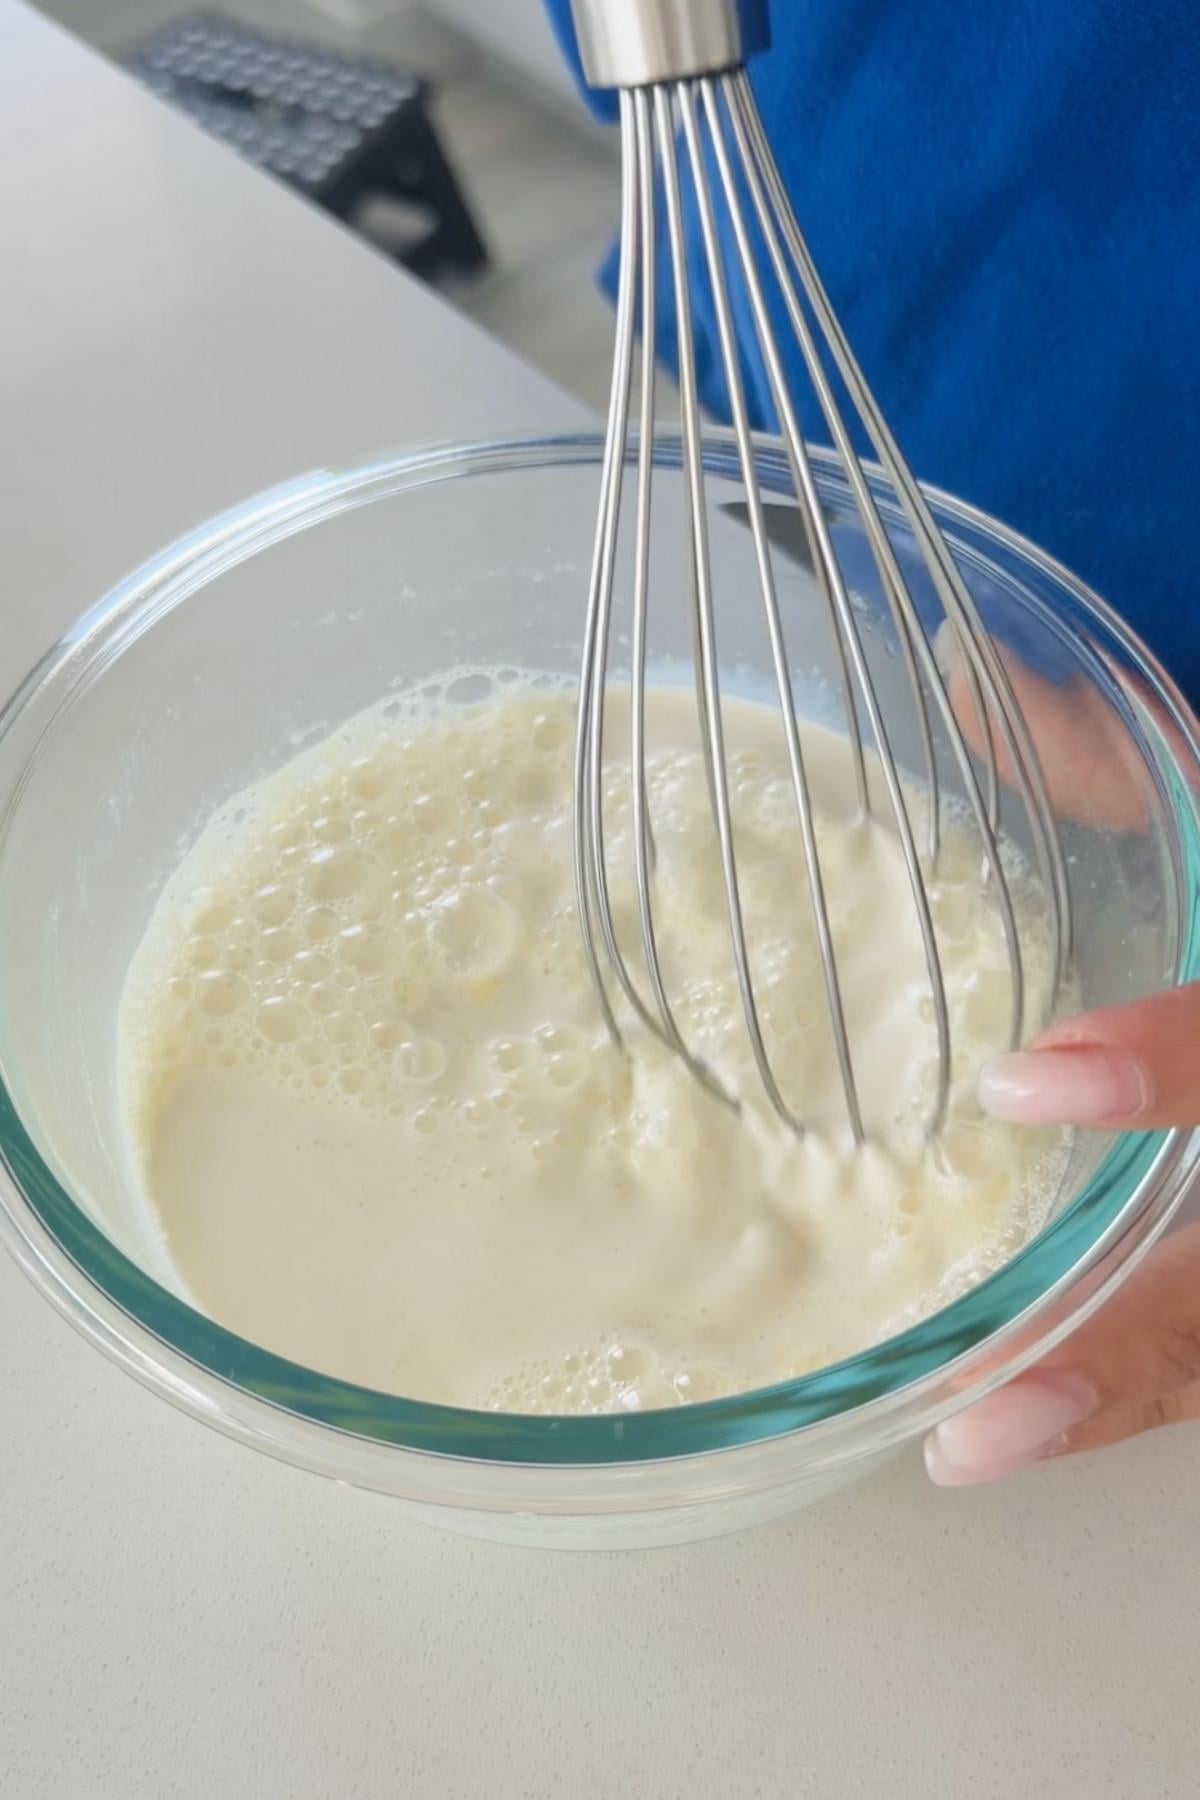
- Step 2: Add ⅔ cup of heavy cream and mix everything together until fully incorporated and the sodium citrate has completely dissolved.
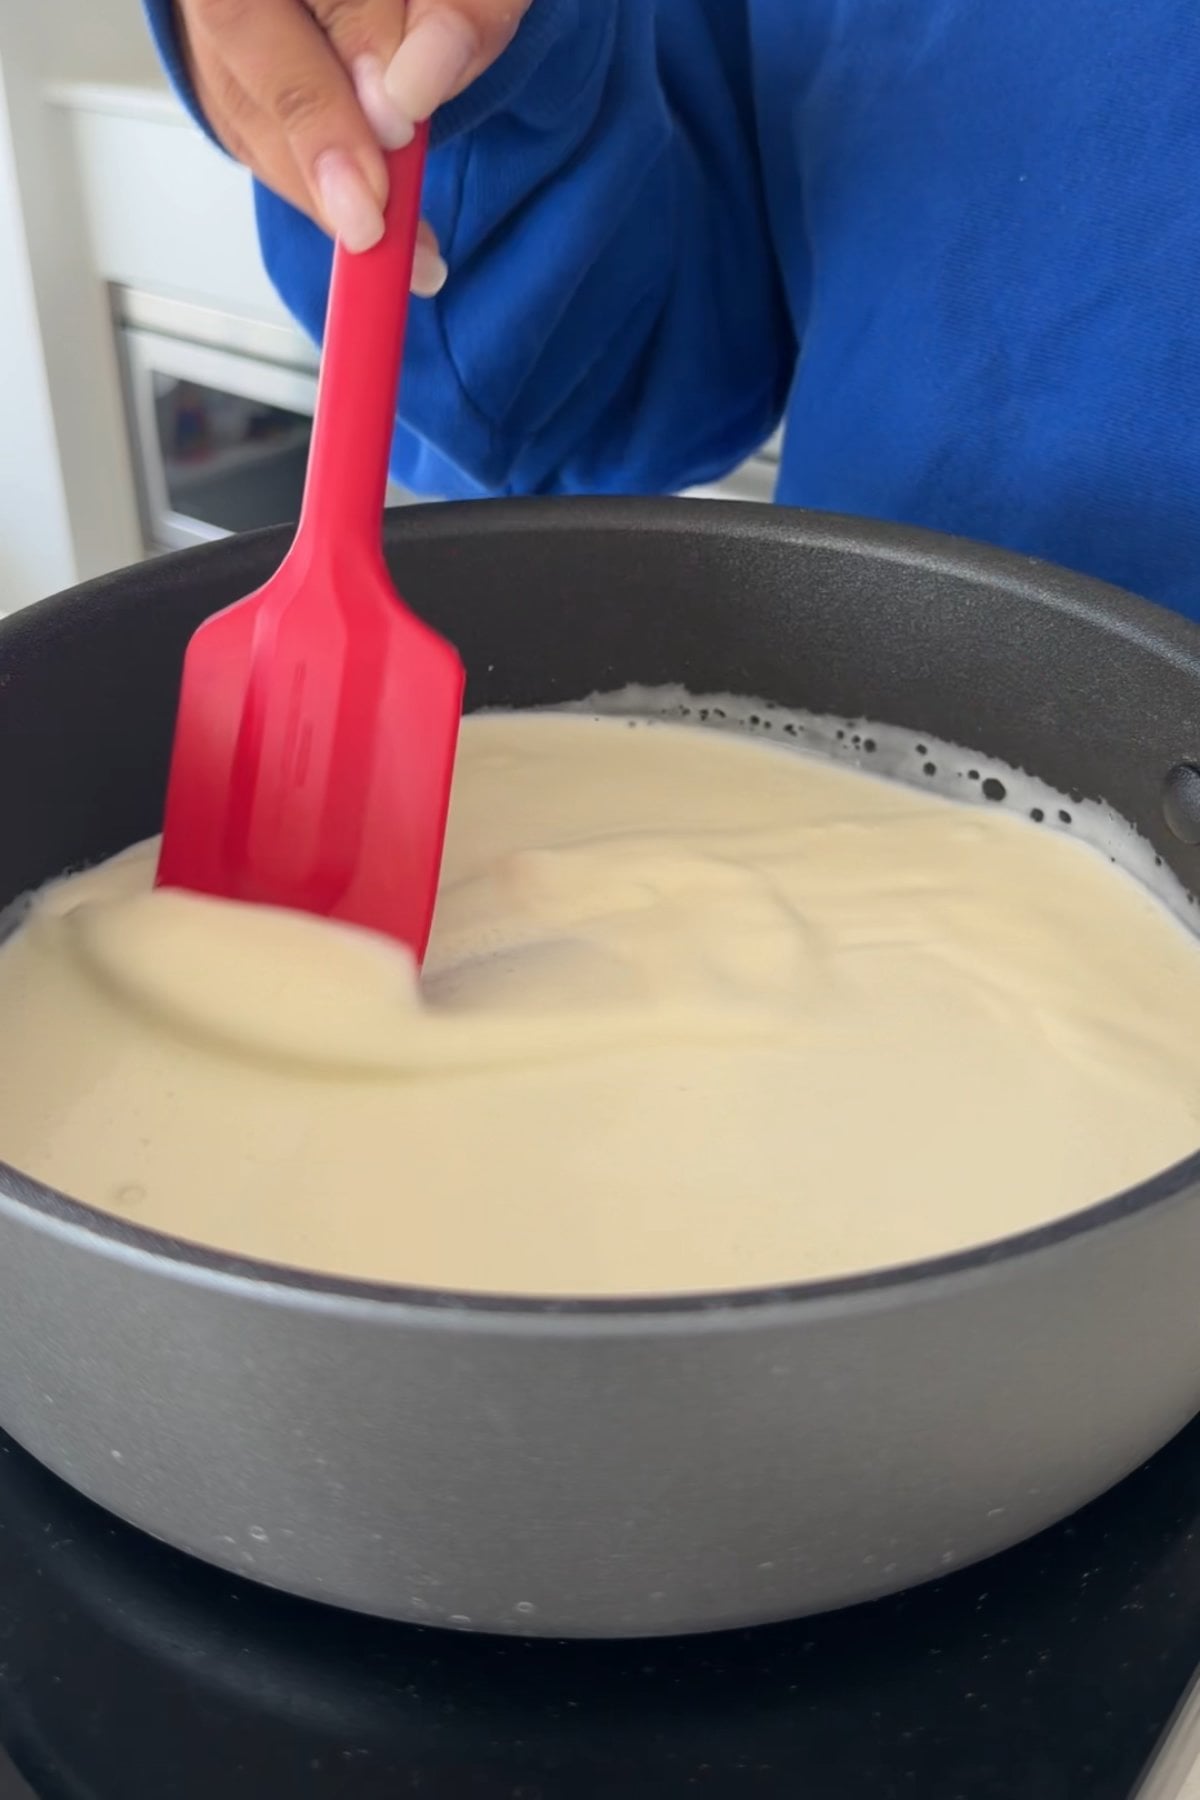
- Step 3: Pour the mixture into a medium saucepan and place over medium heat (or medium-low). Never turn your heat up high!
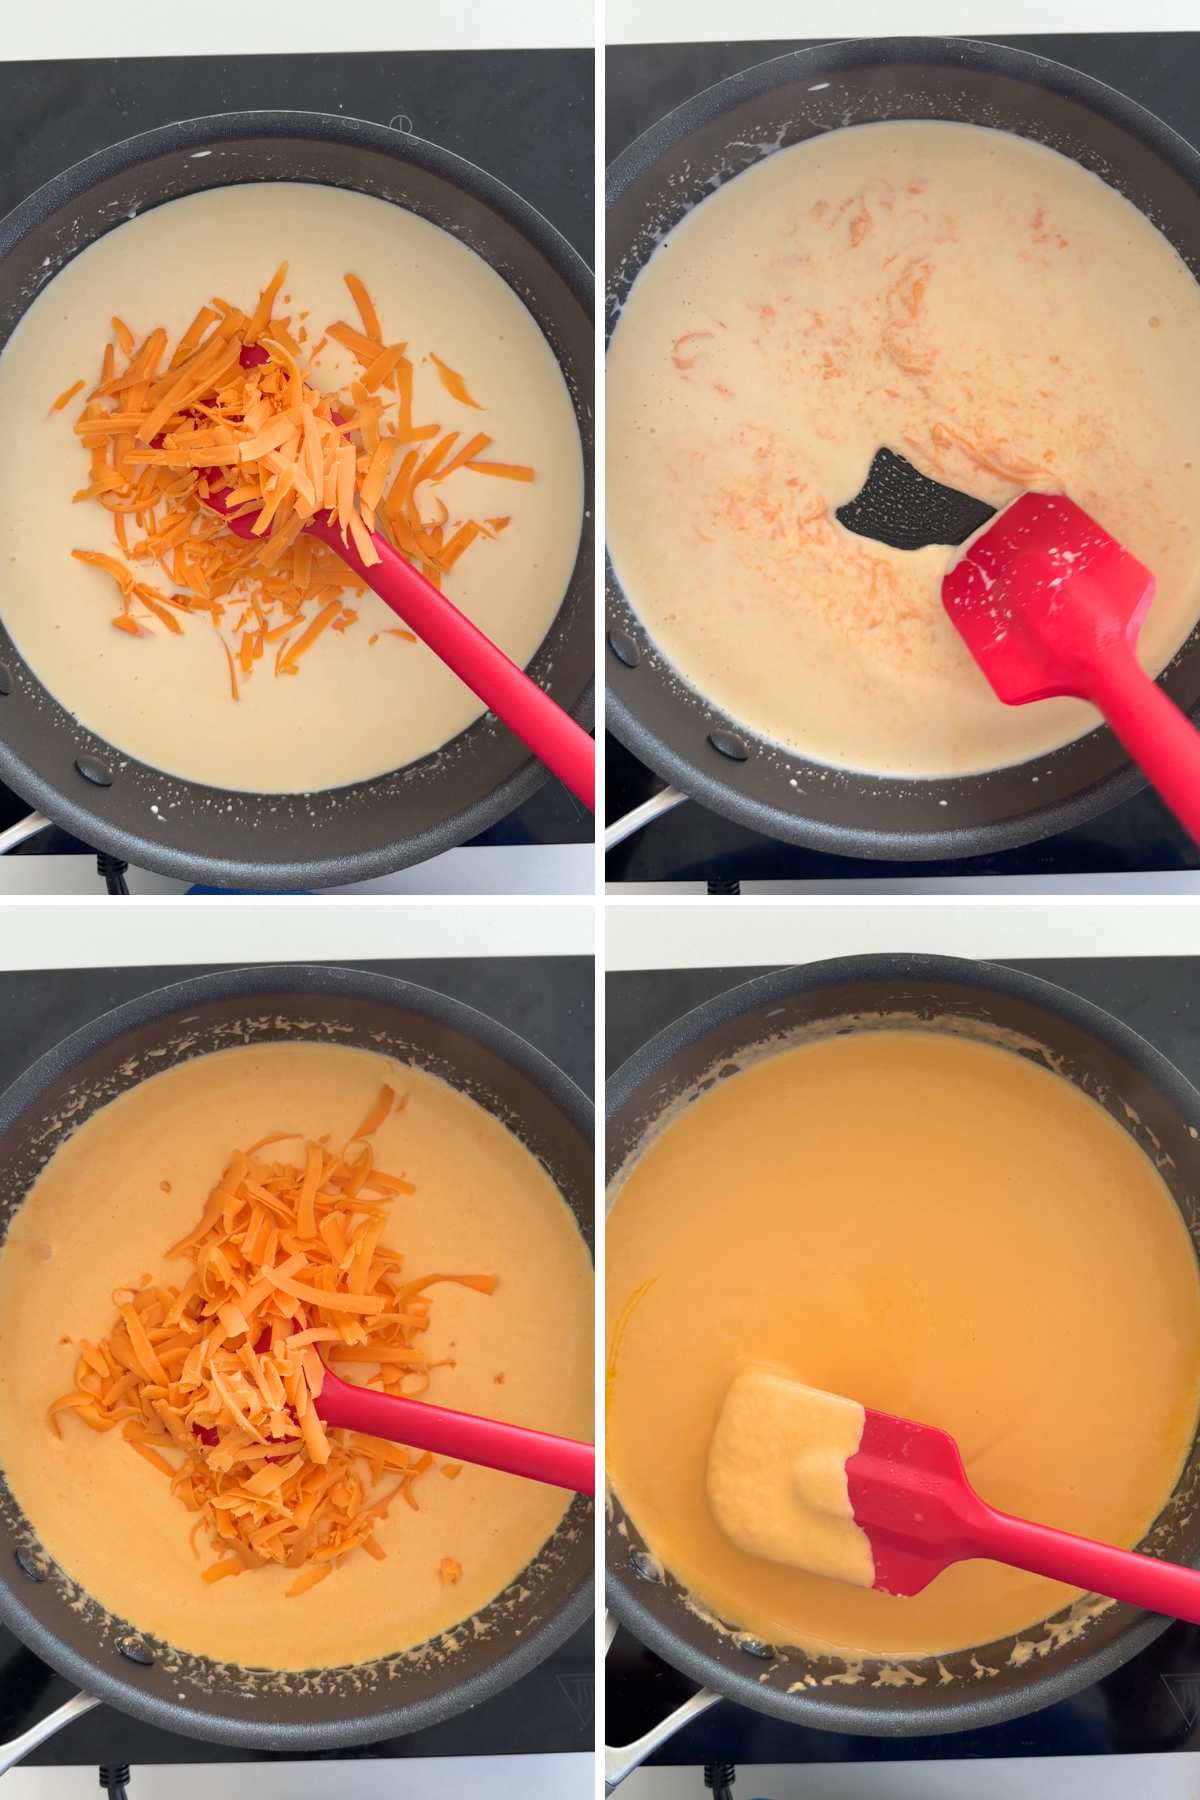
- Step 4: Add 4½ cups shredded cheese into the pan gradually, around one handful at a time. Stir constantly so that it doesn't burn, and let each handful fully melt before adding the next to prevent lumps and clumps. I've found this usually takes around 8 to 10 minutes in total. Once you've added all the cheese, keep stirring until the mixture is smooth, thick, and glossy.
Minoo's Pro Tip: If your cheese feels too runny, add more cheese. Don't feel confined to my measurements!
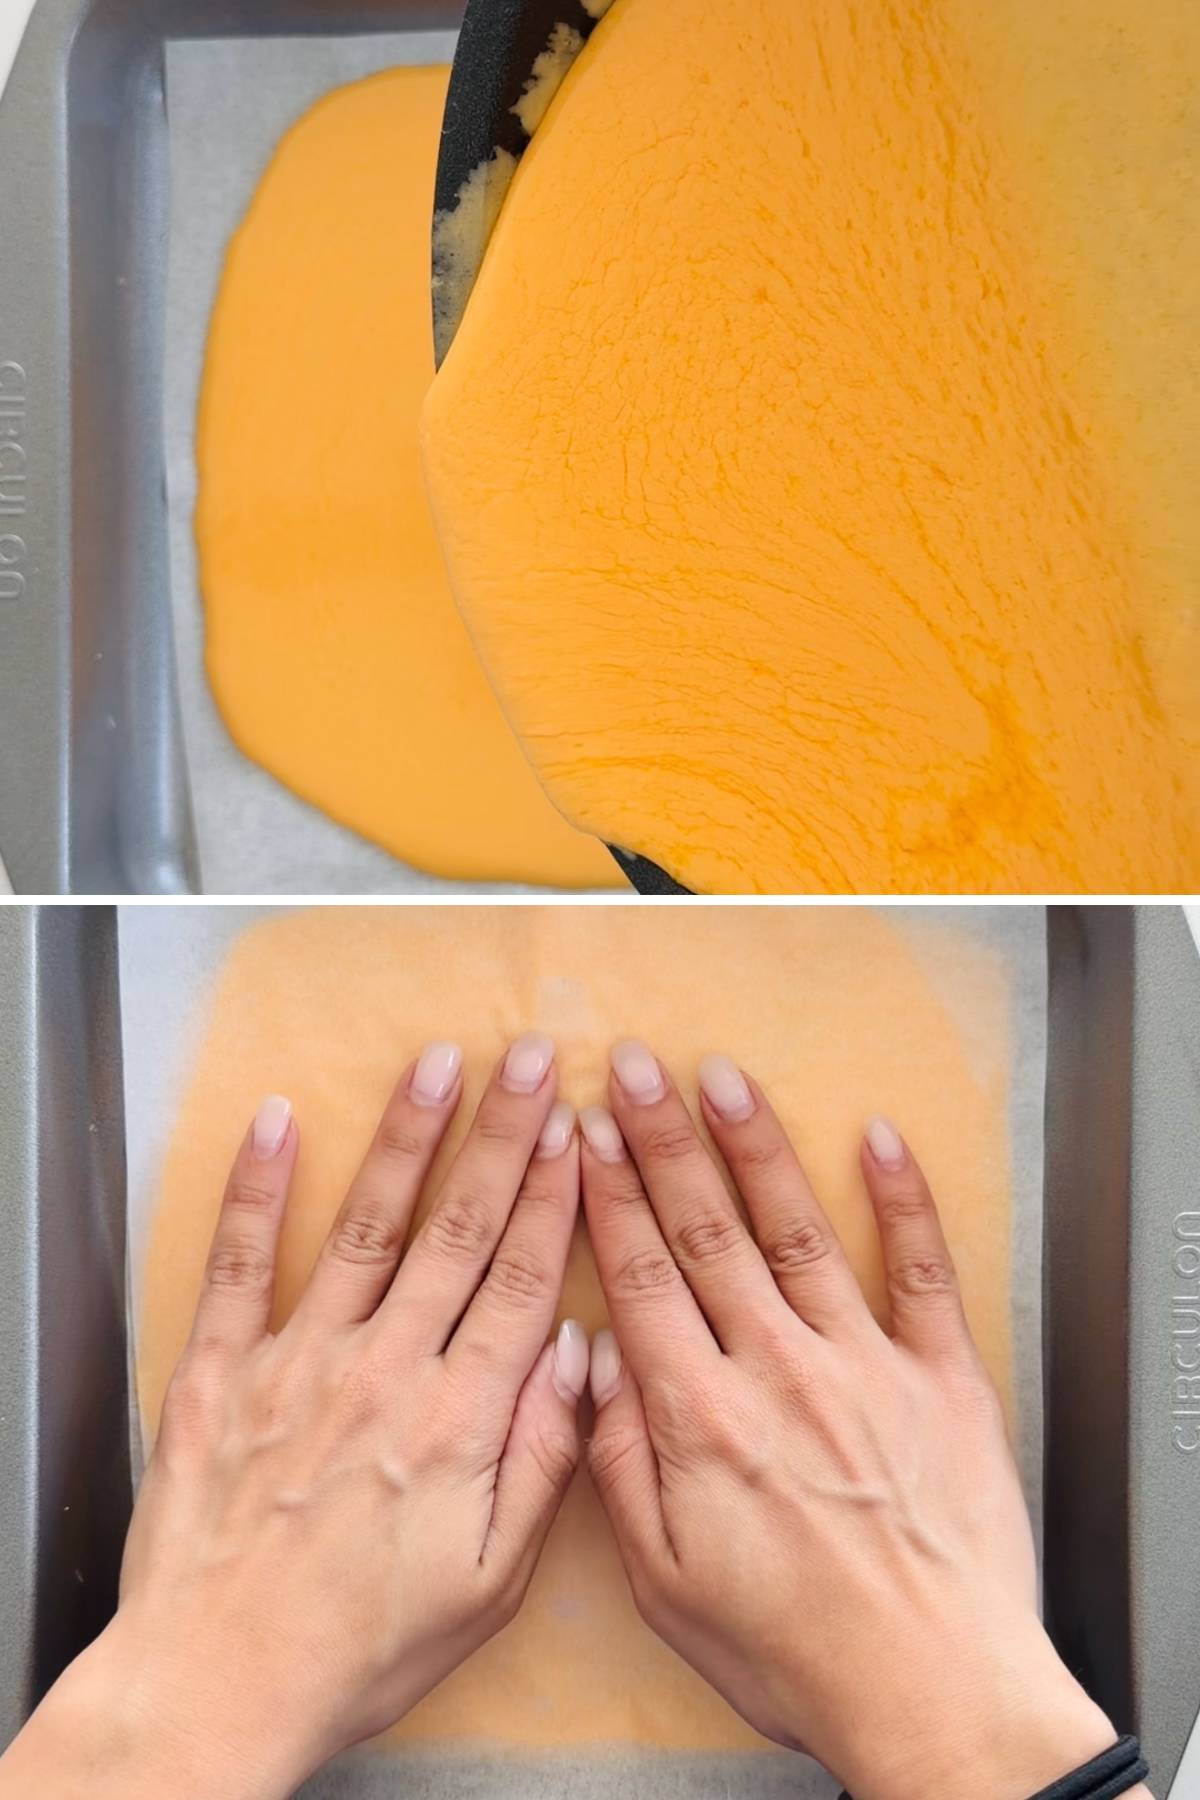
- Step 5: Pour the melted cheese into a parchment-lined baking dish. Lay a second sheet of parchment on top and press down with your hands to spread it into an even, thin layer. You want it around ⅛ to ¼ inch thick.
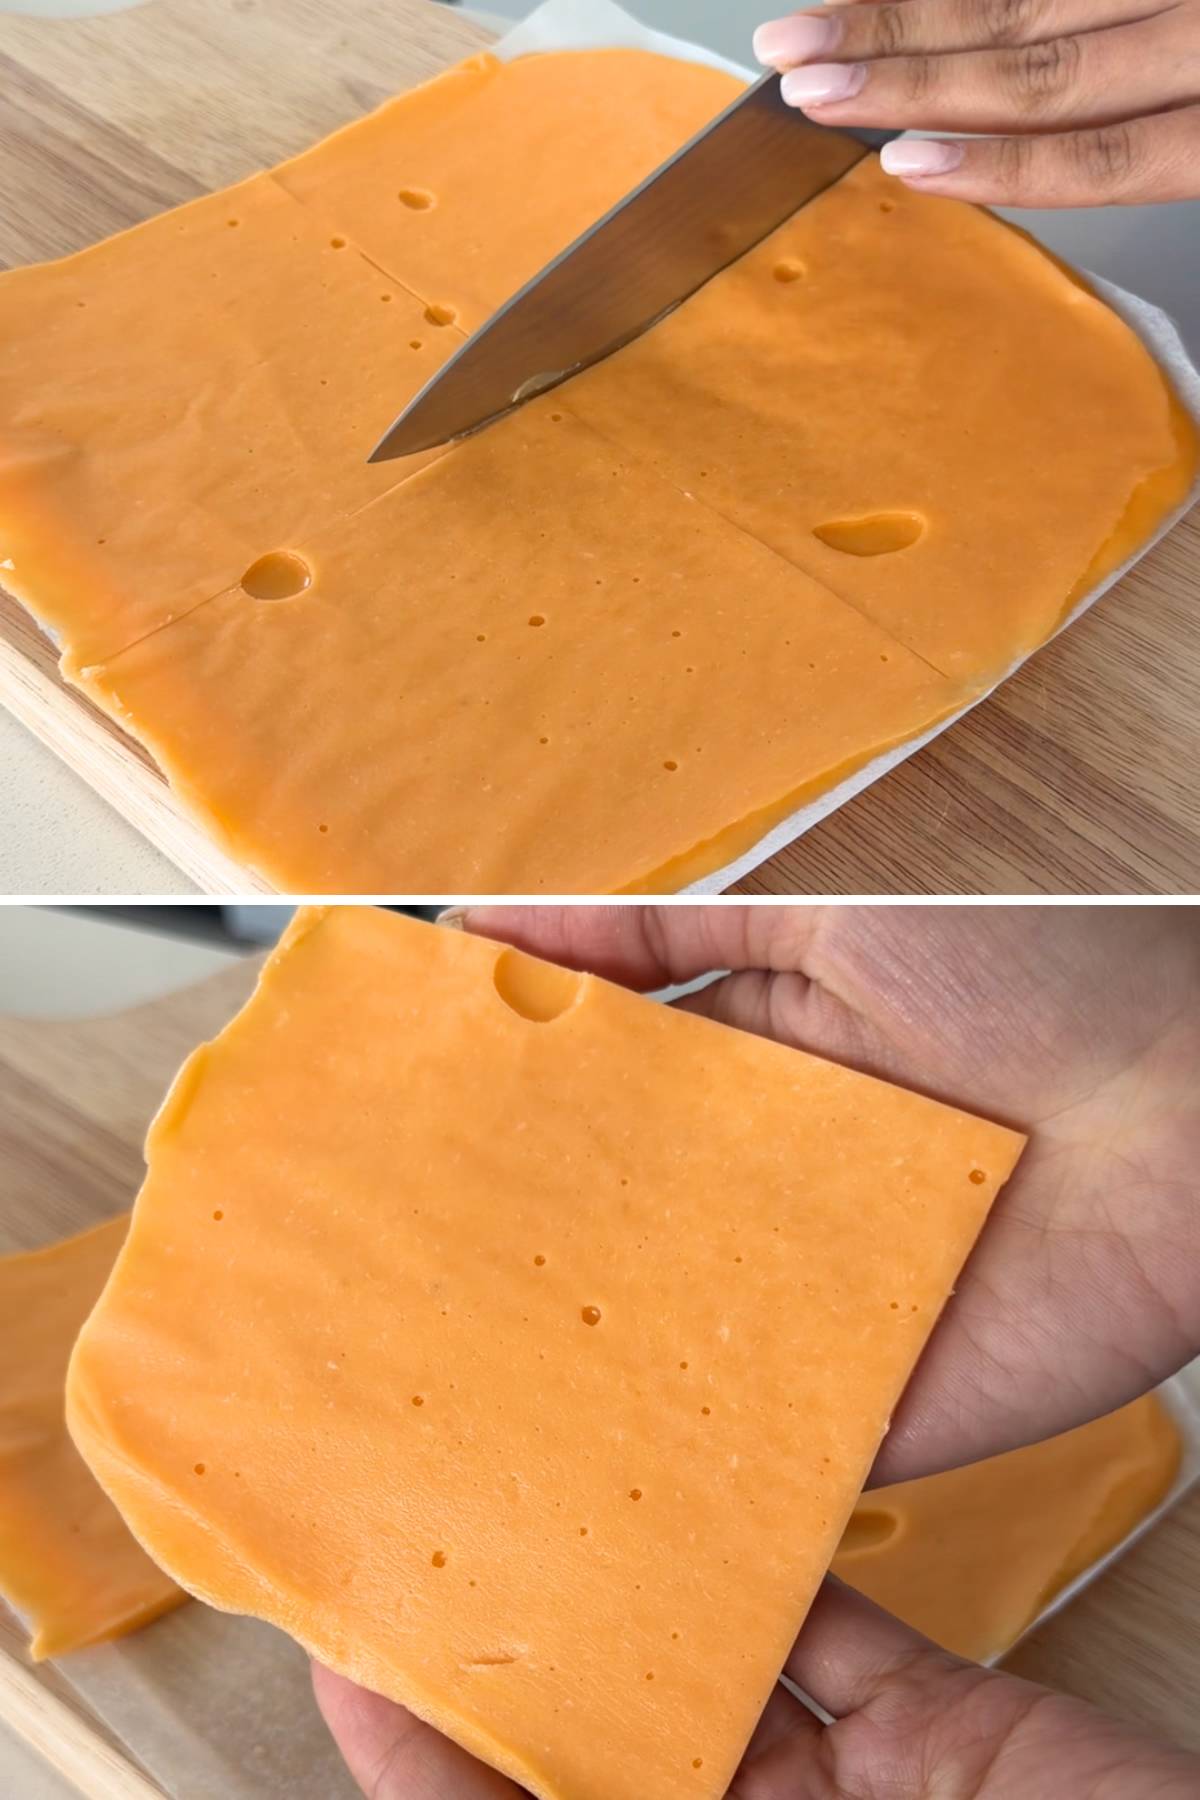
- Step 6: Refrigerate the cheese for at least 3 hours, or until it is set and fully firm, then cut into individual square slices and enjoy! This melts gorgeously over easy hamburger buns, sandwiches, and my cottage cheese lasagna soup. You can even add it to my no mixer pizza dough recipe and drizzle on burger sauce to make the most amazing cheeseburger-style pizza!
Minoo's Pro Tip: Leave the parchment paper on so that you can stack (and store) the slices easily without them sticking together! Just remember to remove the parchment paper before you melt them.
Expert Tips
- Don't rush the melting: Give each handful of cheese time to melt completely before adding the next, and keep stirring throughout the process! Trust me: If you rush this, your cheese won't melt properly, and you'll be left with a lumpy, clumpy mess. But don't panic if the texture doesn't turn out perfectly. You can still use it; just mix it into dishes like my easy broccoli cheese soup instead of making individual slices.
- Wait until the cheese is set before slicing: I made this mistake the first time. The cheese needs to be firm before you go anywhere near it with a knife. If you try to slice it while it's soft, it won't hold its shape! You can press it with your fingertip to check its firmness. It should have some resistance, but not immediately "dent."
- Keep the temperature on medium: If you increase the heat too much, your cheese mixture will split and separate. If you notice this happening, quickly take it off the heat and whisk in an extra splash of heavy cream. I've found this usually helps to smooth it out and get the texture back.
- Shred your cheese finely: The finer you shred your cheese, the quicker and more evenly it'll melt. I like to use a microplane, since this makes it easy to get a really fine shred, but you can also use the small side of a standard grater.
Homemade American Cheese Recipe FAQs
Your homemade American cheese will last for up to 5 days if stored in the fridge. Stack your cheese slices, with parchment paper in between them so they don't stick together, and put them into an airtight container or Ziploc bag.
You can also store my homemade American cheese in the freezer for up to 3 months. Store in the same way, but just remember to let the slices defrost on the counter for 5 minutes before you use them. If you're adding them to a burger or grilled cheese, skip the defrosting time; they'll melt quickly with the heat alone!
No, not all cheeses melt the same! Feta may work beautifully on a cheeseboard (especially with my French baguette recipe), but it has a tight structure and stays firm under heat. It will only soften, not melt.
You want to use cheddar or a cheese with similar melting characteristics for the best results. I've also had great success melting mozzarella cheese, Gruyère, Monterey Jack, Havarti, and Gouda.
I had the same question at first! After all, if you're buying cheese from the store, why can't you just slice and melt that cheese instead of making this recipe?
I know my recipe sounds "unnecessary," but trust me: There's a huge difference. We're adding an emulsion component here, and creating a cheese that melts INSTANTLY and is SO much gooier and creamier.
Slices made purely from cheese will take much longer to melt and won't give you that lava-like consistency. It simply cannot compare, and your taste buds deserve the best, especially when my recipe is so easy to make!
You can, but American cheese slices are infamous for being incredibly unhealthy and filled with fillers, additives, and preservatives. My recipe gives you the best of both worlds: The same delicious, meltable cheese, but with ingredients you actually know!
You can also customize the flavor exactly to your liking since you're making it from scratch. You can add chili flakes for a spicy kick or even add mustard for extra depth and a sharp tang.
More to Try
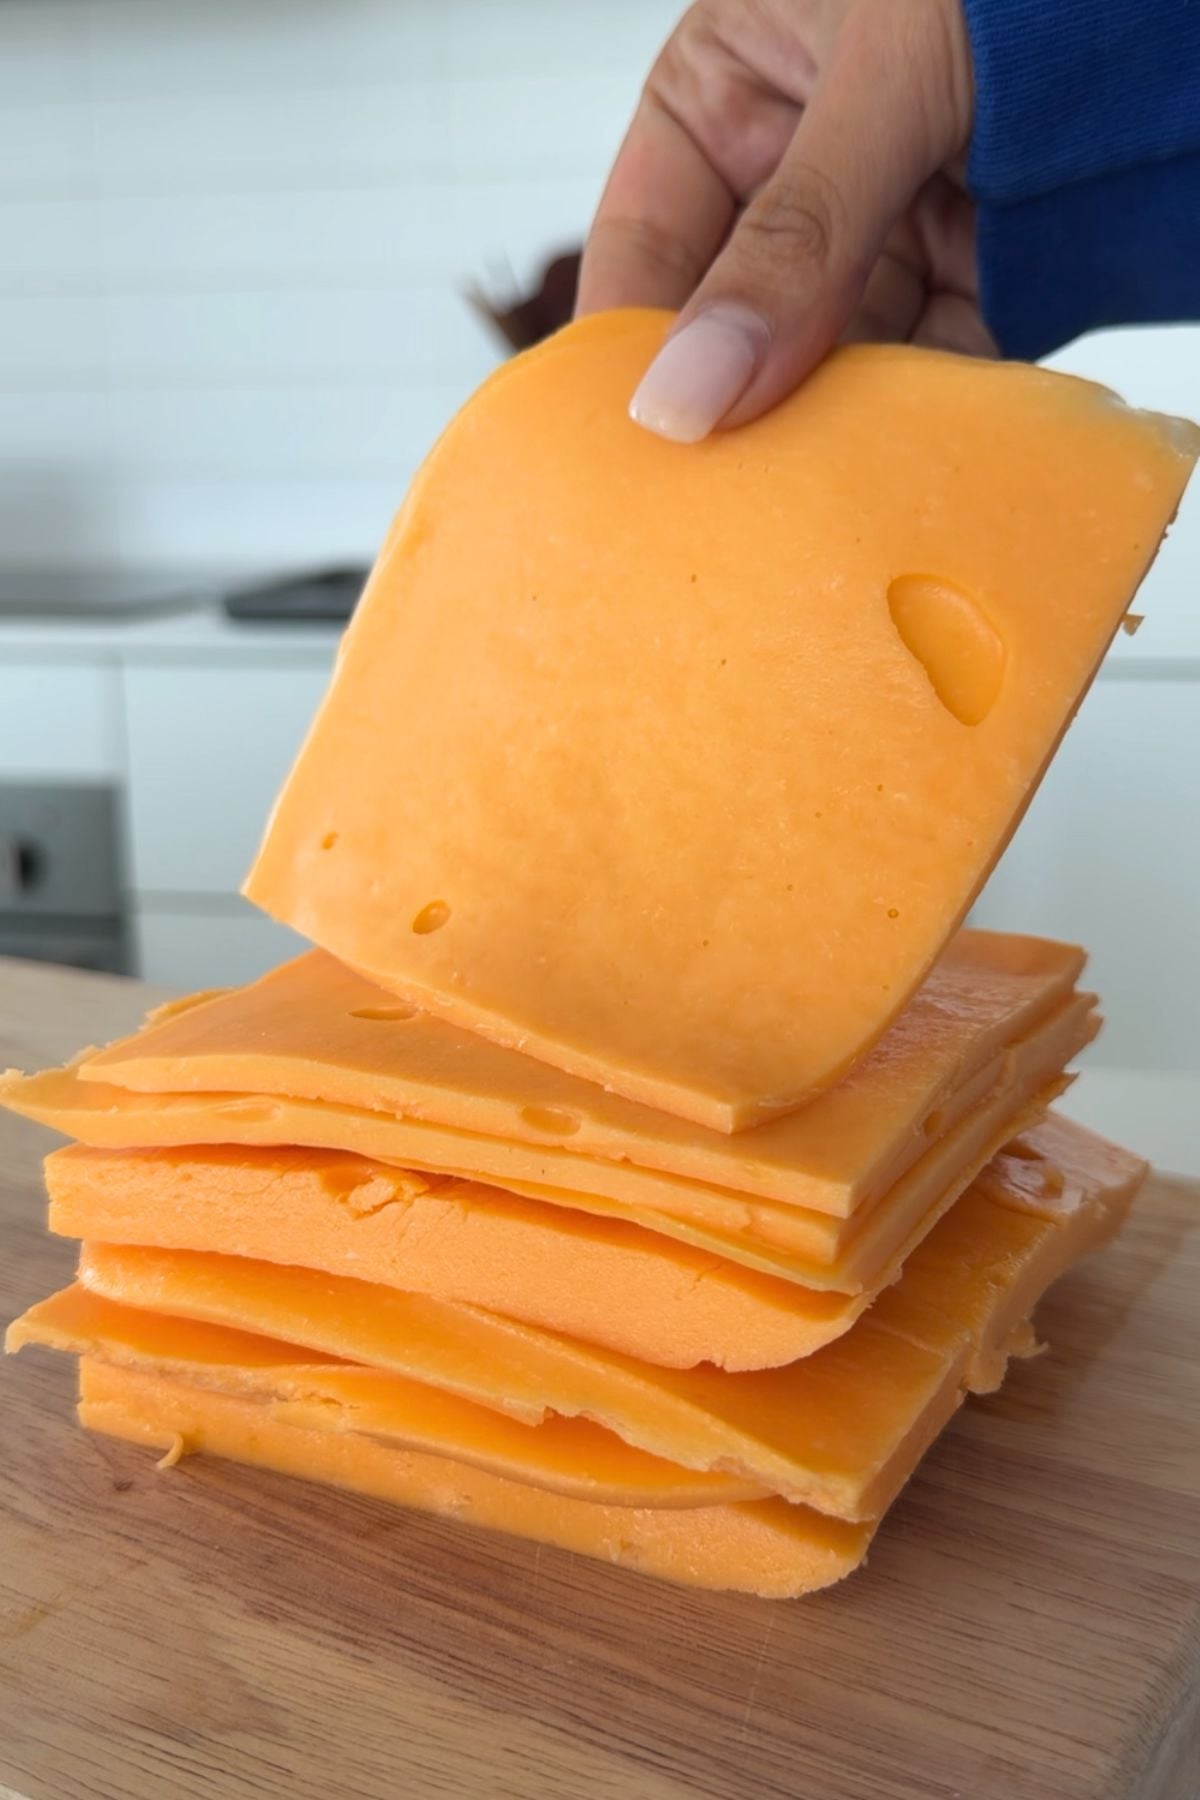
American cheese slices aren't just for burgers and hot dogs! You can really get creative and "cheese" up whatever your heart desires. You can add the slices to paninis, use them to make a killer grilled cheese, or even throw them into soups for extra gooeyness. Here are the pairings I always come back to:


Enjoying This Recipe?
It would mean the world to me if you left a quick review or any questions you have in the comments below!
Recipe Card
Homemade American Cheese Recipe
EMAIL THIS RECIPE
Enter your email and I'll send this directly to you.
Plus you'll get new recipes from me every week!
Ingredients
- 1 teaspoon Baking Soda
- ⅓ Cup Lemon Juice or lime juice
- ⅔ Cup Heavy Cream
- 4½ Cups Cheese cheddar or of choice, shredded
Instructions
- Whisk together baking soda and lemon juice in a small bowl until combined. It will fizz slightly.
- Add heavy cream and whisk until fully incorporated.
- Pour mixture into a medium saucepan and put over medium heat.
- Add shredded cheese one handful at a time, stirring constantly and letting each handful fully melt before adding the next. This takes around 8 to 10 minutes. Once all the cheese is in, stir until the mixture is smooth, thickened, and glossy.
- Pour the melted cheese into a parchment-lined baking dish. Lay a second sheet of parchment on top and press down gently to spread it into an even, thin layer (⅛-¼ inch thick).
- Refrigerate for at least 3 hours, or until firm and set, then cut into slices.
Notes
- Keep the temperature low: You want it on medium (or medium-low) the entire time, never high. This is key to getting the perfect texture.
- My measurements are a guide: Too runny? Add more cheese. Too thick? Thin it out with extra cream.
- Shred your cheese from scratch: Pre-shredded cheeses are coated in anti-caking agents and do not melt the same way.
Nutrition
Want To Save This Recipe?
Share your email & we'll send it over! PLUS, you'll get new recipes from us weekly