
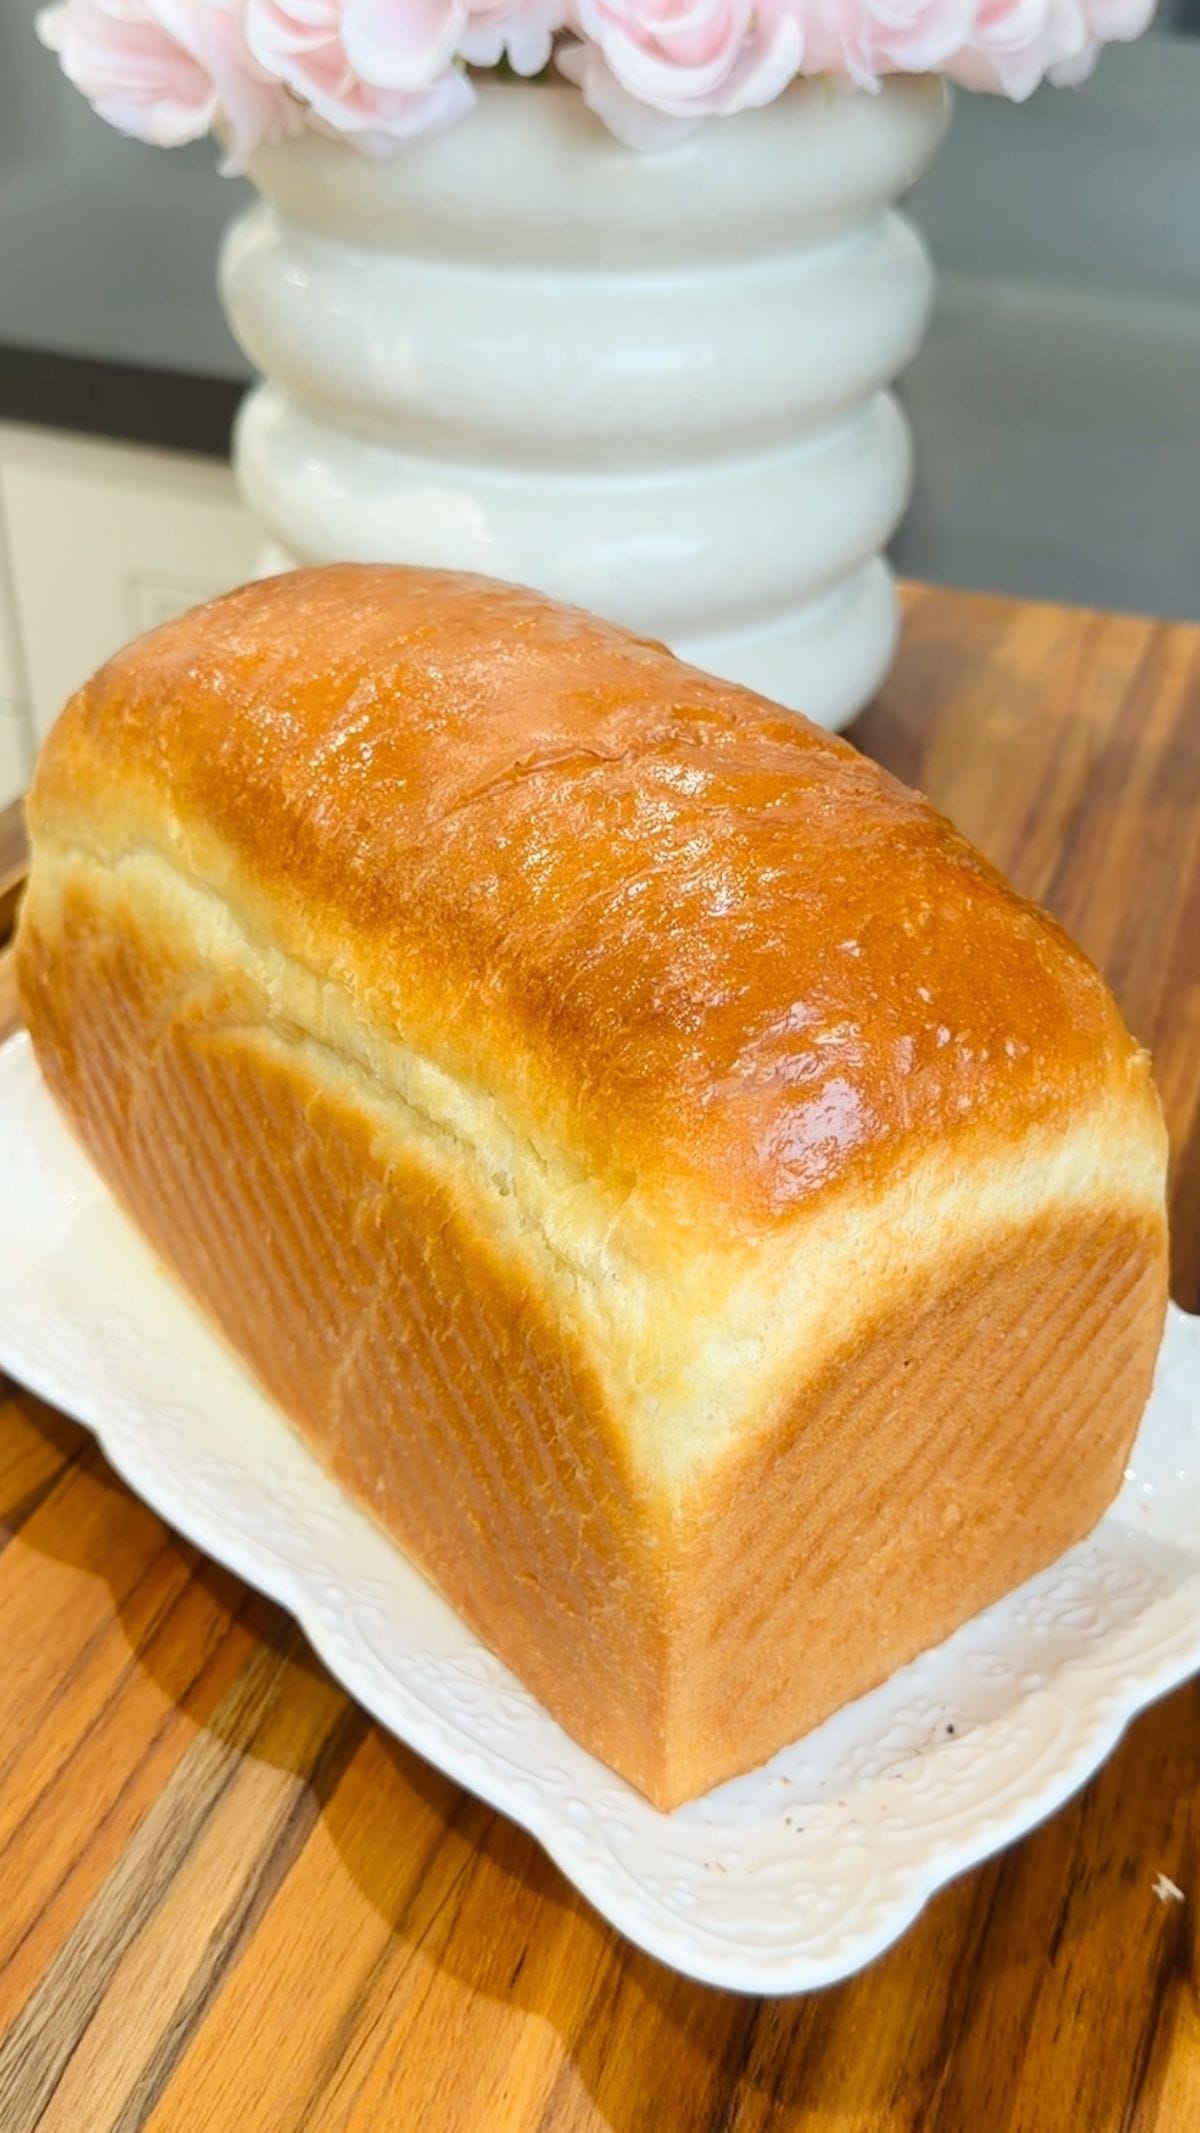
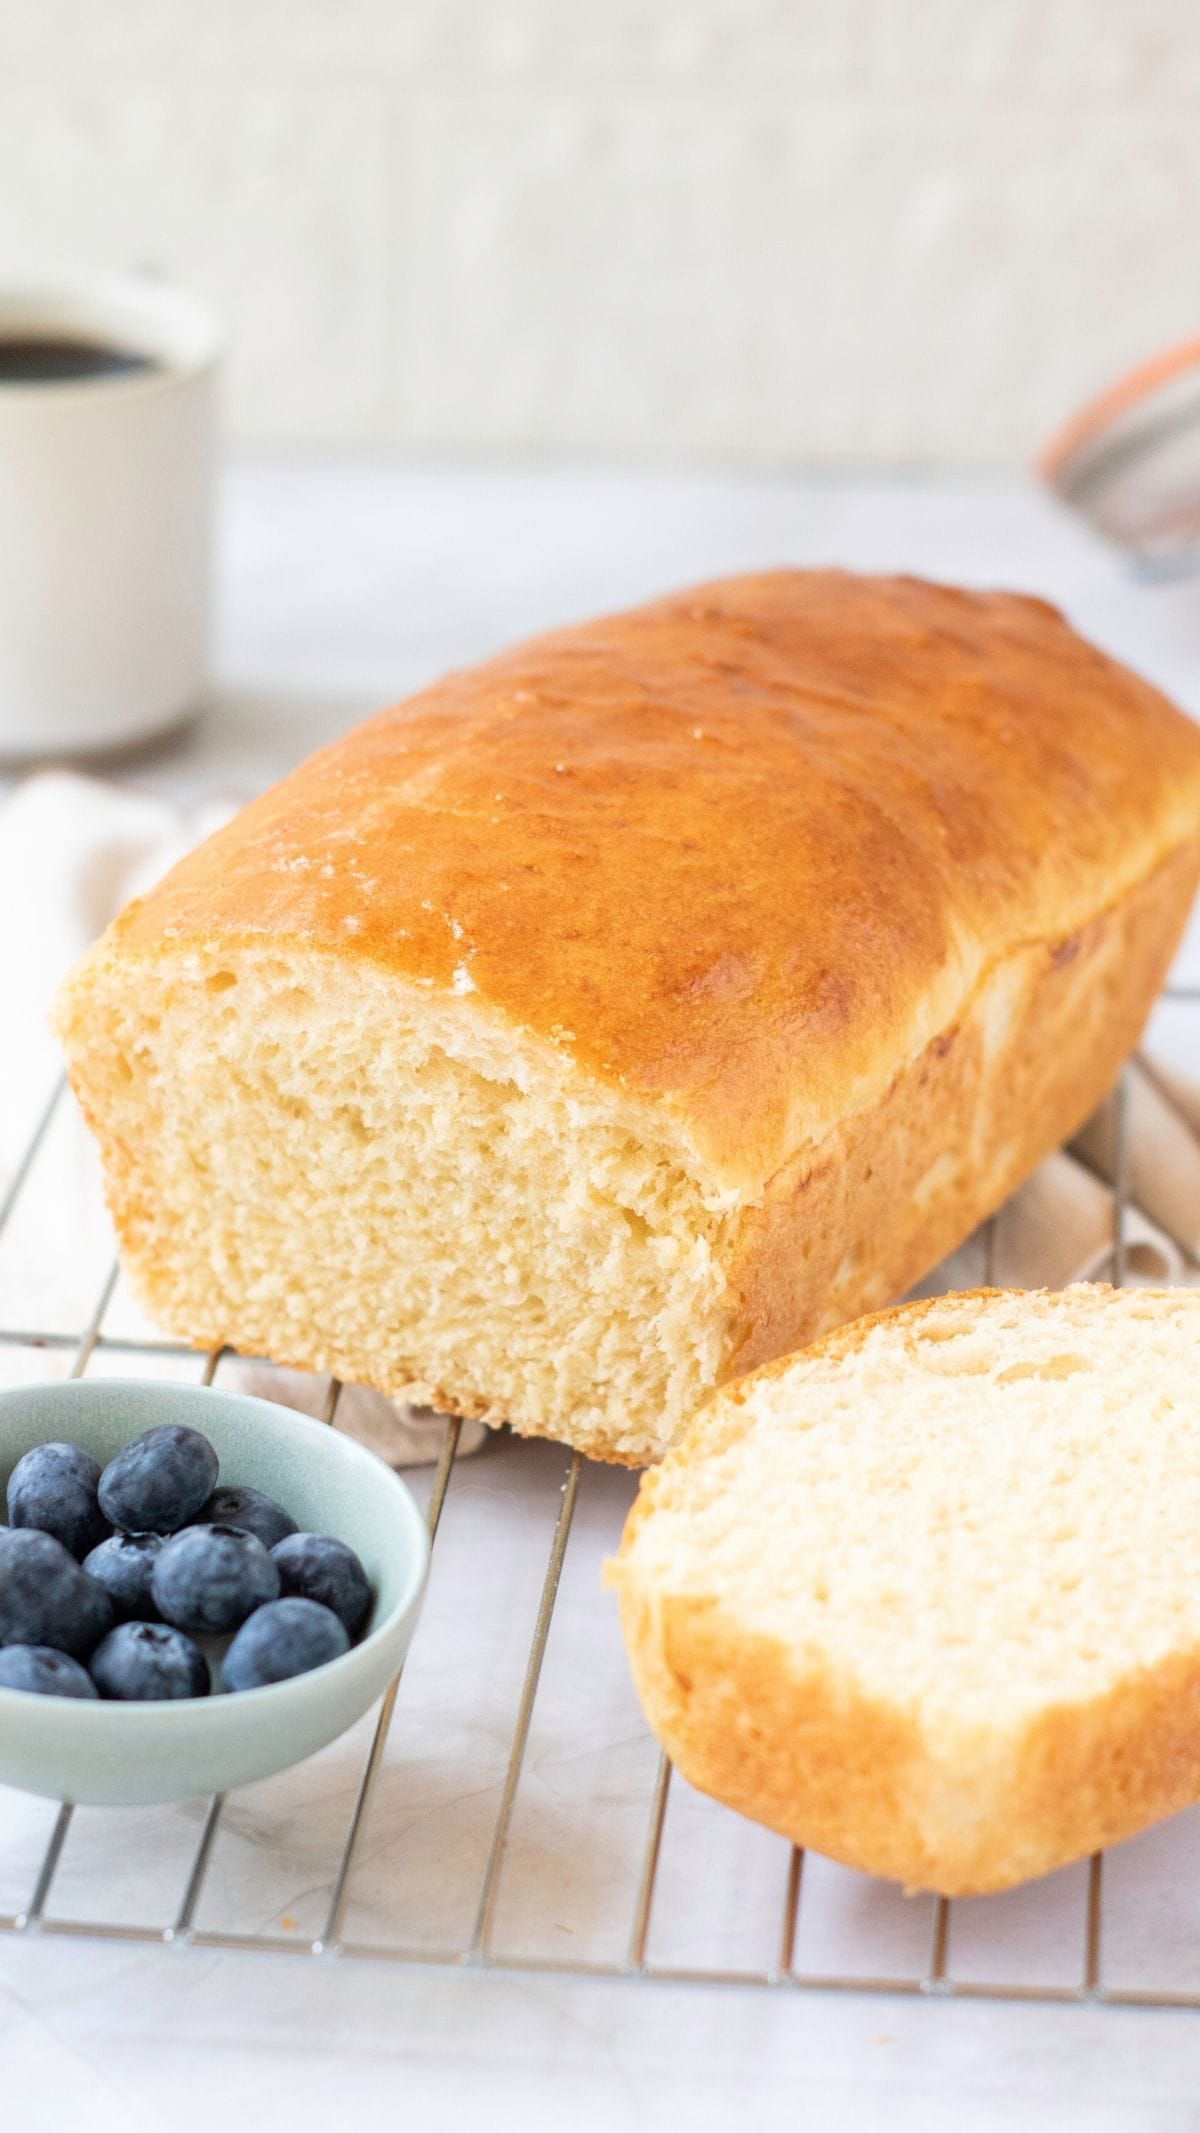
My easy mozzarella recipe takes just two ingredients and under an hour to make without any special equipment or expensive rennet that most recipes call for. Whether it's tossed over my same day pizza dough or sliced in my ciabatta sandwich bread, my mozzarella gives an oozingly good, tender flavor that'll transport you to an Italian trattoria with every bite.

Quick Look: Easy Mozzarella Recipe
- Total Time: 1 Hour
- Serving: 4 mozzarella balls, plus whey
- Equipment: Thermometer
- Optional Add-ins: Salt, Italian herbs, lemon pepper, chilli flakes
- Difficulty: Beginner
- Why This Works: You don’t need to go chasing ingredients you’ve never heard of; this is made with 2 ingredients you already have.
SUMMARIZE & SAVE THIS CONTENT ON
Why You'll Love This Recipe
- Anyone can make my easy mozzarella recipe: Traditional mozzarella is often made with rennet and citric acid. I wanted a version anyone could make with ingredients already sitting in their kitchen… After experimenting with different methods, I found that whole milk and white vinegar produced a soft, fresh mozzarella that was simple, affordable, and approachable for beginners. If you’ve never made cheese before, this is the version I’d recommend starting with.
- It's a total crowd pleaser at dinner parties: My mozzarella's light, non-offensive flavor usually goes down a treat with even fussy eaters-ahem, "refined" palettes.
Ingredients
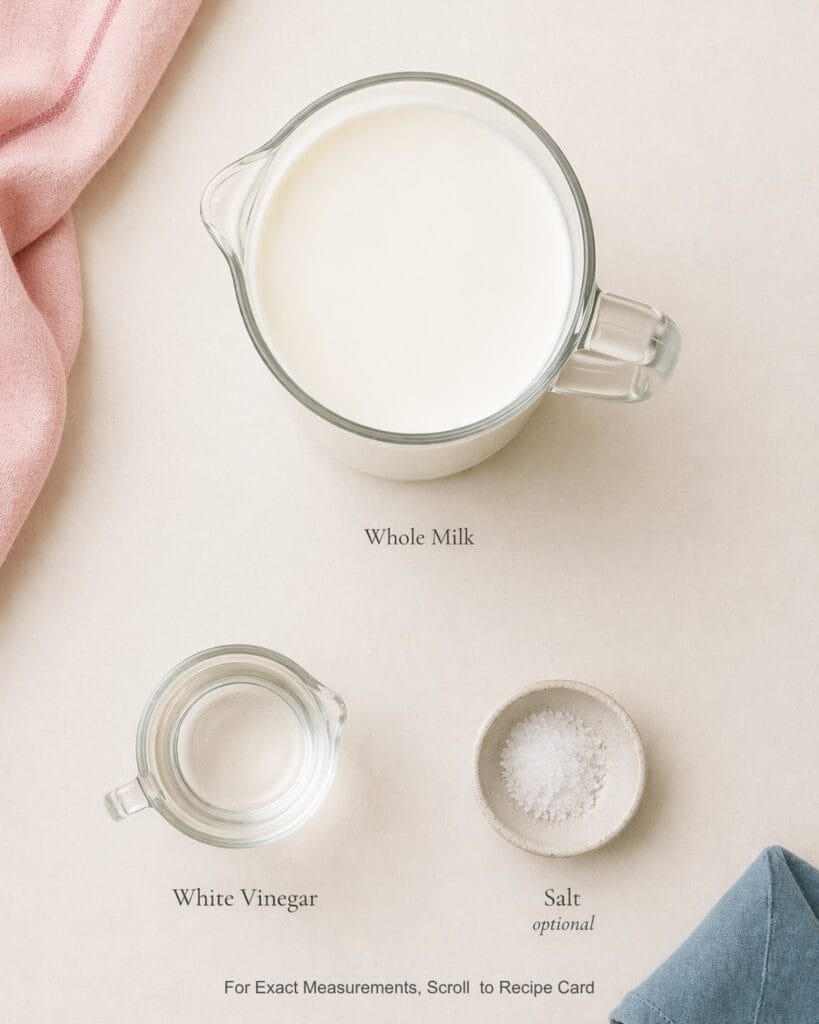
My mozzarella only involves two ingredients, but this makes it all the more important to use the best you can get your hands on:
- (Whole) Milk: Whole milk is a non-negotiable. The higher fat content will give your mozzarella that creamy, rich flavor and stretchy texture. You can use raw or pasteurized whole milk from the grocery store, but avoid using ultra-pasteurized milk (labelled as UHT). The proteins won't set a curd or stretch properly, leaving you with a "cottage cheese-esque" mess.
- Vinegar: My recipe calls for white vinegar, since this pantry staple is readily available. You'll also have success with other acids, like apple cider vinegar or even lemon juice, but stick to white vinegar for the best results.
Minoo's Pro Tip: Since this is YOUR mozzarella, you can experiment with putting any seasoning into it. Just fold it in at the final stretch like you would with salt. A great option could be lemon pepper or an Italian seasoning to complement my easy Neapolitan pizza dough or crusty panini bread recipe!
How to Make My Easy Mozzarella Recipe
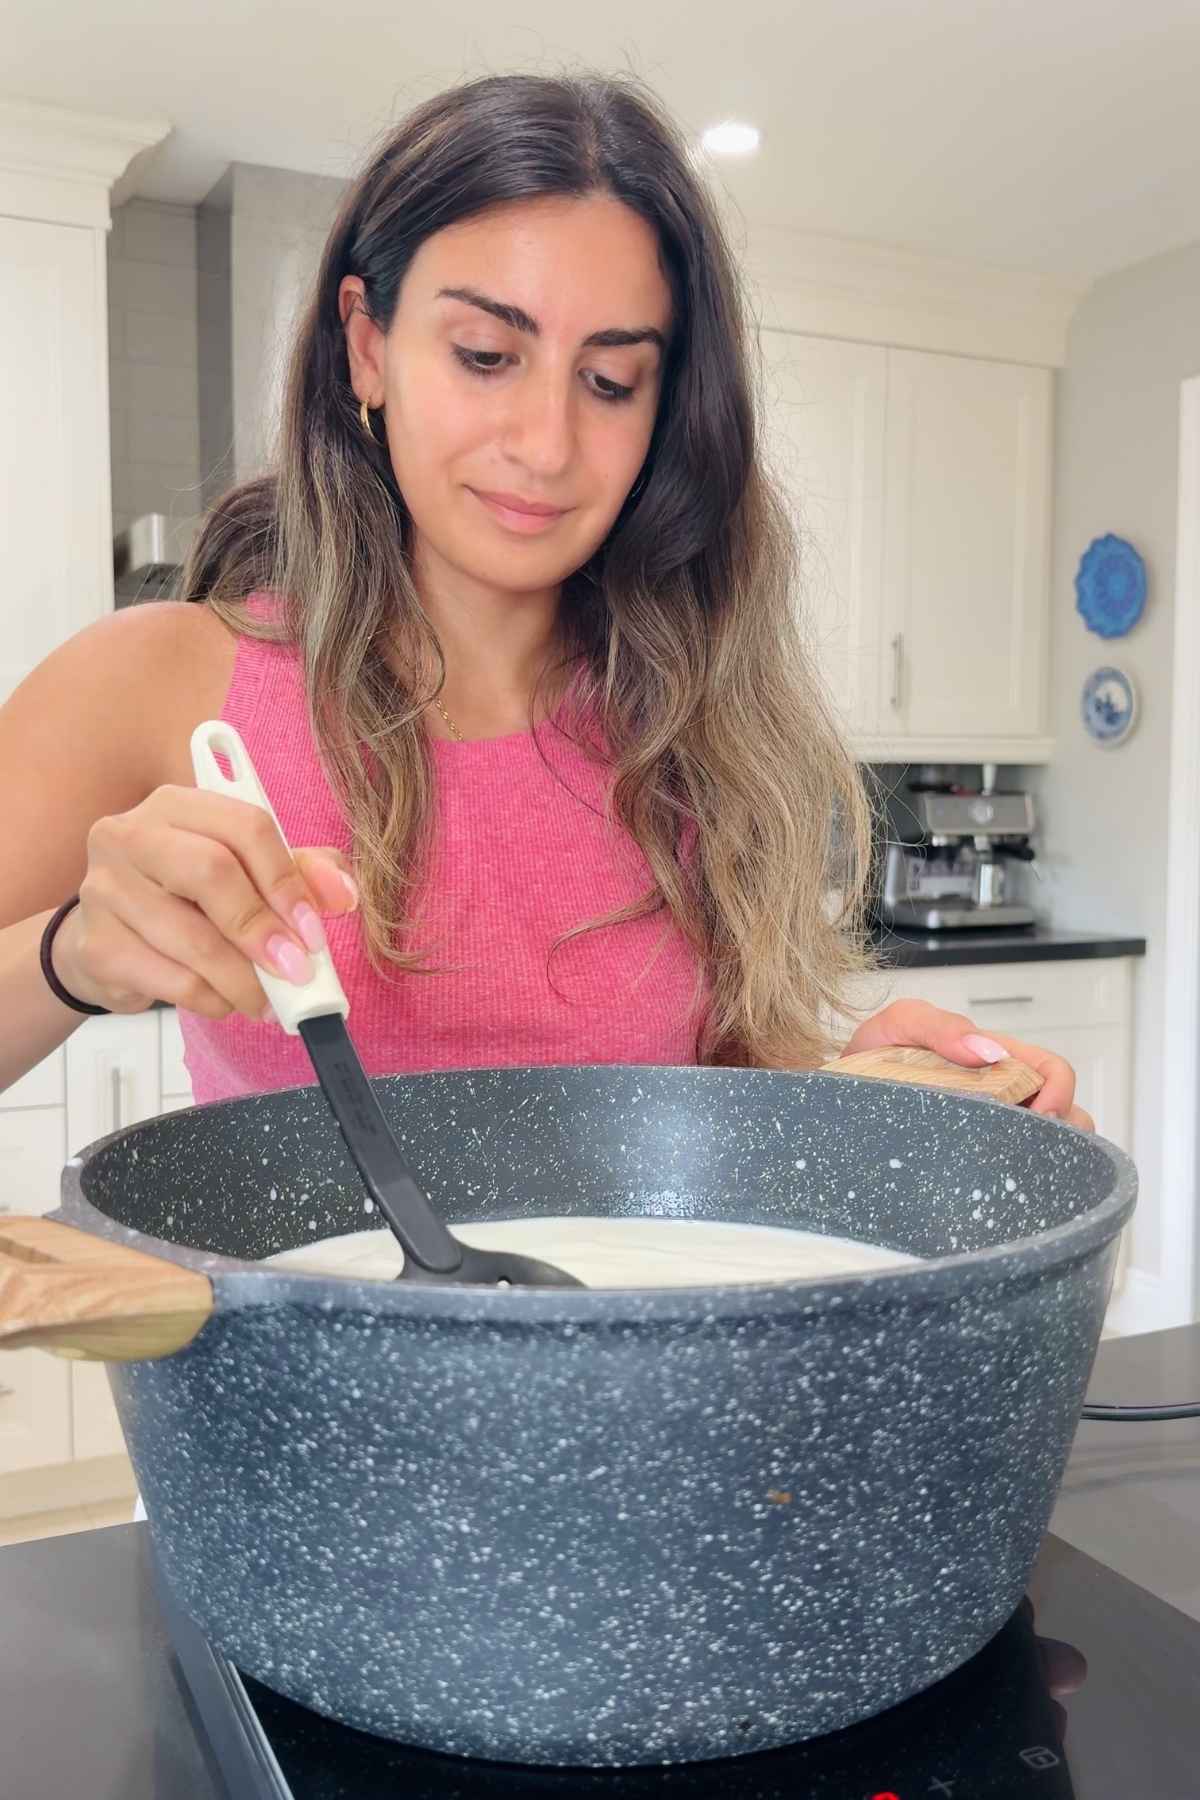
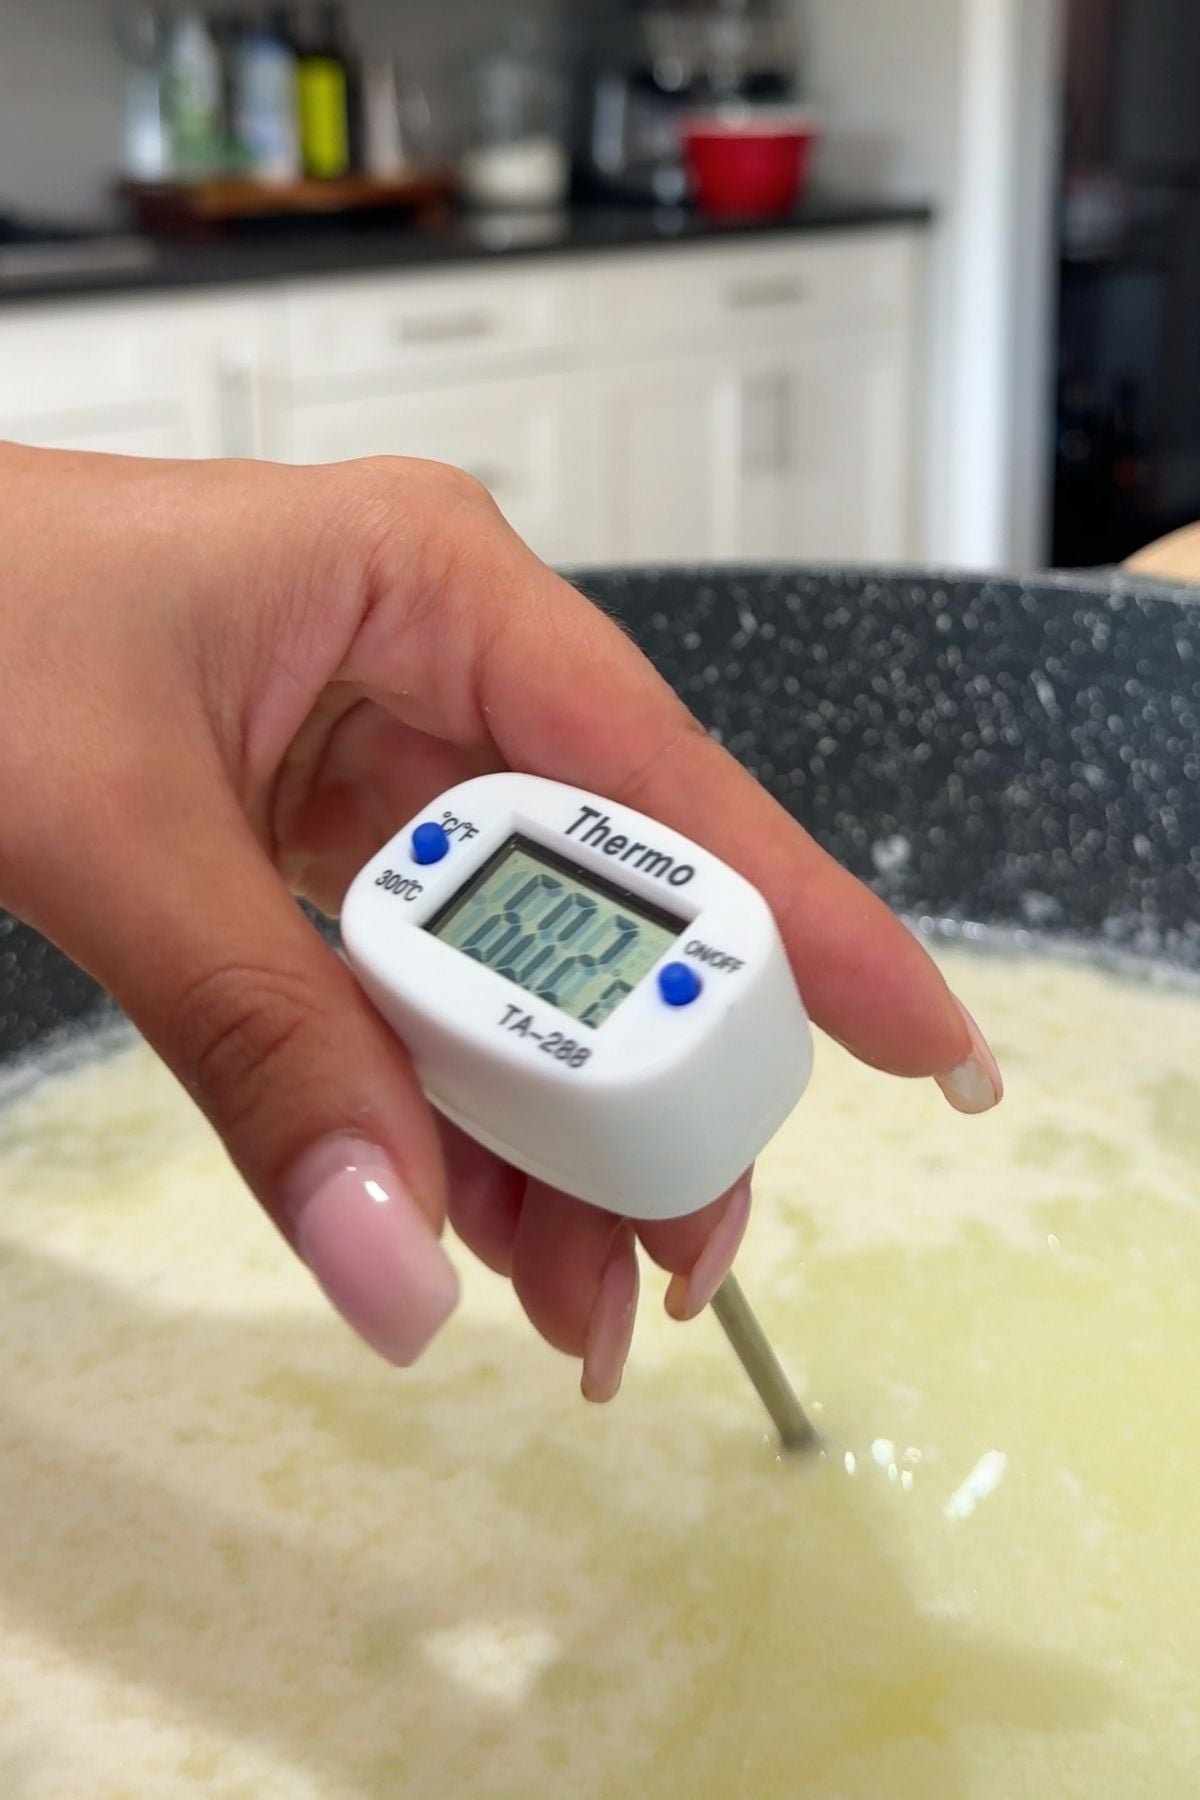
- Step 1: Pour 4 liters of cold whole milk into a large pot and place over medium heat. Stir gently to prevent the milk from scorching. Once the temperature reaches 46°C (115°F), remove the pot from the heat.
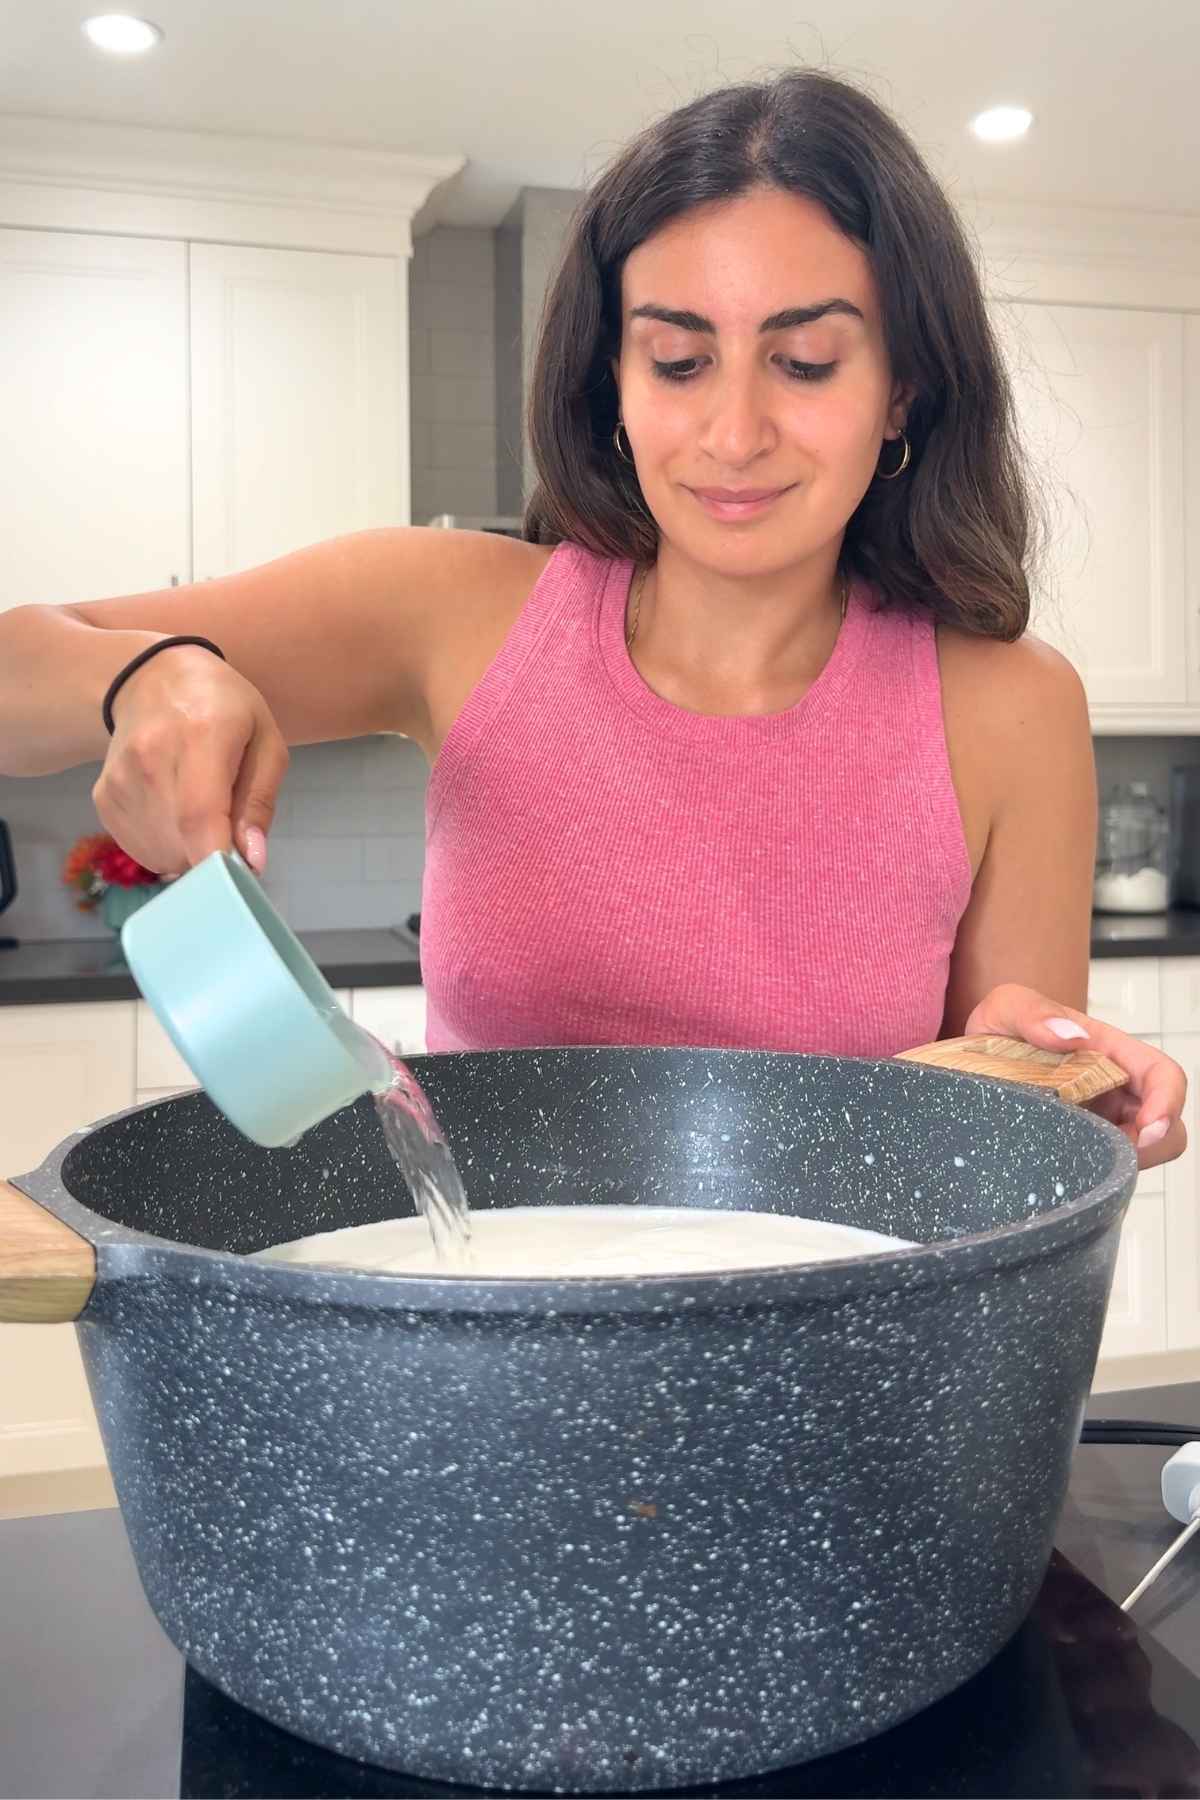
- Step 2: Add 1 cup of white vinegar to your milk and gently stir for 10 to 20 seconds. Cover the pot with a lid and let it sit undisturbed for 10 minutes. The vinegar will cause the milk to separate into small clumps (curds) and a yellow liquid (whey).
Quick Note: The first time I made mozzarella, I thought I’d ruined it at this stage because the curds looked tiny and messy. That’s completely normal. As long as you see white curds separating from yellow whey, you’re on the right track.
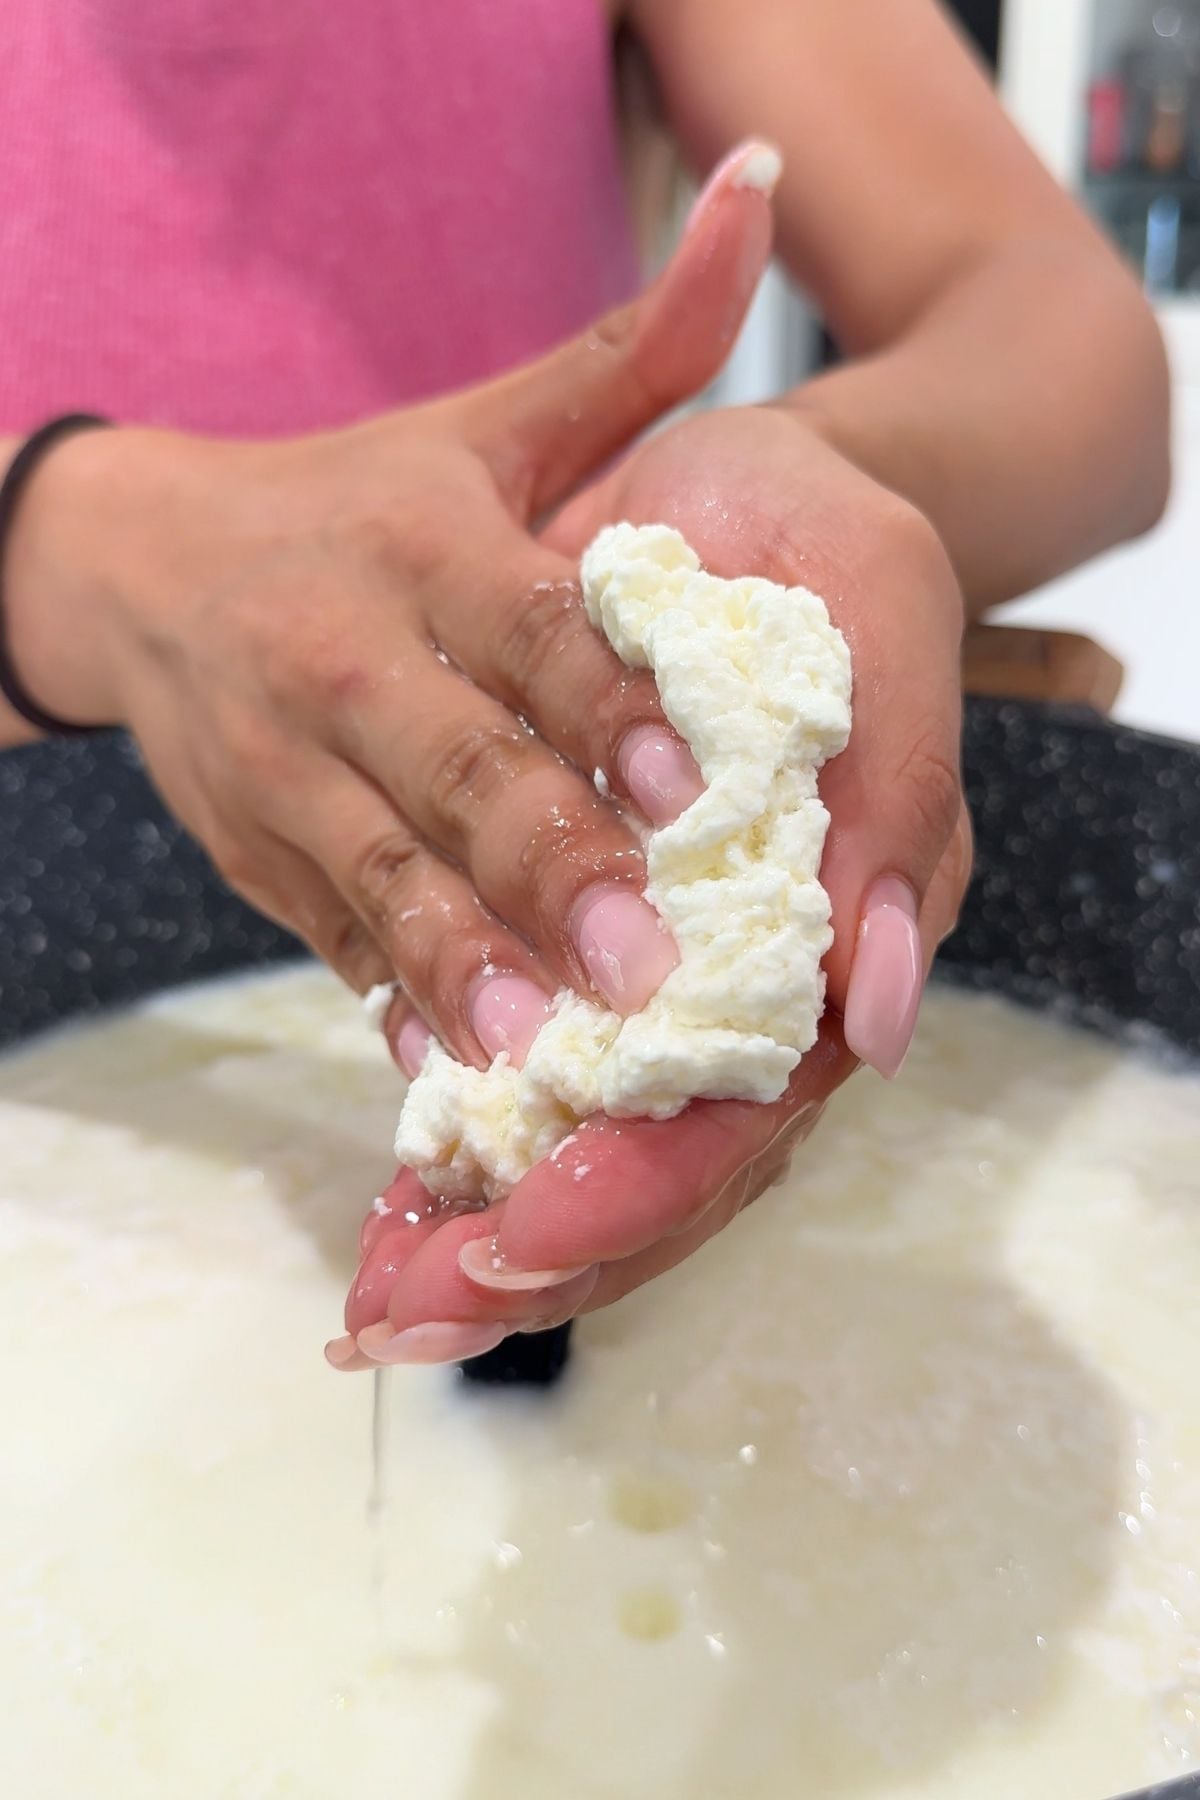
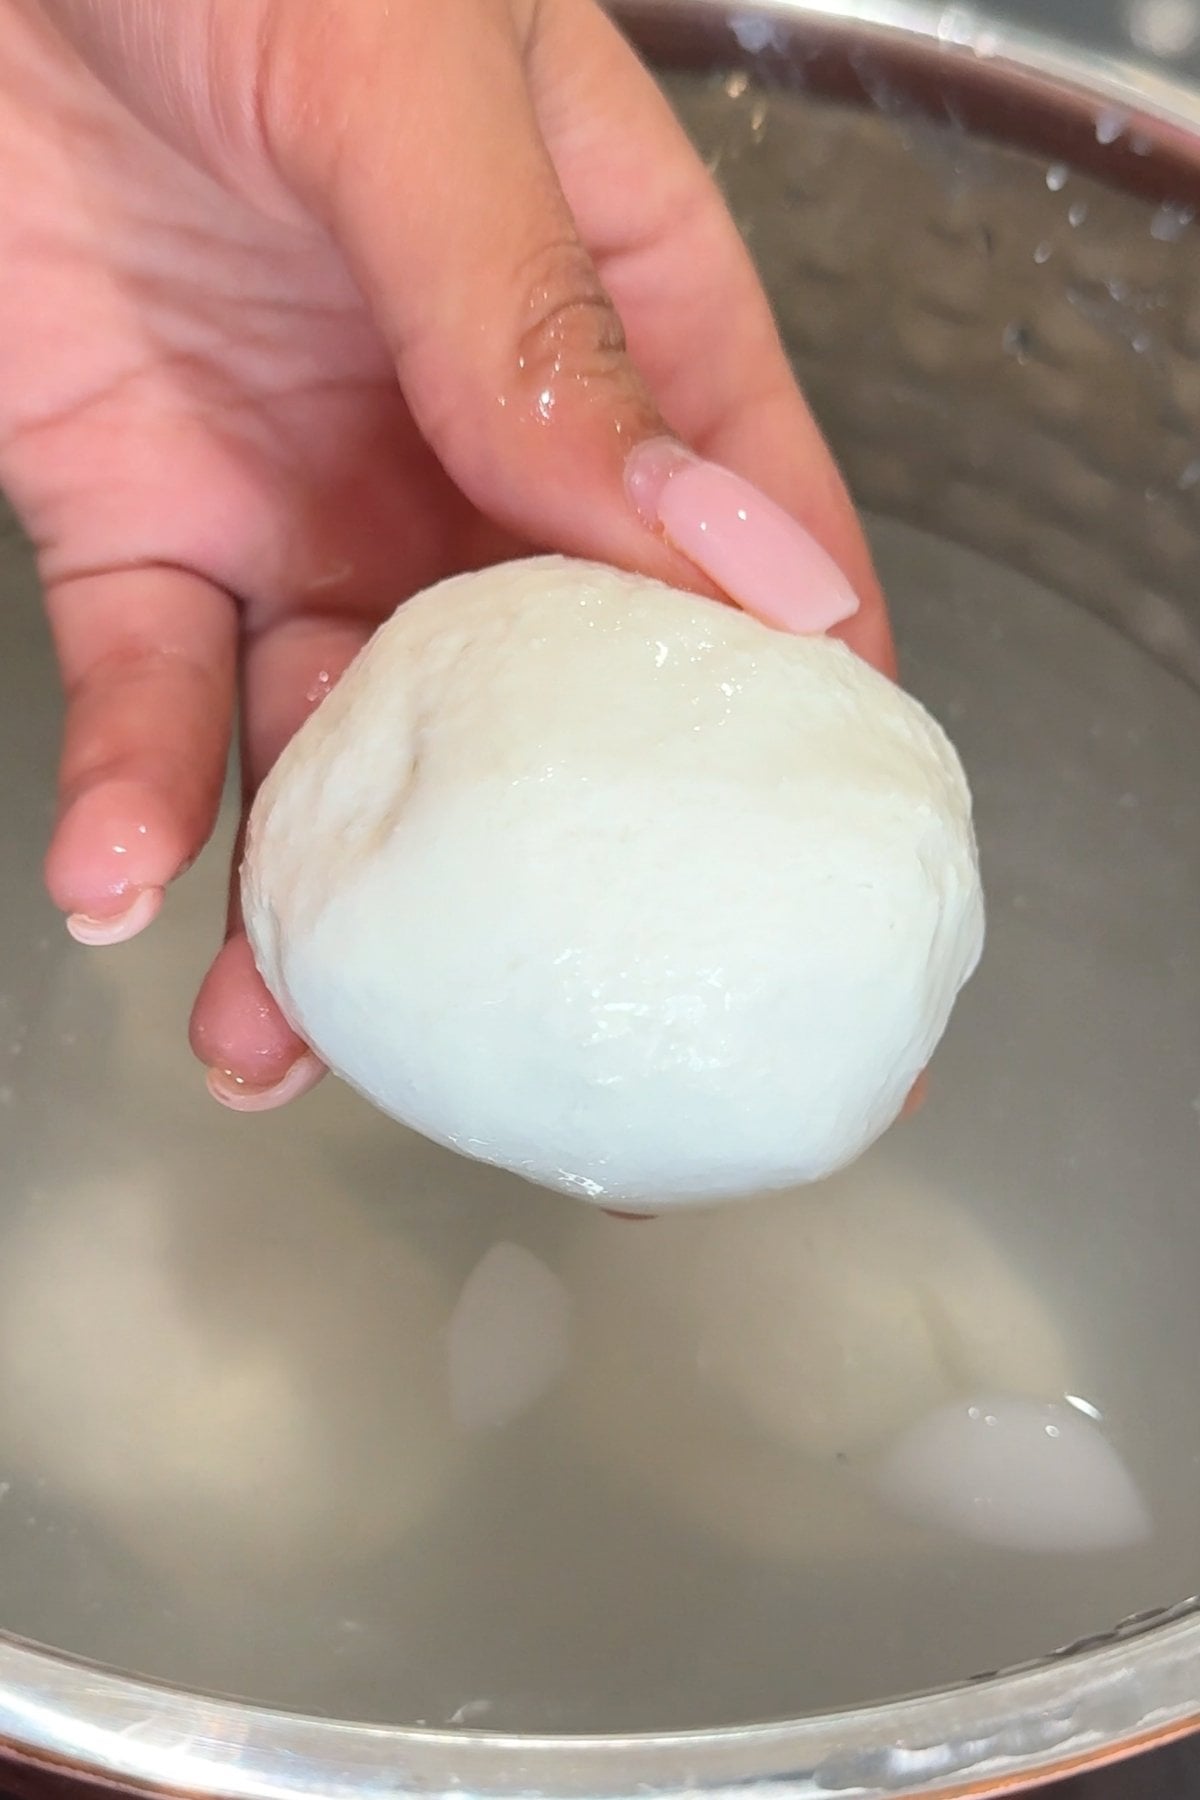
- Step 3: Use a slotted spoon to scoop up the curds. Gently squeeze out the excess whey and shape the curds into 4 rough balls.
- Step 4: Heat the pot of leftover whey on medium heat until it reaches 65°C (150°F). Use the slotted spoon to place a curd ball into the whey. Remove the curd ball after 30 seconds.
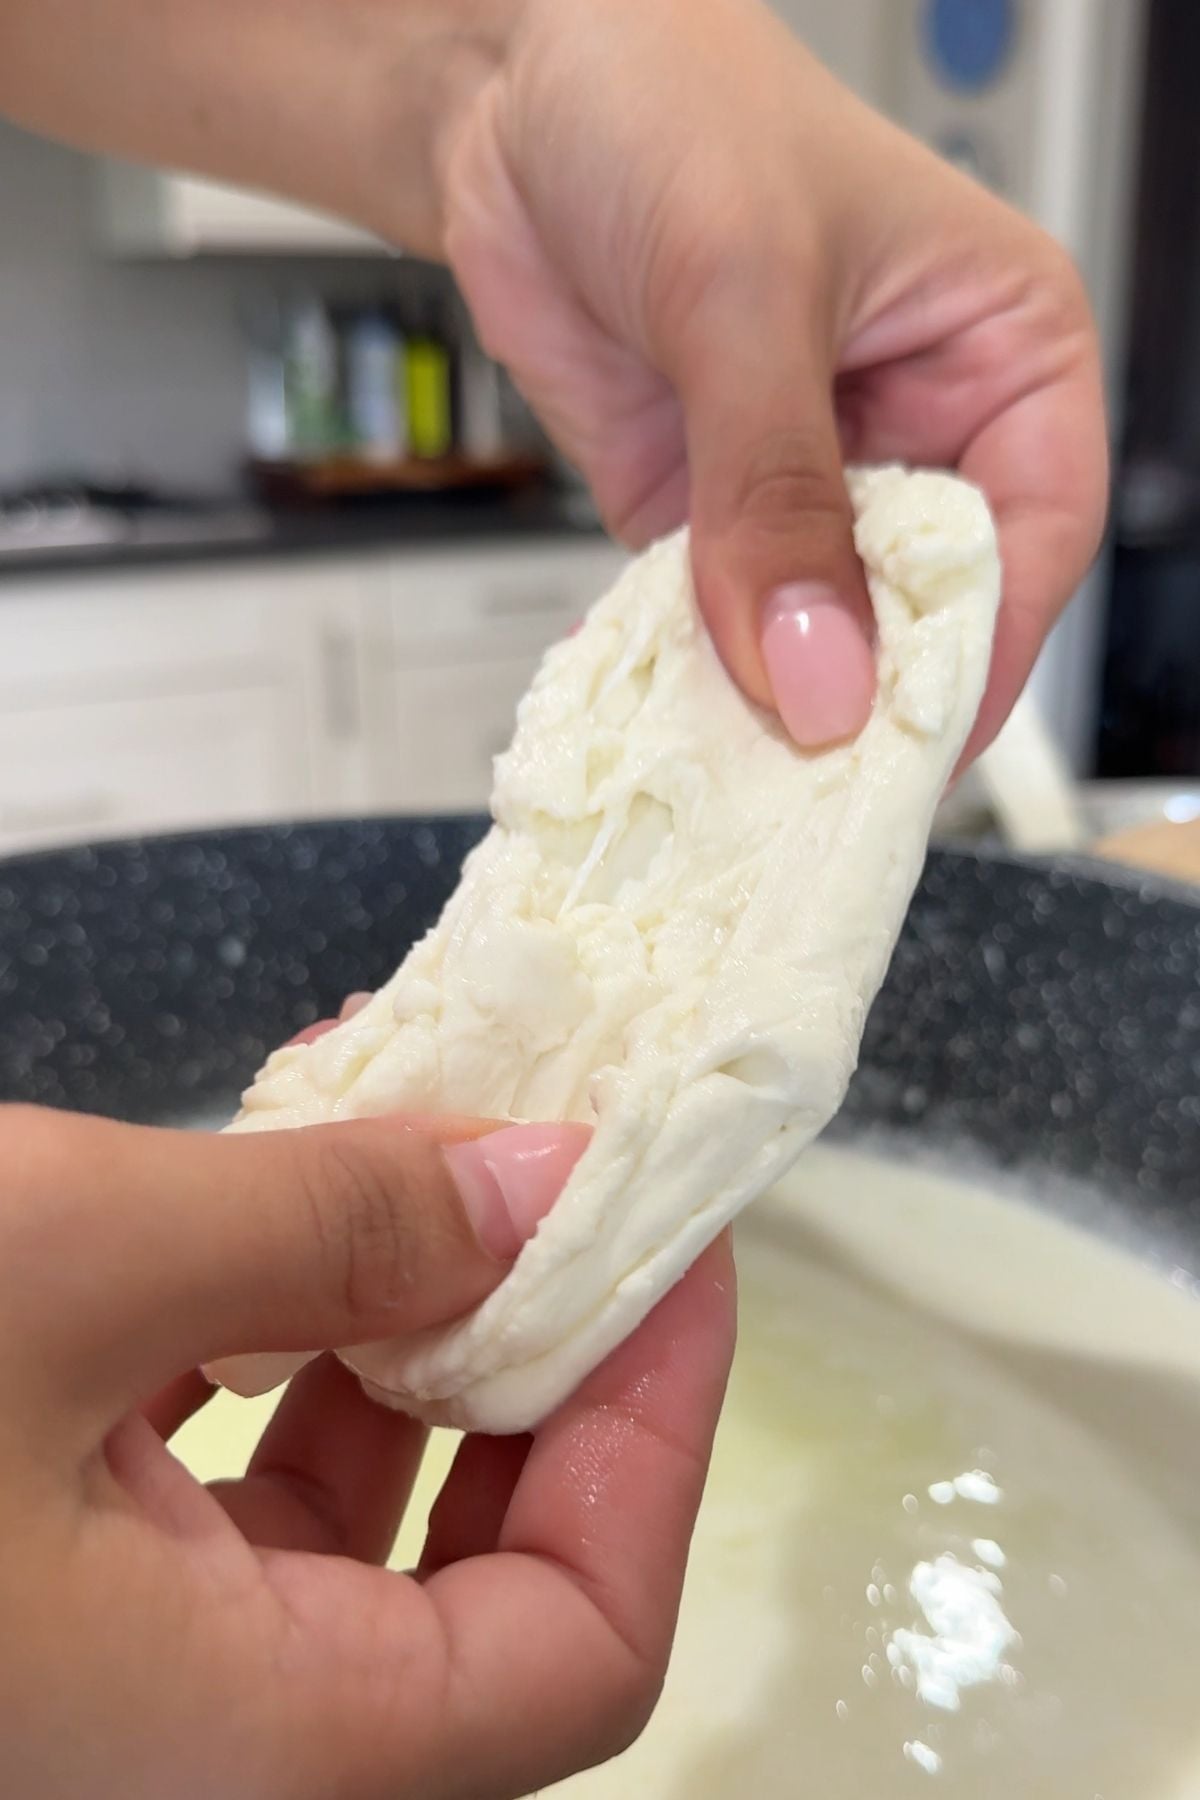
- Step 5: Using your hands, slowly stretch the curd and fold it back onto itself two to three times. The curd may fall apart at first, but keep pressing it back together. Don’t panic if the curd tears apart during the first stretch. In my experience, most batches look broken and crumbly before they suddenly start coming together after another round in the hot whey.
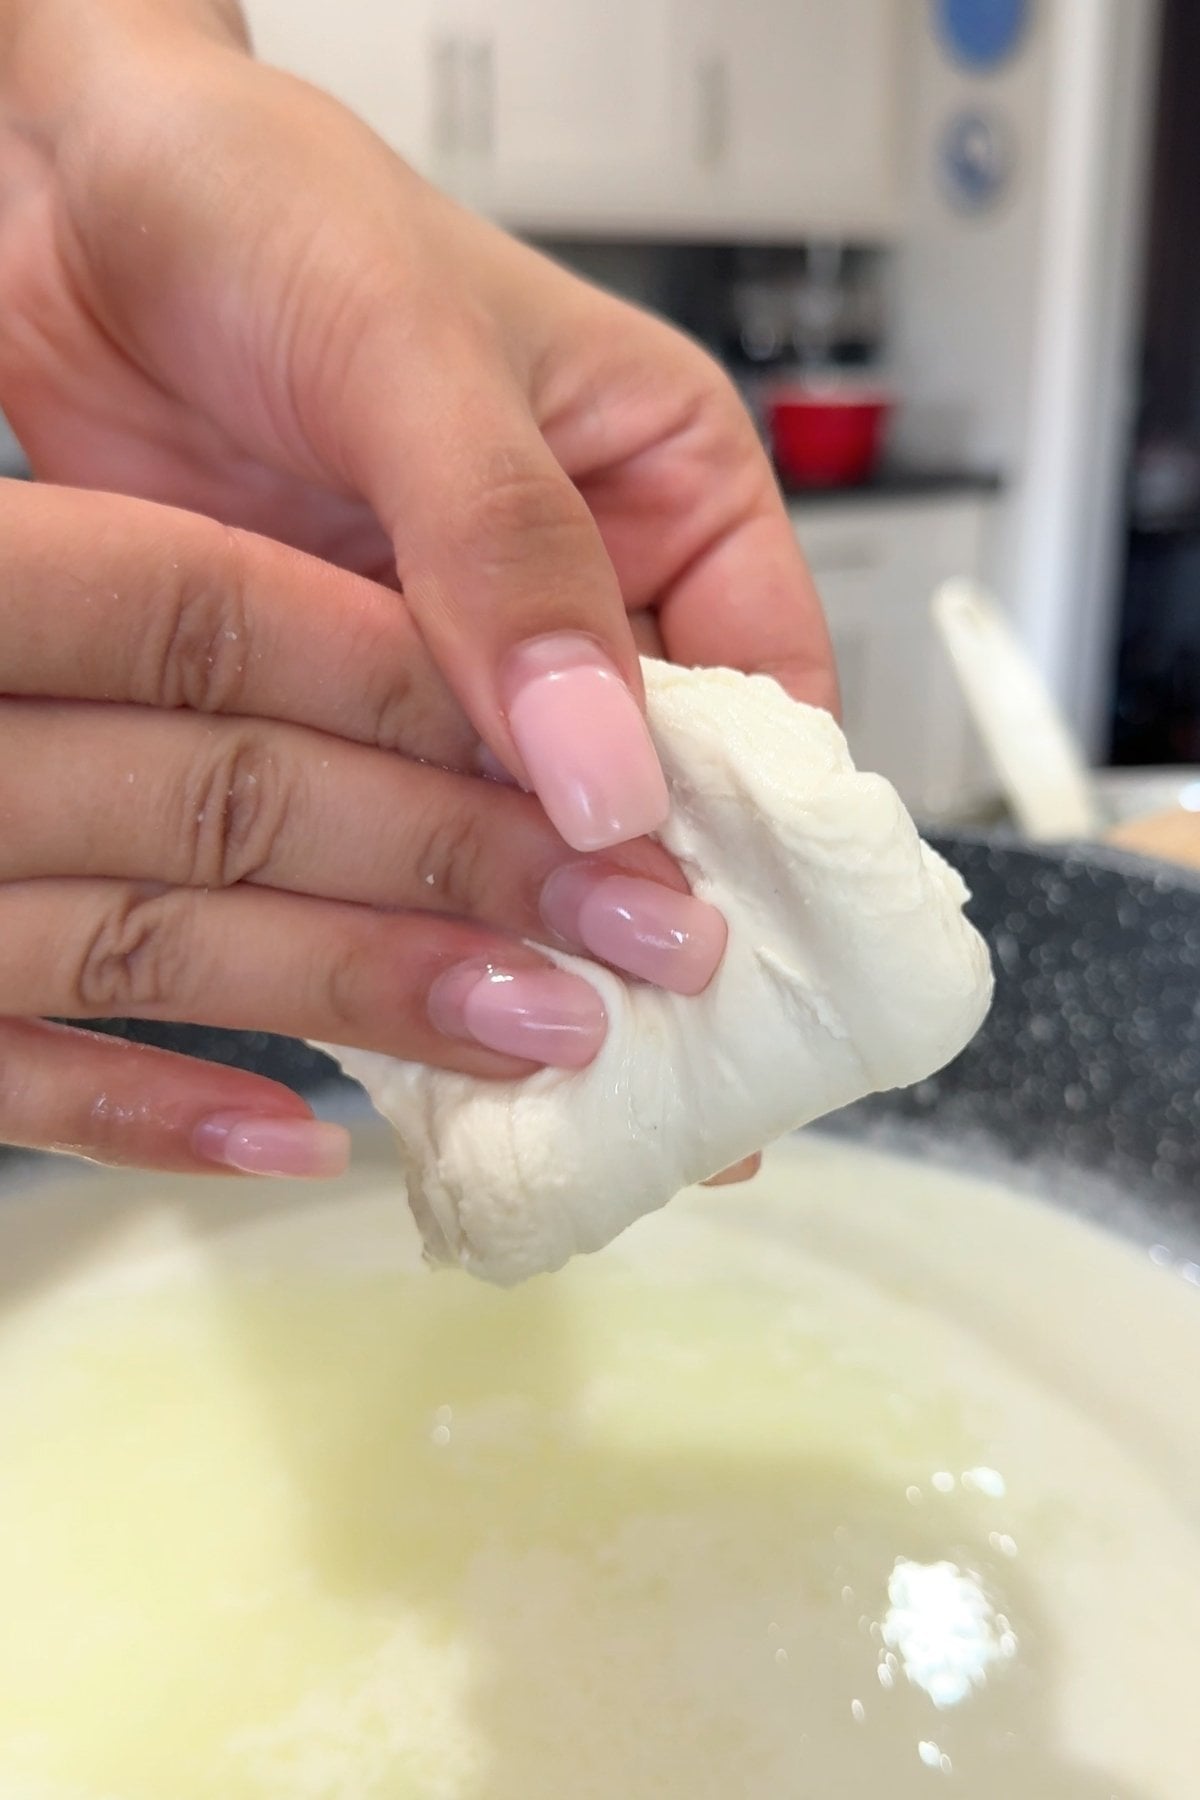
- Step 6: Immerse the worked-on curd back into the whey for another 30 seconds to heat up. Remove and stretch again. Repeat this two to four times, or until the curd is glossy and pulls like taffy.
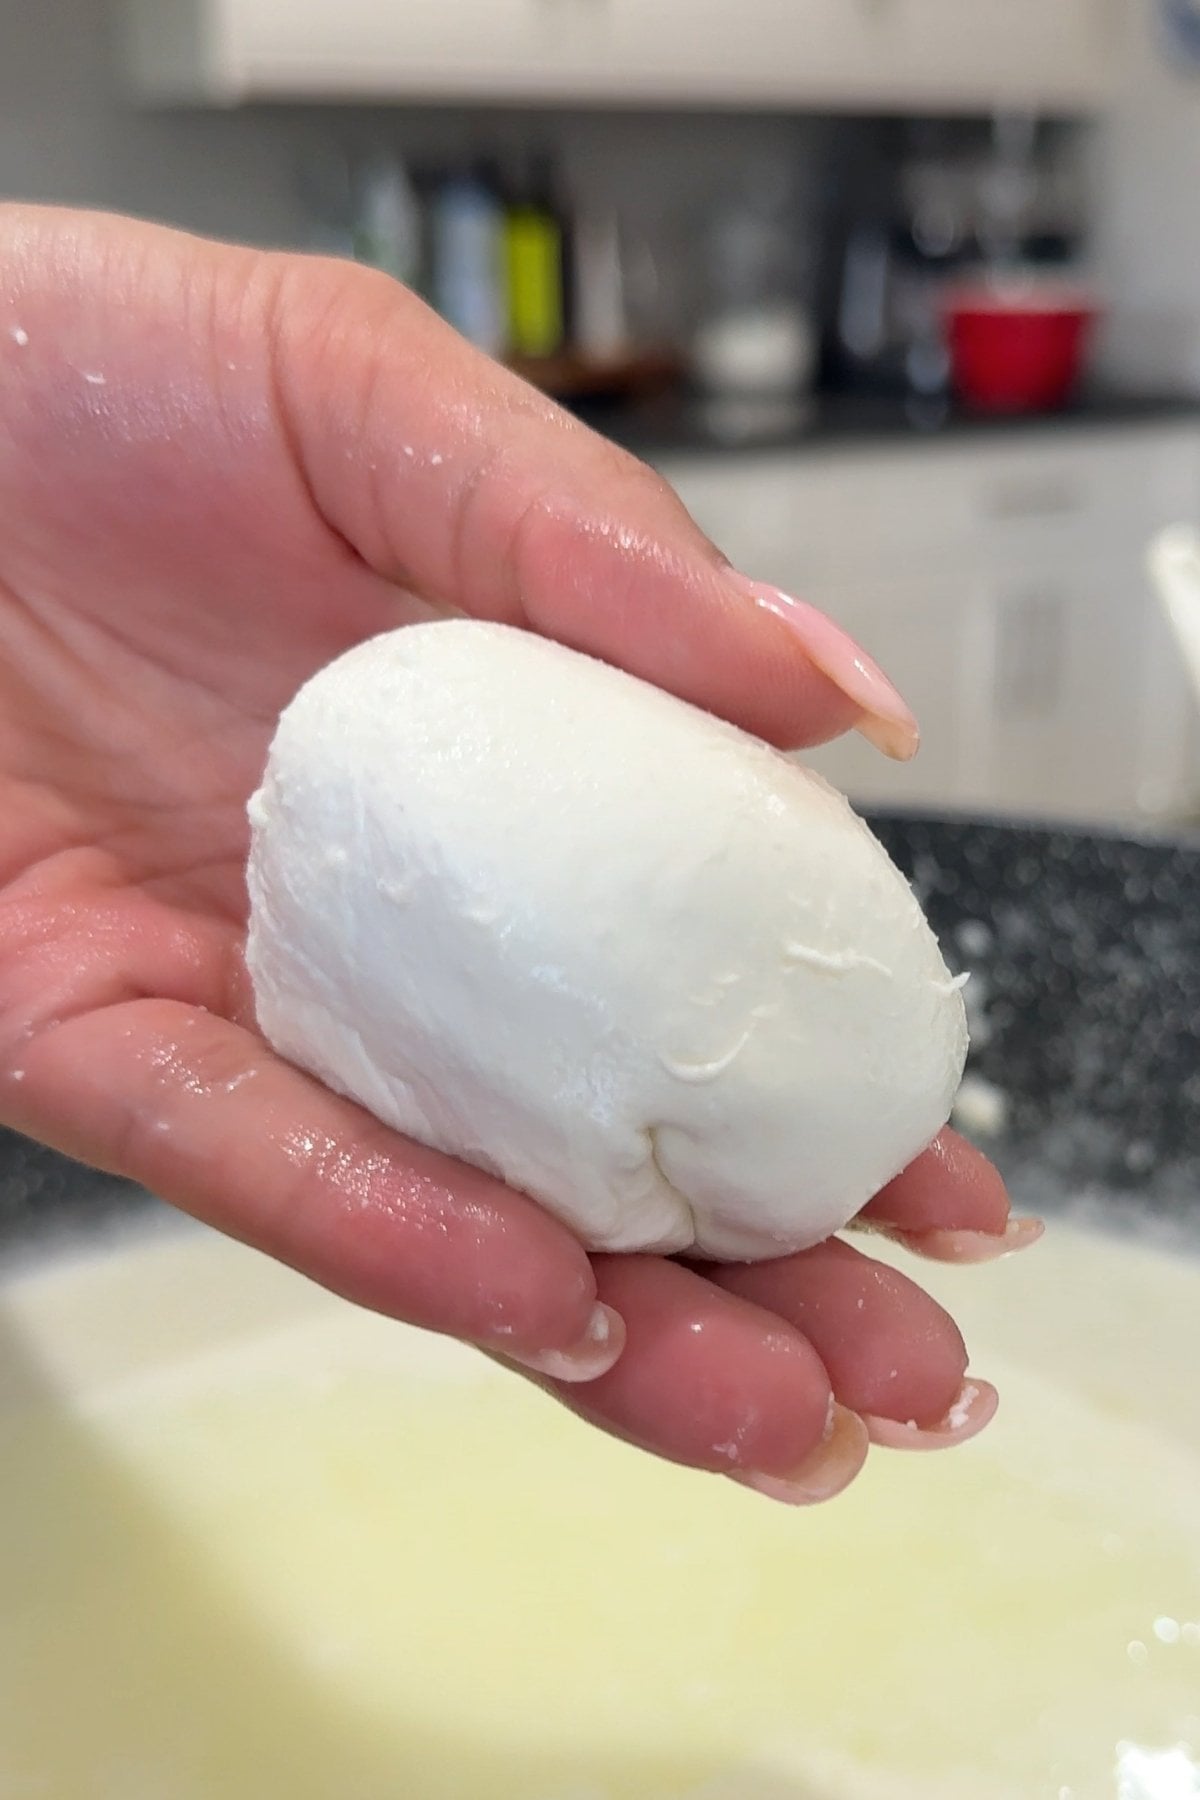
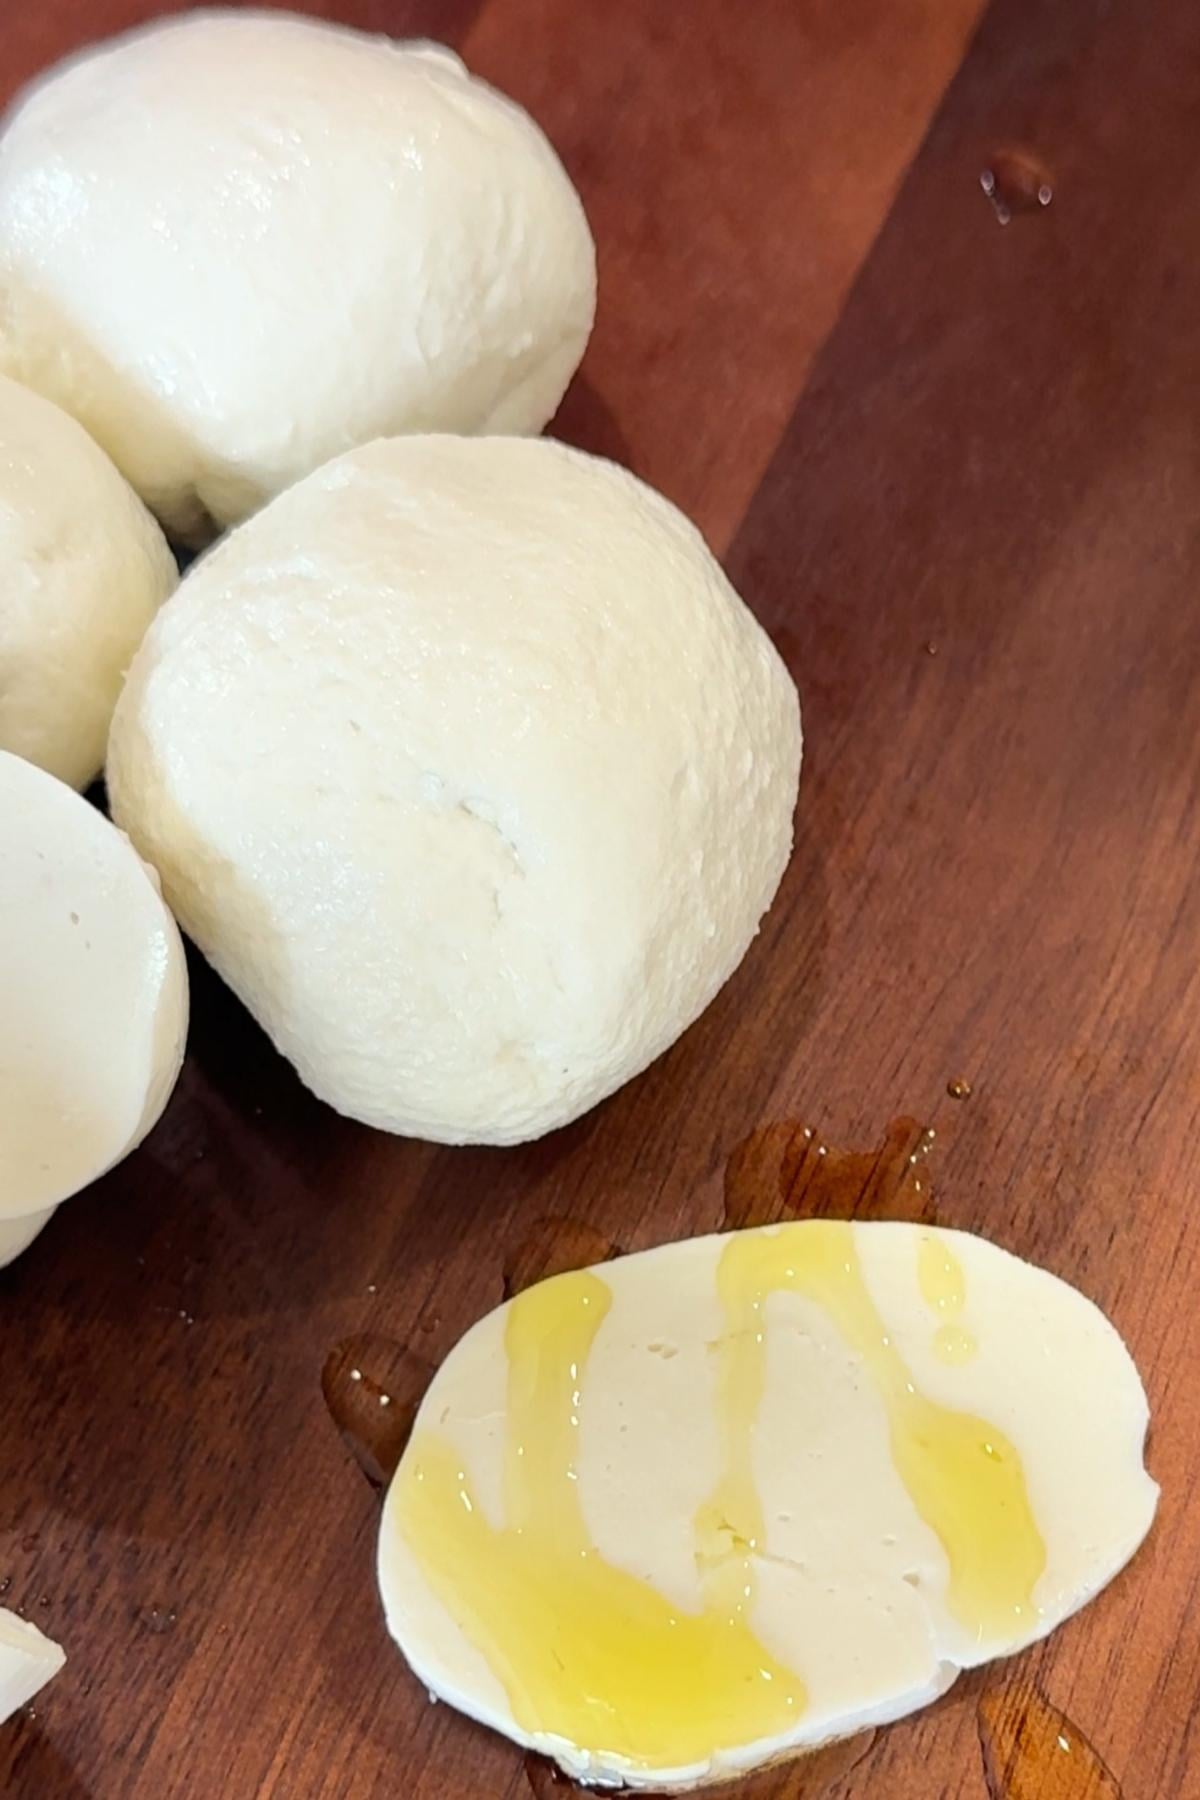
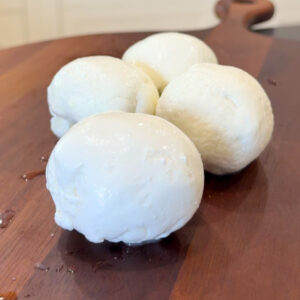
- Step 7: Cup the ball gently in your palm and shape it into a round, smooth sphere. Add additional seasoning like salt if desired.
- Step 8: Pour 1 cup of ice and 3 cups of water into a bowl to create an ice bath. Place the finished mozzarella ball into the ice bath. Then, repeat steps four to seven for the other curd balls. Allow the Mozarella balls to chill for 20 minutes. Once chilled, your mozzarella balls are ready to eat. Pat dry and layer onto my Italian sandwich bread recipe.
Expert Tips
- Trust the process. The first time I made mozzarella, I was ready to throw out the batch halfway through because I thought it didn't work. But if you keep pressing the curds together and heating them consistently, it will come together nicely!
- Use an instant-read thermometer: You don't want to guesstimate the temperatures here. A few degrees off can cause weak, rubbery, or non-stretchy curds. Using an instant-read thermometer from the get-go can save you a lot of trouble and wasted supplies!
- Don't overwork the mozzarella: Mozzarella isn't bread dough, and it deserves and needs a gentle hand. Overworking while stretching can turn the cheese into a tough and rubbery mess.
- Drain the whey (without oversqueezing): Excess whey = excess moisture, which can cause a soft, mushy texture. But it's a fine balance. Don't oversqueeze, as this can cause your mozzarella to become overly dry.
- Don't throw away a bad batch: If your first batch isn't working out, don't throw off the apron! You have lots of options. You can mix the curds with some salt and heavy cream, and you've got ricotta, or you can blend the curds with a pinch of salt, and you've got easy homemade cream cheese!
Easy Mozzarella Recipe FAQs
Mozzarella is best served immediately at room temperature. If you have the willpower to not finish it all in one sitting, you can expect it to keep for up to a week when properly stored. However, the longer it's stored, the less fresh it will taste.
If you need to store your mozzarella, keep it refrigerated in an airtight container filled with the leftover cold water from the ice bath.
Whey is rich in protein, lactose, vitamins, and minerals! You can add it to smoothies, juices, or shakes for a post-workout health kick. You can even use it as a substitute for water in baking recipes (easy sub rolls, quick hamburger buns, and even my New York style bagels!).
This is a mozzarella alternative, so it won't have as much of a stretch as a traditional mozzarella. However, if it's not stretching at all, the usual culprit is the temperature. You likely haven't heated the curds for long enough in the whey. If the cheese is too cool, it'll feel stiff and won't stretch properly. Submerge the curds back in the whey to reheat and soften.
Yes, you can make a beginner-friendly version of mozzarella without rennet by using vinegar to separate whole milk into curds and whey. This method creates a soft, stretchy fresh mozzarella-style cheese using only whole milk and white vinegar. It is simpler than traditional mozzarella, though the texture may be slightly softer and less elastic than rennet-based mozzarella.
Your Mozzarella Would Go Perfect With These
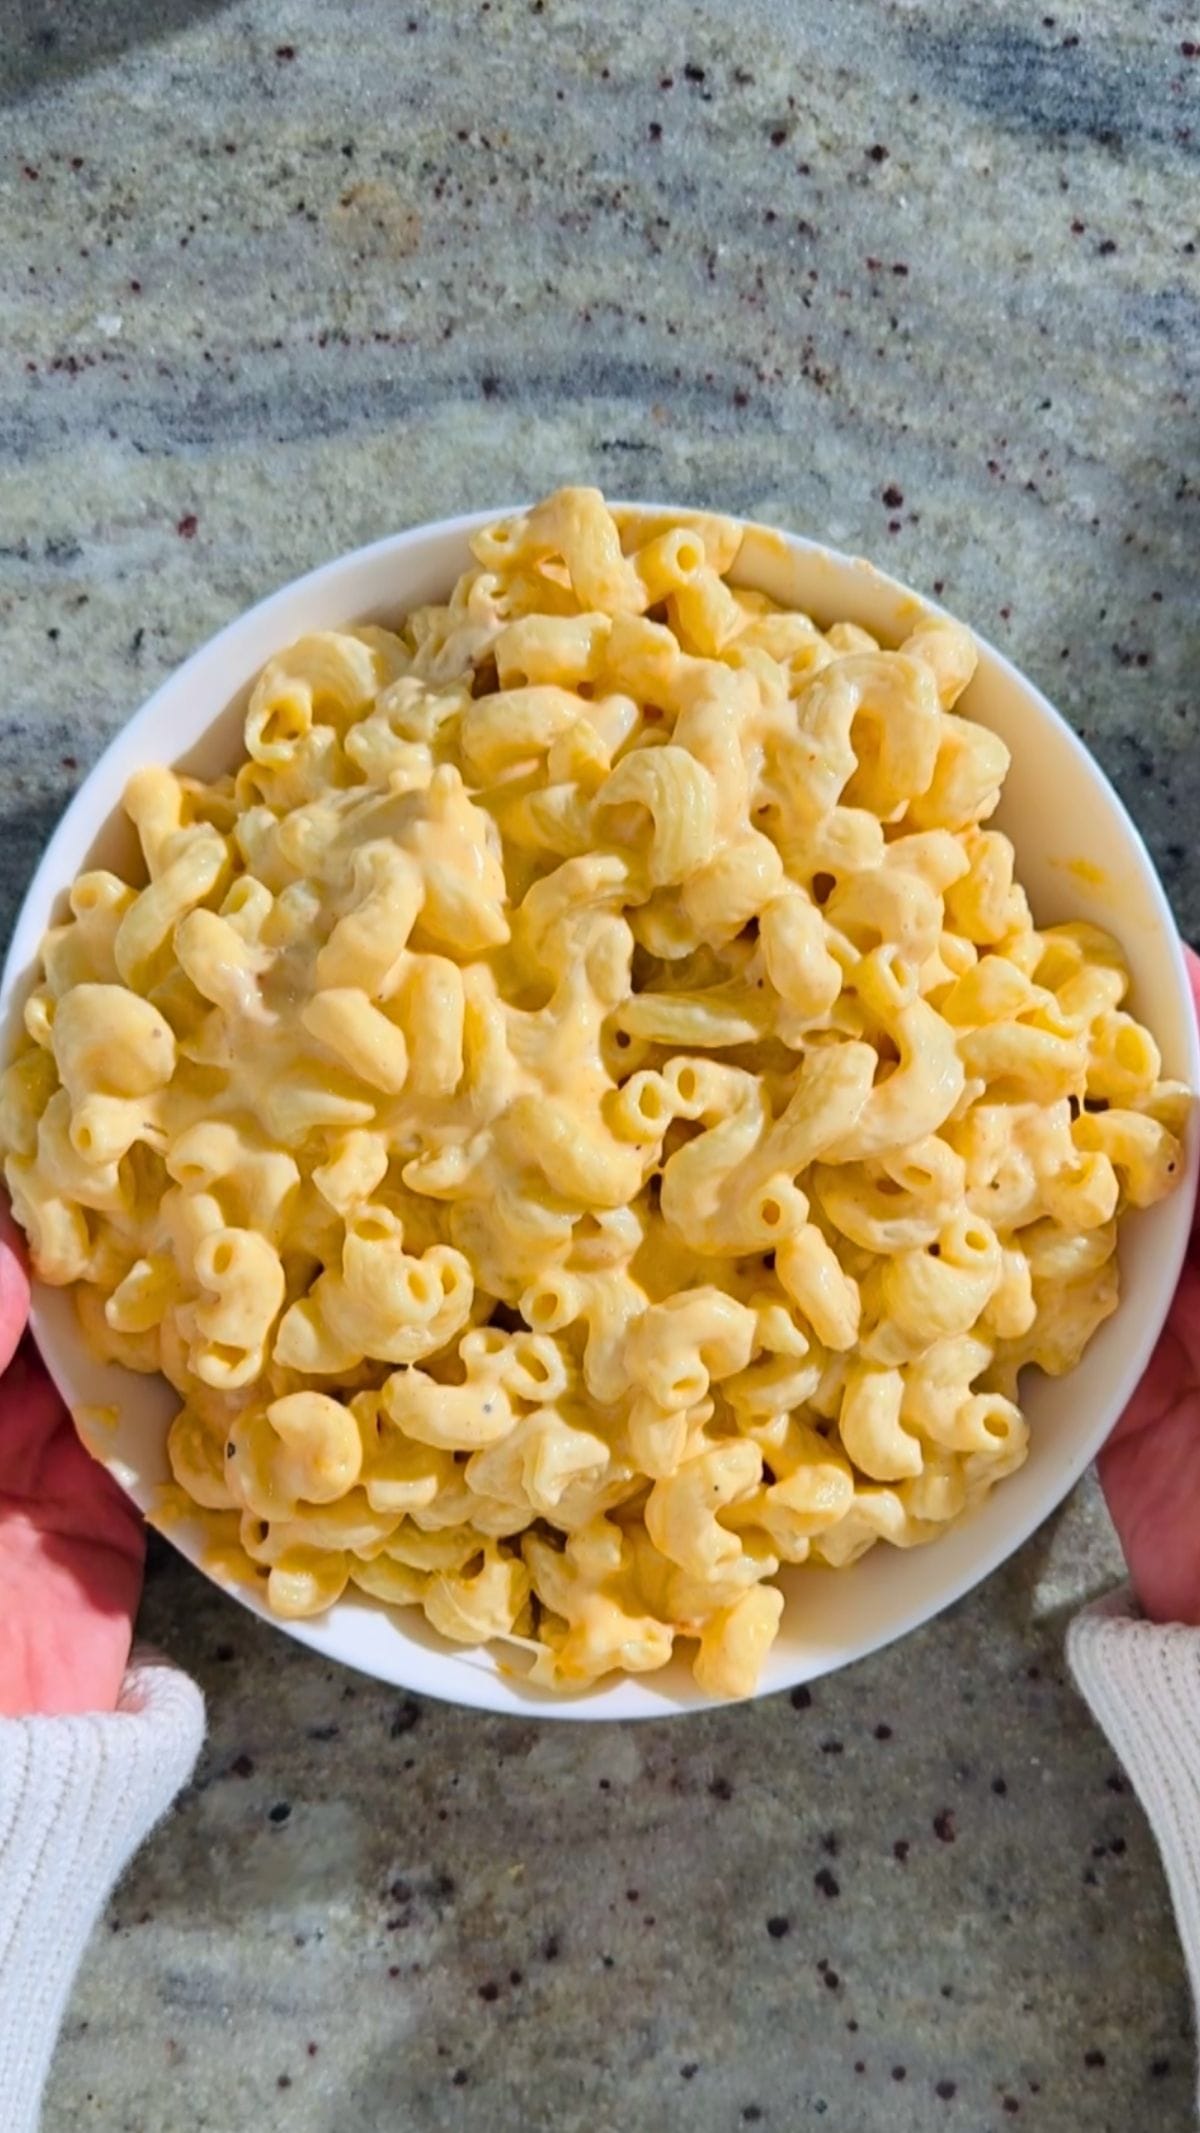
Mozzarella's light, fresh, and tender flavor can complement a platterful of dishes… and not just Italian fare like my Italian sandwich bread recipe, lasagna, or a summery caprese salad. Pair your freshly-made mozzarella with dishes like:

Enjoying This Recipe?
Let me know your thoughts or questions by leaving a comment below.
Recipe Card
Easy Mozzarella Recipe
EMAIL THIS RECIPE
Enter your email and I’ll send this directly to you.
Plus you’ll get new recipes from me every week!
Equipment
- 1 Thermometer
Ingredients
- 4 Litres Whole Milk
- 1 Cup White Vinegar
- Salt optional
Instructions
- Pour 4 liters of whole milk into a large pot over medium heat.
- Stir occasionally and take the milk off the heat once the temperature reaches 46°C (115°F).
- Add 1 cup white vinegar to the milk and stir for 10-20 seconds. Cover the milk and let it sit for 10 minutes.
- Scoop up the curds with a slotted spoon. Use your hands to squeeze out the whey from the curds, and shape them into 4 balls.
- Reheat the pot of leftover whey to 65°C (150°F). Using the spoon, place a curd ball into the whey for 30 seconds.
- Remove the curd and gently stretch and fold it over itself. Reheat for another 30 seconds and stretch again. Repeat this process 2-4 times, or until smooth with taffy-like stretch.
- Shape the ball into a round sphere. Add seasoning, like salt or herbs, if desired.
- Prepare a bowl with 1 cup ice and 3 parts water. Place the mozzarella ball into the ice water to chill. Repeat steps four to seven for the other curd balls. Once chilled (approx. 20 minutes), pat dry and serve immediately.
Video

Notes
- Use the right milk: Any milk except ultra-pasteurized can work. Fresh whole milk works best for that creamy, rich flavor, but you can substitute it for low-fat milk in a pinch.
- Reheat the curd if it won't stretch: If the curd resists, it means it likely isn't hot enough. Add it back to the whey for 15 seconds. This will reheat the ball and soften it.
- Watch the milk's temperature: Too hot, and your mozzarella won't form properly and will instead resemble ricotta cheese. Too cold, and your milk won't coagulate (thicken into curd). Always use a thermometer!
Nutrition
Want To Save This Recipe?
Share your email & we'll send it over! PLUS, you'll get new recipes from us weekly
When do you add the salt
Hi Margie! You can add the salt when you’re stretching and folding the mozzarella (:
I never thought making Mozzarella could be this easy!!
I couldn’t believe it till I tried it for myself either!!
Hello, I’m very excited about trying this recipe and wondered if you’ve used lemon juice instead of vinegar and if so, how much you would recommend. I recently made paneer with lemon juice and it turned out great!
Hi Michelle!! I’m excited for you to try this recipe and let me know how it goes (: You can absolutely use lemon instead! Since its acidic like vinegar it works great and you can use the same amount as the vinegar. Good luck!!
So fun! The kids and I had a blast making this recipe today. Question: You recommend saving the whey for breadmaking – what can I substitute the whey for? Milk? Water? Something else? Also, how long does the whey keep in the fridge?
Ahh Kristin I’m so happy to hear that (: You can use the whey in smoothies, breads or even things like pancakes or crepes! It adds so much flavor. I wouldn’t keep it for longer than a week in the fridge.
I followed the directions but each time I stretched it, it would break into pieces. I did the process for about a minute in the heated whey and stretched it several times but it never stretched. It stayed lumpy. What am I doing wrong?
Maybe your whey wasn’t hot enough? It also takes time. At first you’re just pressing crumbs together and it feels like it’ll never come together but eventually it will start to melt enough that it stretches (:
You are amazing ????
Appreciate you!!