
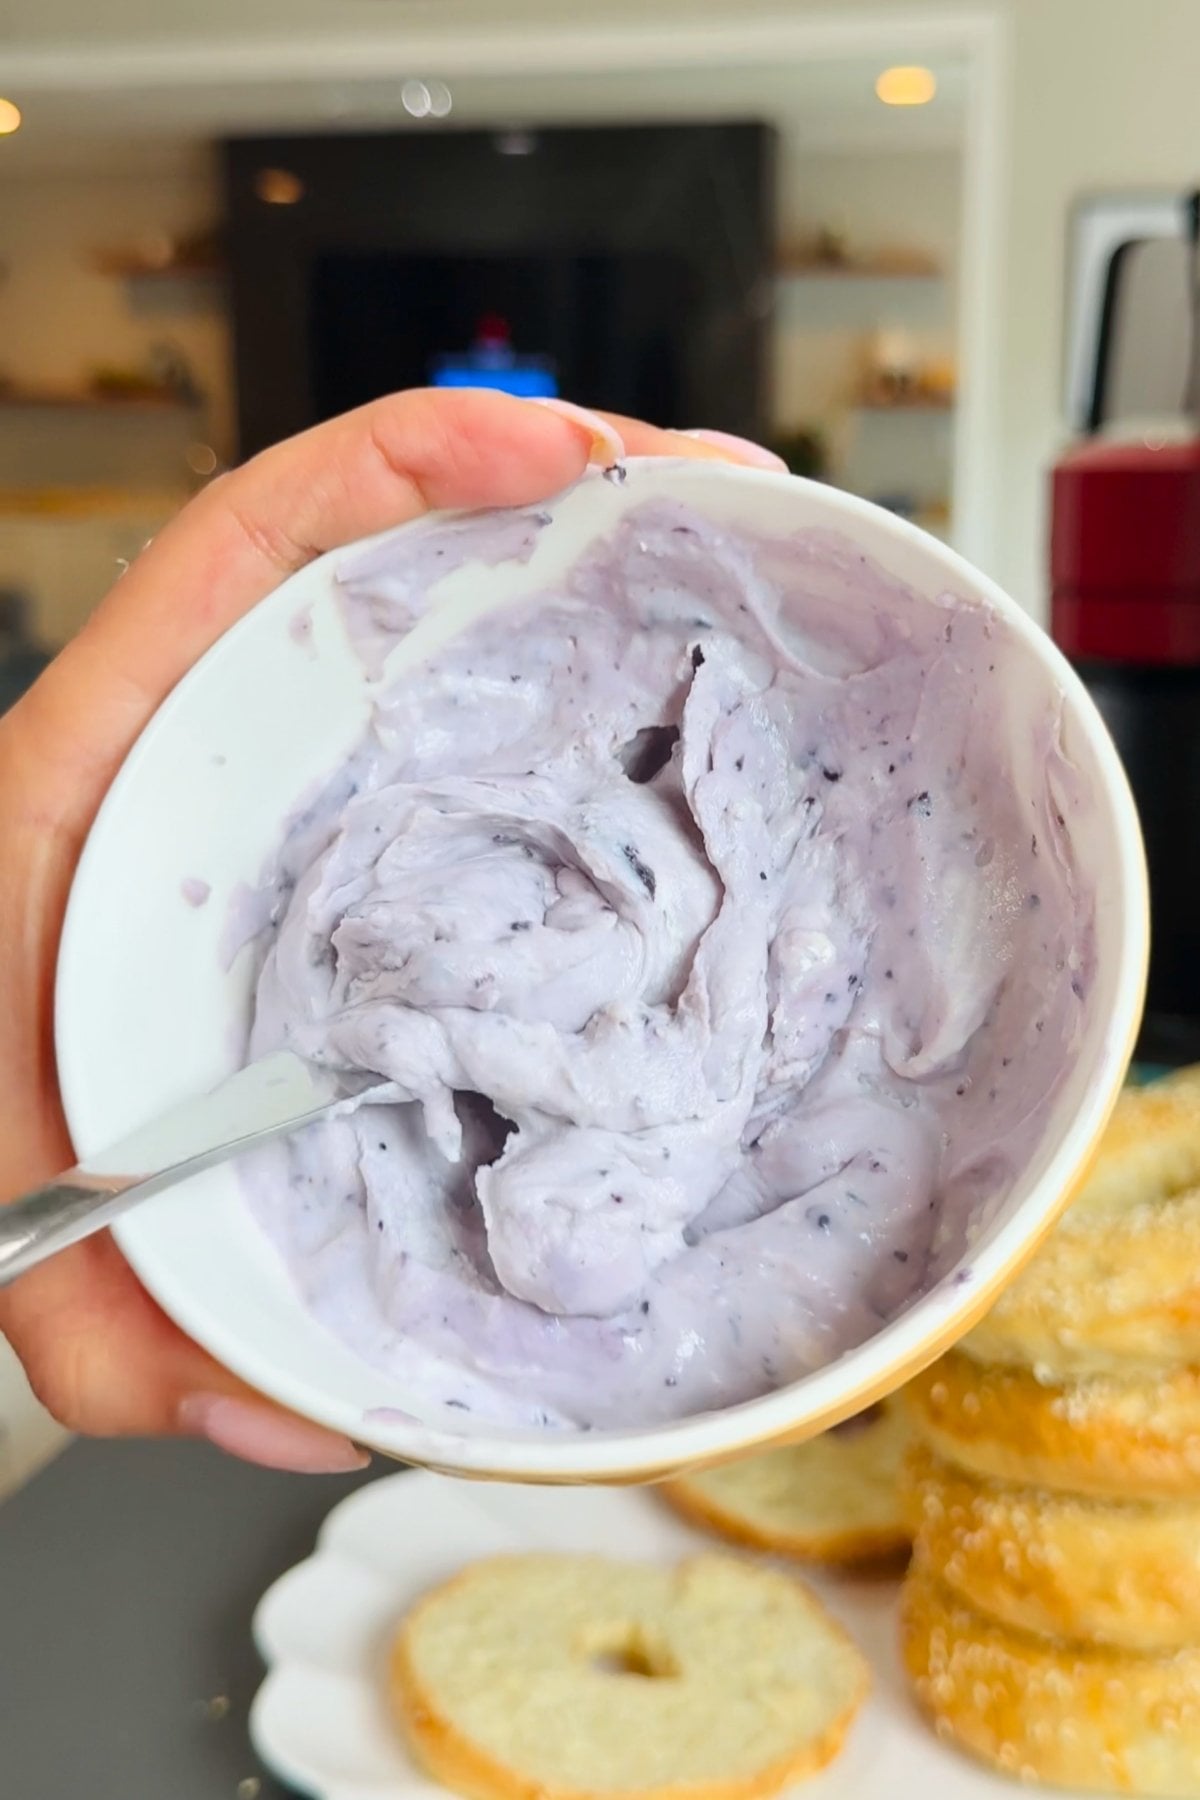
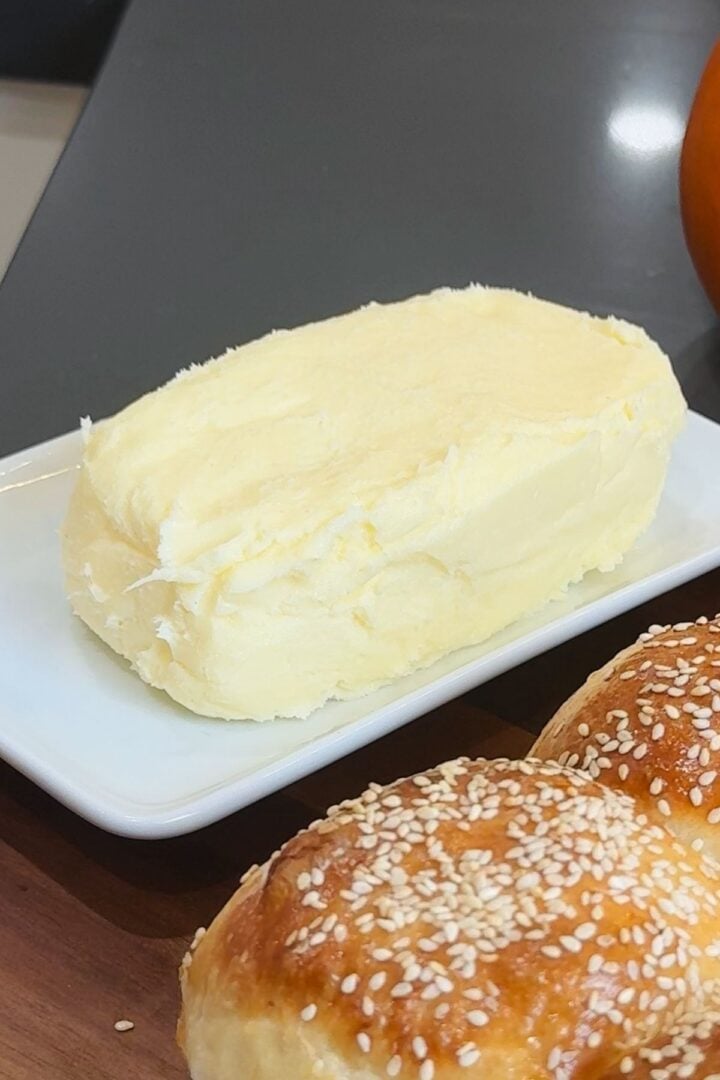
Making cream cheese from scratch is MUCH easier than you think. It takes just two pantry staples, involves no elbow grease, and is ready in 30 minutes. Trust me: You'll get soft, tangy cream cheese every single time. Spread on my NY style bagels, use it to make cheesy garlic rolls, or turn it into a sweet frosting to top copycat Cheesecake Factory brown bread.
Quick Look: Cream Cheese From Scratch
- Prep Time: 10 Minutes
- Total Time: 30 Minutes
- Yield: 1 Cup of Cream Cheese
- Difficulty: Beginner
- Method: Simmer, curdle, strain, and blend!
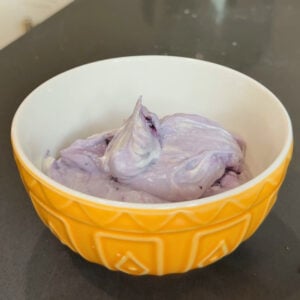
- Optional Add Ins: Jalapeño cheddar, honey butter, blueberry, garlic and herb, cinnamon sugar, hot honey, paprika powder
- Why This Works: Ready in 30 minutes, only 2 ingredients needed, and a creamy, tangy taste that is way better than anything shop-bought.
SUMMARIZE & SAVE THIS CONTENT ON
Why We Like This
- Only 2 ingredients: Just milk and vinegar (or lemon). No unnecessary preservatives, no cultures, no rennet, and no unpronounceable stabilizers. This isn't one of those viral "hacks" that turns into a total disaster when you try to recreate it at home. It really IS this simple.
- An ACTUAL budget-friendly alternative: I encountered many recipes that, while promising indulgent cream cheese, used ingredients that were so expensive to buy (like rennet). If you're budget-conscious like me, then a from scratch recipe HAS to be cheaper than what you'd find in a shop. That's why the ingredients in my recipe cost just cents to buy, and that's if you don't already have these pantry staples at home.
- You can channel your inner cheesemonger: My recipe is so incredibly easy to customize to your liking. I'm genuinely yet to find a combo that doesn't work, and I've experimented with all different variations, both sweet and savory! My favorites so far are jalapeño cheddar, honey butter, blueberry, and cinnamon sugar, but the possibilities are endless. Any of these would also be delicious spread over my best popovers recipe while they're still warm and airy inside. You can even add garlic and herbs to make a creamy dip for my quick homemade pizza dough!
- You won't waste ingredients: Cheesemaking uses up A LOT of milk, meaning getting it wrong can leave you with a clumpy, unsalvageable mess and going through carton after carton. My recipe makes it simple to get it right the first-time, so not a single drop of milk will go to waste. Any leftover whey can even easily be repurposed to make my four ingredient bread recipe, my rustic Italian bread, or even my panini bread rolls.
- It stays fresh for a long time: I love cheese, but let's be real: There's a limit to how much you can indulge in a day without feeling queasy. My cream cheese spread will stay fresh for up to 2 weeks in your fridge, so you'll be able to enjoy it at whatever pace suits your heart and stomach, whether a nibble a day or generous slathers every hour. You can even freeze it if needed.
Ingredients
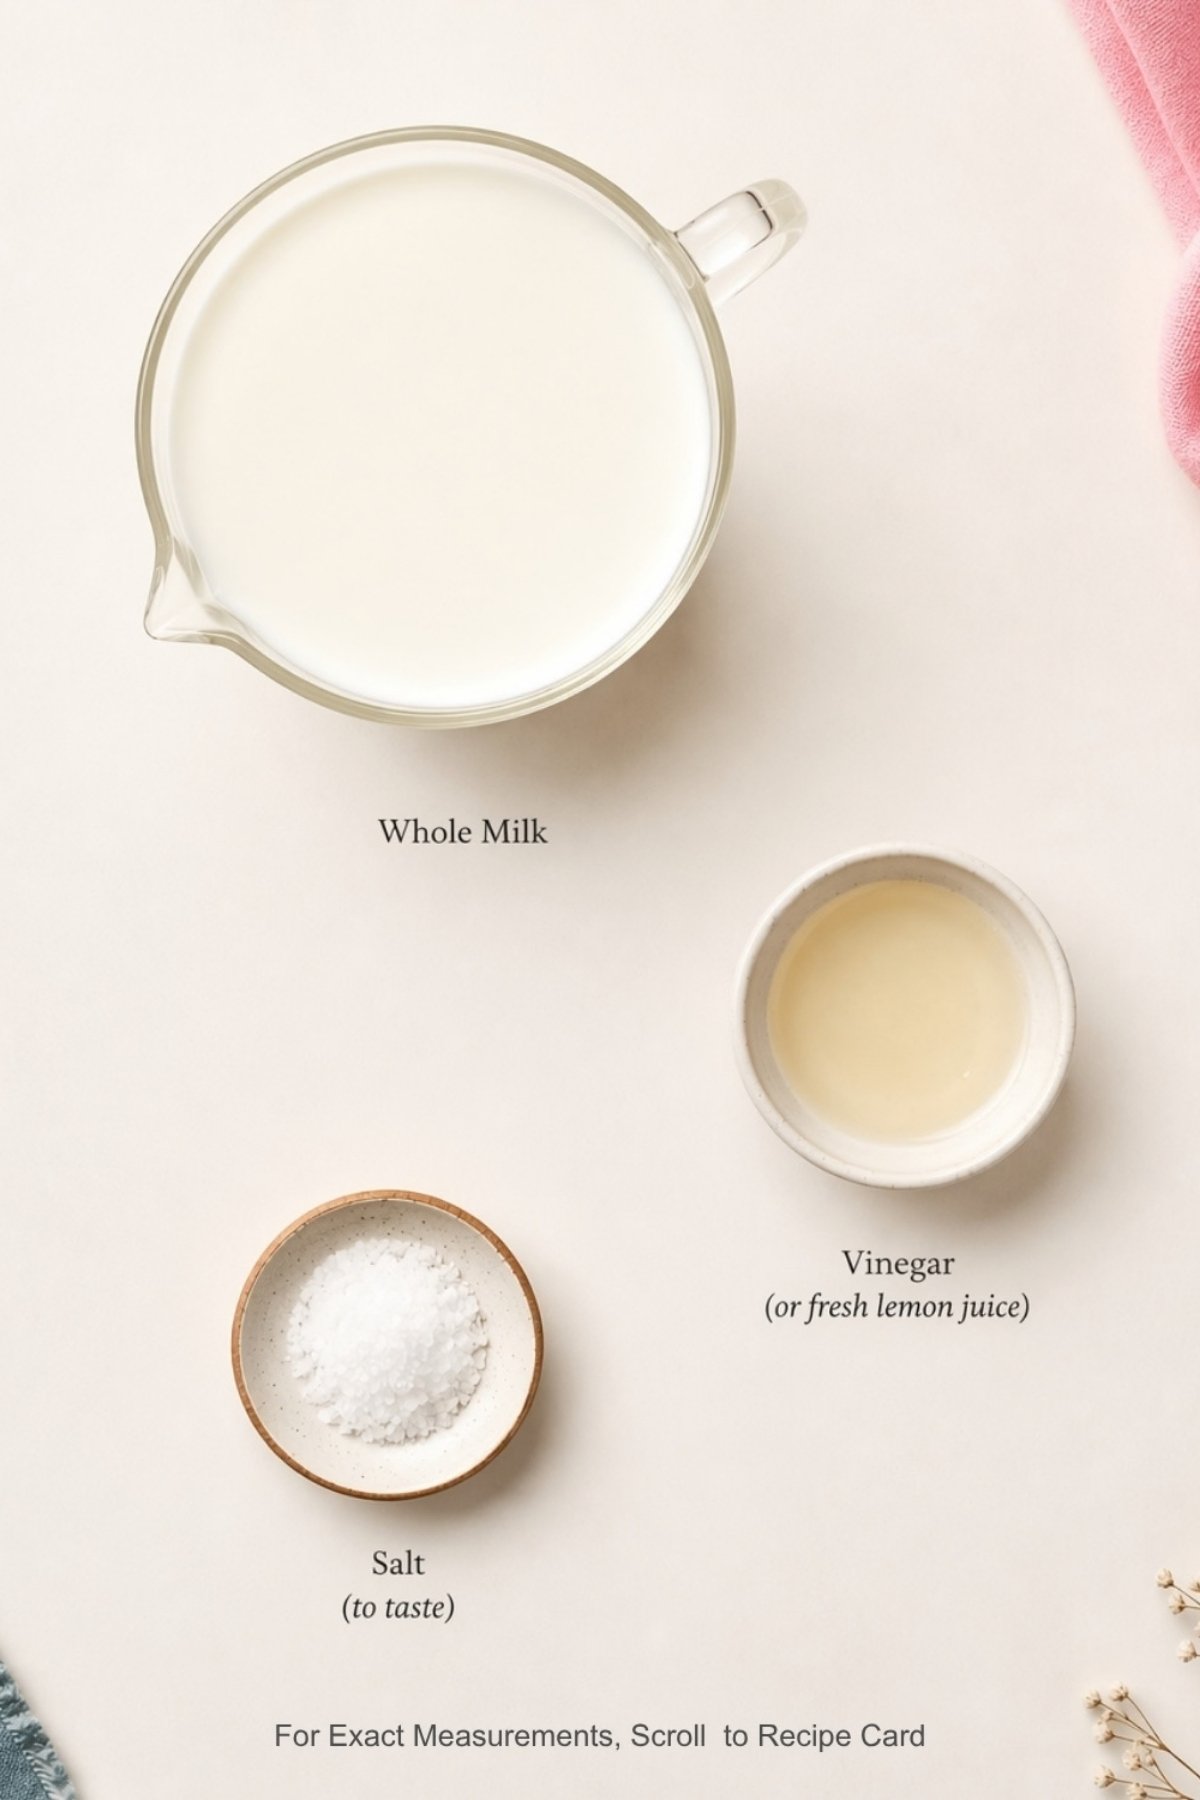
Skip the last-minute trip to the grocery store and that exhaustingly long checkout line. You likely already have these two staples in your home.
- Milk: Use fresh whole milk (full fat) for that creamy richness and smooth consistency. You can use low-fat milk in a pinch, but I've found the flavor is never as rich. Whichever milk you use, just check that it isn't ultra-pasteurized (UHT). Ultra-pasteurized milk is stubborn and won't curdle properly no matter how closely you stick to my recipe. You'll be left with a milky, lumpy mess rather than spreadable cream cheese.
- Vinegar: Any vinegar you have in your pantry can work, but if you don't want to use vinegar, substitute with lemon juice in the same amount. The acid works the same way to separate the curds from the whey. I just find that it gives the cheese a lemony aftertaste, which I'm not a fan of (and it isn't as versatile).
Minoo's Pro Tip: I did discover that the lemon version complements a salmon cream cheese bagel beautifully, especially if you throw in dill and use my high-protein Greek yogurt bagels. You can also use lemon juice if you're looking to make a sweet version, like blueberry cream cheese, or use it as a filling for my pear muffins.
How to Make Cream Cheese From Scratch
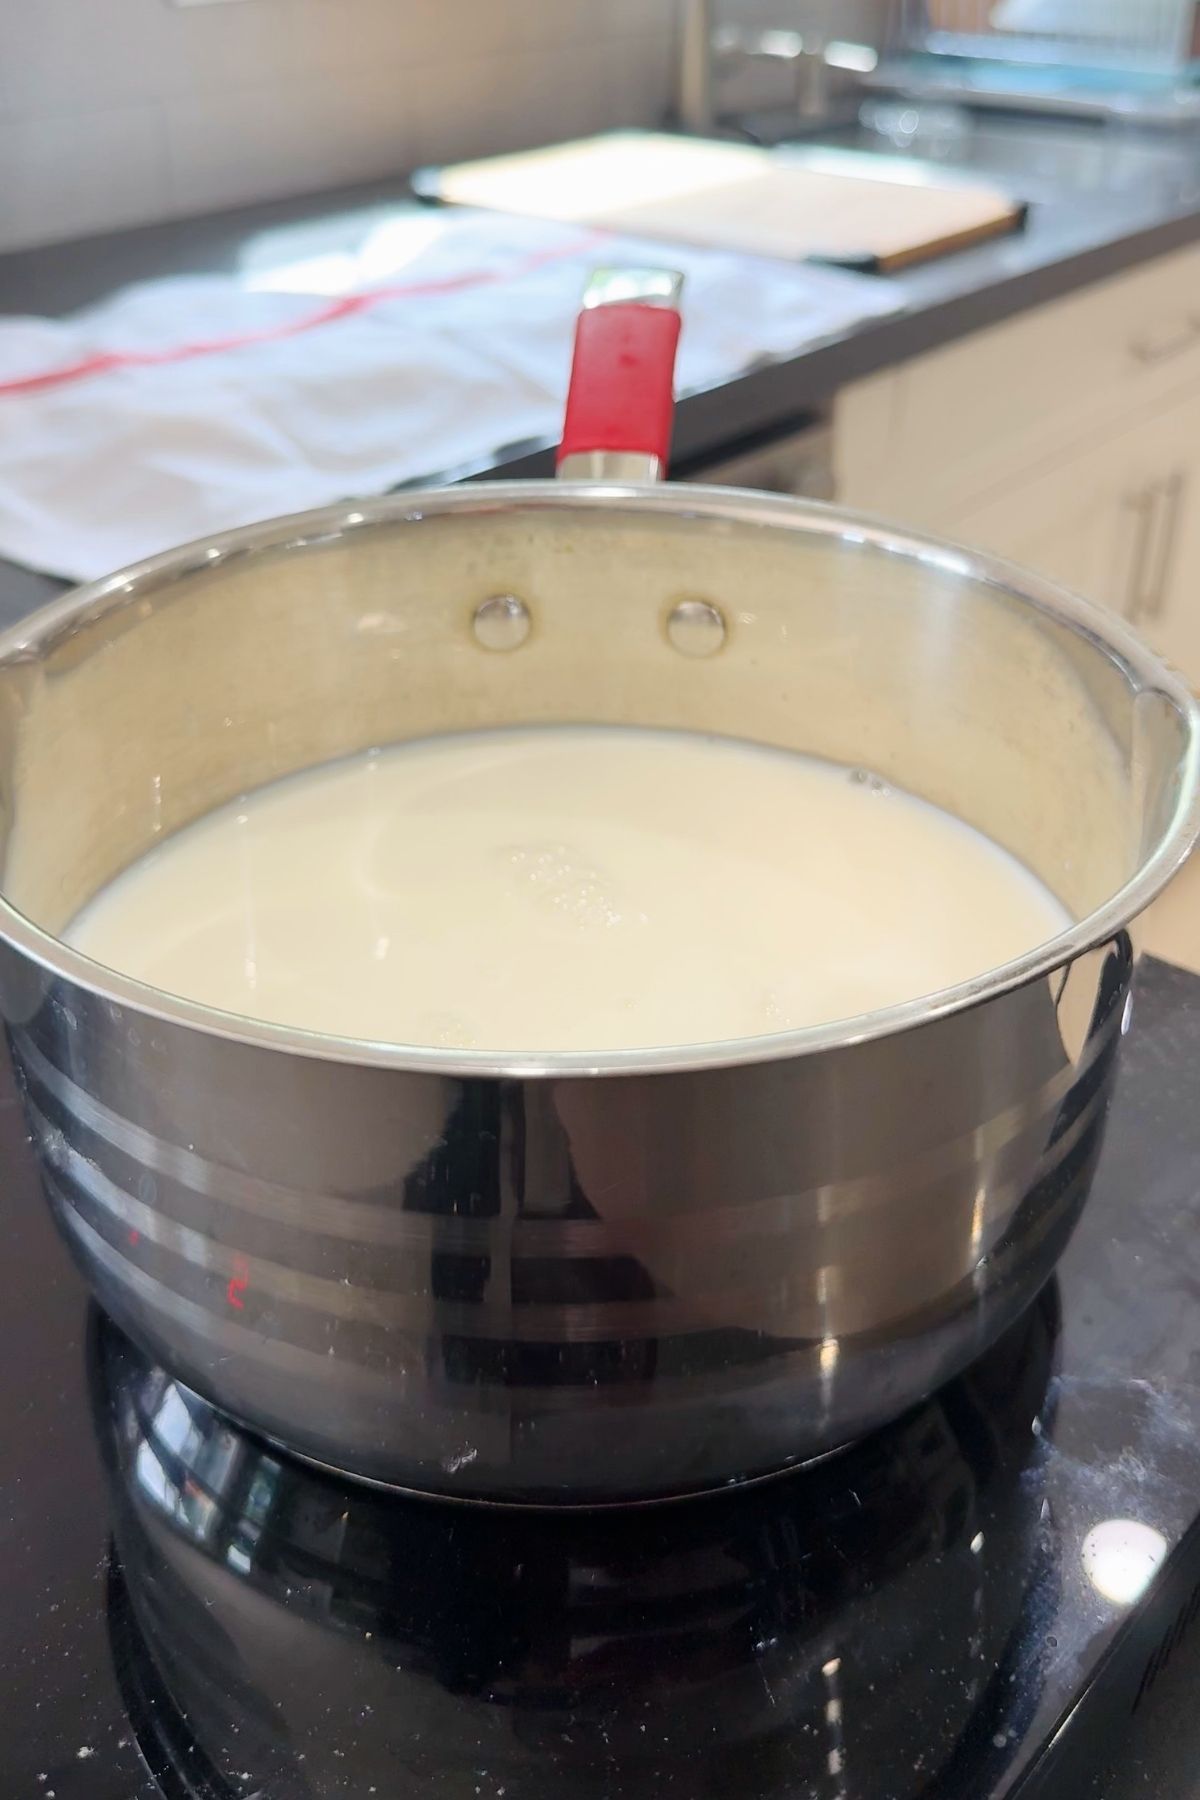
- Step 1: Add 5 cups of whole milk into a large pot. Heat on medium until it reaches a slight simmer, but not boiling, and stir constantly to prevent the milk from burning at the bottom. You should see small bubbles forming around the edges.
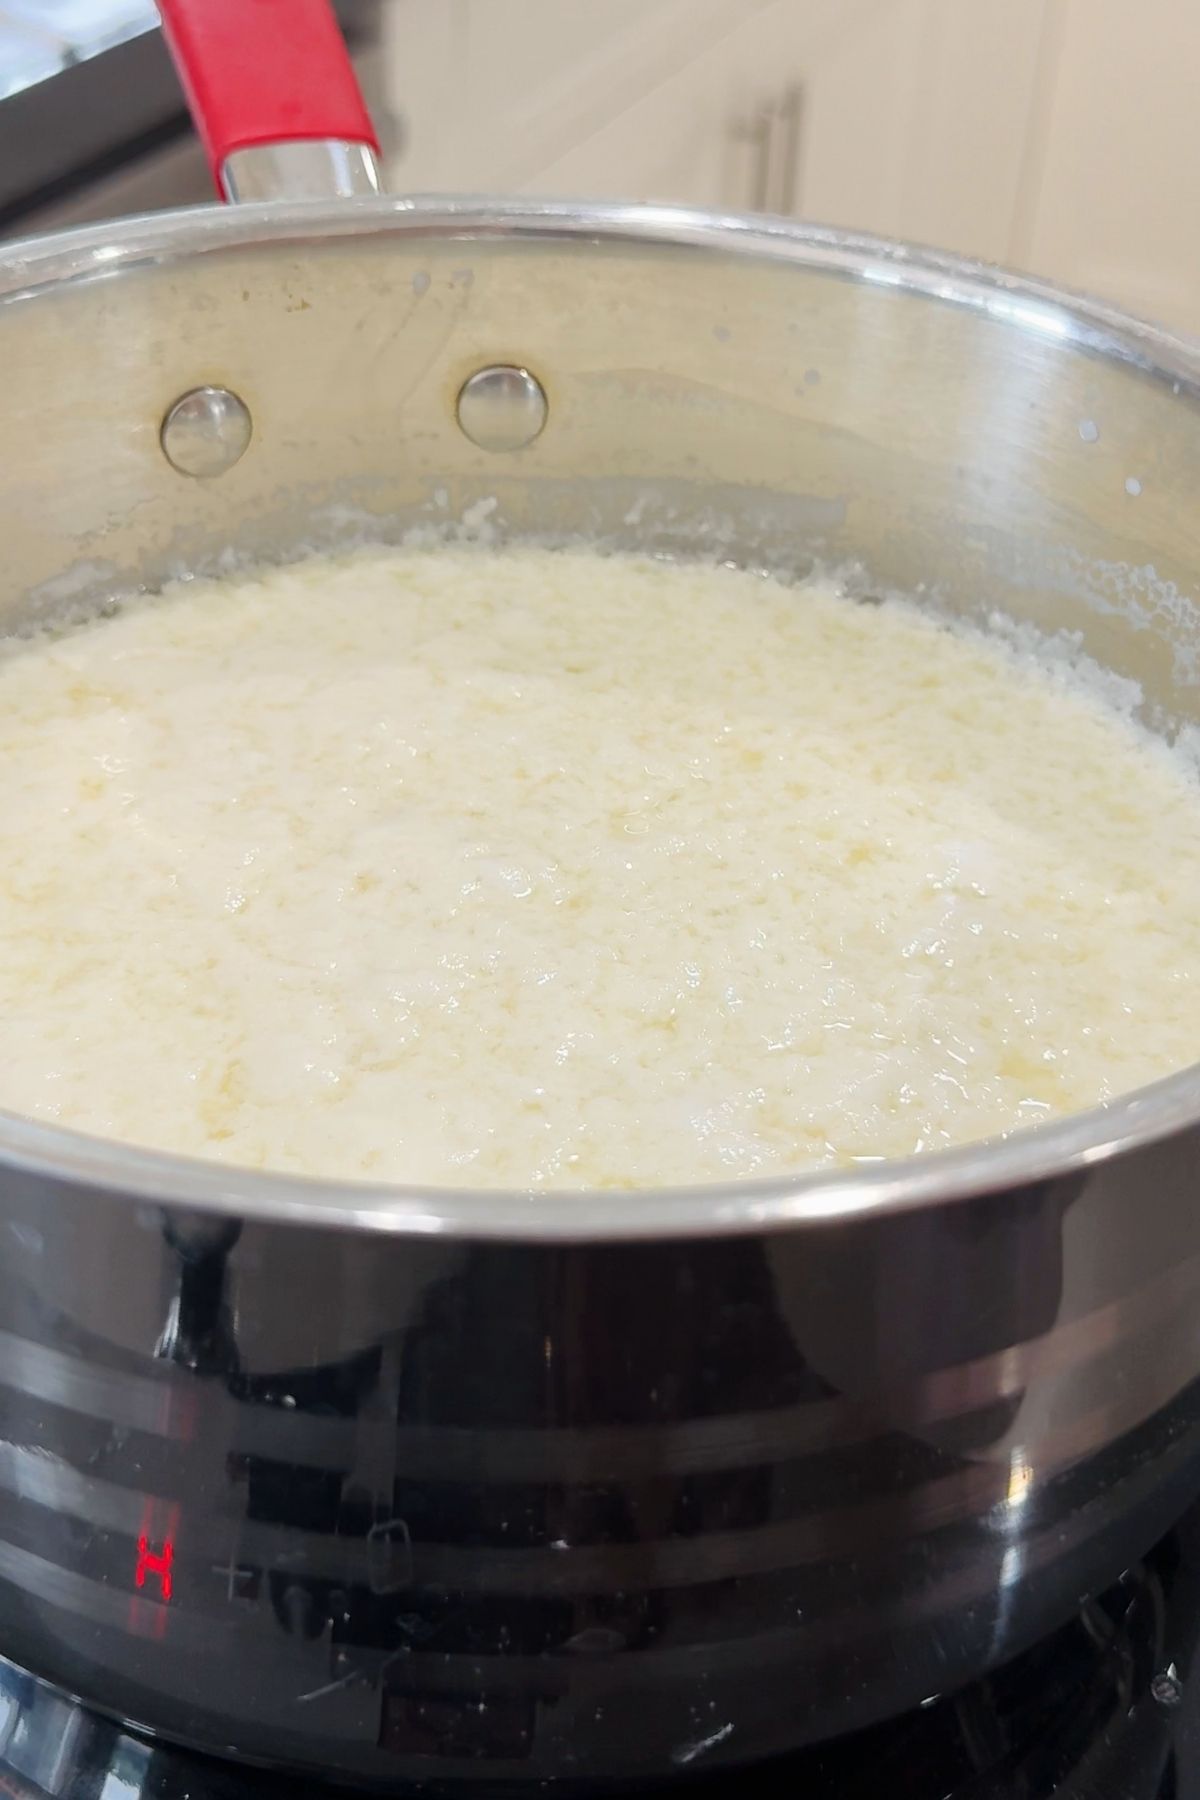
- Step 2: Add 3 tablespoon of vinegar (or lemon juice) to the pot and mix until the milk starts to curdle. You should see little clumps forming known as curds, where the proteins in the milk are separating from the whey (a yellow liquid).
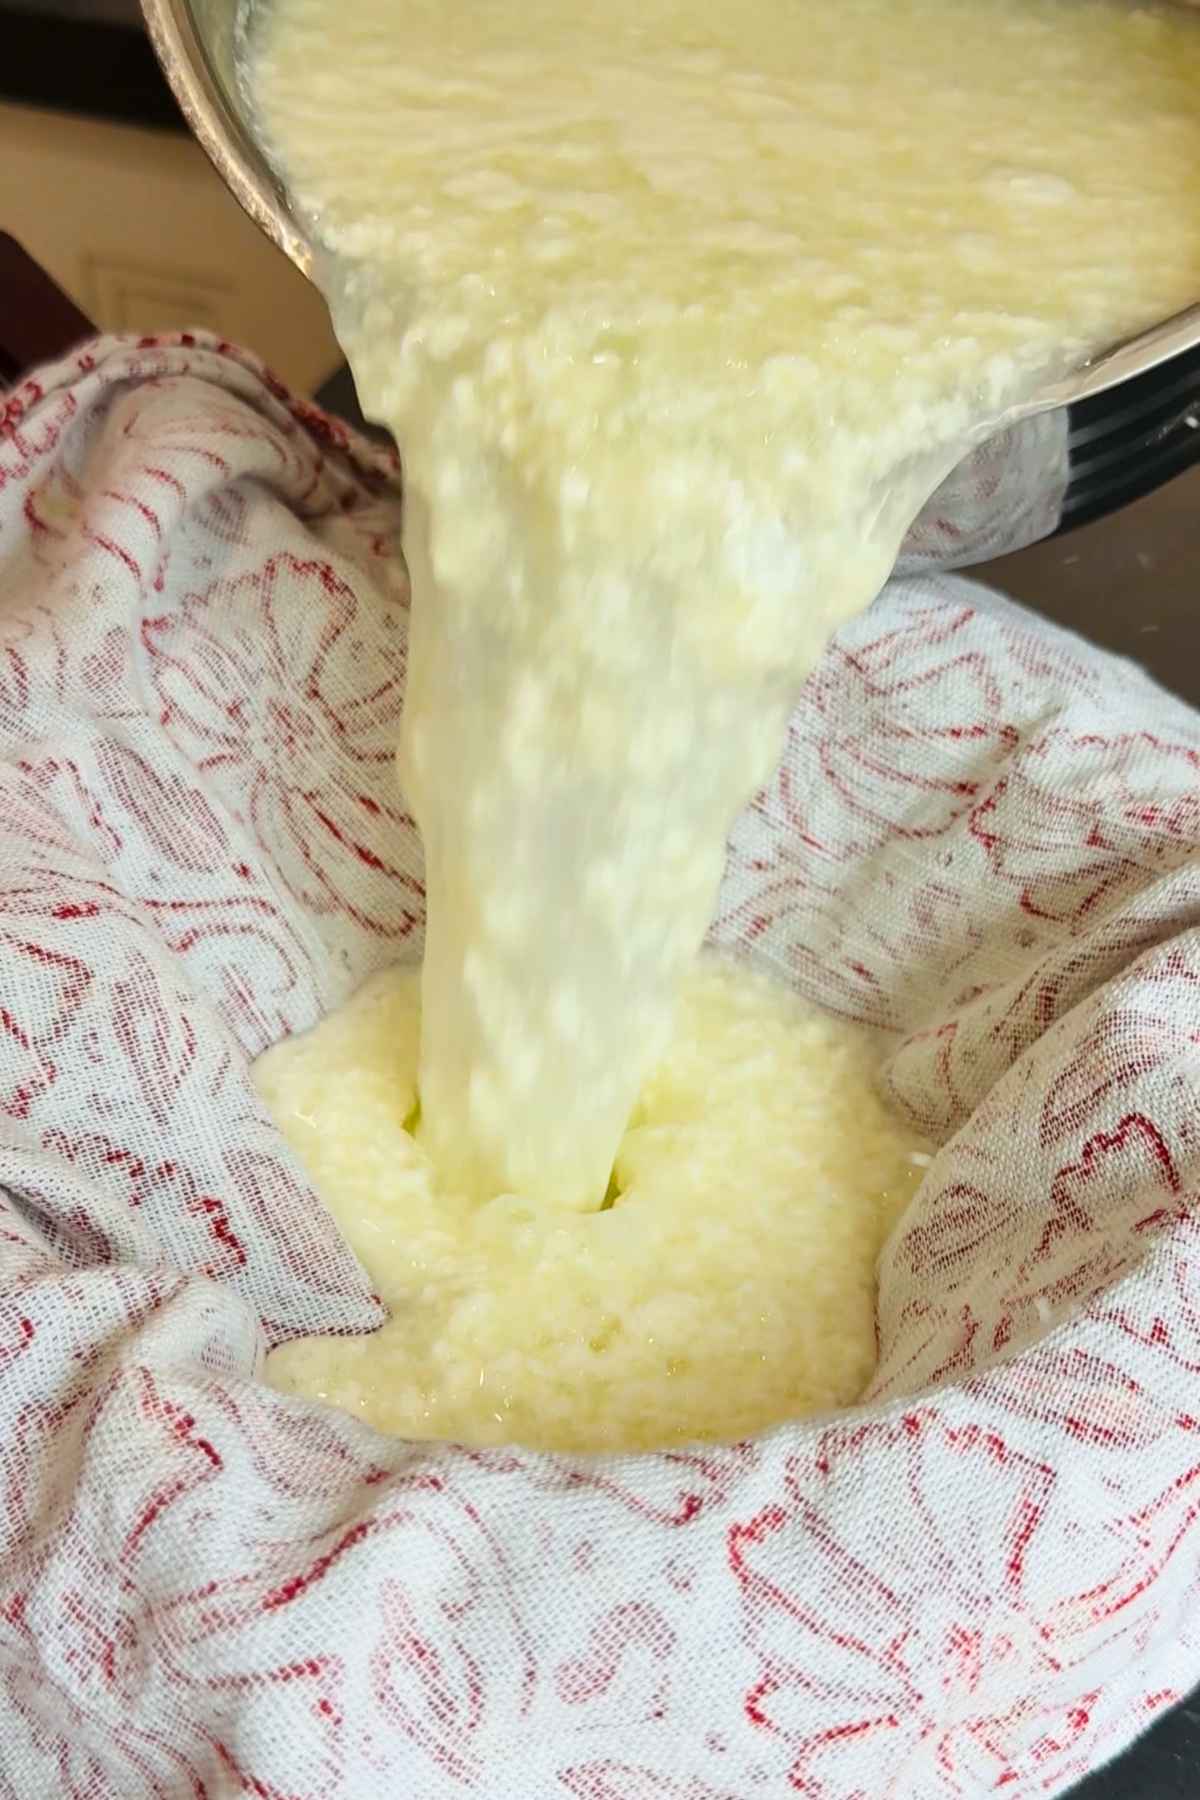
- Step 3: Line a mesh strainer with a cheesecloth (or kitchen towel) and place it over a bowl. Pour the mixture through it to separate the whey from your curds. Allow to drain for 5 to 10 minutes.
Minoo's Pro Tip: Save the whey! It's packed with protein and flavor, and you can use it as a substitute for milk or water in any of my bread recipes, like my soft hamburger buns. You can even use whey as a replacement for buttermilk or add it to a smoothie bowl for an extra health kick.
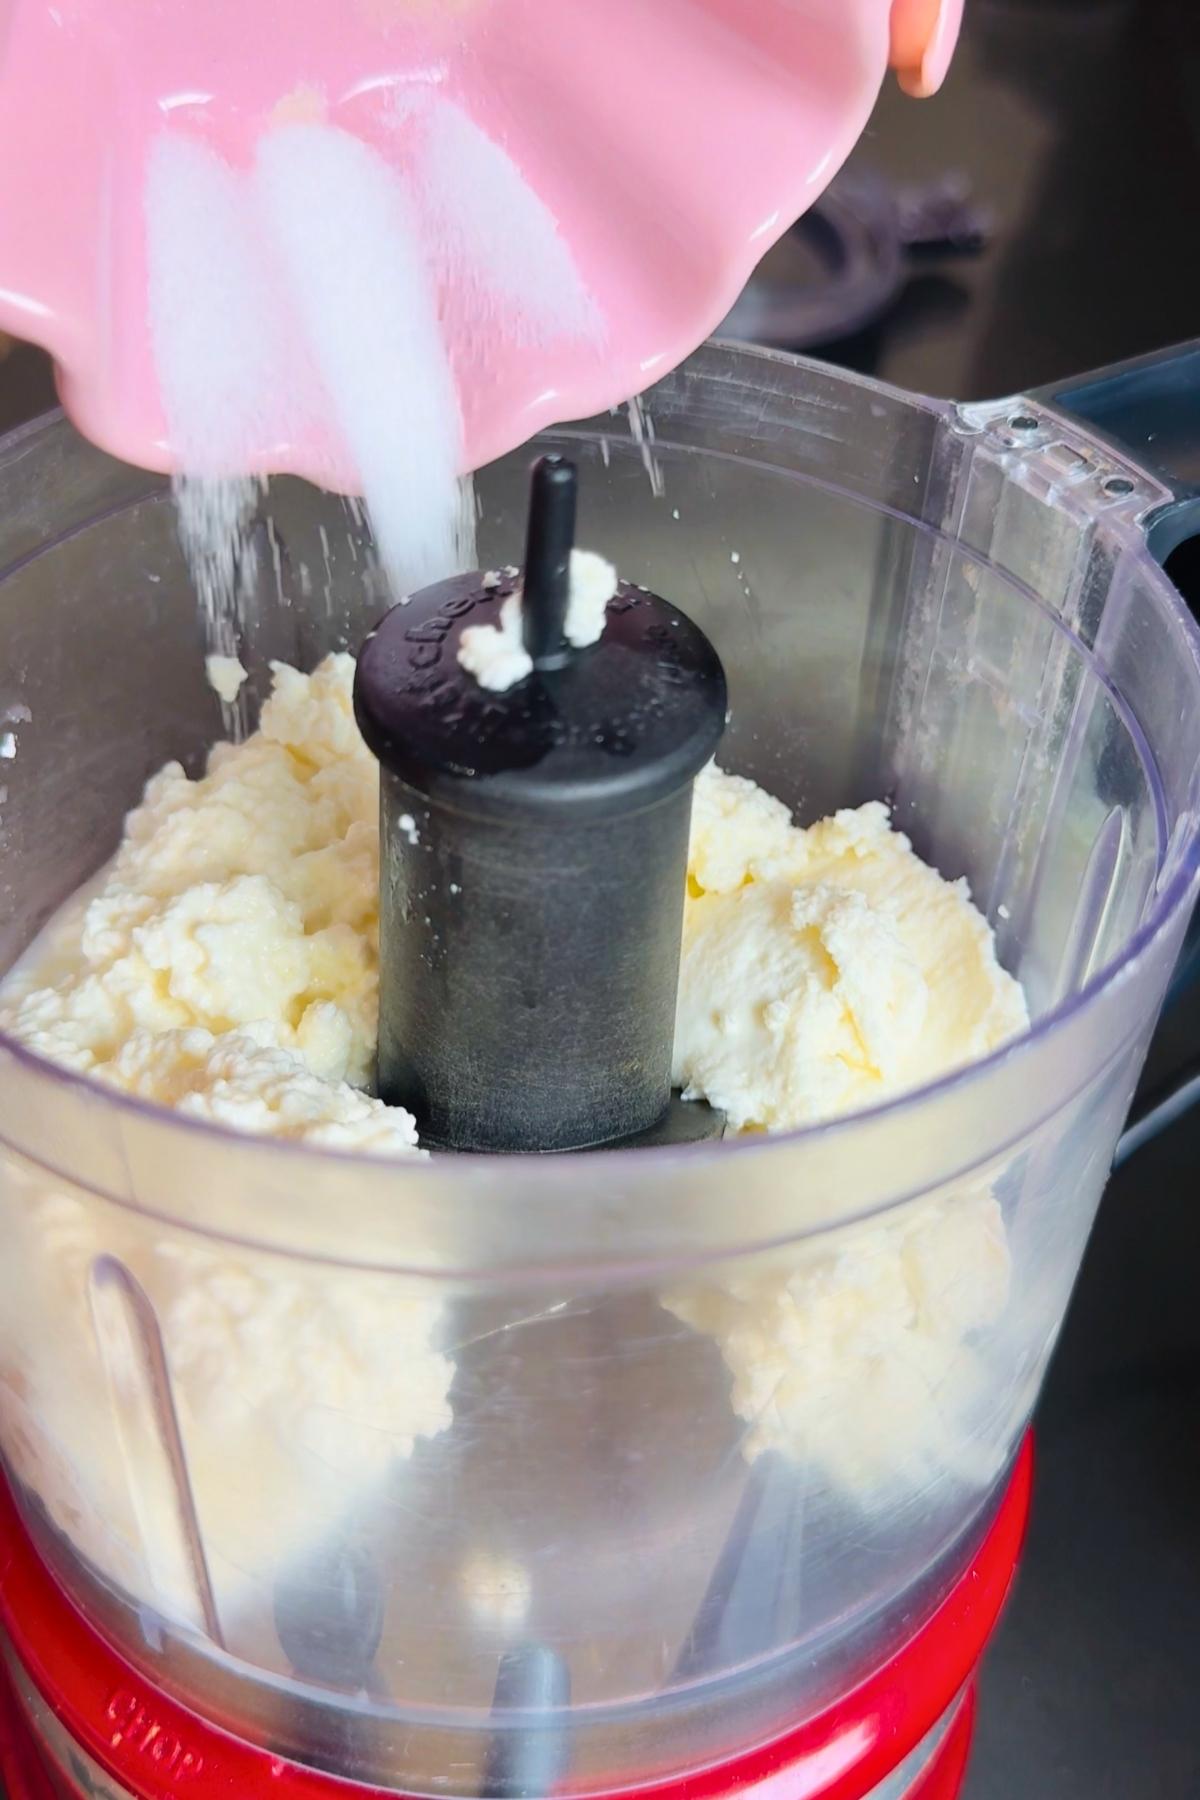
- Step 4: Transfer the curds to a food processor or blender, and add in 1 teaspoon of salt (or to taste). Blend on medium speed for 1 to 2 minutes, until smooth and creamy.
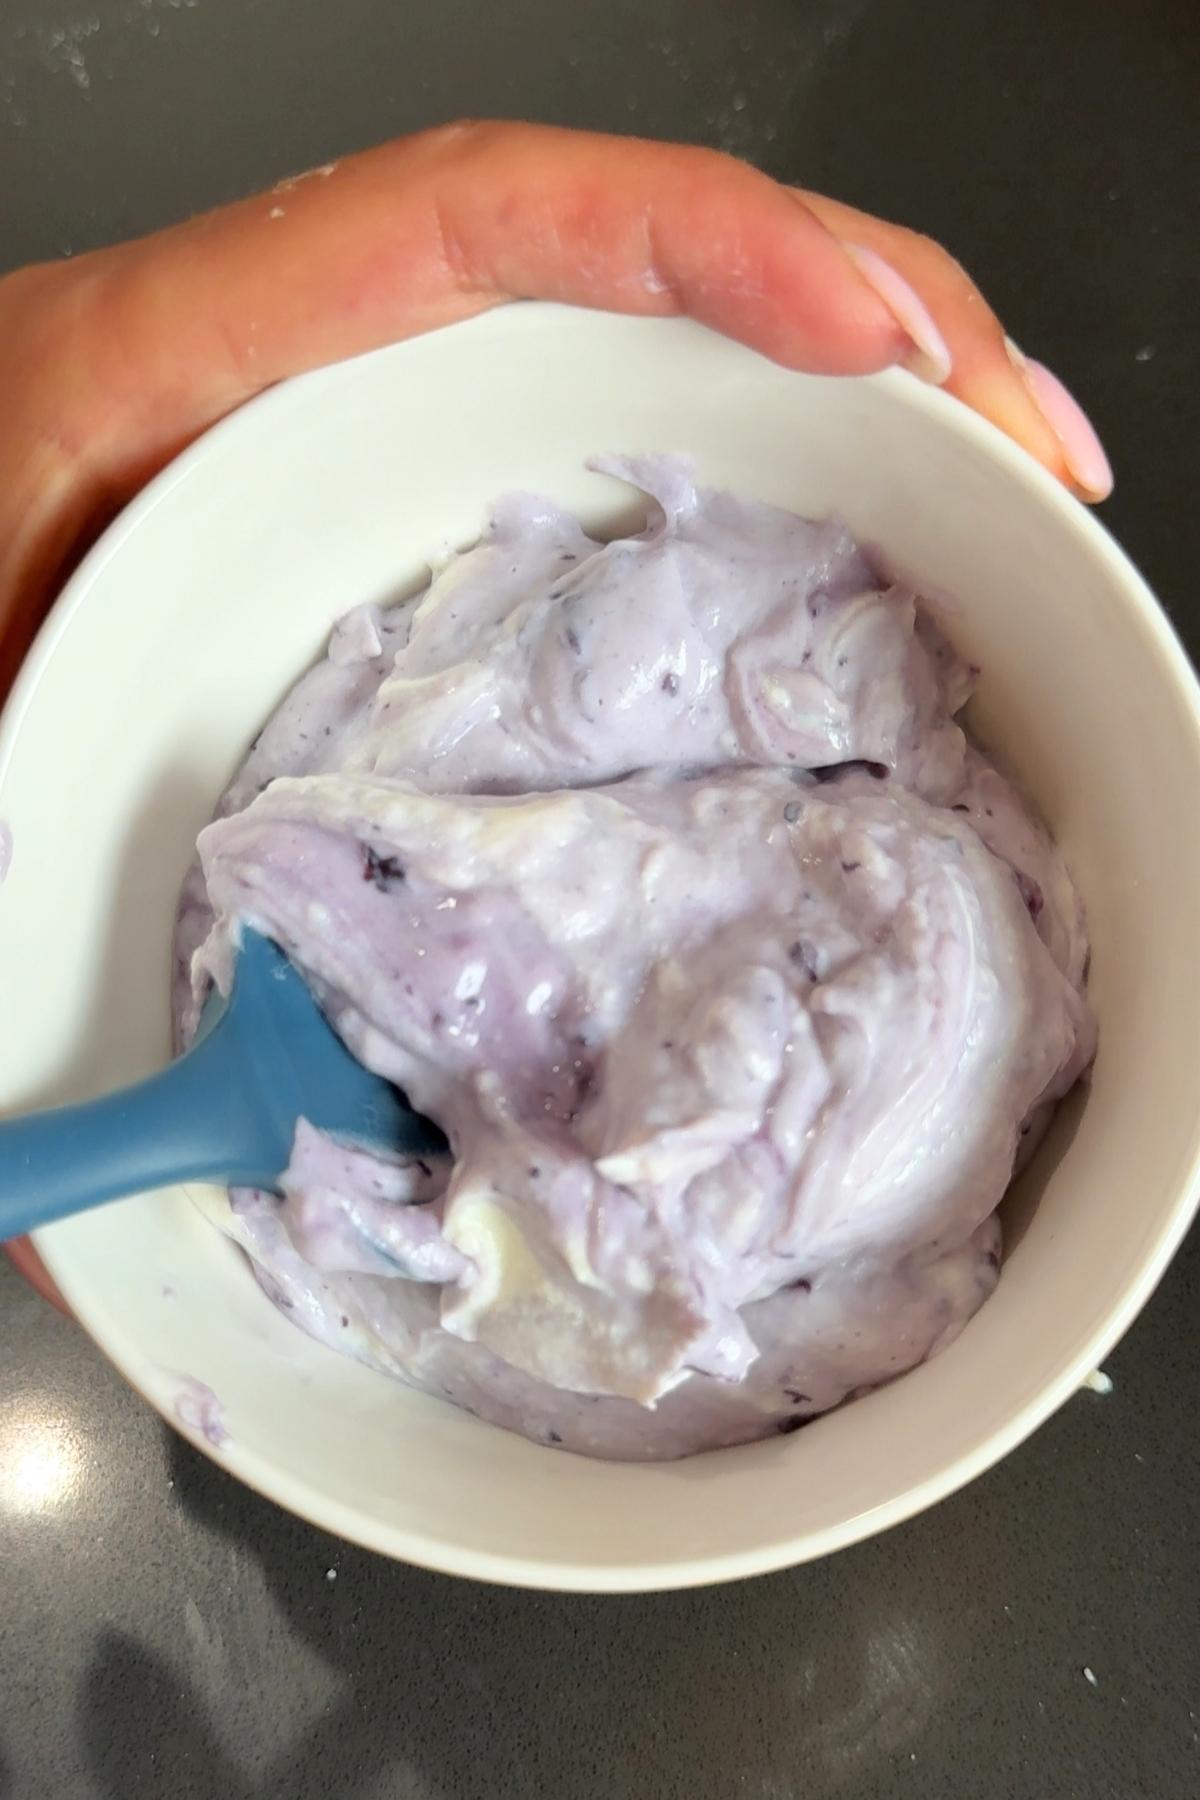
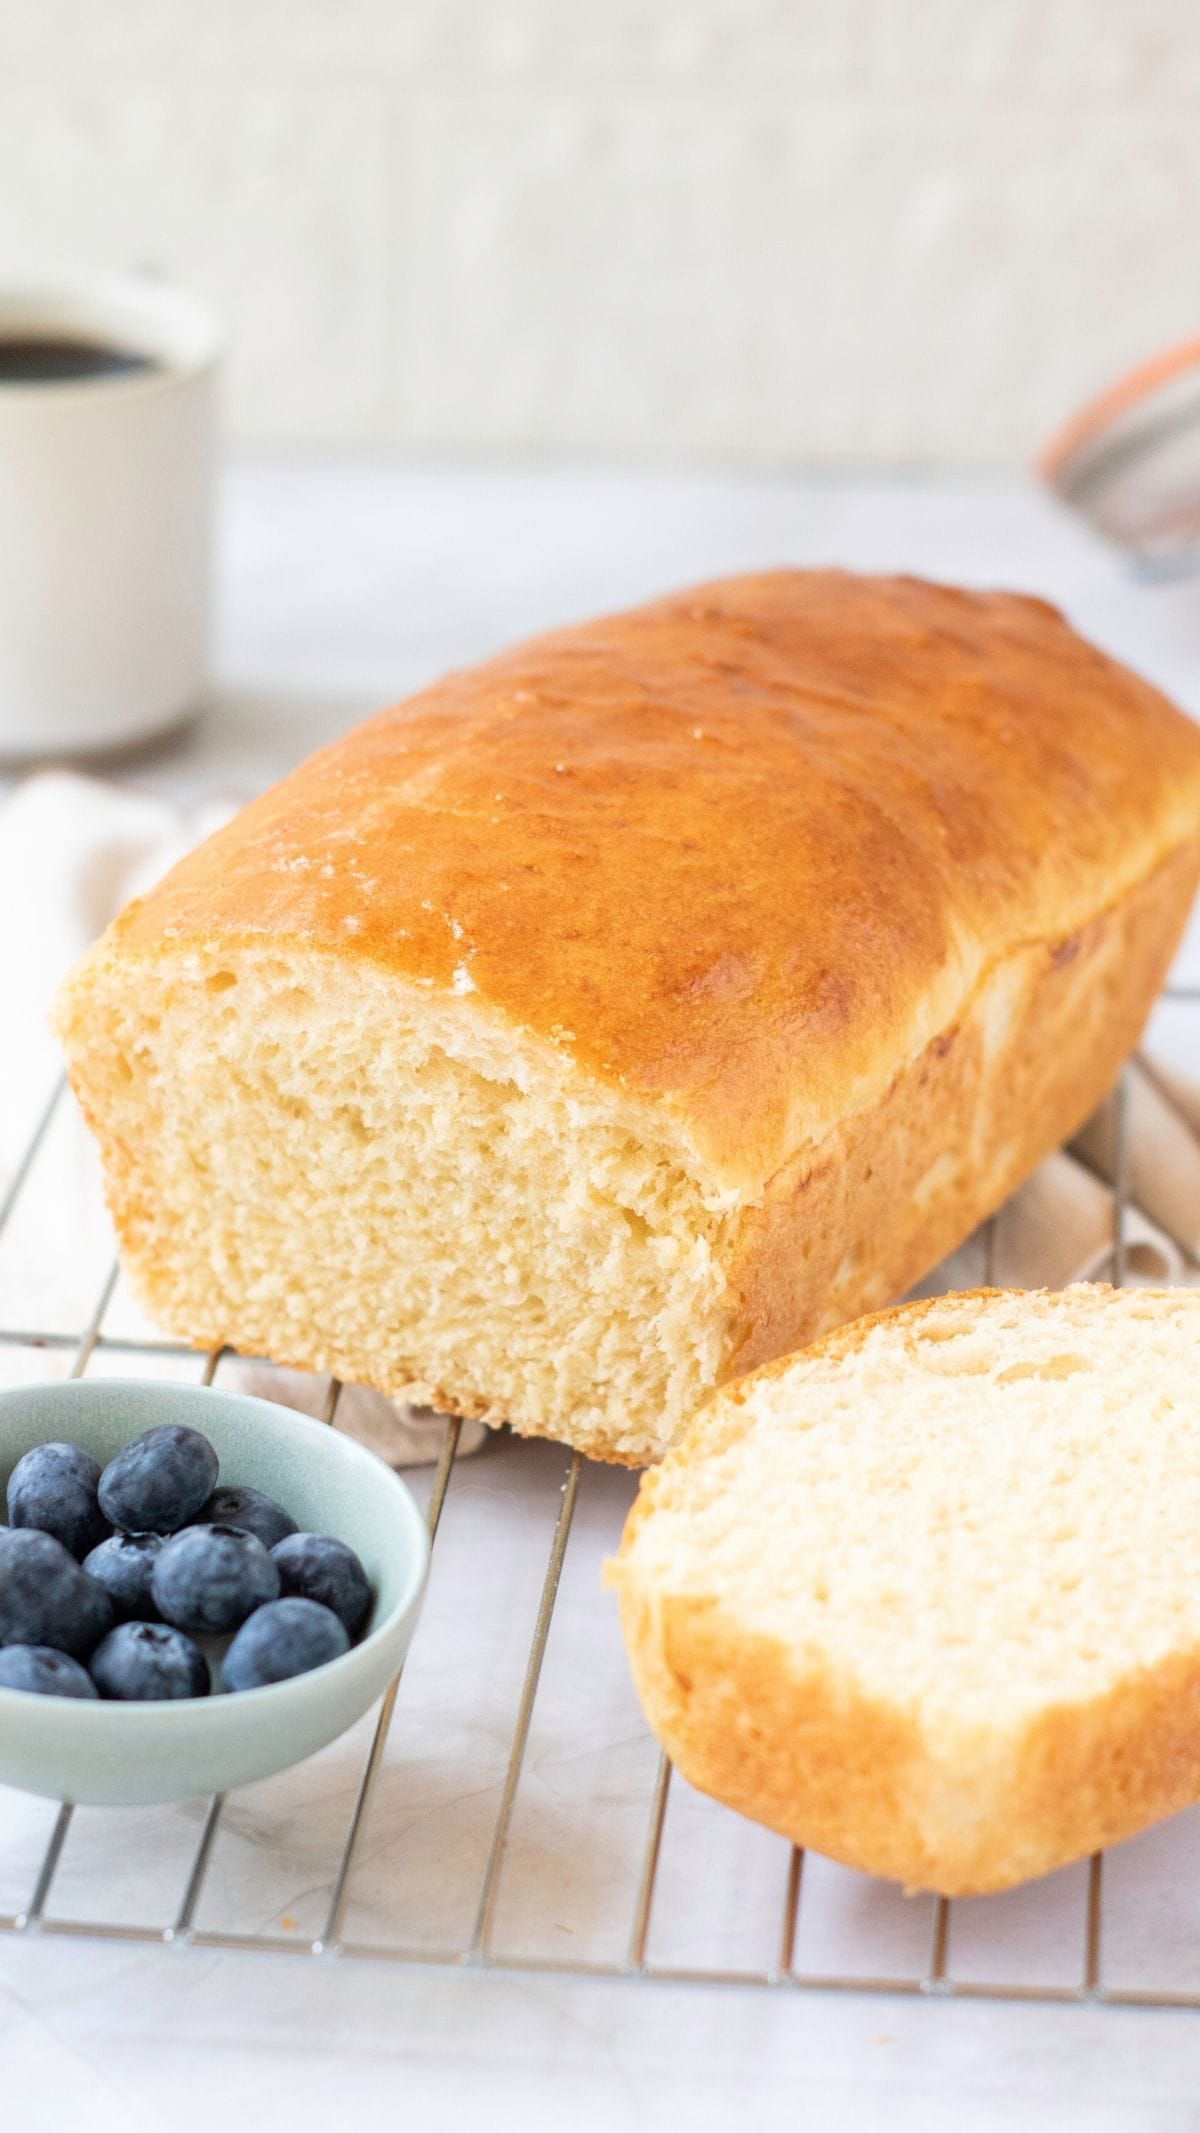
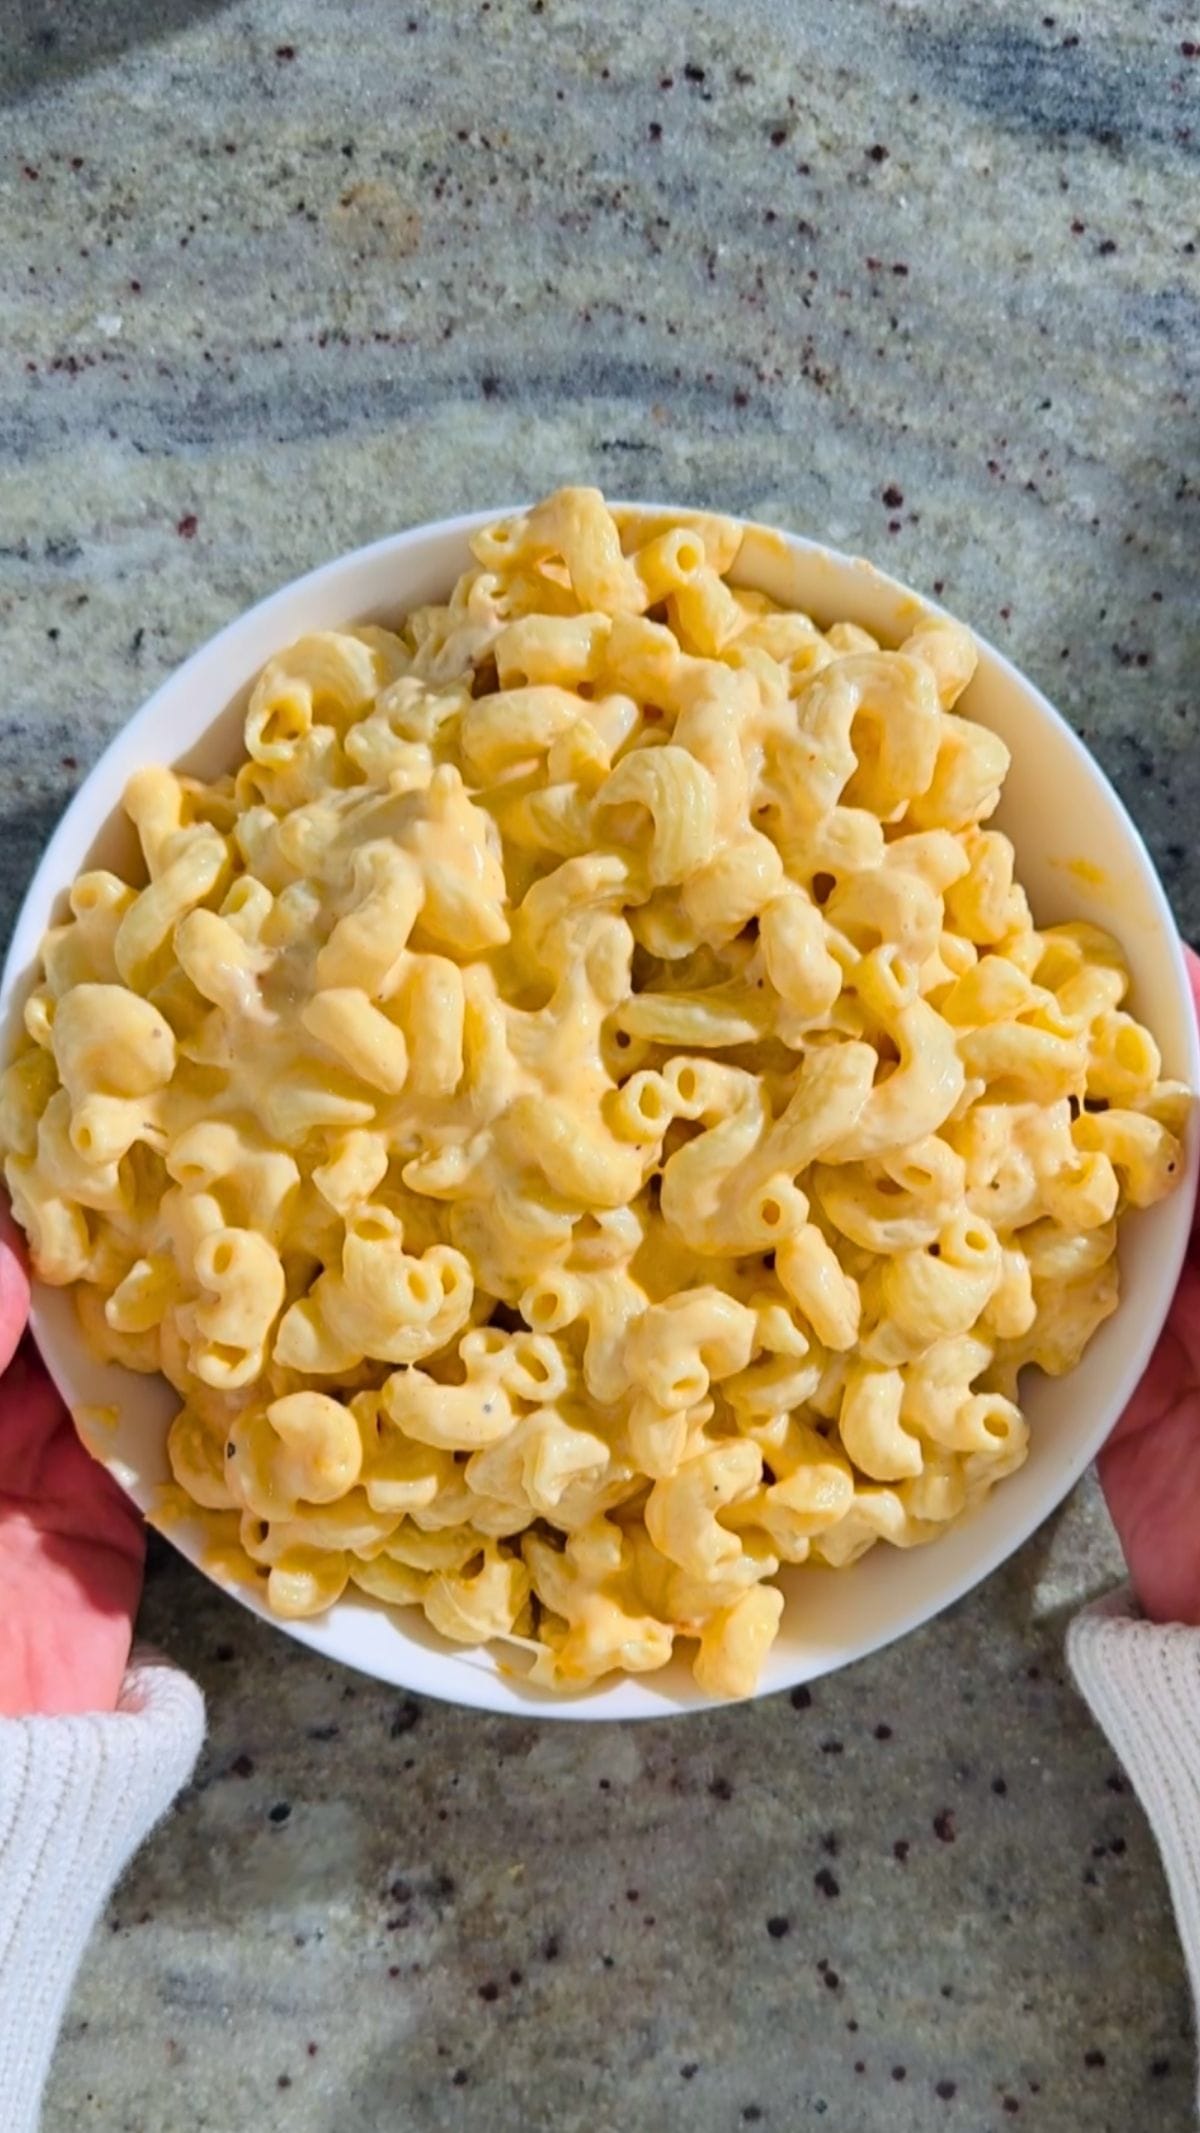
- Step 5: Add in your desired flavorings and allow to cool in the fridge for 30 minutes. Serve and slather it on my dinner rolls recipe, or learn how to make wonder bread for an ultra-soft sandwich loaf that's PERFECT with both sweet and savory cream cheese. You can also use it as a filling for my healthy bagel bites, or throw into my mac and cheese pasta for extra creaminess. You can even serve it as part of a cheese platter with homemade fresh mozzarella and smoked cheddar.
Expert Tips
- Mix the milk consistently as it's simmering: I got distracted by the doorbell and left my milk the first time… and I came back to a burned bottom. Trust me. Those little brown bits of burned milk did NOT add a pleasant flavor to my cream cheese. Keep mixing the milk gently until it's off the heat, scraping the sides as needed.
- Aim for warm bath temperature: A slight simmer is the equivalent of the temperature of a warm bath. A little off by a few degrees won't ruin your cream cheese (my recipe is forgiving!), but if you want to err on the safe side, you can use a thermometer. You want the temperature to read around 180°F. Do NOT let the milk boil. It will make your cream cheese grainy, and not the smooth, spreadable consistency that'll level up your bagel game (and my no knead sandwich bread!).
- Be patient and let the cheese drain: I know it's tempting to rush the draining process, but patience really is key here. If you don't drain enough of that whey, your cream cheese won't firm up into a spreadable cheese and instead will be thin (and drip everywhere). Adding a little more salt can also help your cream cheese thicken up.
Cream Cheese From Scratch FAQs
You can store my cream cheese in the fridge for 1 to 2 weeks in an airtight container. Just make sure to check the cheese for spoilage before serving, especially as it approaches that two-week mark.
You can also freeze the cheese for up to 3 months if you need it to last for longer. Add the cream cheese into a silicone ice cube tray, and remove a cube (portion) from the freezer anytime you're craving it. Make sure to thaw it thoroughly before serving.
I've found that frozen cream cheese can be a little grainy once defrosted, so if you want to "revive" that smooth texture, just give it a quick blend before serving. Even if it stays a little grainy, don't panic. The texture really won't be noticeable, especially if you add seasoning or make a sweet version and throw in my chia fruit jam (another favorite variation of mine!).
Your milk was likely too hot! Remember: You want it to keep at a gentle simmer, not boiling. It should have the temperature of a warm bath. You should also make sure to stir consistently as the milk is heating. The clumps can get stuck at the bottom of the pot and end up burned.
If your milk burns on the bottom, don't throw it away. You can still salvage it. Mix very lightly and gently so that the burned pieces don't mix into the rest of your milk. Then, strain it, clean your pot, and heat the milk back up before adding your vinegar.
Sorry vegans, you can't swap milk for a plant-based option here. Plant-based milks do not contain the same proteins as whole milk, and your cheese won't come together in the same way. But if you're looking for something to dip your fries or pizza crust in, why not try my vegan tomato ketchup instead?
Yes, you can substitute with lactose-free milk! The texture won't be exactly the same, but it'll still be spreadable and (most importantly) tasty! You can swap at equal amounts, but again, just remember to check your lactose-free milk is fresh and not ultra-pasteurized.
More to Try
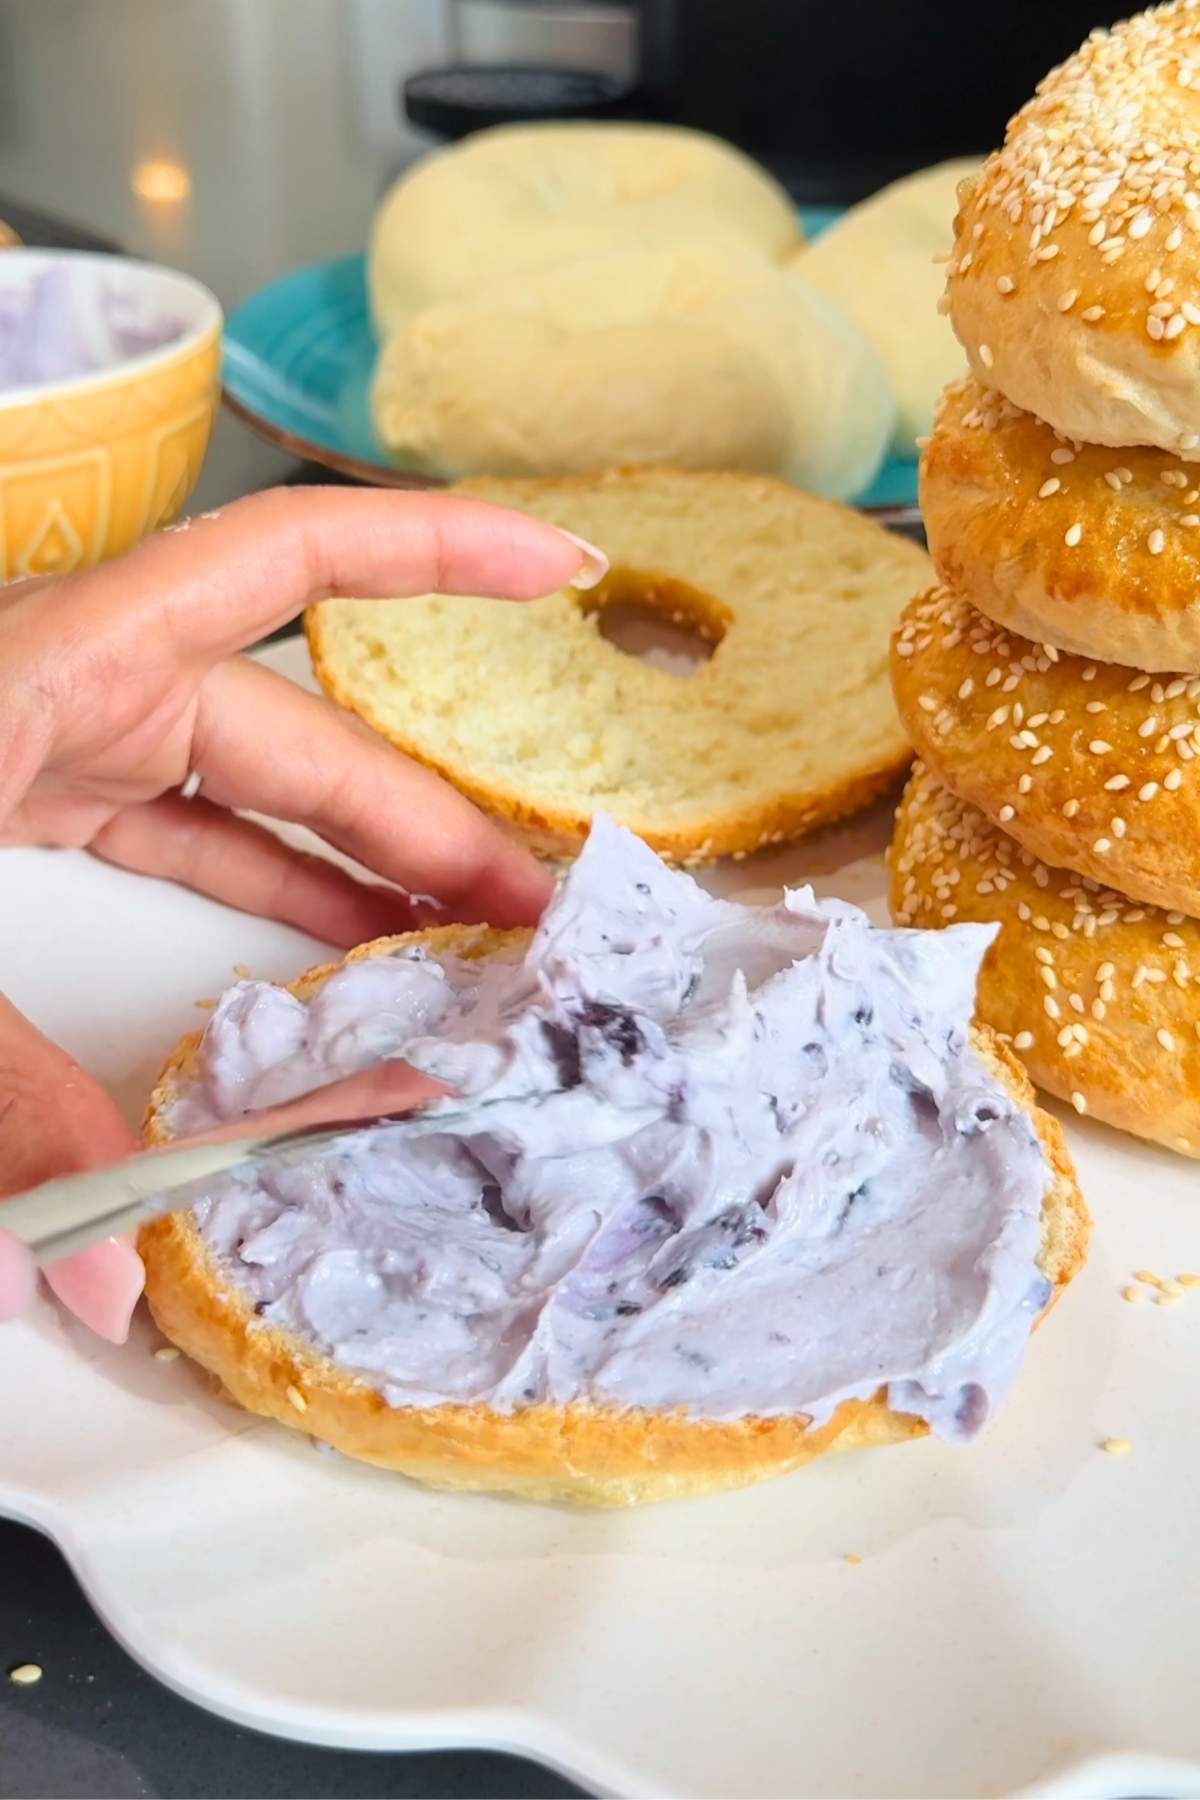
There's no such thing as "too much" cheese. My cream cheese can add rich, creamy, oozin' goodness to so many dishes, both sweet and savory! Here are my personal faves:


Enjoying This Recipe?
It would mean the world to me if you left a quick review or any questions you have in the comments below!
Recipe Card
Cream Cheese From Scratch
EMAIL THIS RECIPE
Enter your email and I'll send this directly to you.
Plus you'll get new recipes from me every week!
Equipment
Ingredients
- 5 Cups Whole Milk
- 3 tablespoon Vinegar (or fresh lemon juice)
- Salt (to taste)
Instructions
- Add whole milk to a pot and heat until it reaches a slight simmer.
- Add vinegar (or lemon juice) and mix until you see the milk start to curdle.
- Turn off the heat and let the mixture rest for 5 minutes.
- Pour curdled milk through a cheesecloth-covered mesh strainer to separate the whey from the cheese. Let it sit for 10 minutes.
- Add the cheese and salt to a blender or food processor. Blend until creamy and smooth.
- Mix in desired flavorings. Allow to cool in the fridge completely before serving.
Notes
- Do not let the milk boil: You want the temperature of a warm bath. If the milk boils, it'll turn grainy.
- Do not use ultra-pasteurized milk: Ultra-pasteurized milk doesn't curdle properly. Use non-UHT, fresh whole milk for the best results.
Nutrition
Want To Save This Recipe?
Share your email & we'll send it over! PLUS, you'll get new recipes from us weekly

I honestly didn’t expect homemade cream cheese to be this easy! The texture turned out really creamy, and I love that it only takes a few simple ingredients. Definitely worth making instead of buying it at the store.
So happy to hear that!! Enjoy (:
Hi Minoo, just found your wonderful site.
With regard to the Cream Cheese, will that work with UHT Lactose-free milk?
If not, what about ordinary lactose-free milk, from the fridge,
My daughter reckons it won't work, I do.
Thanks, Carol.
Hi Carol!! Welcome to MinooMakesStuff (: So here's the thing! It should work but I will say you won't get the same texture as cream cheese with regular milk, though it will still be great.