
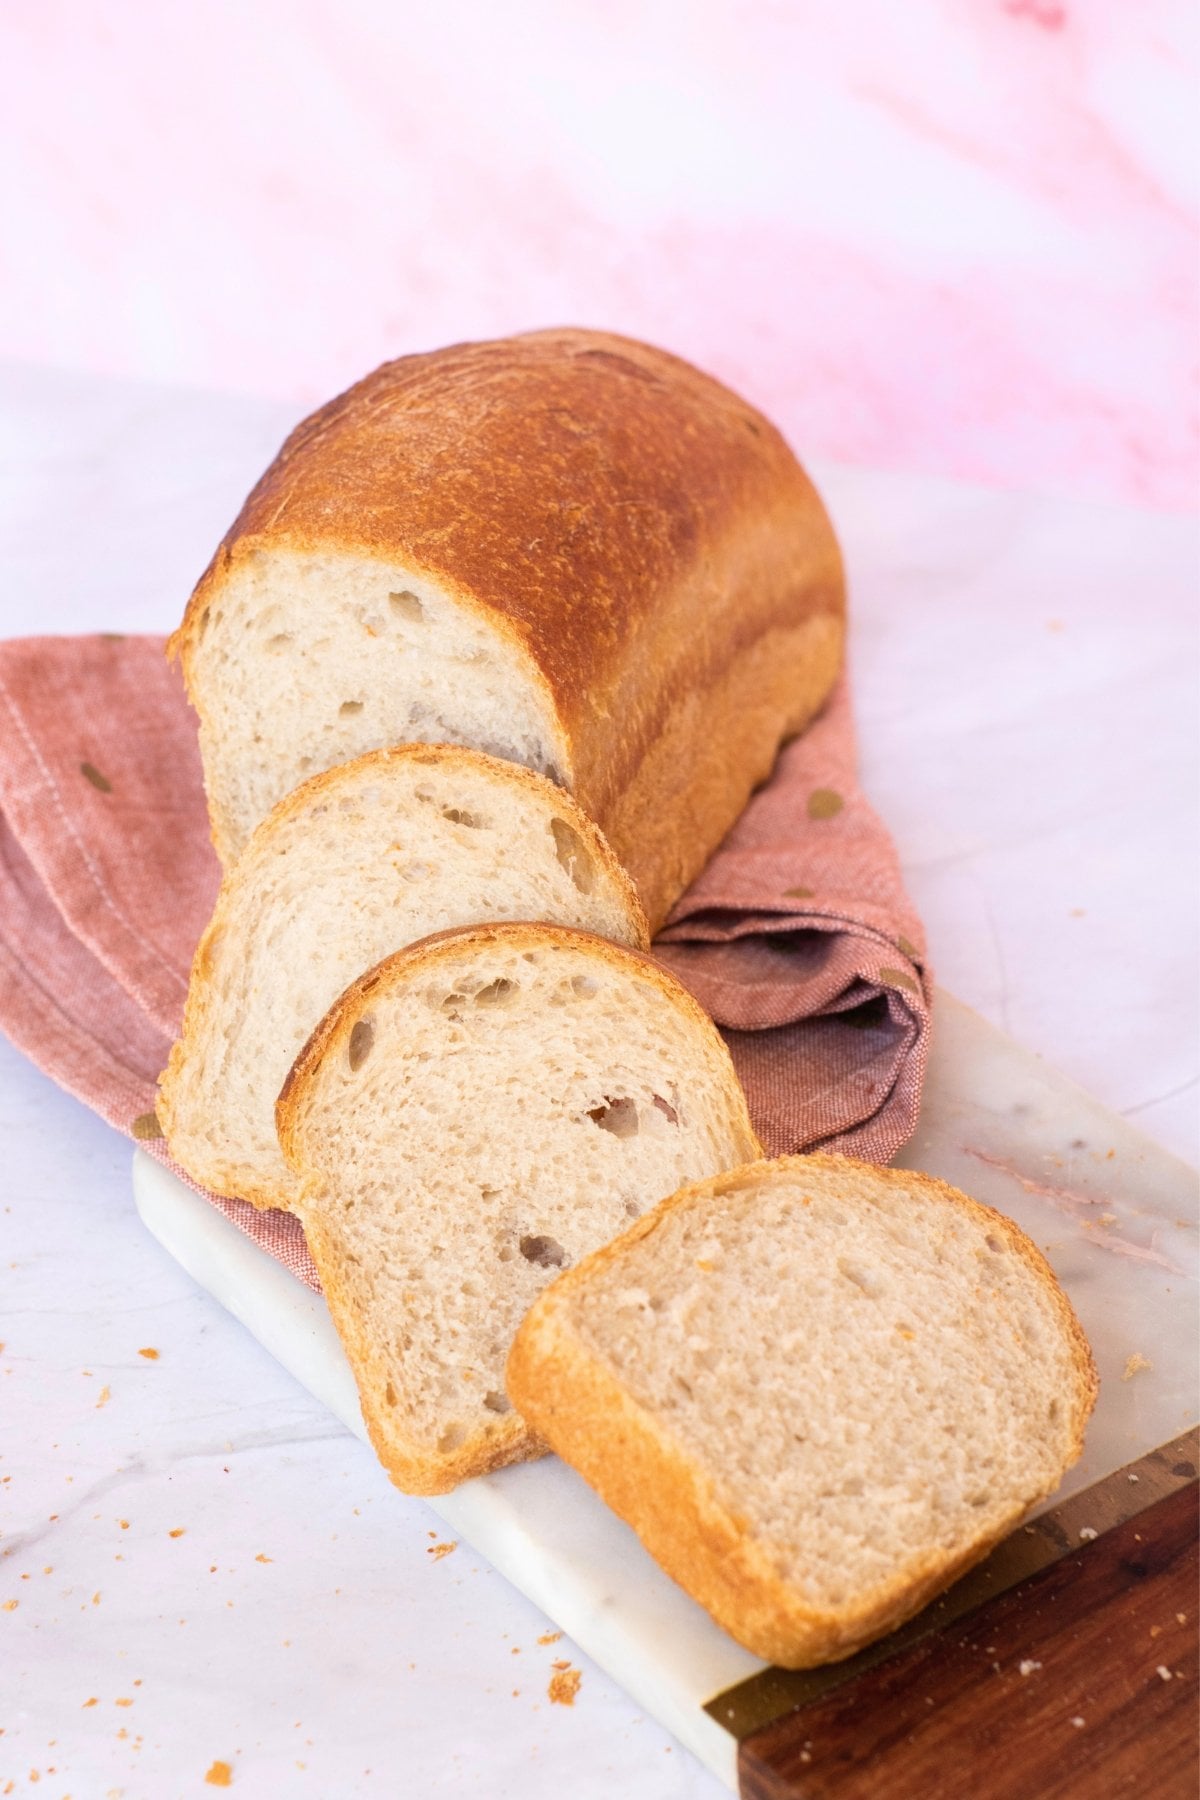
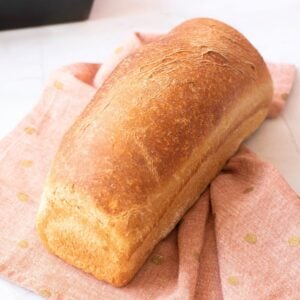
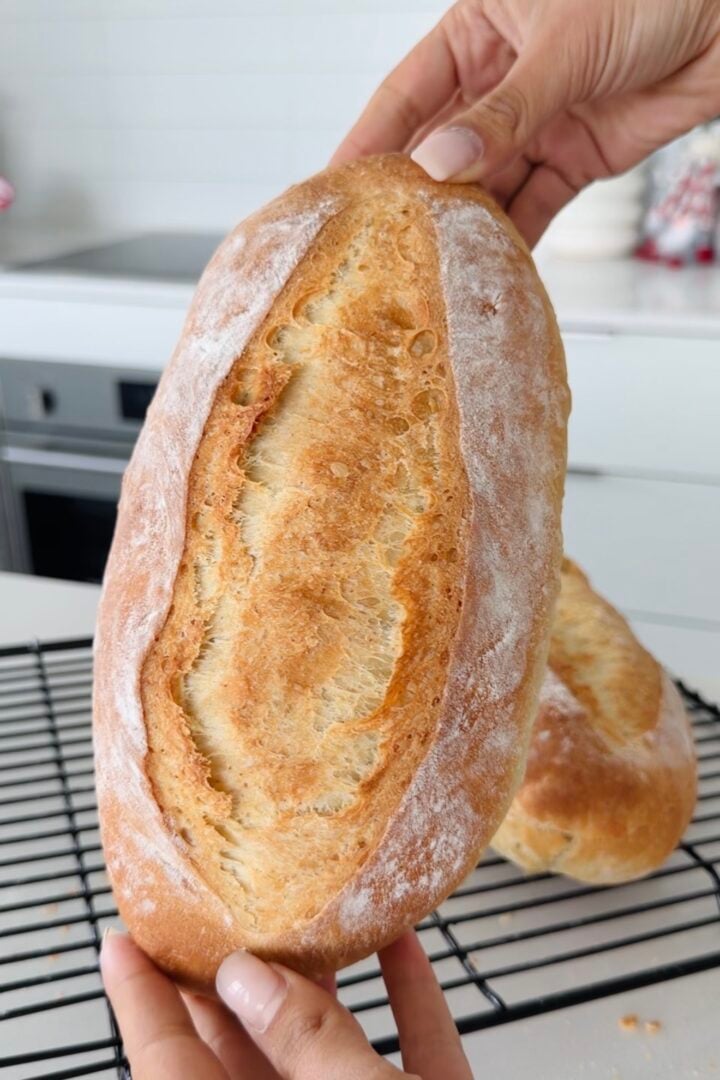
My no knead sandwich bread recipe or "peasant bread" costs under a dollar to make, is naturally vegan, and takes just 20 minutes of easy prep. You'll get irresistibly soft, chewy, and light bread that you can have ready before lunchtime. Throw in your lunch box to make your coworkers jealous, top with my quick homemade butter, or serve it as a side to soak up my broccoli and cheese soup.
Quick Look: No Knead Sandwich Bread Recipe
- Prep Time: 20 Minutes
- Cook Time: 45 Minutes
- Rise Time: 3 Hours
- Total Time: 4 Hours 5 Minutes
- Yield: 1 Loaf
- Difficulty: Beginner
- Dietary Concerns: Vegan, gluten
- Optional Add-Ins: Cheese, Italian herbs, garlic powder, paprika, sesame seeds, chili oil, chocolate chips, cinnamon, raisins
- Why This Works: This sandwich bread recipe costs cents to make, is vegan-friendly, and doesn't require any kneading.
SUMMARIZE & SAVE THIS CONTENT ON
Why We Like This
- Breadmaking that actually keeps in budget: This bread is nicknamed peasant bread because the ingredients are so humble and low cost. It uses water instead of milk, oil instead of butter, and no egg. That's what makes this bread SO unique and worth making! Even if it goes wrong (spoiler: it won't!), you're not wasting a single cent.
- Vegan bread that doesn't feel like a compromise: I'm not a vegan, but I've seen firsthand how difficult my vegan friends have it when baking. Most bread recipes online aren't vegan and need heavy adjustments, and even then, they often turn out dry and dense. My sandwich bread recipe is vegan without any substitutions or amendments. The best part: It actually stays tender without milk and butter. Pair this with hummus and my dehydrated cherry tomatoes for a flavor-packed vegan sandwich.
- No kneading necessary: Kneading can be daunting for even experienced bakers, so for someone who has never touched dough before? It's intimidating. Everyone deserves to experience the joy of making bread from scratch, and that's why I made this recipe. The sandwich bread comes together with a quick mix and a few minutes of easy shaping.
- You know exactly what goes in: Even if you do manage to find a shop-bought bread that works out cheaper, just turn over that packaging and read the ingredients. I guarantee the bread will be overloaded with unnecessary additives (that's how they keep the cost down!). If you're like me and want to put ingredients you actually recognize and understand in your body, this no knead sandwich bread is for you.
Minoo's Pro Tip: Making bread from scratch also means you can customize it exactly to your taste. You can fold in Italian herbs, sesame seeds, or dried pepper powder. You can even swap the oil here for chili oil to give your bread a spicy kick; perfect for dunking into hot honey or my homemade cheese dip.
Ingredients
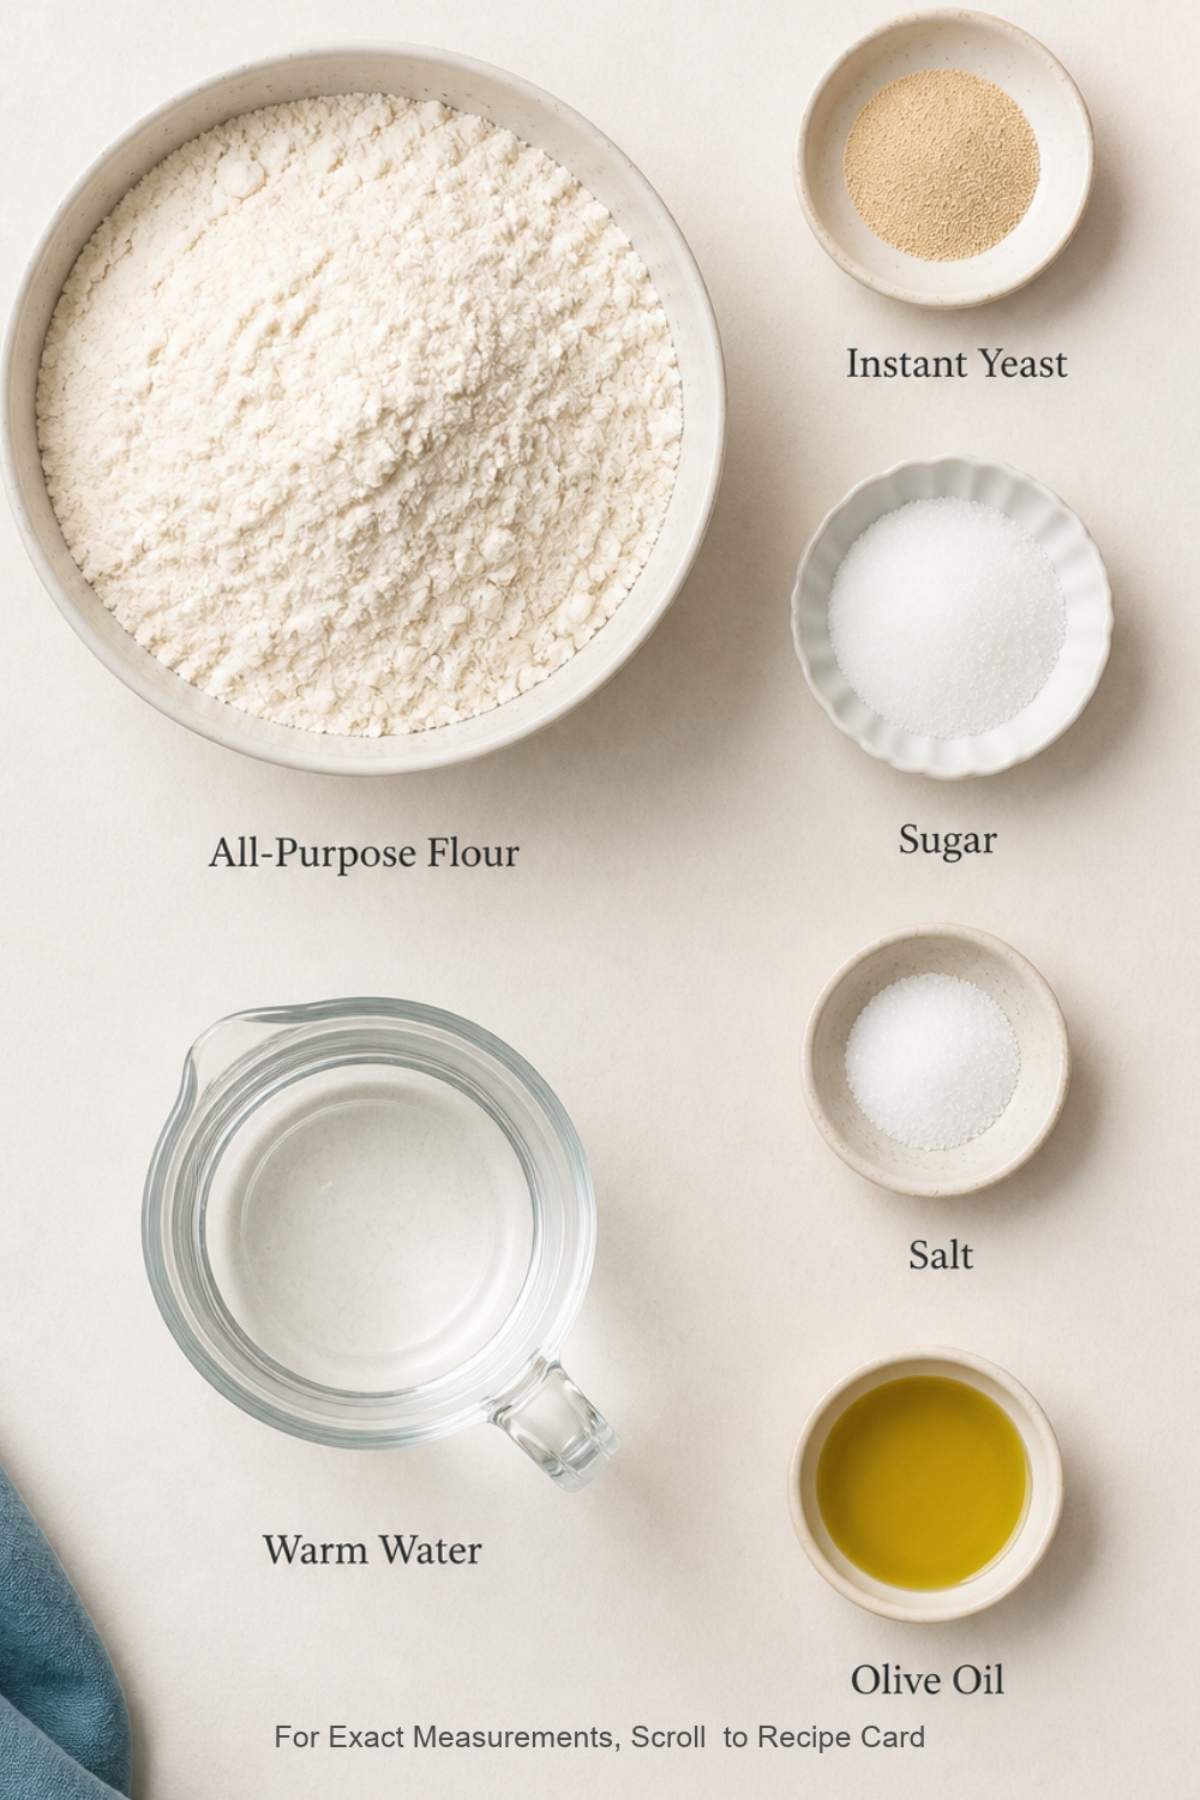
This no knead sandwich bread is called peasant bread for a reason: It only uses affordable pantry staples.
- All-Purpose Flour: You don't need a "premium" bread flour to make a gorgeous sandwich bread loaf. Any all-purpose flour you have on hand works in this recipe. It'll rise beautifully and give you soft yet sturdy slices that will hold "heavier" toppings like homemade American cheese without getting soggy.
- Instant Yeast: Active dry yeast and instant yeast both give you the same result, but if you have to choose one? Stick to instant yeast. Active dry yeast needs to be pre-activated in warm water, while instant yeast is ready from the get-go and can just be thrown straight into your bowl. It's much quicker and easier to use!
Minoo's Pro Tip: You can swap warm water and oil for butter and milk if you have them on hand. They'll give you a bread that bakes up super tender with a creamy flavor; my buttery Wonder Bread copycat recipe is made with these ingredients!
How to Make No Knead Sandwich Bread Recipe
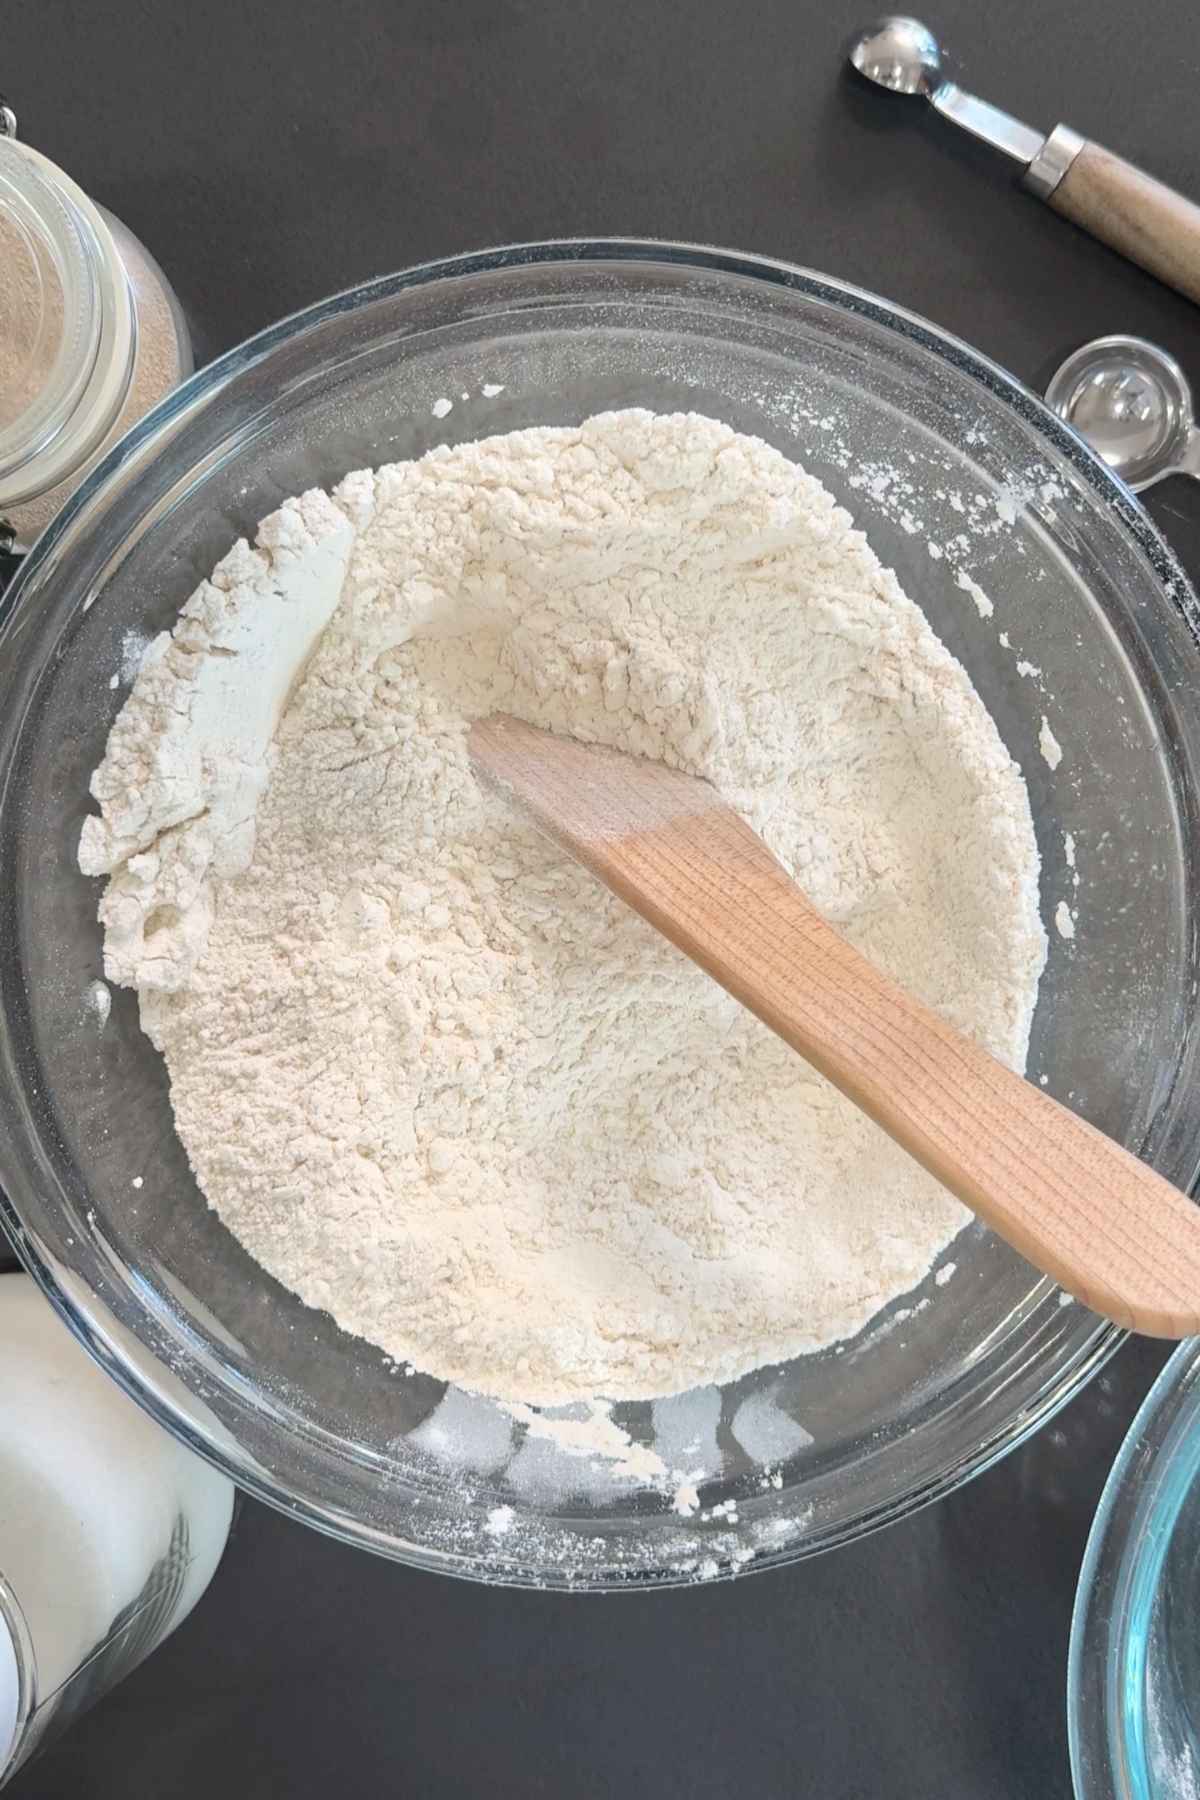
- Step 1: In a large bowl, whisk together 3 cups all-purpose flour, 1½ teaspoon instant yeast, 1½ salt, and 1½ teaspoon sugar until well-combined.
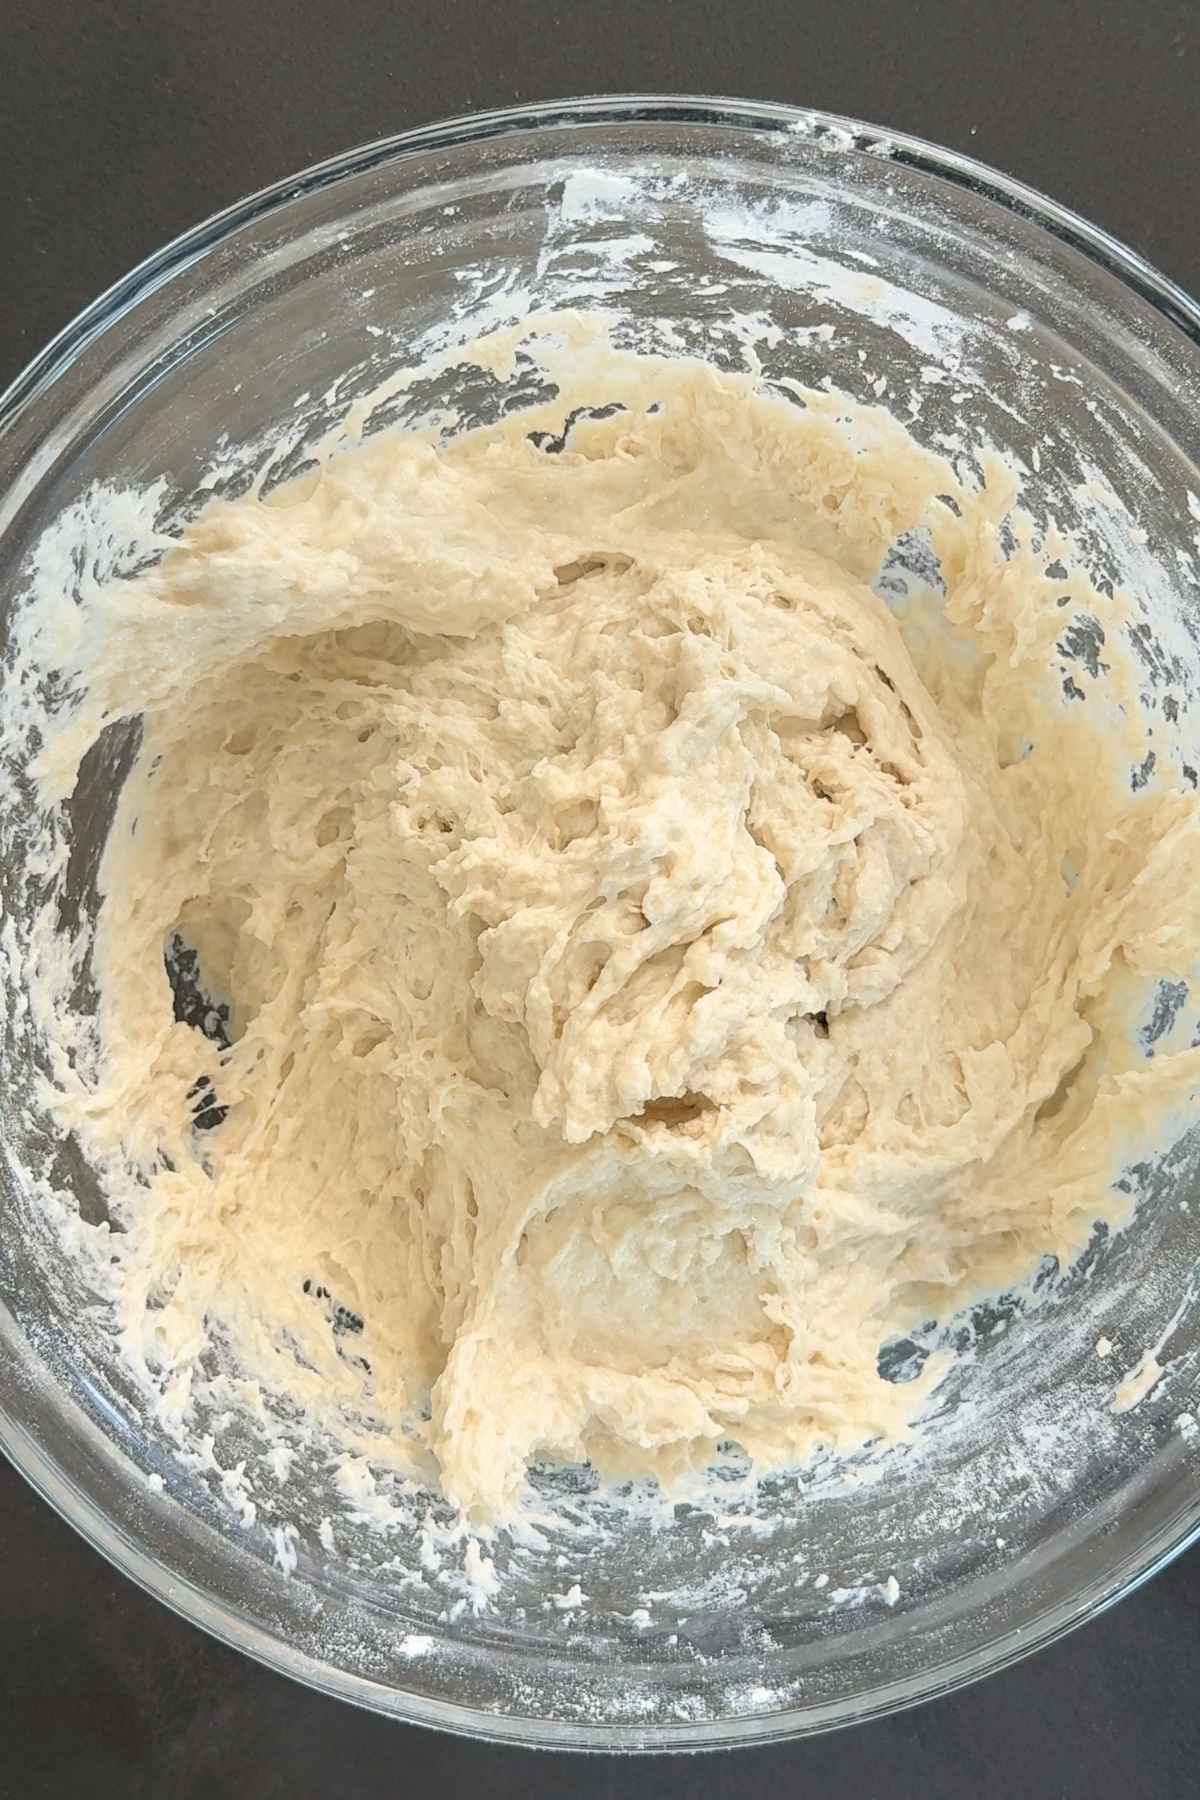
- Step 2: Add 1½ cups warm water (not hot) and mix until a sticky, lumpy dough forms, with no visible dry flour remaining. This is also known as a shaggy dough!
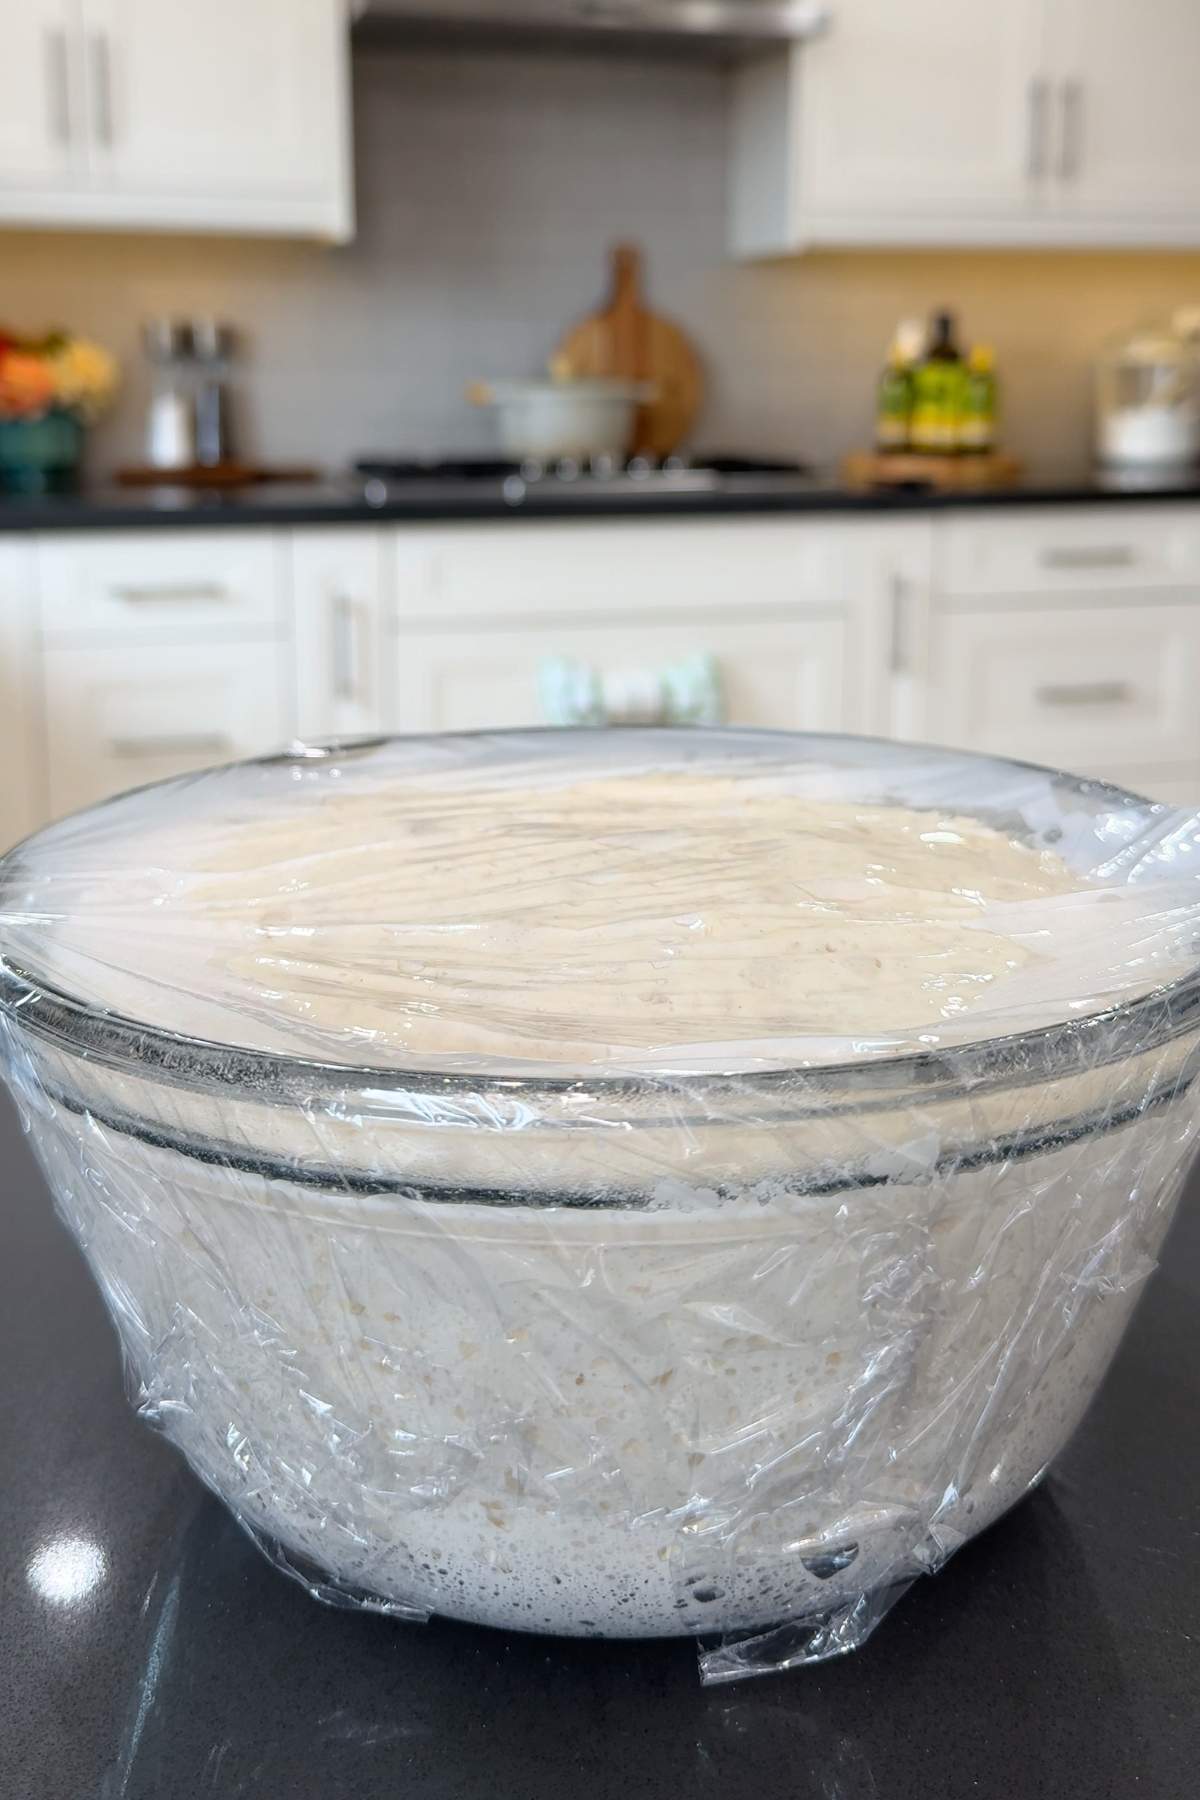
- Step 3: Cover the bowl with plastic wrap and let the dough rise at room temperature for 2 hours, or until doubled in size.
Minoo's Pro Tip: Cold kitchen? Pop the dough in your oven with the light on only and shut the door. This gives your bread the perfect rising spot; warm enough to rise up high, but not too hot that it rises too fast and you lose that flavor.
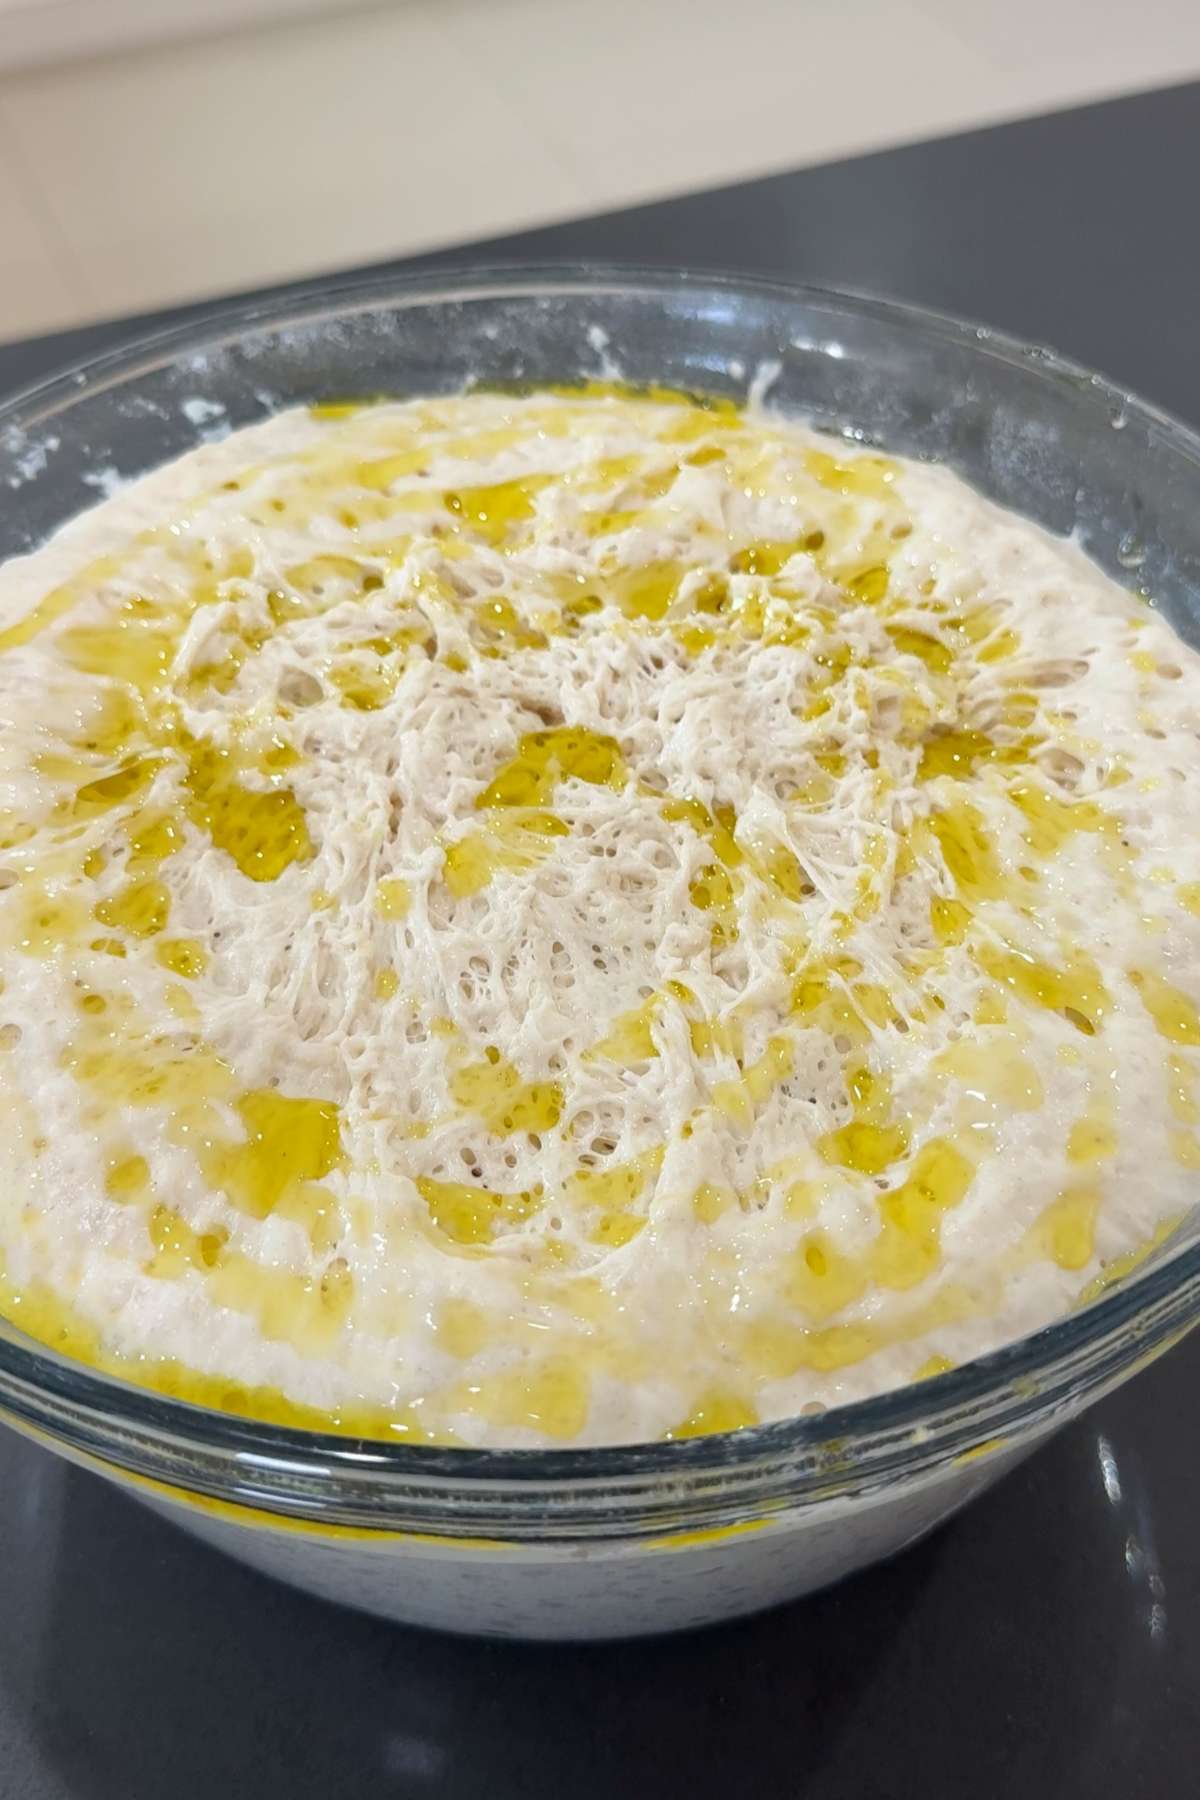
- Step 4: Once risen, gently pull the edges of the dough toward the center to form a loose ball. Drizzle olive oil over the dough and turn it so that all sides are coated evenly.
Minoo's Pro Tip: Don't add more flour if your dough is sticky. That's exactly how it's supposed to be: this sticky texture is the secret behind a light, moist loaf! If the dough really isn't coming together, then you can add a sprinkle more flour, but only a little at a time.
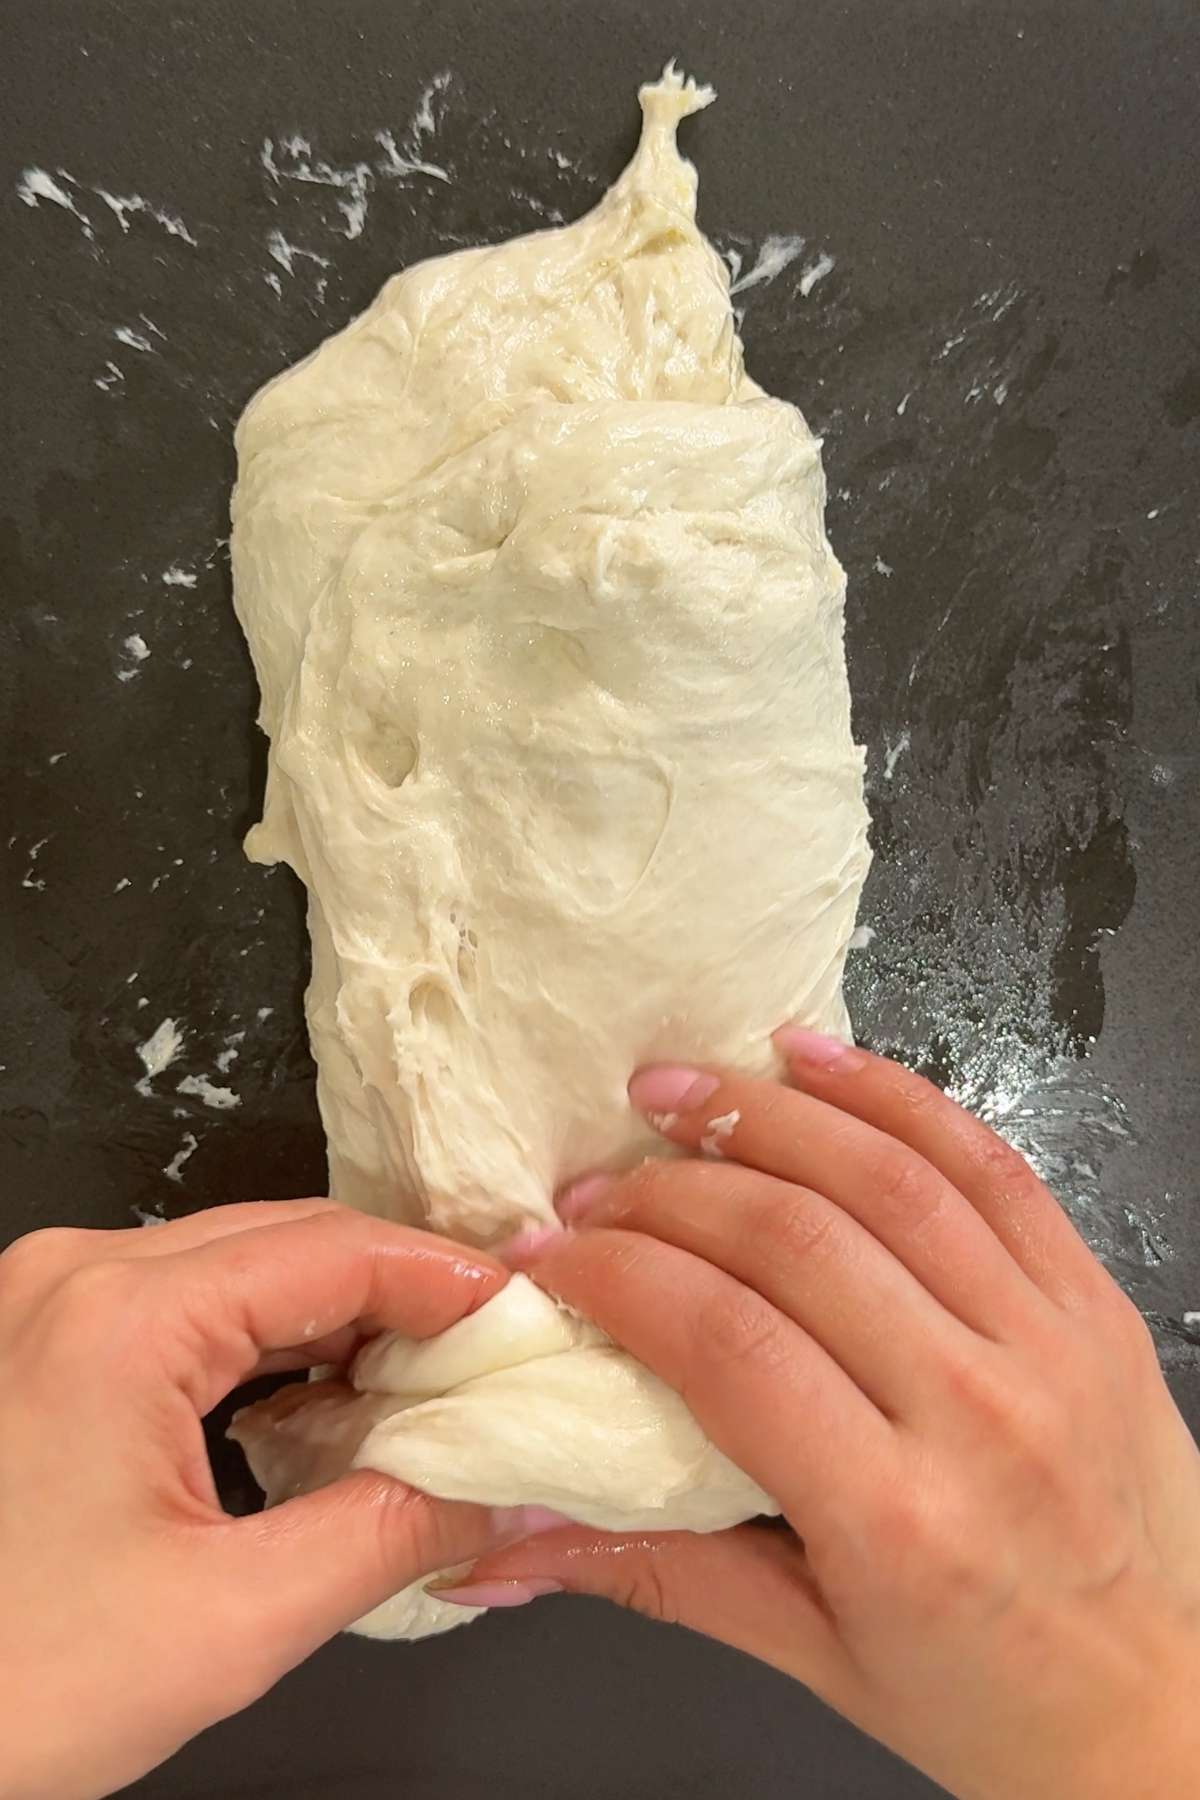
- Step 5: Lightly oil your hands, and then transfer the dough to a clean counter surface. Fold the dough as if you're folding a letter; fold top third down and bottom third up. Then, roll it like a jelly roll into a loaf shape, with the seams at the bottom.
Minoo's Pro Tip: Roll the dough as tightly as you can when shaping it and pinch the seams so they stick together. This will help your dough retain its loaf shape and tight crumb.
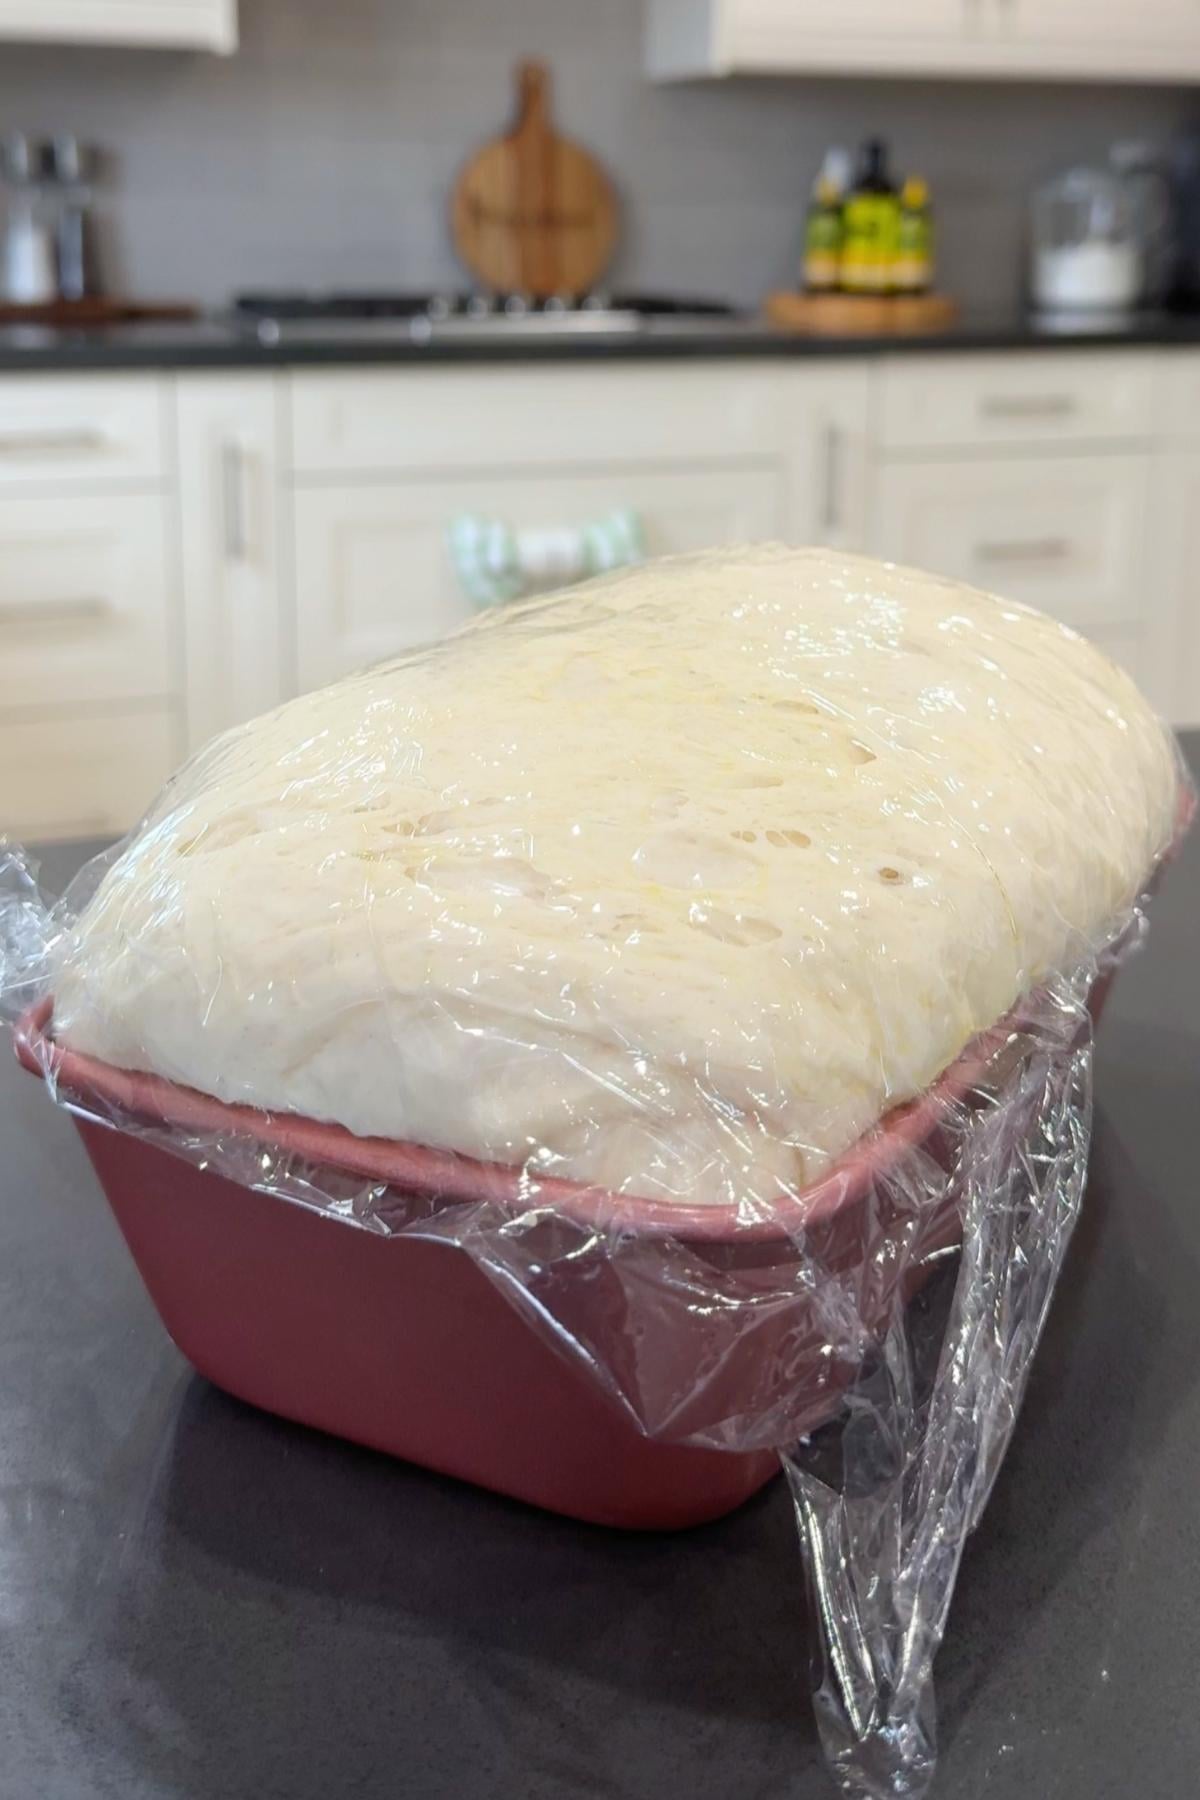
- Step 6: Place the shaped dough seam-side down in a parchment-lined 9x5-inch loaf pan. Cover and let rise again for 1 hour, or until the dough has domed 1 inch above the rim of the pan.
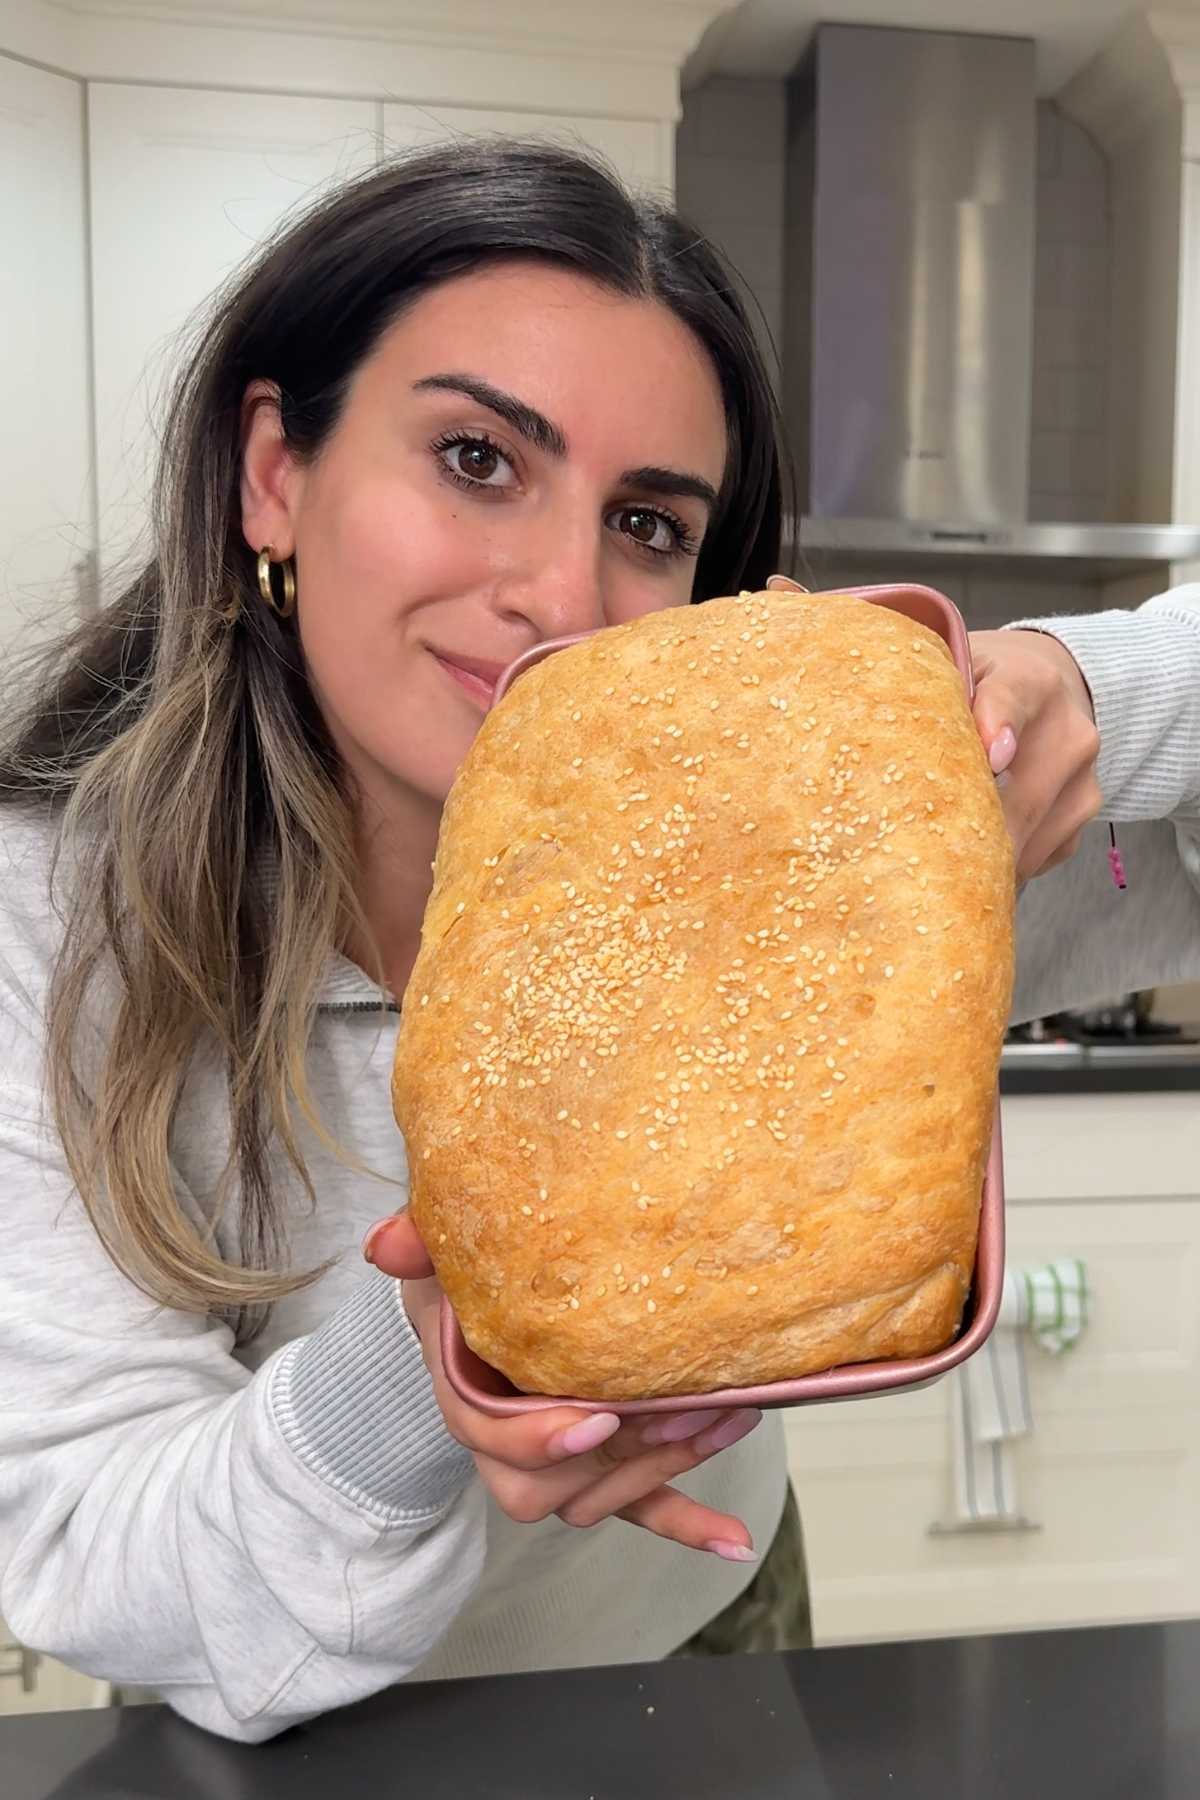
- Step 7: Bake the dough at 375°F (190°C) for 45 minutes, or until golden brown on top. The bottom should sound hollow when tapped.
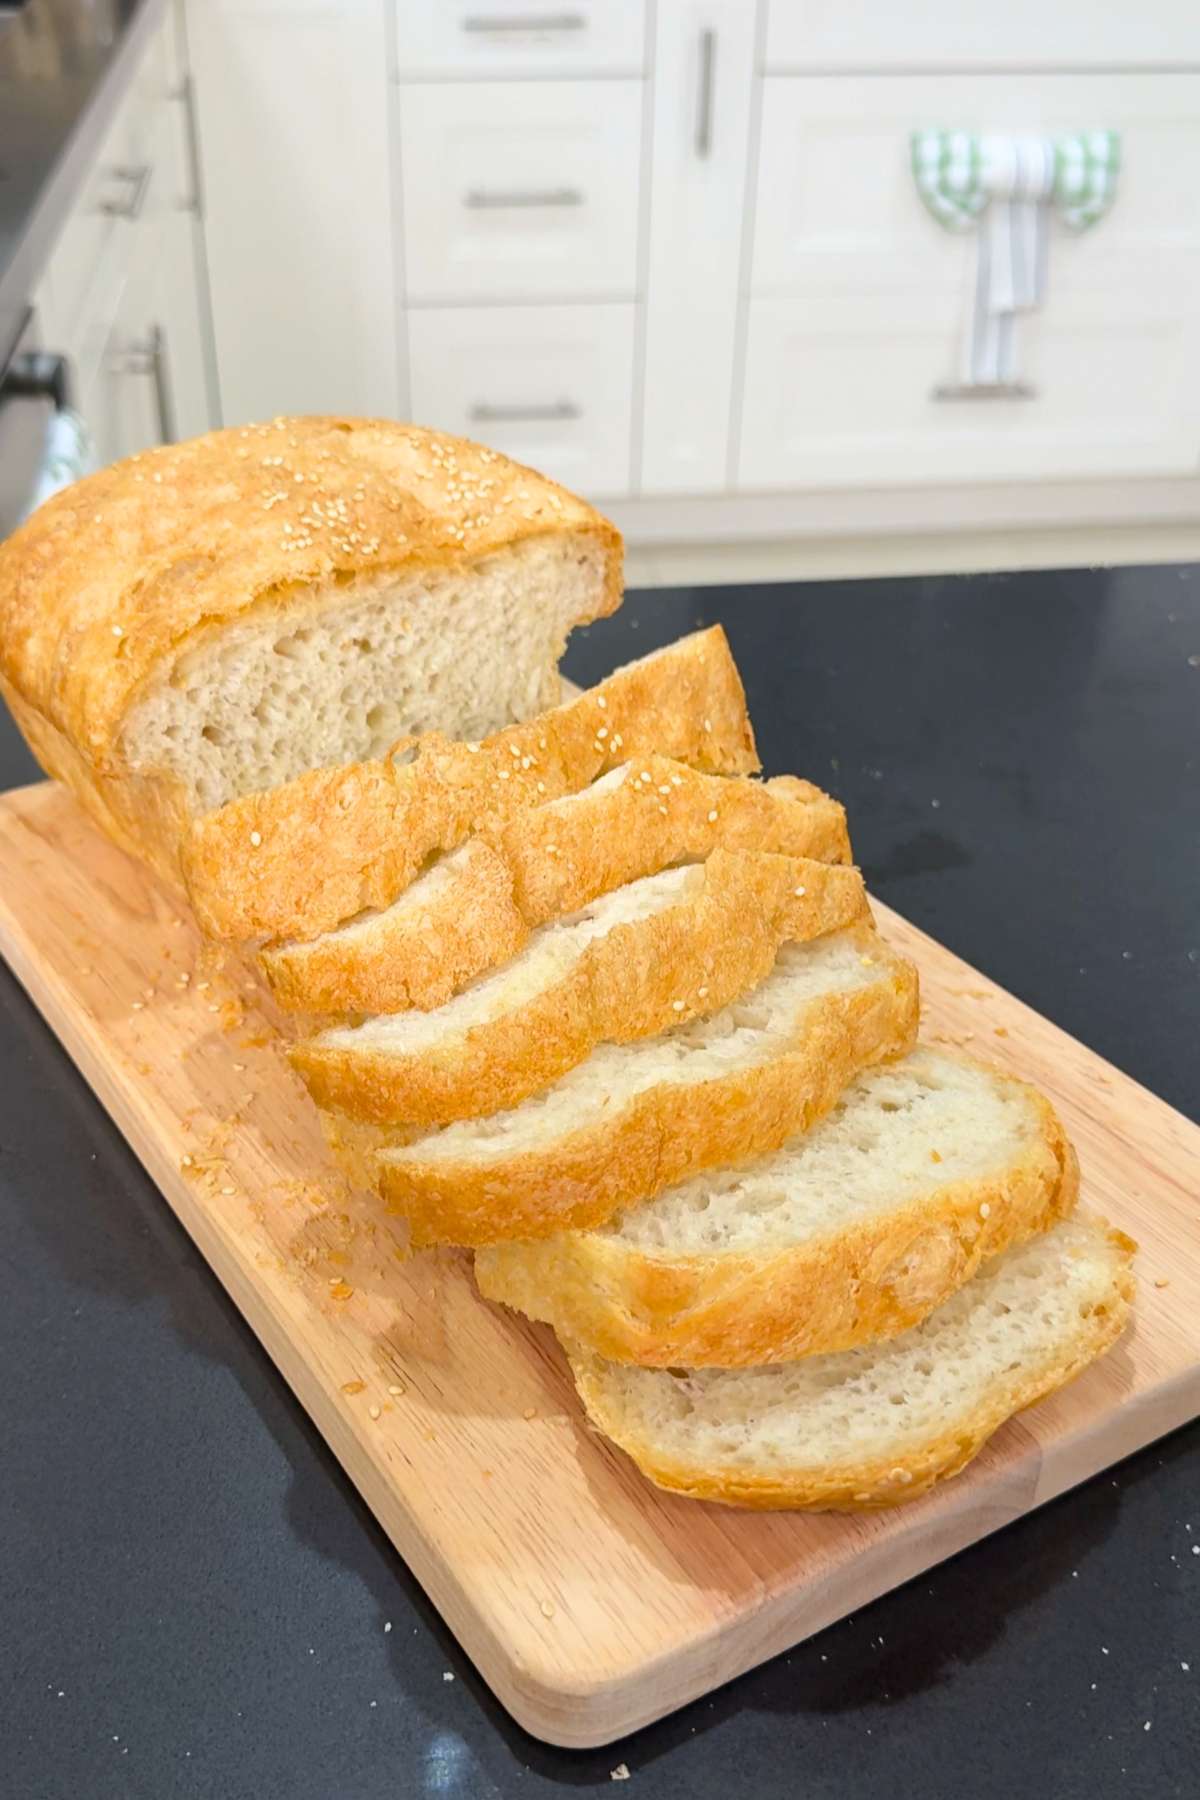
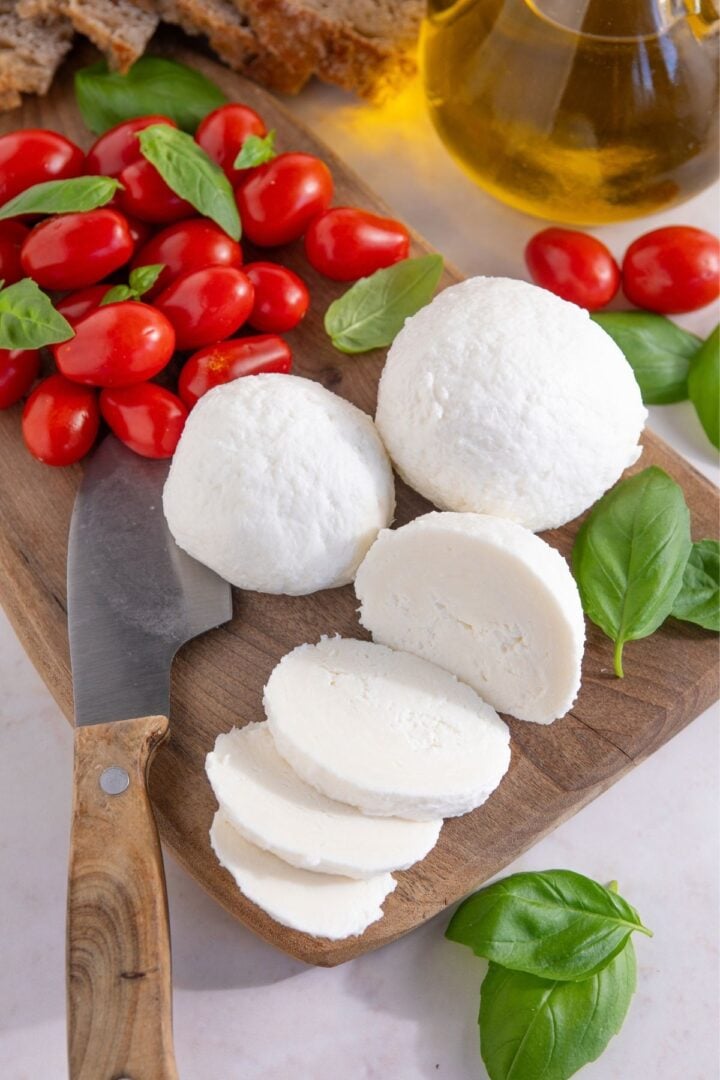
- Step 8: Let the bread cool in the pan for 10 minutes, then cool on a wire rack for at least 20 minutes more before slicing, or until completely cooled. Enjoy with my Nutella homemade recipe, turn into a PB&J, or make a grilled cheese with my yellow cheese slices; whatever your heart (and stomach) craves.
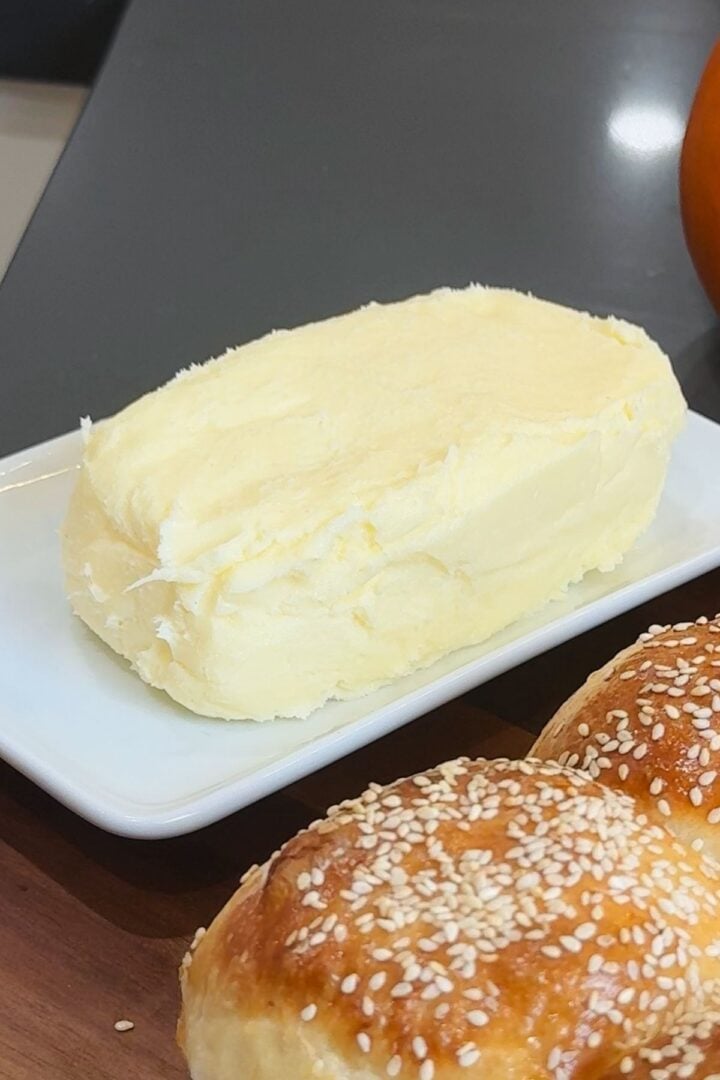
Minoo's Pro Tip: While the loaf cools, brush the top with my homemade salted butter for an extra flavor boost and softer crumb!
Expert Tips
- Cover the bread if it browns too quickly: I've found that the top tends to cook quicker than the center, which can leave you with an overcooked crust. If this happens to your bread, cover the top with foil halfway through baking.
- Always use warm water: If your water is too hot, you'll kill the yeast, but if it's too cold, your yeast will work slowly, and the dough won't come together properly. Water that's warm to the touch, not uncomfortably hot, is the key here. It should read around 110°F on a thermometer. Remember this tip; it applies whenever you're using yeast, including when making my easy focaccia.
- Give the bread enough time to cool: I know your kitchen is smelling like a bakery store right now, but do not give in to temptation! Your bread MUST cool completely before you slice it. The cooling is what gives the bread time to cook through and for the crust to set. Cut while it's hot, and you'll be left with squashed, undercooked slices. I like to keep myself distracted by whipping up something quick to pair with my bread while it cools. My homemade jam recipe works perfectly and can be made in under 20 minutes.
- Add a water bath for a crispier crust: My no-knead sandwich bread has a soft crust. If you prefer a crispier crust, place a pan filled with hot water on the bottom rack of the oven. The steam will crisp up your bread's crust nicely while it bakes! A crisp crust is perfect when you're adding a lighter filling like my soft cheese spread, as it adds more texture and balances it out beautifully.
No Knead Sandwich Bread Recipe FAQs
My no knead sandwich bread will keep fresh for 2 to 3 days. Just slice and store in a bag on your counter. I find the crust can get a little hard as you approach the third day, so what I like to do is splash the bread with water and pop it in the oven for 5 minutes at 350°F. This will help revive your old bread and make it super tender again.
My bread will also freeze well if you need it to last longer; I love bread, but even I struggle to get through a whole loaf within a few days!
Put the leftover bread slices in a freezable bag, ideally with parchment paper between every slice so that they don't stick together once frozen. When you're next craving fresh sandwich bread, just take out a slice and reheat in the toaster.
My sandwich dough is supposed to be wet and sticky, but if it's overly runny and won't come together, you likely didn't add enough flour. This is especially the case if you've thrown in other wet ingredients or substituted all-purpose with a different flour (different flours absorb moisture differently).
Add more flour, a little at a time, until the dough comes together and can be shaped into a ball. Do not overdo it, or your dough will end up dry and dense. Remember: The stickiness is what helps it develop that ultra-fluffy, moist interior.
This confuses A LOT of people, and it's easy to understand why; shop-bought breads often use both terms interchangeably!
Generally speaking, sandwich bread has a soft crust and an even, tight crumb. It slices easily and holds fillings without getting soggy, even if it isn't toasted beforehand. This makes it the perfect base for sandwiches (hence the name!), loaded breakfast toast, egg dippers, and even French toast.
"Regular" bread, like my bakery bread recipe, usually has a crispy crust and an open crumb. The air holes are larger, giving you a softer and airier center than sandwich bread. I find that regular bread provides a more showstopping, rustic feel, so I tend to serve this as an appetizer or as a side dish to my cheesy pasta recipe. I also love to add it in a bread basket alongside speciality breads, such as my homemade kaiser rolls.
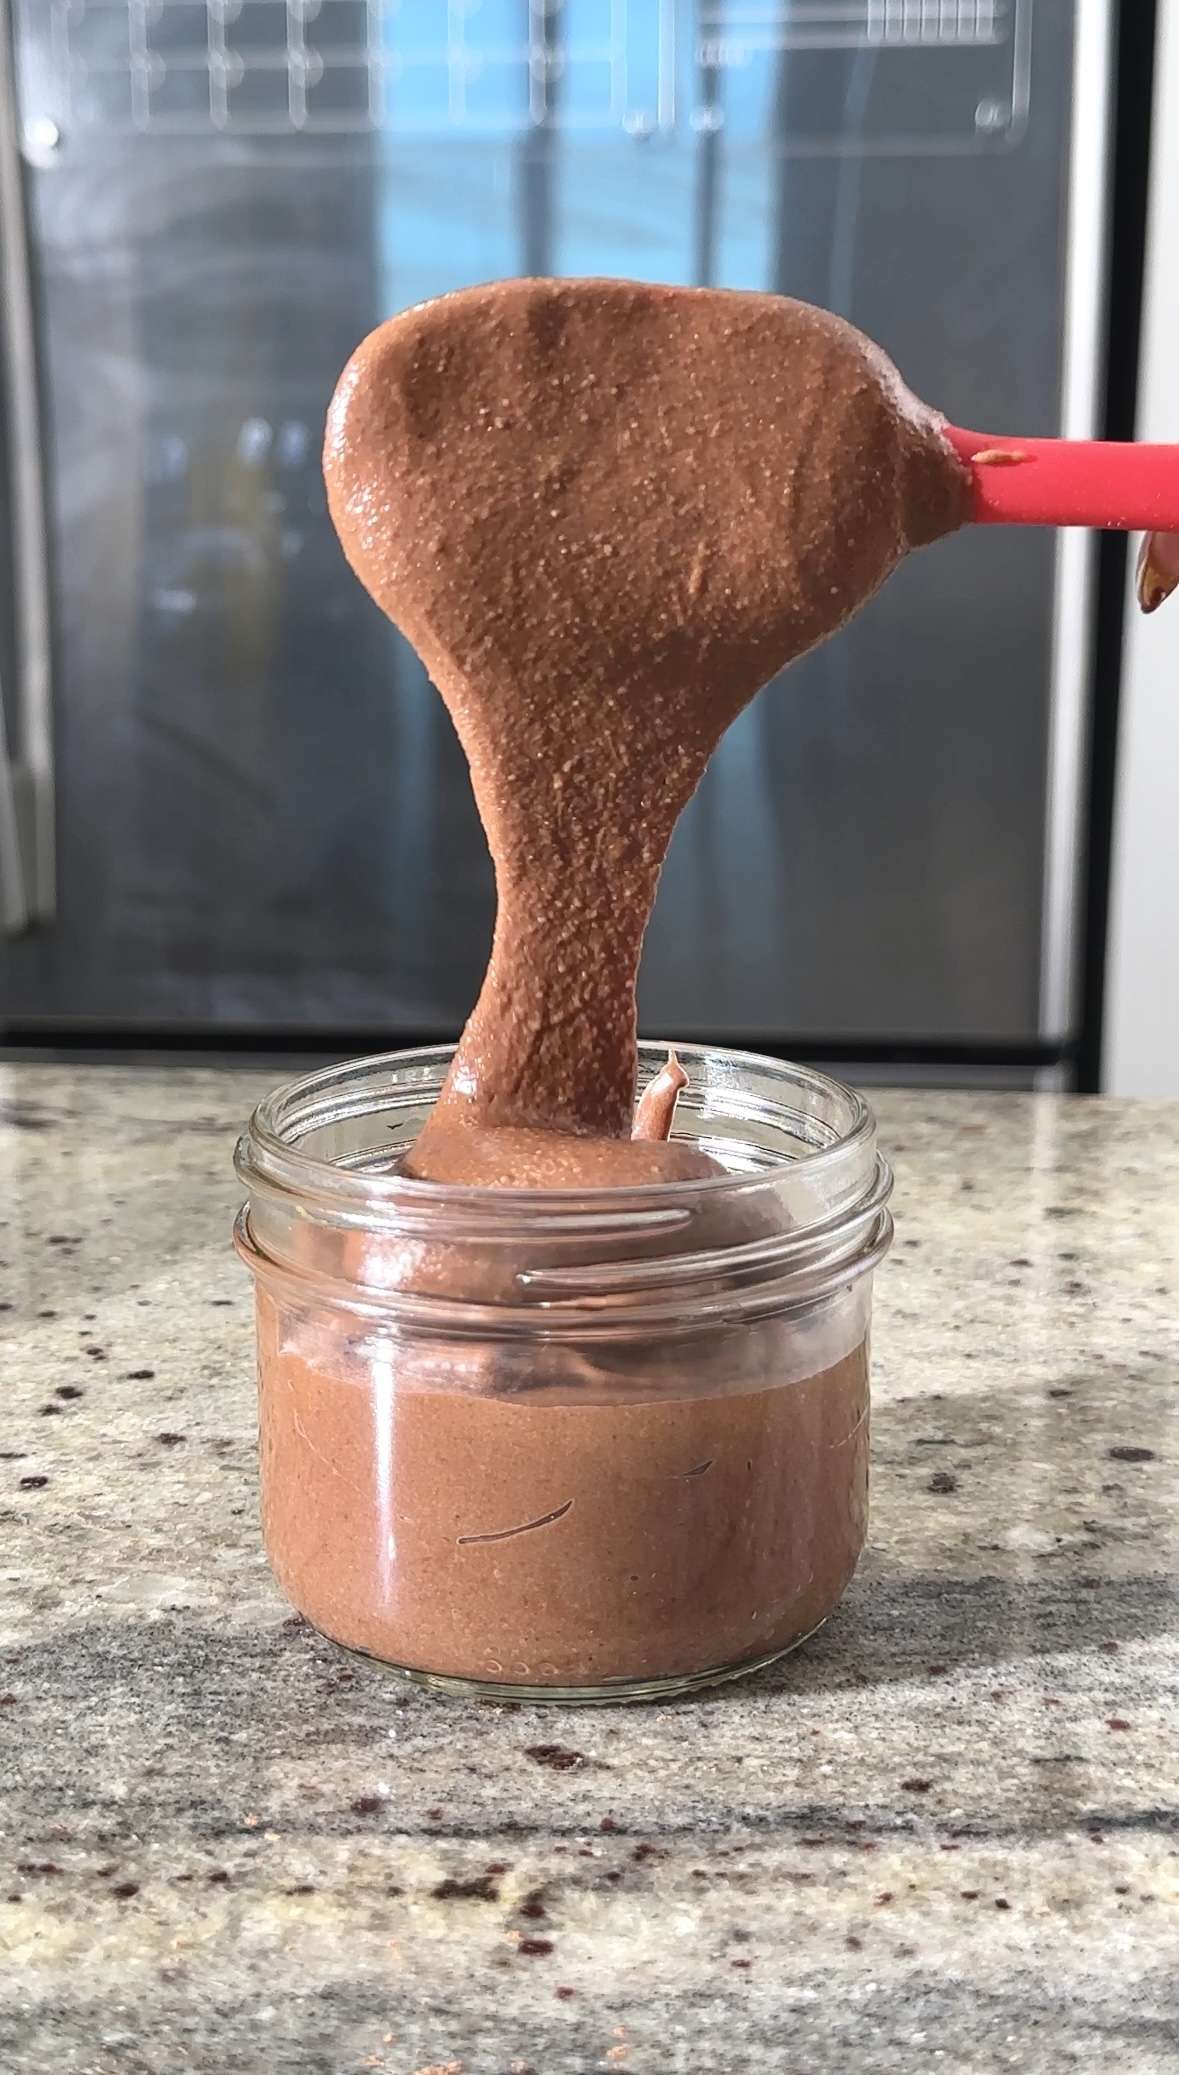
There's no clear answer here. It really depends on what you value the most and your preferences. My go-to is all-purpose flour because it's affordable and something I always have in my pantry. I also find that all-purpose gives you a stronger crumb, making it ideal if you want to load up your sandwiches or slather on heavy (but divine) spreads like homemade hazelnut spread.
Bread flour costs more, but it gives you a chewier, softer flavor that's perfect for soaking up stews, chilis, or soups like my Italian tomato soup. If you do opt for bread flour, make sure to add an extra 2 to 3 tablespoon of water to your dough. Bread flour absorbs more moisture than all-purpose, so if you don't make this adjustment, your sandwich bread will lean dry.
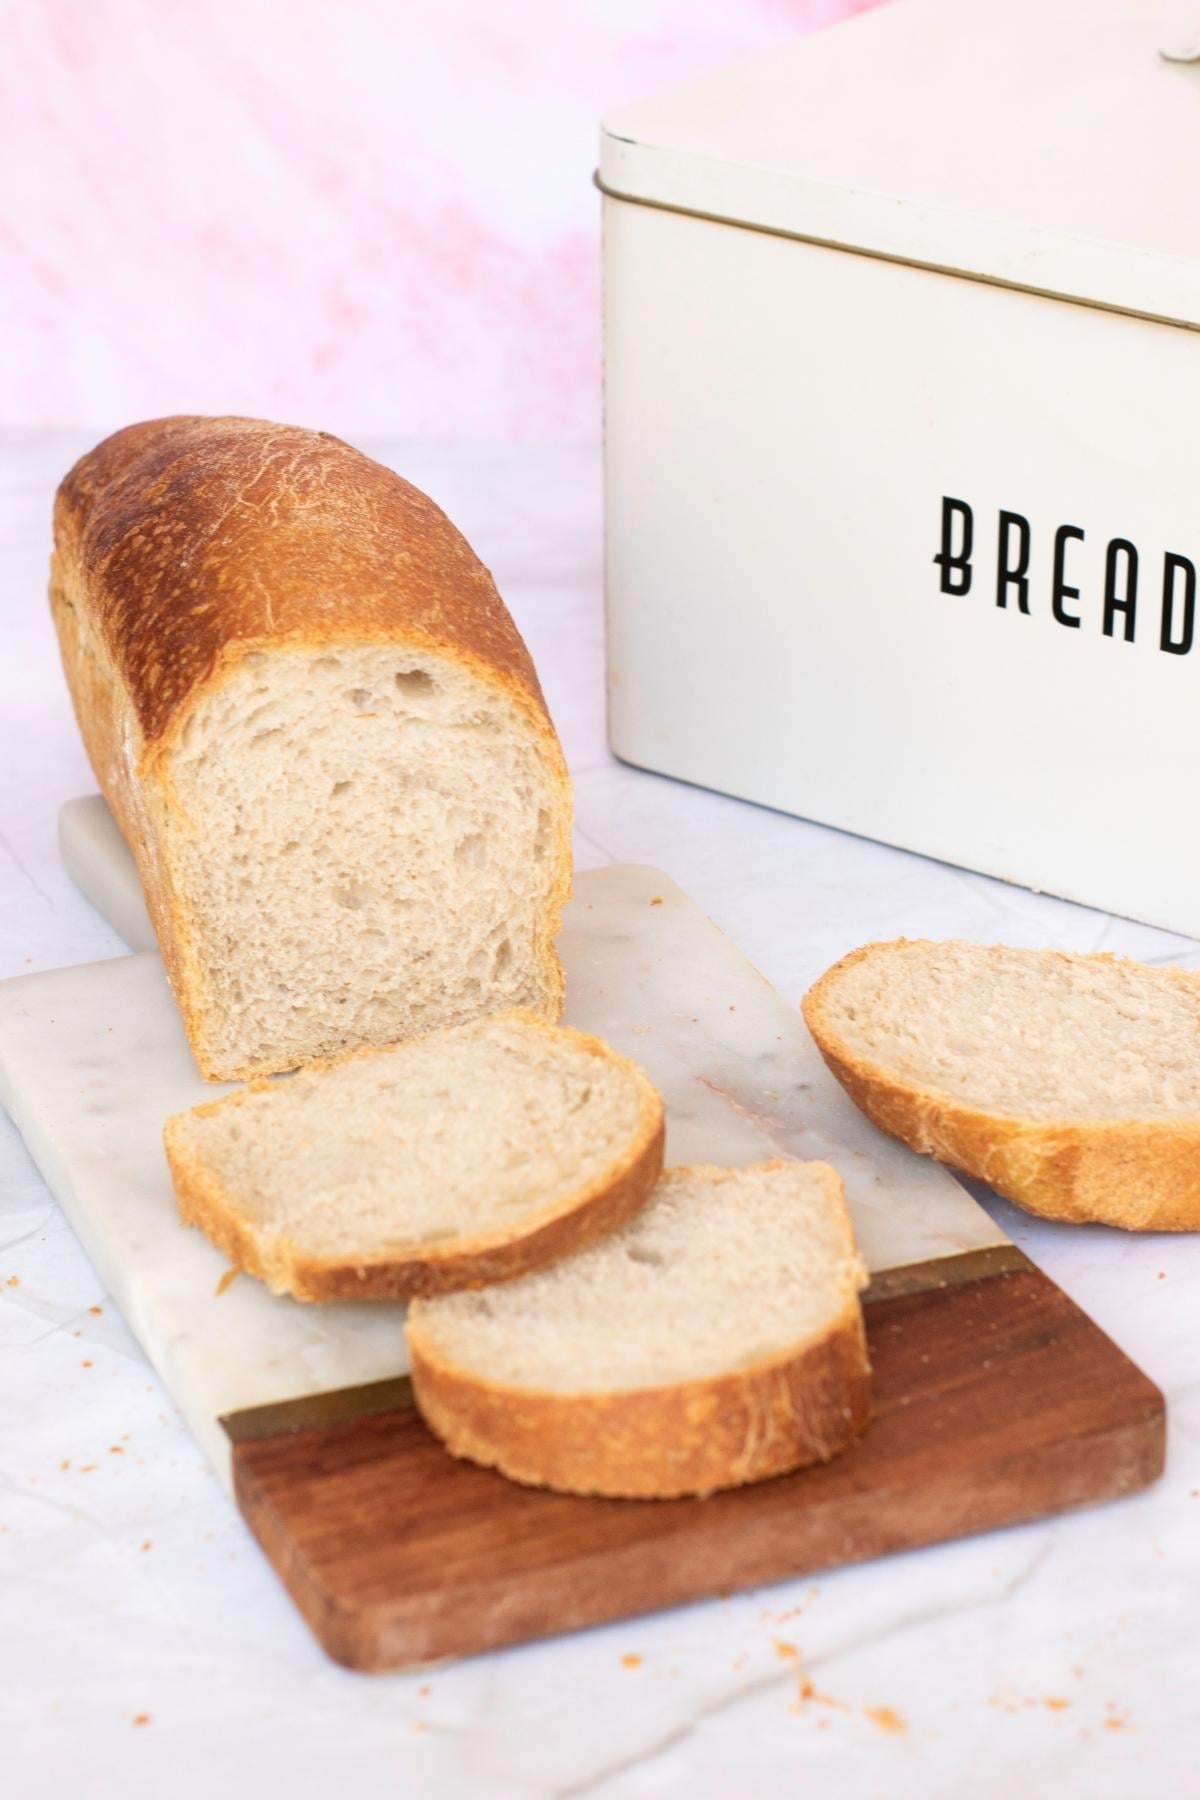
More to Try
My no knead sandwich bread recipe will quickly become a staple in your bread bin. It's so easy to make and can hold practically any filling perfectly! Here's what I always pair my sandwich bread with:

Enjoying This Recipe?
It would mean the world to me if you left a quick review or any questions you have in the comments below!
Recipe Card
No Knead Sandwich Bread Recipe
EMAIL THIS RECIPE
Enter your email and I'll send this directly to you.
Plus you'll get new recipes from me every week!
Ingredients
- 3 Cups All-Purpose Flour
- 1½ teaspoon Instant Yeast
- 1½ teaspoon Sugar
- 1½ teaspoon Salt
- 1½ Cups Warm Water
- 1 tablespoon Olive Oil
Instructions
- In a large bowl, whisk together flour, instant yeast, salt, and sugar until well-combined.
- Add warm water (not hot!) and mix until a sticky dough forms, with no visible dry flour.
- Cover the bowl with plastic wrap and let the dough rise at room temperature for 2 hours, or until doubled in size.
- Once risen, pull the edges of the dough toward the center to form a loose ball. Drizzle olive oil over the dough, turning to coat all sides evenly.
- Lightly oil hands and transfer dough to a clean counter surface. Fold the dough as if you're folding a letter; fold top third down and bottom third up. Then, roll it like a jelly roll into a loaf shape, with the seams at the bottom.
- Place the shaped dough seam-side down in a parchment-lined 9x5-inch loaf pan. Cover and let rise again for 1 hour, or until the dough has domed 1 inch over the rim of the pan.
- Bake the dough at 375°F (190°C) for 45 minutes, or until golden brown on top and the bottom sounds hollow when tapped.
- Cool the bread in pan for 10 minutes, then cool on wire rack for at least 20 minutes before slicing.
Video

Notes
- Avoid adding extra flour: The dough is supposed to feel wet and sticky. If it's really runny and can't be shaped, sprinkle a little flour until it comes together, but don't overdo it.
- Roll the dough tightly: This gives you a firmer, sandwich-like crumb and helps your loaf keep its shape.
Nutrition
Want To Save This Recipe?
Share your email & we'll send it over! PLUS, you'll get new recipes from us weekly

I’ve made this twice so far this week, it’s tasted great. However, both times I can’t get it to rise a 2nd time in the pan. Suggestions?
Hmm, strange! Is your yeast new and do you store it in the fridge? It could be an issue from your yeast or your kitchen may be cold. Try to store it in a warmer place when its rising like in your oven (turned off) with the light turned on.
Can I use Crisco? My grandma made a very simple bread and used crisco from the can? I’m sure that sounds very unhealthy but it was such good bread!
Hi Vicki!! You absolutely can. I won't doubt your grandma, they always know best (:
Do a little background research on Crisco! It will shock you and Turn you away from shortening forever!! Not just bad but horribly bad!!
Have you tried substituting sugar for Honey? If so, what would be the conversion? I would love to try this.
Hi Debb! Yes you can make a 1:1 subsititution here (:
My bread cooked for 45 min. But don’t get golden brown it stayed white but sounds hollow
Hi Bernadette! Your oven may not have been as hot as it was reading. Try baking as a slightly higher temperature!
Can I bake the bread in an Dutch oven?
You absolutely can Luz!
If I use bread flour would the recipe need to be changed at all? I just have so much bread flour….
You can absolutely use bread flour, that will make this recipe even better! I find that sometimes bread flour absorbs water different than all purpose so start with the same amount but if your dough is REALLY runny then add a bit more flour.
Hi there, I love this bread-can I use anything other than plastic wrap to cover the dough? I have been trying to do away with plastic in my kitchen. Thank you so much!
Hi Tara! I'm so happy to hear that (: Absolutely, you can use a damp kitchen towel, that's a common go-to for overing dough. You can also use a shower cap to cover your dough (:
Hi! I'm wondering if you have ever made this using Bobs Red Mill 1 to 1 Gluten free flour? I have celiac & want to try this along with my husband who can make your regular bread. We are so excited to try it. Thanks
Hi Treena! I haven’t personally made this with the Bob’s 1:1 GF flour. Since this is a yeast-based bread, it really depends on gluten development for that soft structure. A gluten-free blend probably won’t give you the same result. But I do have some great non-yeast based recipes that you can easily swap out with gluten free flour like my beer bread or healthy bagels, and I also have some great naturally gluten free recipes like my Brazilian cheese bread (:
Easy! Made a loaf last night. You won’t catch me buying a loaf at the store ????
WOOO that's what I like to hear Pamela!! Enjoy (:
I have made this loaf 5 times now and I can't go back to store bought! Thank you for sharing this super easy recipe????
WOW that is incredible to hear Natasha!! You are so welcome, I'm so happy you loved it (:
Oh ok great thank you for your reply. Appreciate it!! Your welcome. Glad to be part of your channel. Have a great one!!
Hello,
How are you? I am new to your channel. I did make the no knead bread and it was a hit. I do have a question now that I have been baking more often and started getting use to weighing my flour. To keep the consistency how many grams will 3 cups be?
Hi Terra!! Welcome to MinooMakesStuff, I'm so happy you're here (: 3 cups of flour is 360g! Each cup is 120g. Good luck on your baking journey and let me know what other breads you create!!
I have made this so many times! I love this sandwich bread recipe. Super easy, I've even turned it into cinnamon swirl bread. After first rise, stretch it out into a rectangle and spreading a mixture of 2tbsp butter,1/4 c sugar, 1/4c light brown sugar, and 2 tbsp cinnamon. Roll it up, pinch the edges and put it into the loaf pan for the second rise. makes amazing french toast.
Made your loaf pan bread. The family loves it! Going to try it with cinnamon and raisins.
Hi Joanne!!
I'm so glad your family loved this recipe, it's one of my absolute favourites and probably most used recipes. Cinnamon raisin sounds incredible... I might try that out too!!