
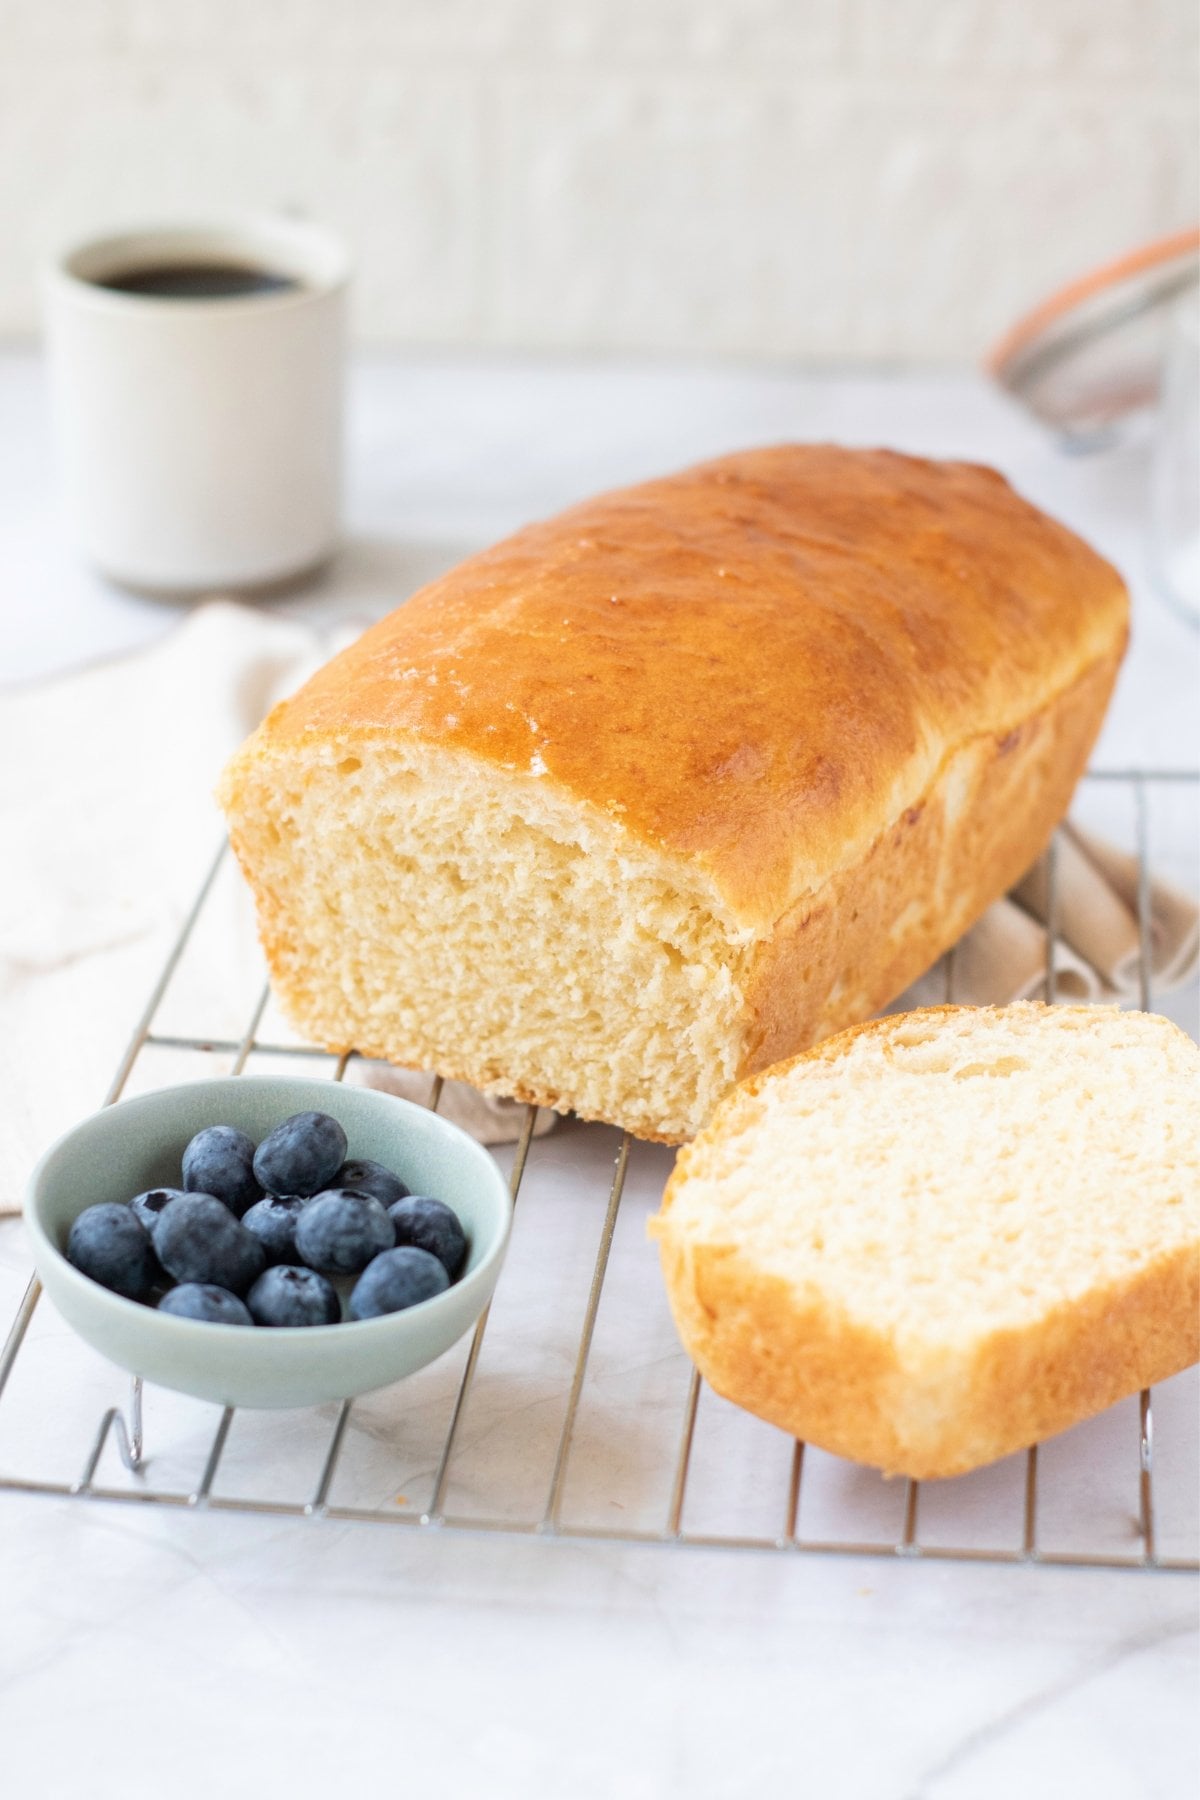
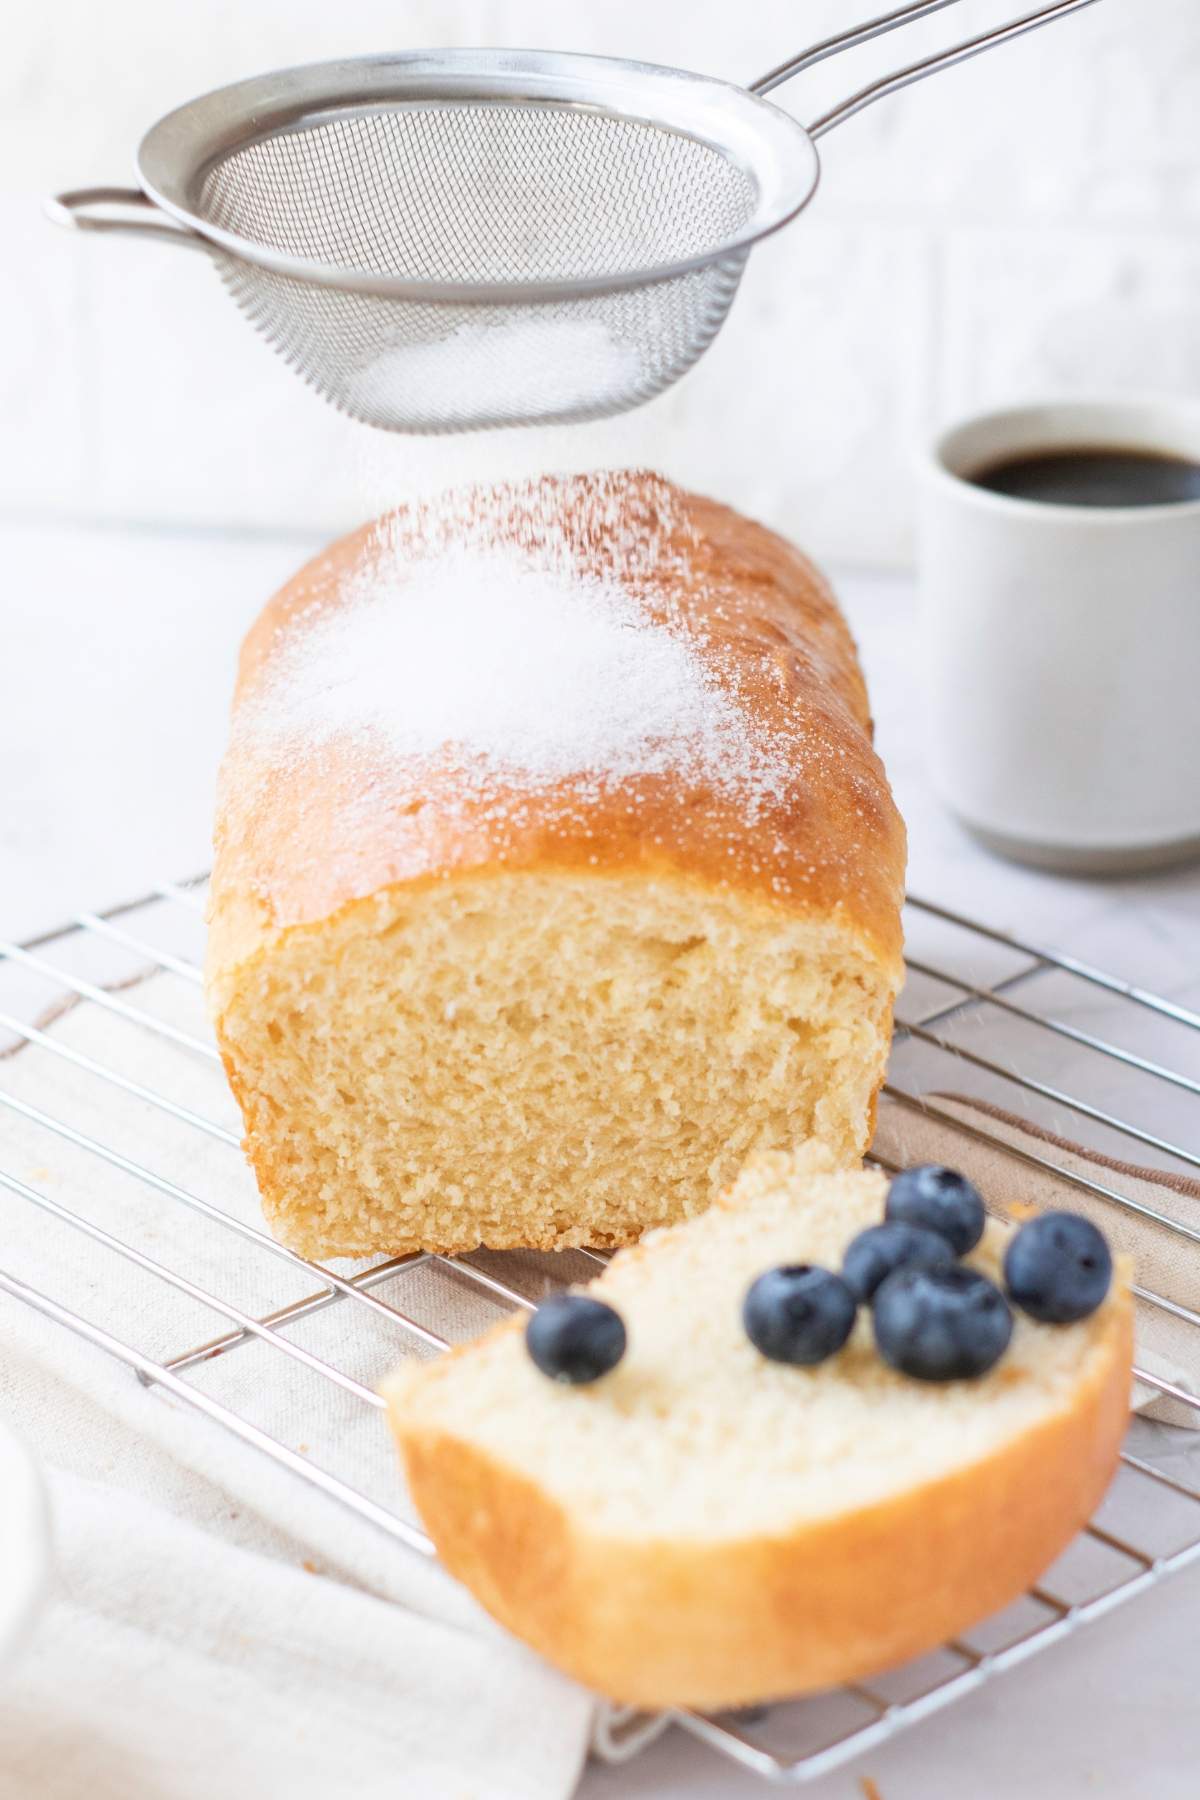
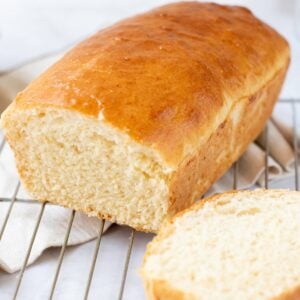
My homemade sandwich bread recipe is ready in under 1 hour, made with 5 pantry staples, and requires no long rising like traditional sandwich bread. It's a shortcut, but you'll get the same golden crust and soft, airy center you see in bakery store bread. Enjoy with my easy homemade butter recipe, load with chocolate nut spread, or fill with deli meat and natural cream cheese for a bold yet comforting lunch.
Quick Look: Homemade Sandwich Bread Recipe
- Prep Time: 25 Minutes
- Cook Time: 35 Minutes
- Total Time: 1 Hour
- Yield: 1 Loaf
- Difficulty: Beginner
- Method: Mix, shape, and bake!
- Optional Add-Ins: Sunflower seeds, sesame seeds, hard cheese, Italian herbs, chili flakes, paprika, garlic powder, chocolate chips, raisins, cinnamon.
- Why This Works: Fresh sandwich bread ready in an hour; perfect for easy breakfasts, kids' lunch boxes, and last-minute dinner plans.
SUMMARIZE & SAVE THIS CONTENT ON
Why We Like This
- Fresh bread with practically zero effort involved: Traditional sandwich bread recipes rely on heavy kneading, fermentation, and long rises. I love homemade bread, but even I find it laborious at times. This sandwich bread recipe is for those who, like me, sometimes just want the joy of bread making without the elbow grease!
- Ready in under 1 hour: My homemade sandwich bread is ready from bowl to plate in an hour. It's quicker than a grocery run, and since it also relies on pantry staples, you don't need to plan well in advance before you make this. If I forget to buy bread and need something quick in a pinch? This is the recipe I go to.
- Your guests will never tell the difference: I used to assume that skipping a long rise or butter would leave you with a dense, dry bread… But this recipe proved me wrong. It's just as tender and soft with a perfect golden crust, and it holds up well without getting soggy, whether you slather on thick cream cheese or my easy strawberry jam. My guests have never been able to tell the difference between this and an 8+ hour risen loaf!
- It's actually cheaper than shop-bought bread: I've come across many bread recipes that claim to be cheaper than shop-bought bread… But by the time you add all the extra ingredients to your shopping list? I've found that they always end up more expensive. My sandwich bread recipe truly works out cheaper than a standard loaf; you don't even need milk or butter. The ingredients you need here are also things you'll be using every day anyway (like oil and salt).
Minoo's Pro Tip: This may be a basic sandwich bread, but don't limit your creativity. You can fold in Italian herbs, garlic powder, chili flakes, or sunflower seeds. You can also make something sweet with cinnamon and chocolate chips. I've even made a "rocky road-style" toast; spread on cocoa spread and layer crumbled homemade Oreo cookies and melting marshmallows on top!
Ingredients
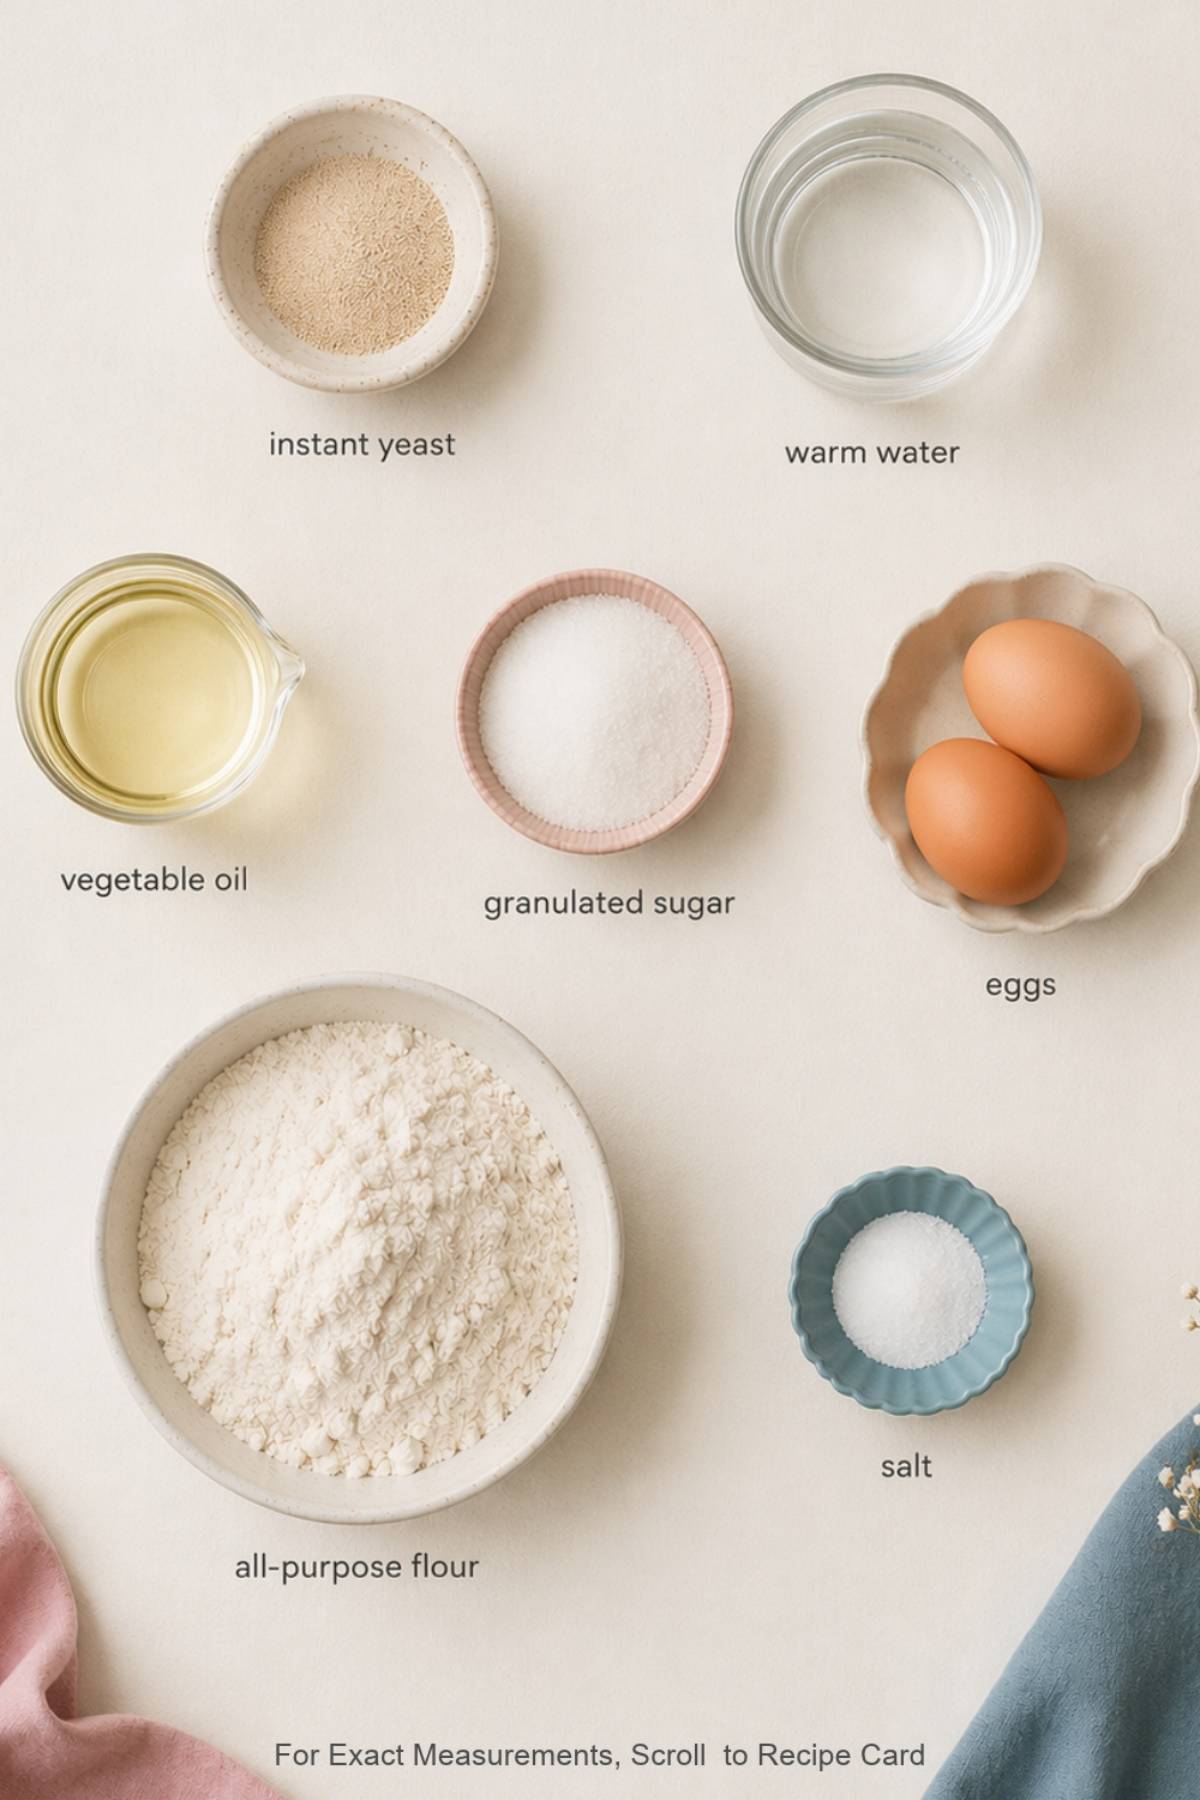
Every single ingredient is a pantry staple, costs literal cents, and can be found in any store.
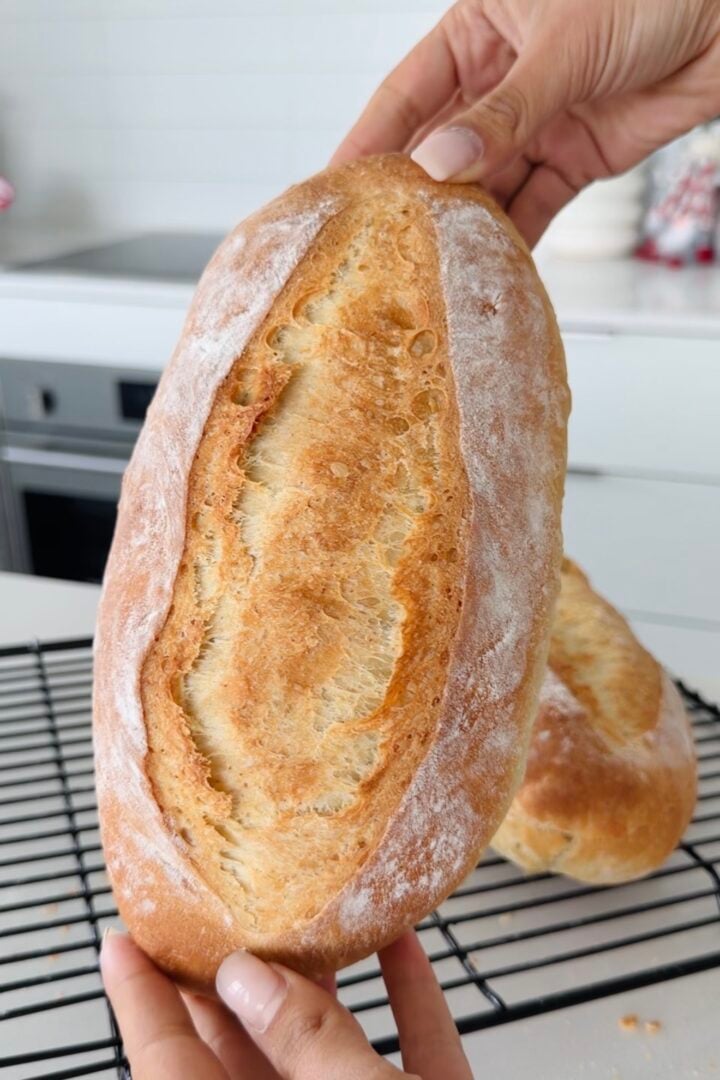
- All-Purpose Flour: This pantry staple is the base for so many of my quick bread recipes, like my Italian panini bread. It's always available, costs cents, and gives you soft, fluffy bread that tastes (and smells) as if it came straight from a bakery. You can substitute with bread flour or whole wheat flour, but you may need to tweak the liquid amount slightly to ensure your dough doesn't turn out too wet or dry.
- Instant Yeast: Instant yeast is my go-to since it doesn't need any prep, but you can use active dry yeast if that's what you have on hand. You will need to bloom it first in warm water to activate it so that your bread rises.
- Vegetable Oil: Oil is what helps keep your bread tender and moist. I use vegetable oil since it has a neutral flavor, but you can substitute with olive oil or butter if you want something a little more peppery; a flavor note that is perfect if you're making an Italian-style sandwich with cream mozzarella cheese, rocket, and dried cherry tomatoes.
Minoo's Pro Tip: This recipe is naturally dairy-free since it relies on oil and warm water. However, if you want a really soft and enriched dough, you can substitute these ingredients with my simple homemade butter and full-fat milk in equal amounts. This is what makes my homemade Wonder Bread recipe so ultra fluffy!
How to Make My Homemade Sandwich Bread Recipe
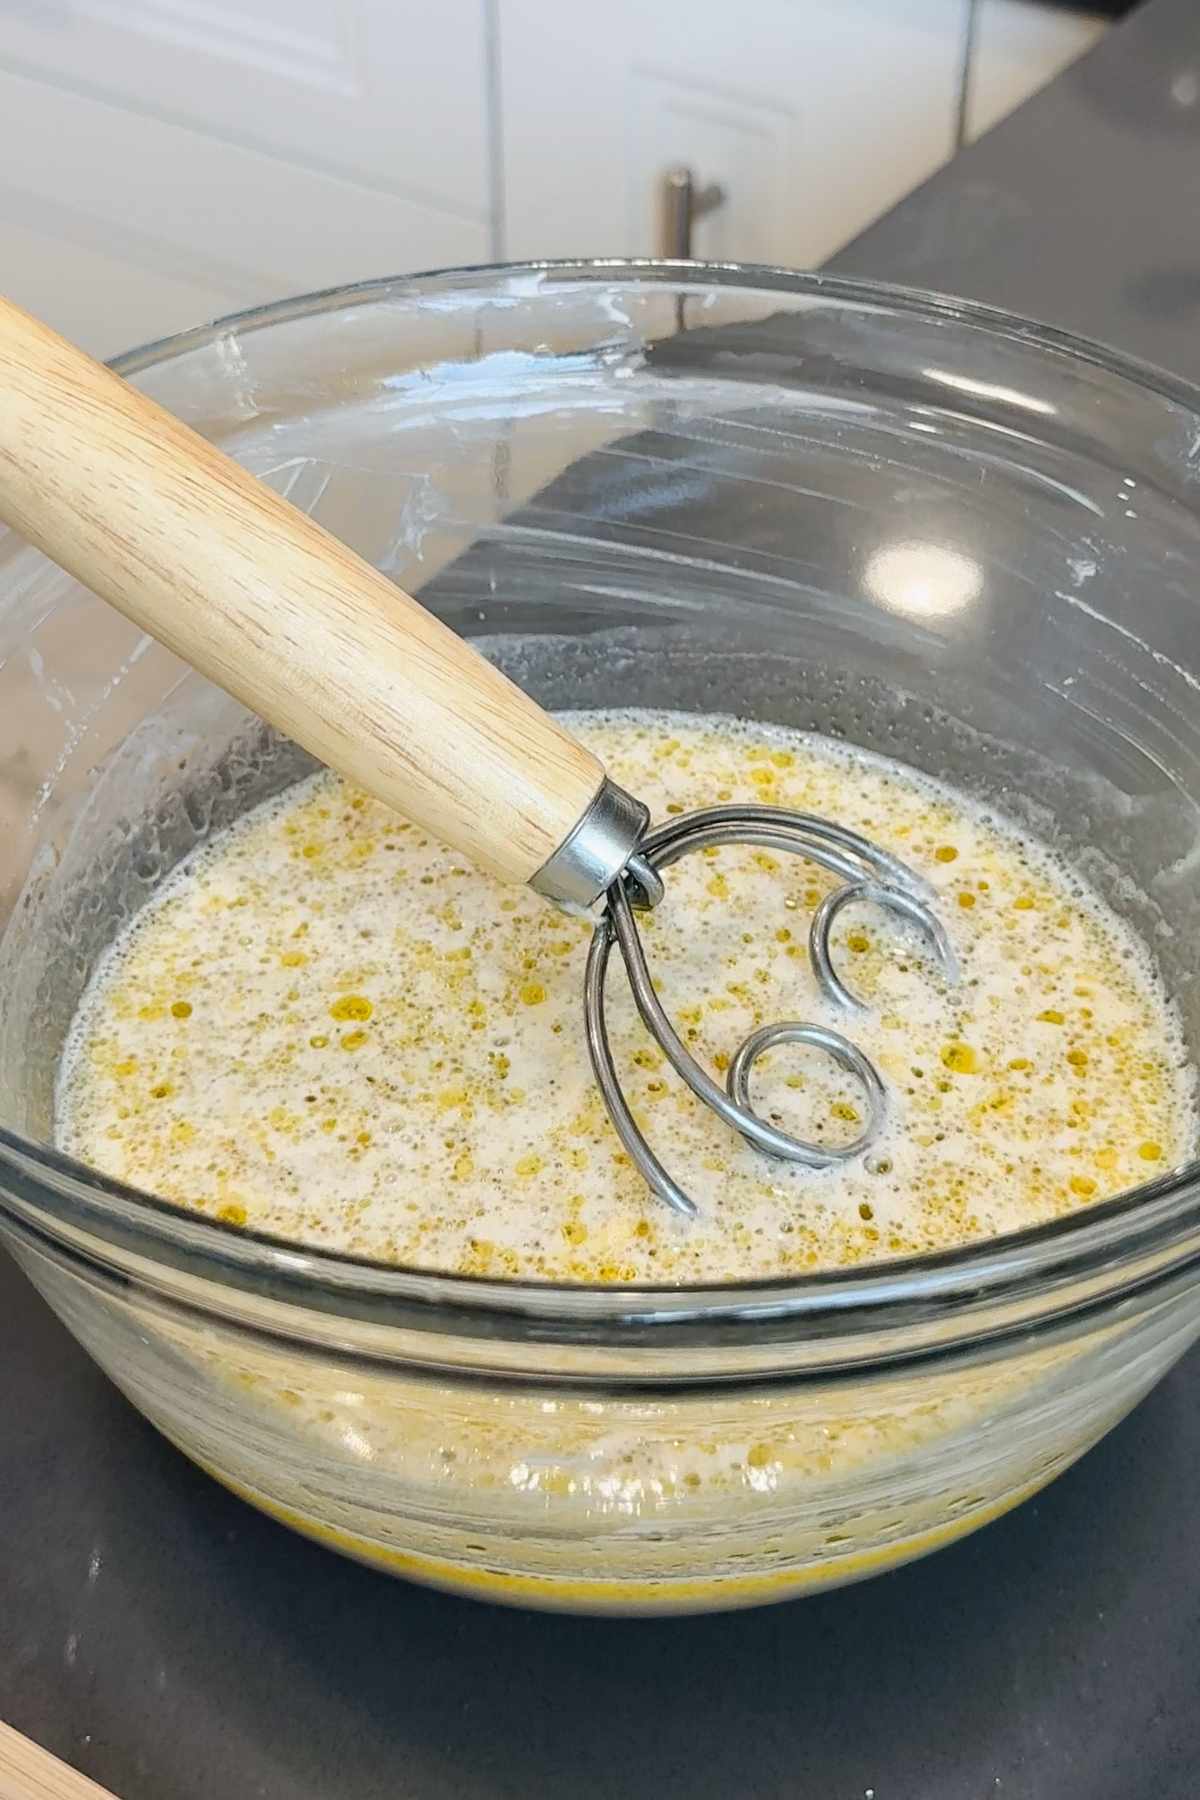
- Step 1: In a large bowl, combine 2 tablespoon instant yeast and 1 cup warm water with a quick stir. Add ⅓ cup vegetable oil, 2 tablespoon sugar, and 1 egg. Mix together until well-combined.
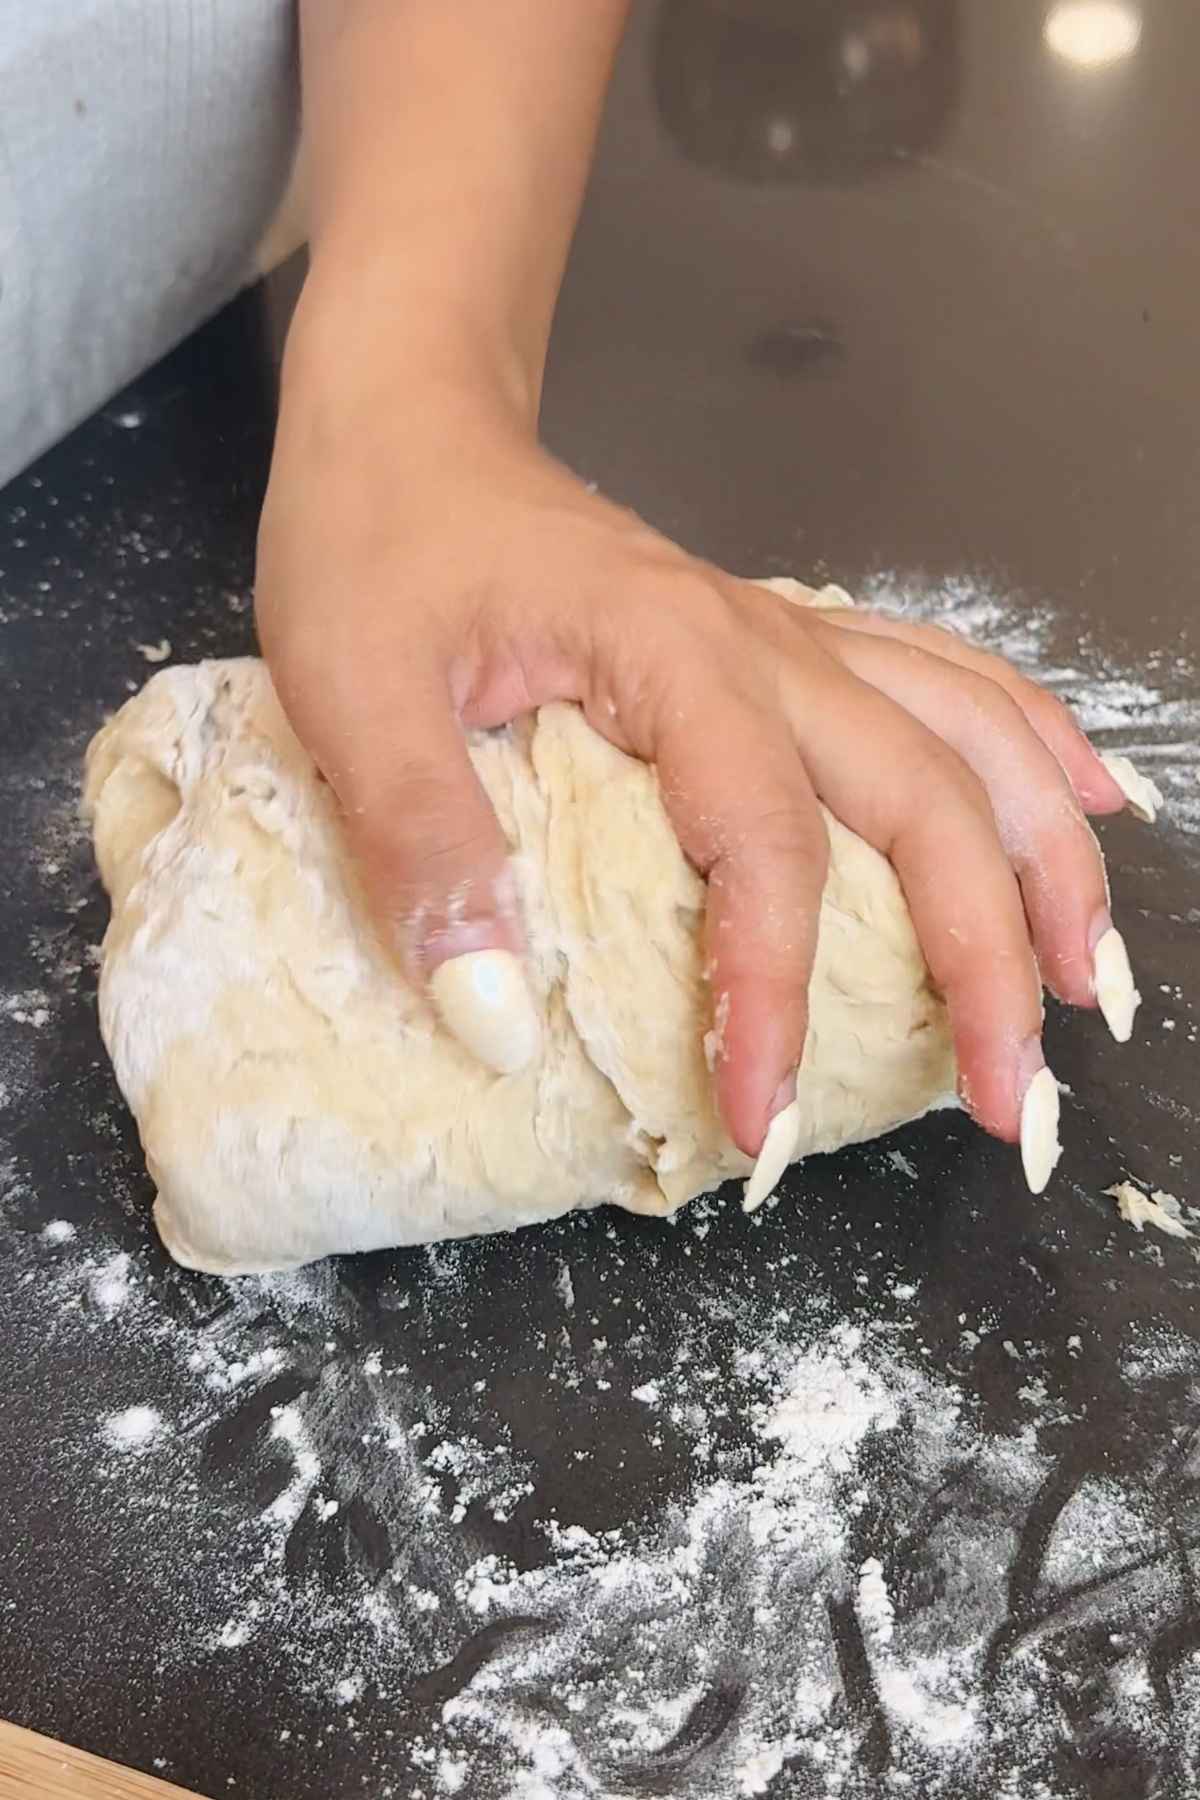
- Step 2: Add 3 cups all-purpose flour and 1 teaspoon salt to the wet ingredients. Mix until a "shaggy dough" forms; the dough should be lumpy and sticky, with no visible clumps of dry flour in the bowl. Transfer the dough to a clean work surface and gently knead for 3 to 5 minutes, or until smooth.
Minoo's Pro Tip: If the dough feels too sticky, you can sprinkle on flour to help you knead it, but don't overdo it. Your dough will absorb that flour, so if you add too much, you'll end up with a dry, dense bread.
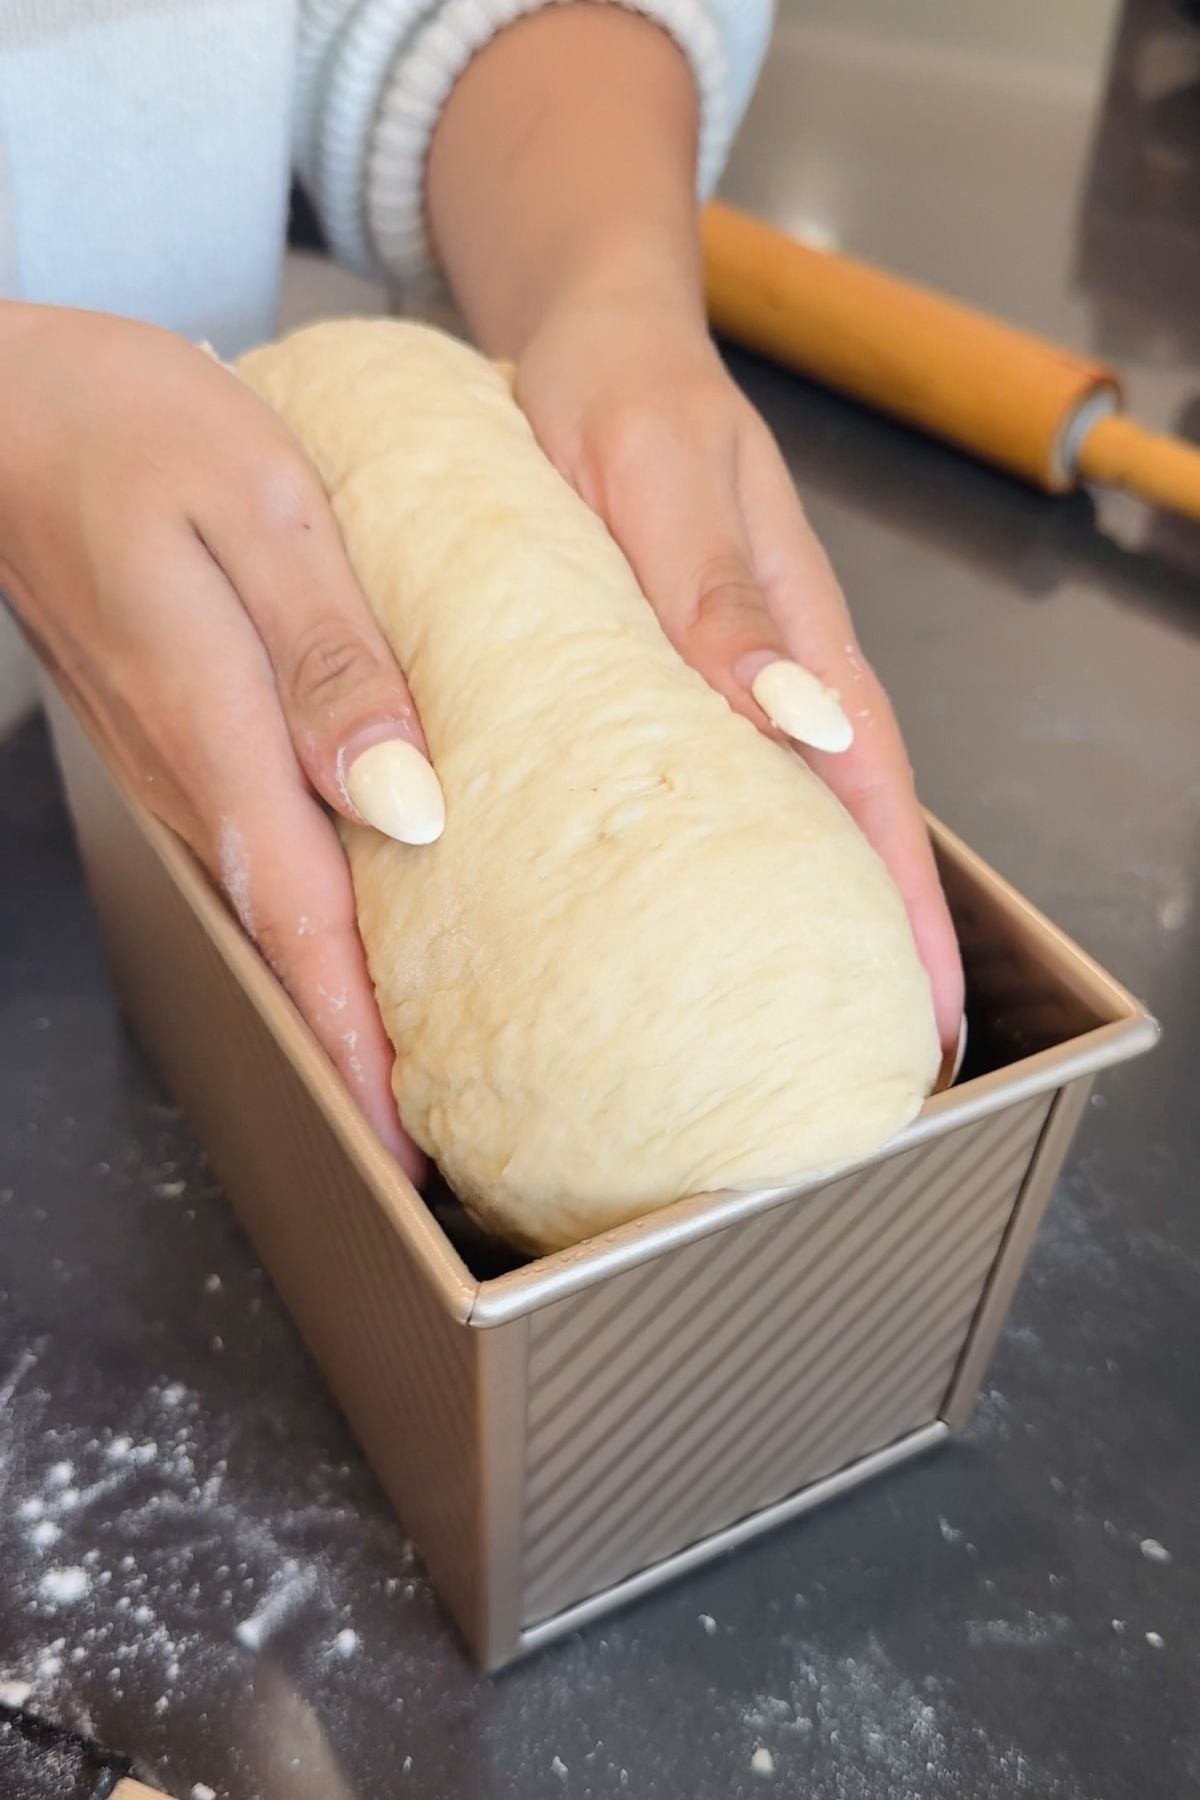
- Step 3: Grease a 9x5-inch loaf pan with oil. Gently shape the dough into a 9x12-inch rectangle, then tightly roll this into a cylinder, tucking in the sides and pinching the seams as you roll. Place seam-side down in the prepared loaf pan. Beat the remaining egg and brush it over the top of the loaf; this is my secret to a gorgeously golden, shiny crust!
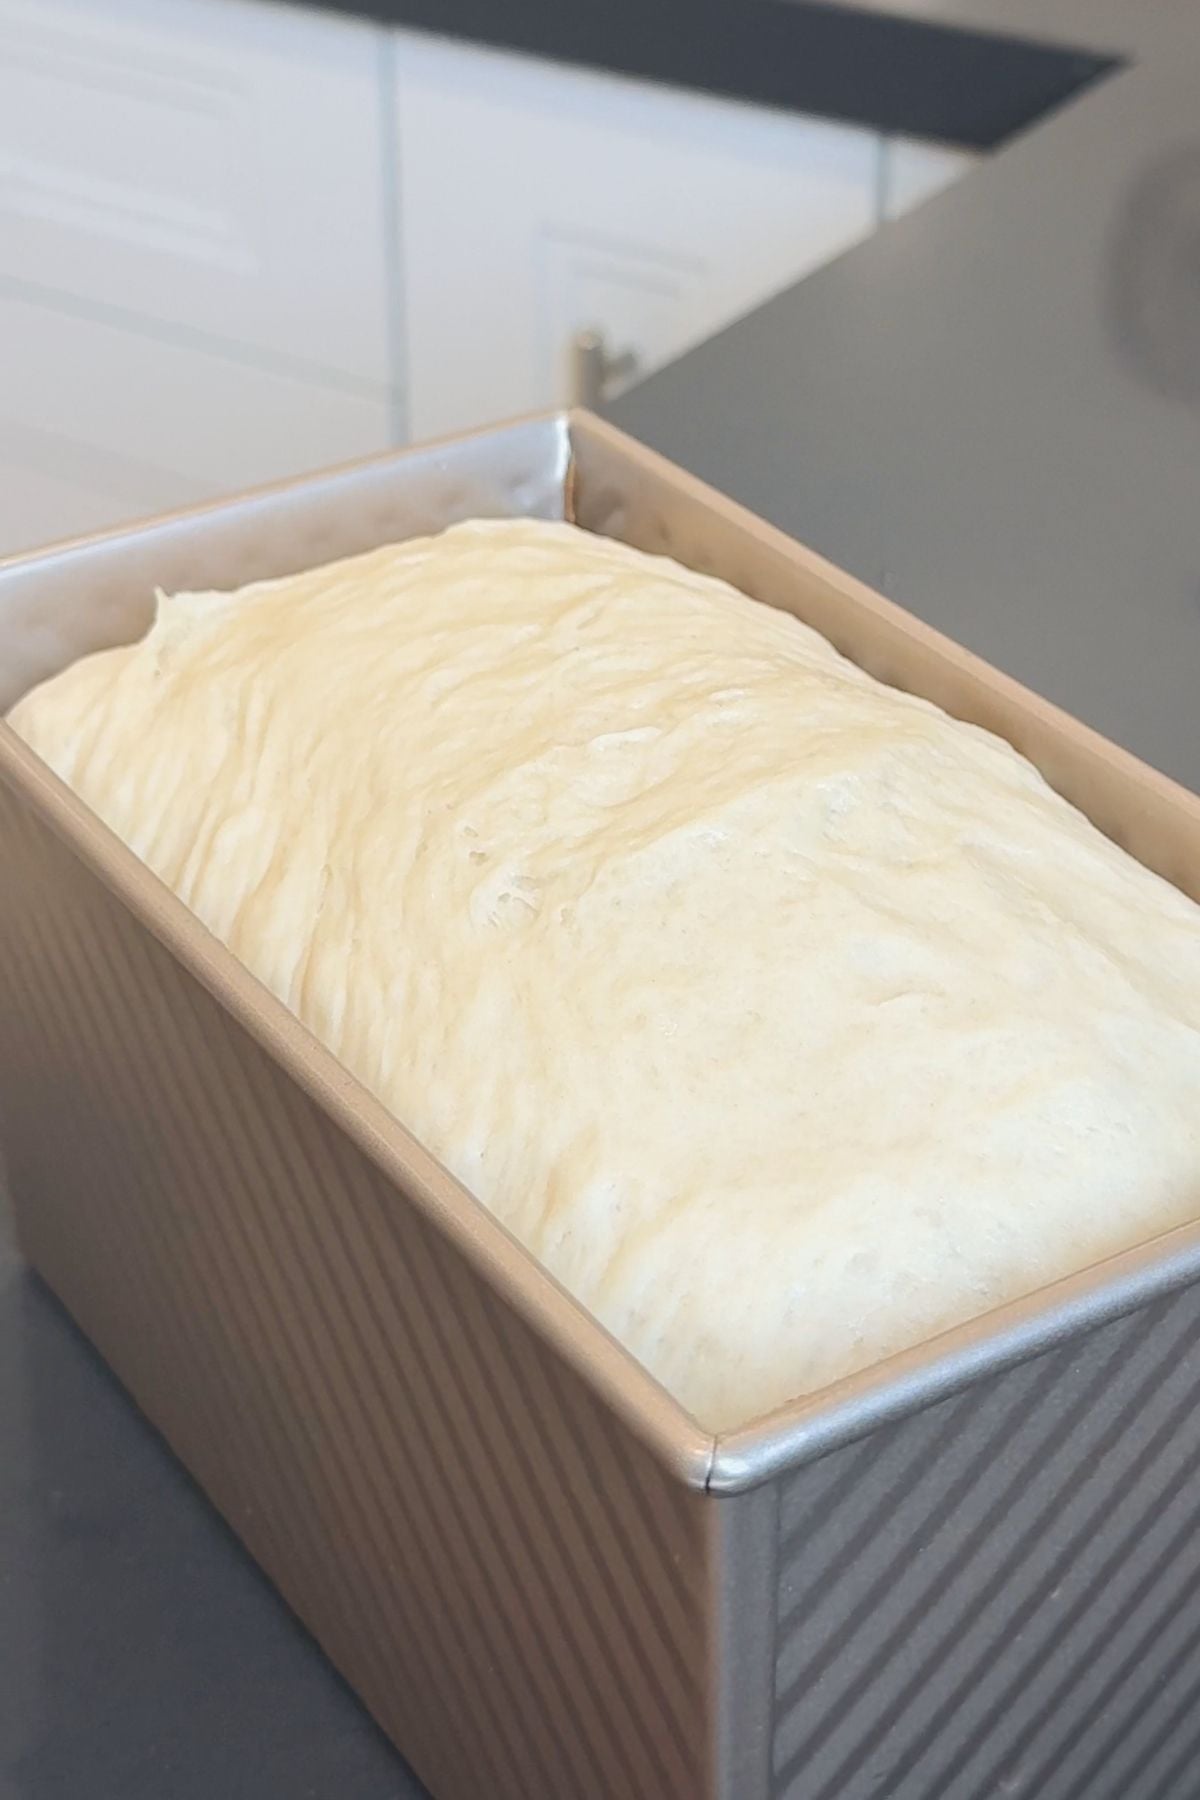
- Step 4: Preheat the oven to 375°F. Cover the loaf with a kitchen towel and let it rise in the pan for 15 minutes before baking if you have the time (optional!).
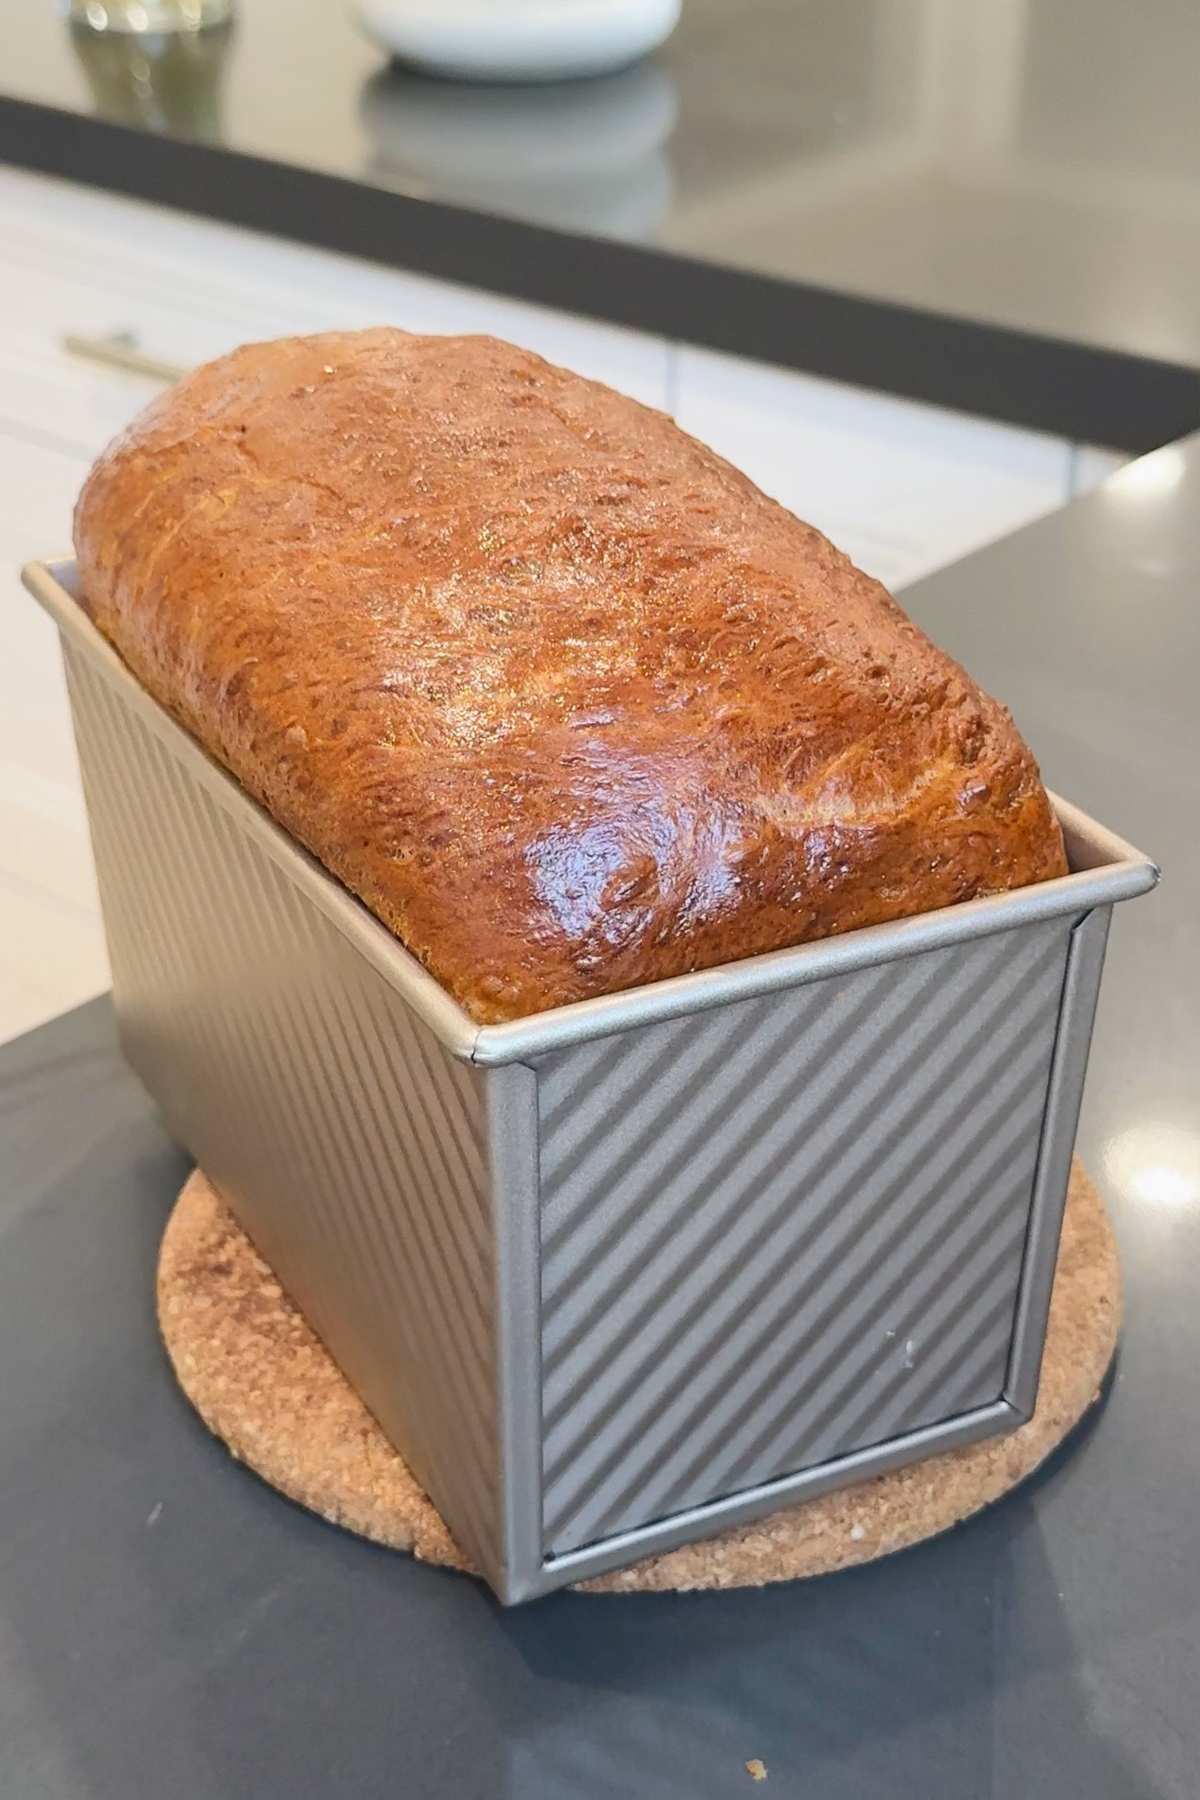
- Step 5: Bake for 30 to 35 minutes, or until golden brown and the internal temperature reaches 190°F. The bottom should sound hollow when tapped.
Minoo's Pro Tip: Check the bread halfway through baking. If the top is browning quickly, cover loosely with aluminum foil. If you don't, you'll either end up with a cooked center and a burned crust, or a golden crust and an undercooked center!
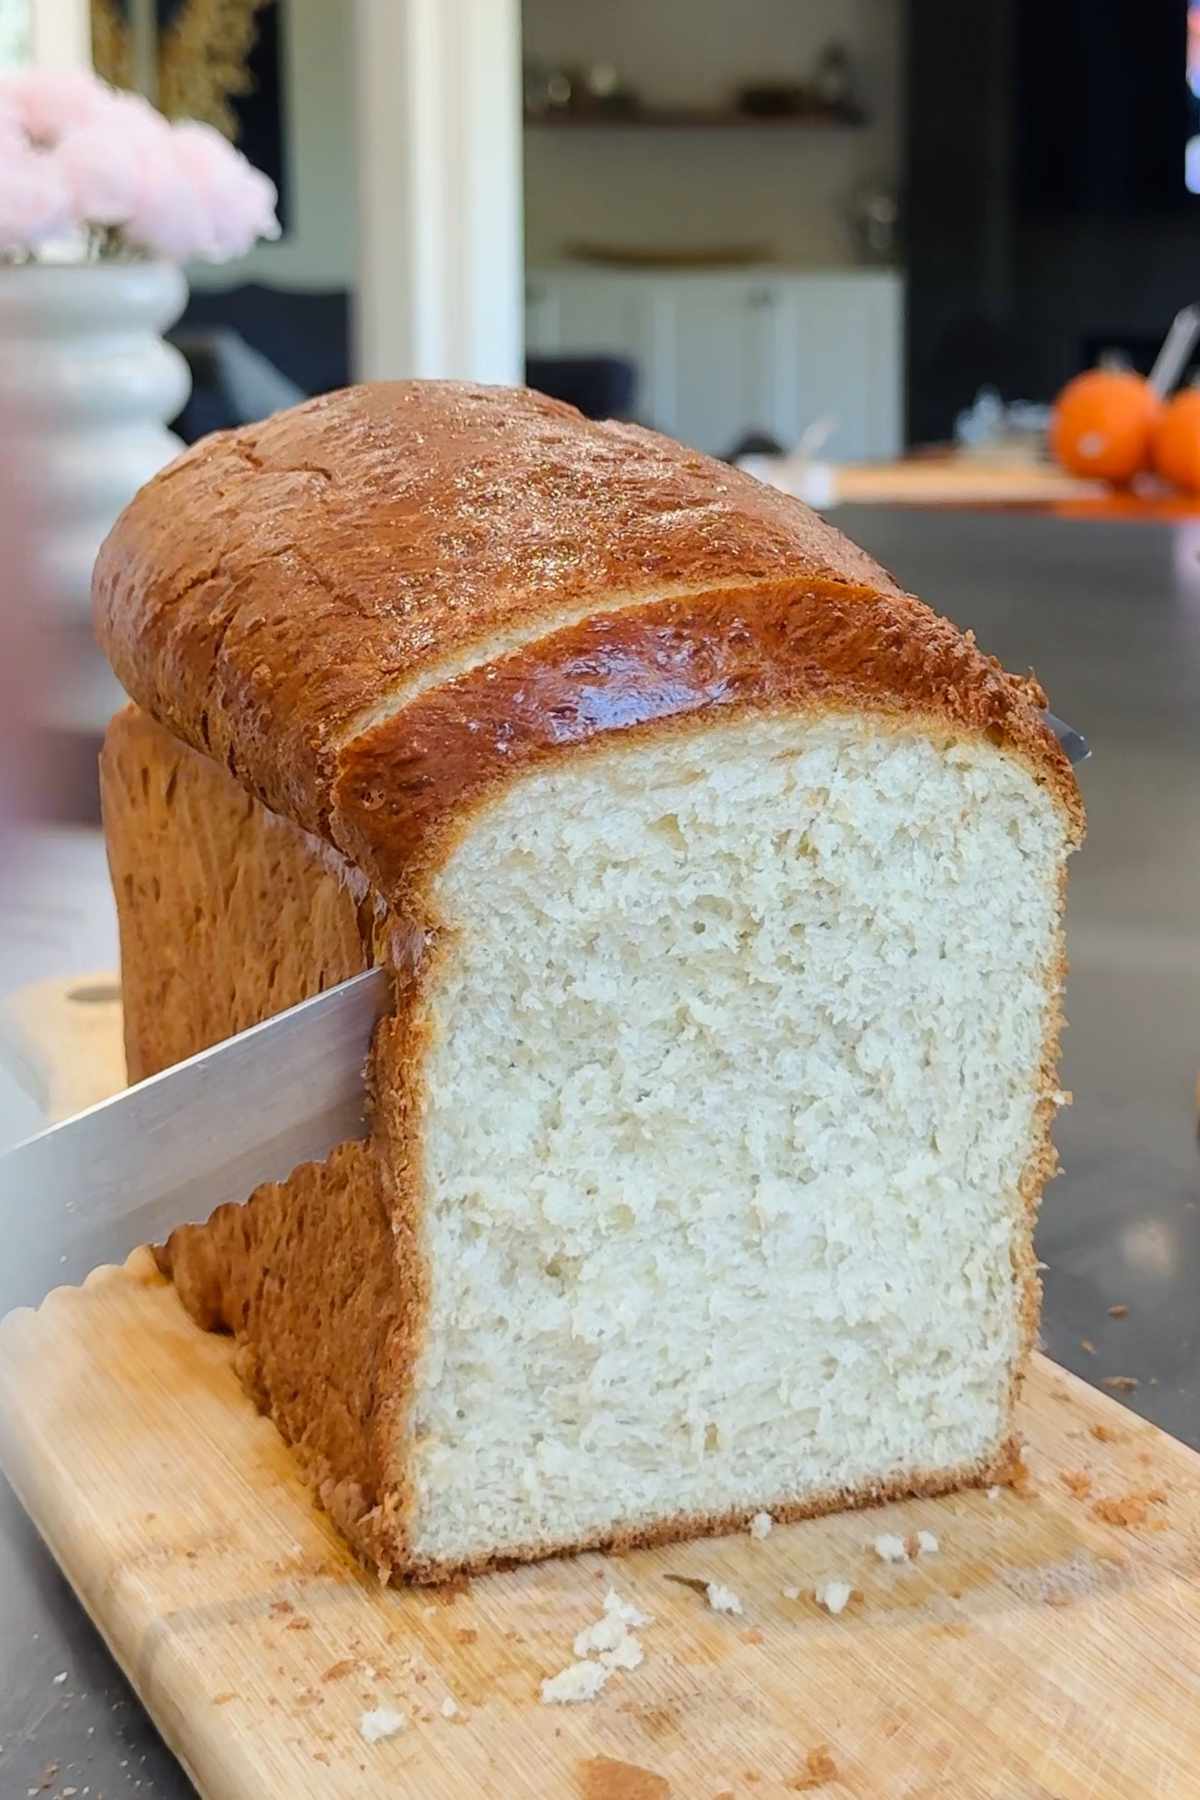
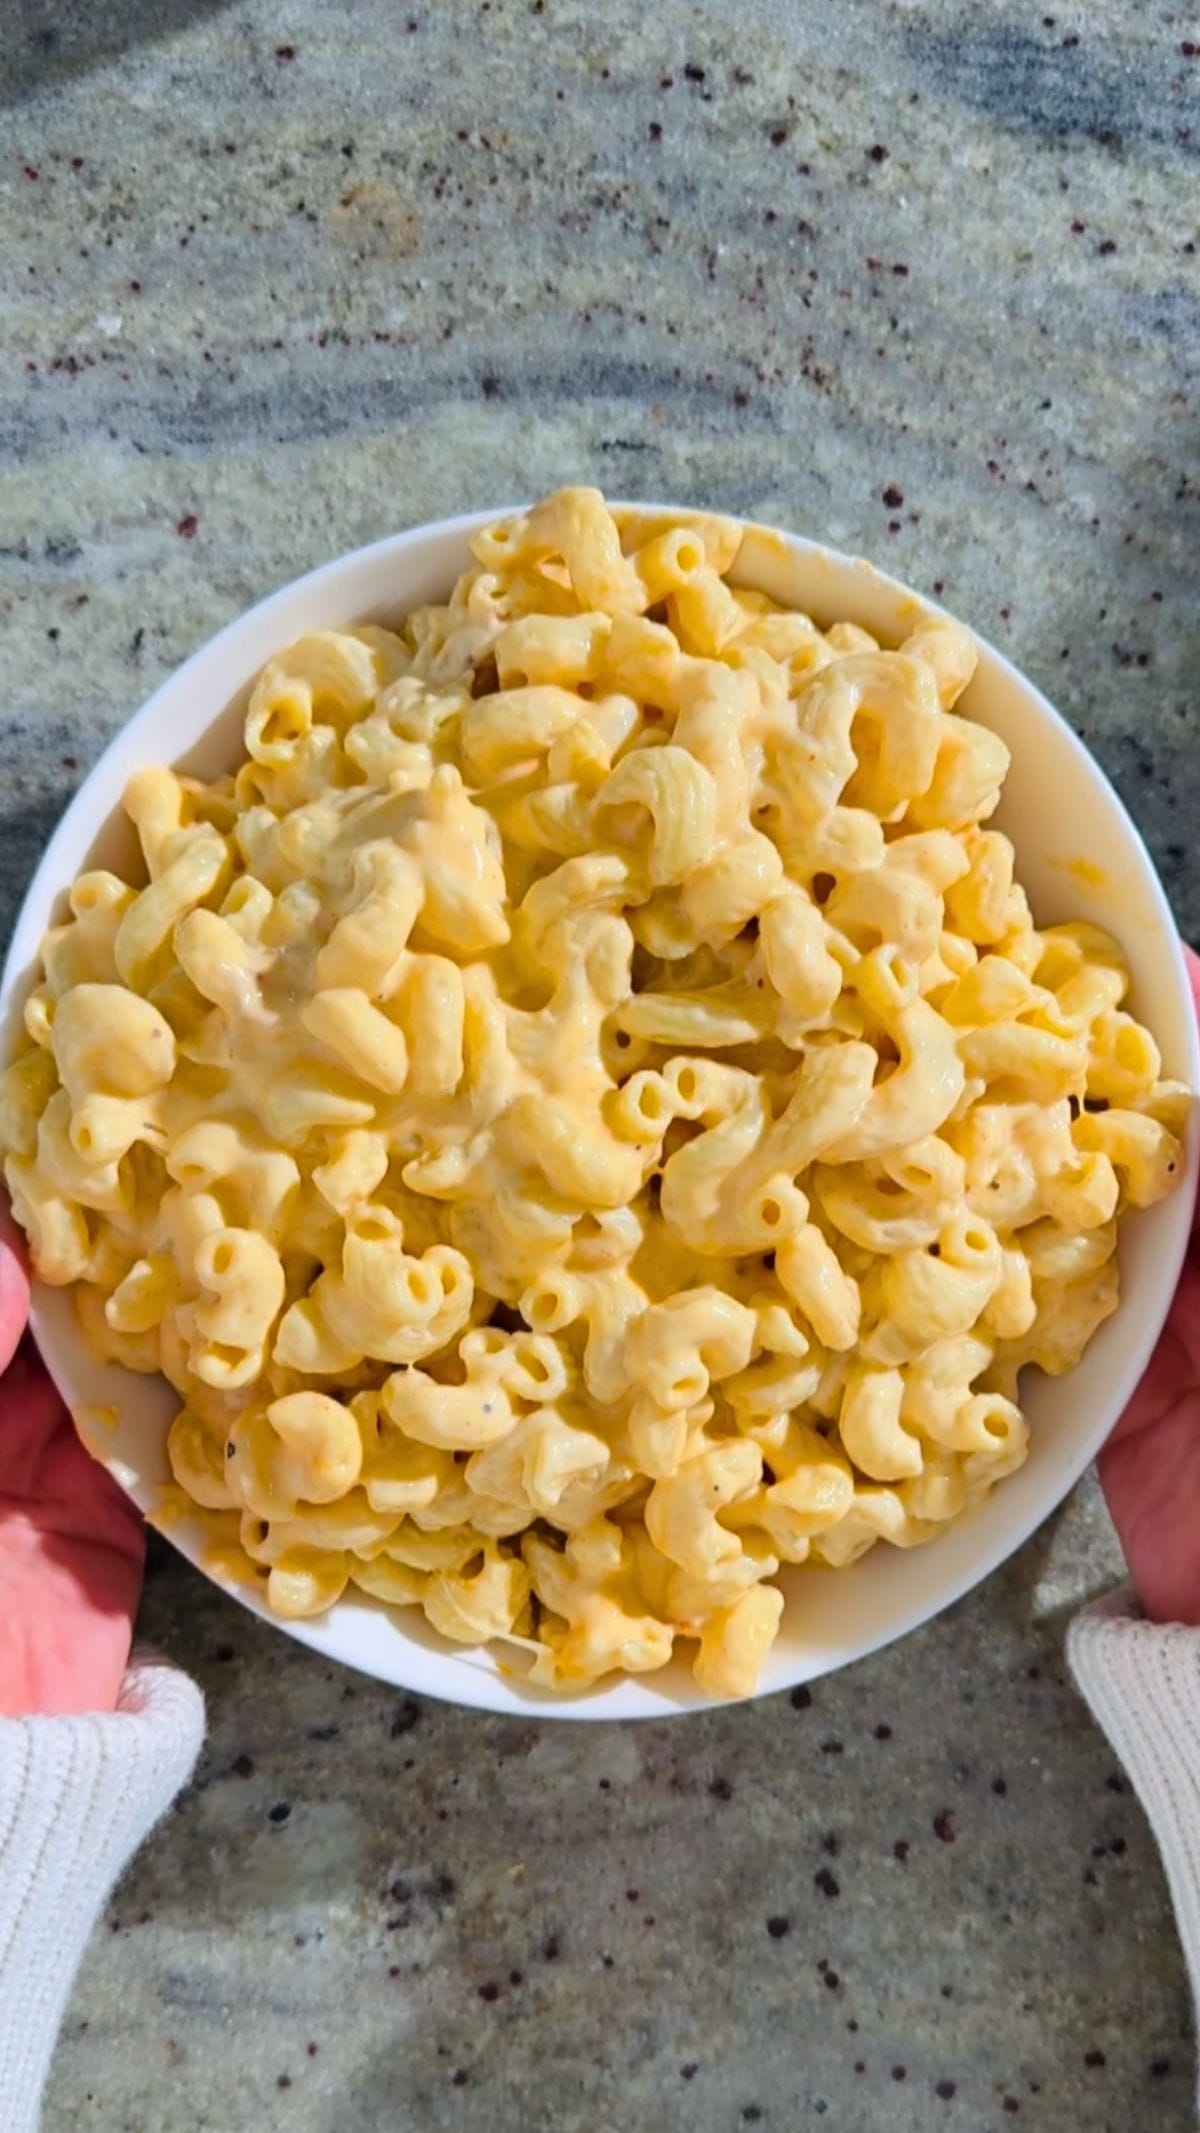
- Step 6: Allow to cool in the pan for 5 minutes, then turn out onto a wire rack. Cool completely before slicing for the best results. Toast and enjoy with your preferred spread or turn it into a sandwich and load it up. You can even serve this bread alongside stews or pastas like my creamy mac n cheese; it'll soak up the sauce gorgeously.
Expert Tips
- Don't skip the 15-minute rise while the oven pre-heats: While this is technically a no rise recipe and you can skip it if you're in a rush, I highly recommend still doing it if you have the time. It gives you a much taller and airier loaf!
- Always roll the dough tightly: Use a firm hand and apply pressure here! If you roll it too loosely, or forget to pinch the seam between each roll, your dough will come apart when you slice it. Don't panic if this does happen to your bread, though. It will still taste gorgeous, and I've found you can easily turn it into dipping bread. Dunk in olive oil, my homemade lasagna soup recipe, or even my tomato ketchup recipe (if you dare!).
- Let the bread cool before slicing: That cooling period isn't just to protect over-eager fingers from burns; it gives your bread time to cook through and the crust to set properly. If you try to slice the bread before this, you'll end up with a squashed crumb. If you're finding it difficult to resist the temptation, why not distract yourself by making American cheddar cheese slices to pair with your bread? They're just as easy and quick to make.
- Brush the top of the loaf: My mom taught me this trick: Brush the top of the loaf with butter when it comes out of the oven. It will add a nice gloss and flavor to your loaf!
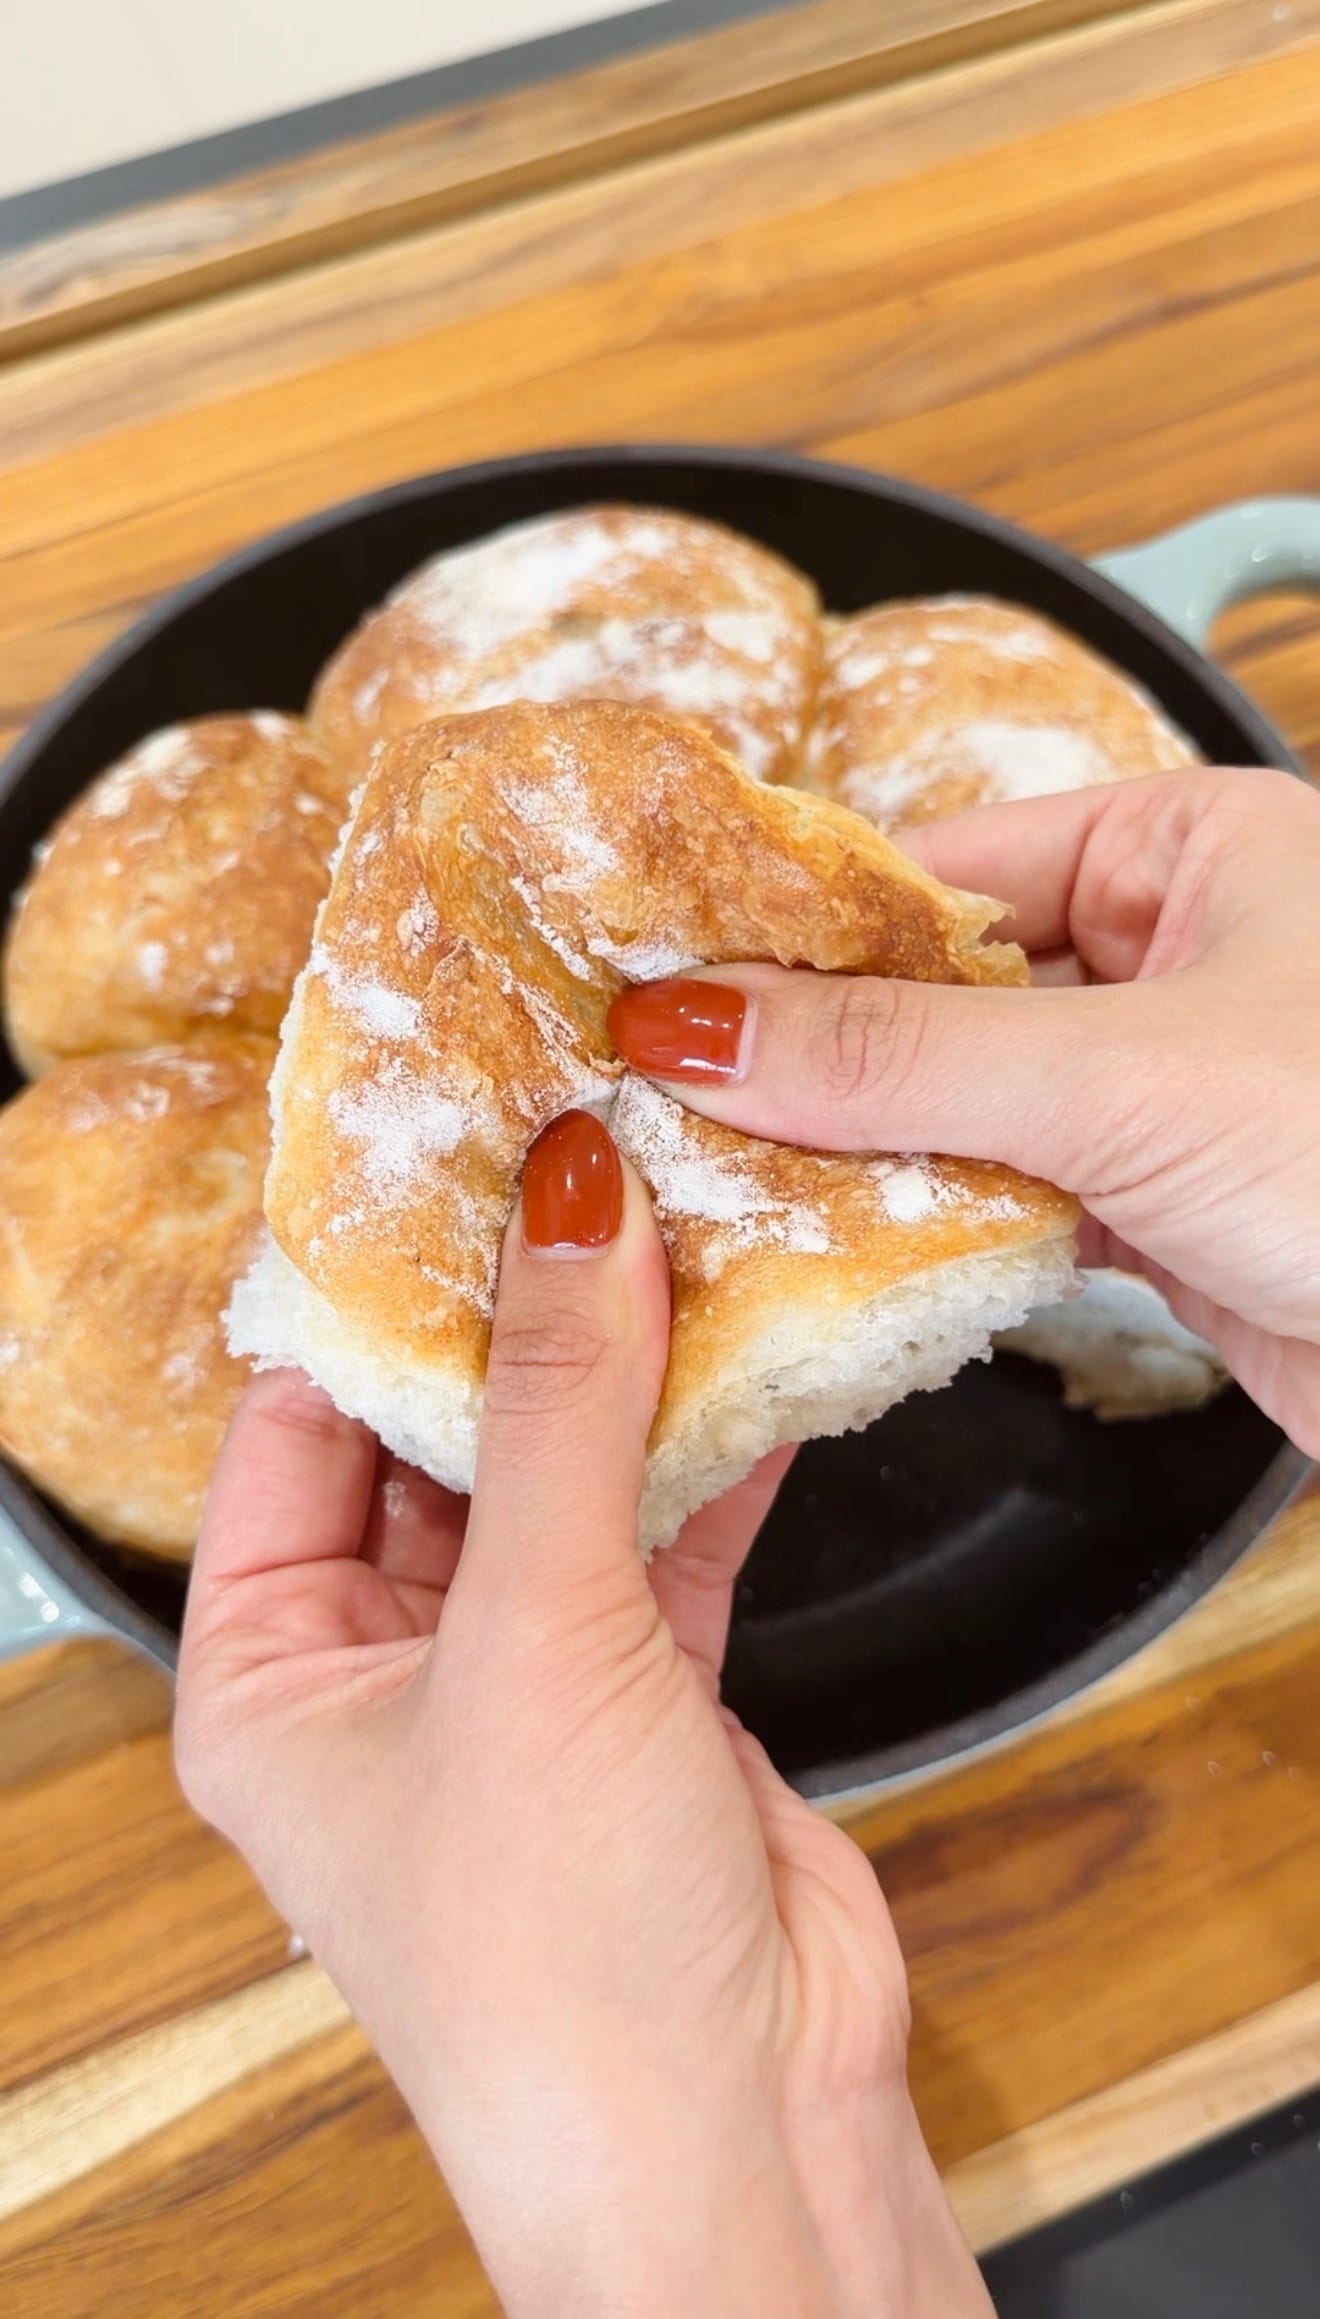
- Use warm water: It needs to be warm to the touch, but not uncomfortably hot (around 110°F). Too hot will kill the yeast, while too cool can slow down that quick rise. This tip applies to many of my bread recipes, like my fast dinner rolls, so jot this down in your cookbook so you never forget it! If you swap out the water and oil for milk and butter, these also need to be warmed up before you add them to your dough.
Homemade Sandwich Bread Recipe FAQs
My homemade sandwich bread recipe will last well on the counter for 2 to 3 days, as long as you slice it and store it in a paper or plastic bag to preserve its freshness.
I've found it can become a little stale on the 3rd day, so what I like to do is dampen the bread with water and pop it in the oven for 5 minutes at 350°F. This is a little trick my mom taught me, and it helps get your bread back to its super soft, "just-baked" freshness!
If you need to store it for longer, then I recommend freezing it. Place it in a bag in the freezer for up to 3 months, with parchment paper between the slices so that they don't stick together.
When you're next craving sandwiches, just take out your slices, peel off the parchment, and pop them in the toaster to reheat. Serve them warm with my homemade strawberry chia jam or peanut butter for a gorgeous breakfast treat.
Yes! So many people who try this recipe the first time hesitate when they see that 2 tablespoon amount! Trust me: It's not a typo. The yeast amount here is what helps your bread rise and bake so quickly. This does mean it has a greater risk of overproofing than other breads, but if you follow my recipe carefully, you shouldn't run into any issues.
The bread may also have slightly less flavor than bread that has had a longer time to rise and ferment… But in all honesty? I've never had a complaint, and you likely won't notice the difference once you've added your toppings.
That said, if you do have more time and want something with a more complex flavor, you can try my peasant bread recipe; it uses less yeast and involves a longer rise time.
You likely overcooked the crust! If you notice your bread is browning quickly, remember that you need to cover it with foil halfway through baking. Otherwise, you'll either be stuck with a burned, hard crust or an undercooked center.
You should also keep a close eye on your bread in the last 5 to 10 minutes, since everyone's oven is different. Your bread may need less time to cook through than my recipe calls for.
Burned bread may be disappointing, but don't throw it out! The hard crust here makes the PERFECT base for bruschetta, croutons, or a cozy bread butter pudding. You can even turn it into bread crumbs. Dust the crumbs with cinnamon sugar and sprinkle on my plain yogurt recipe for a sweet, fiber-packed topping.
More to Try
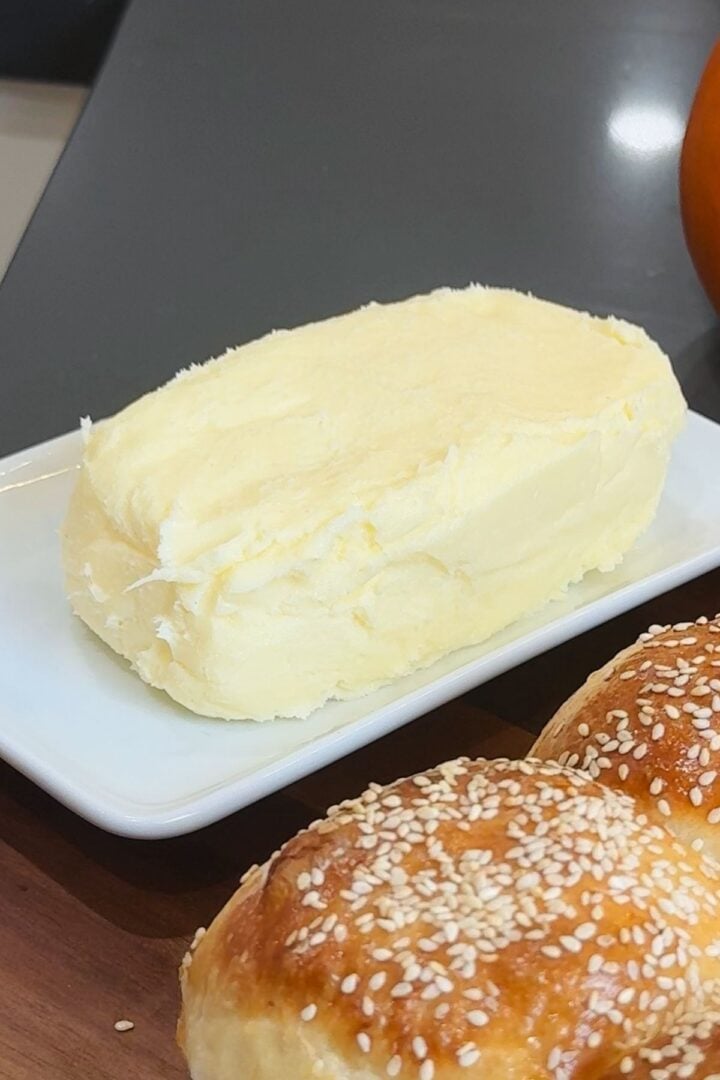
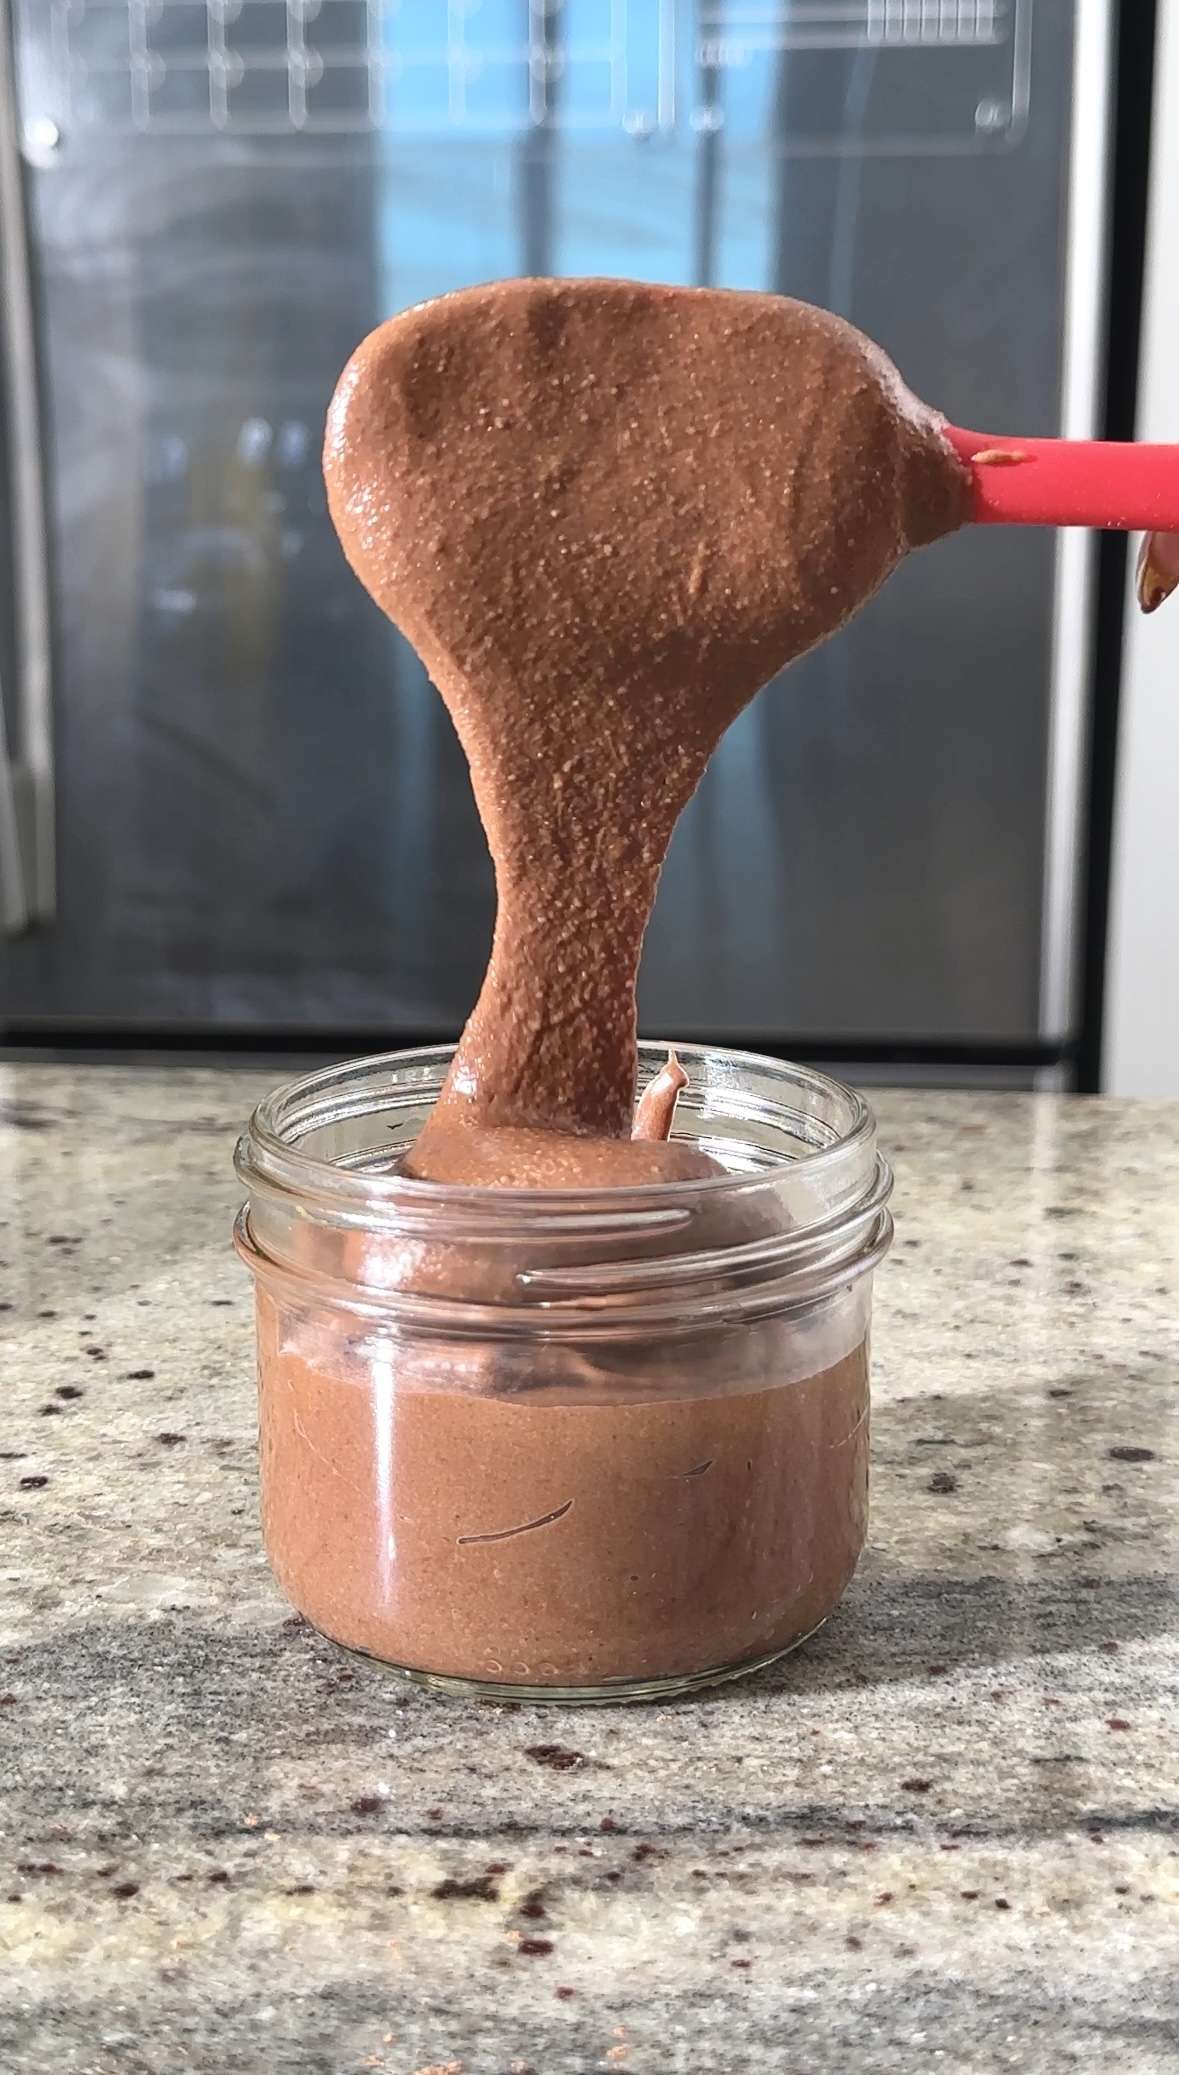
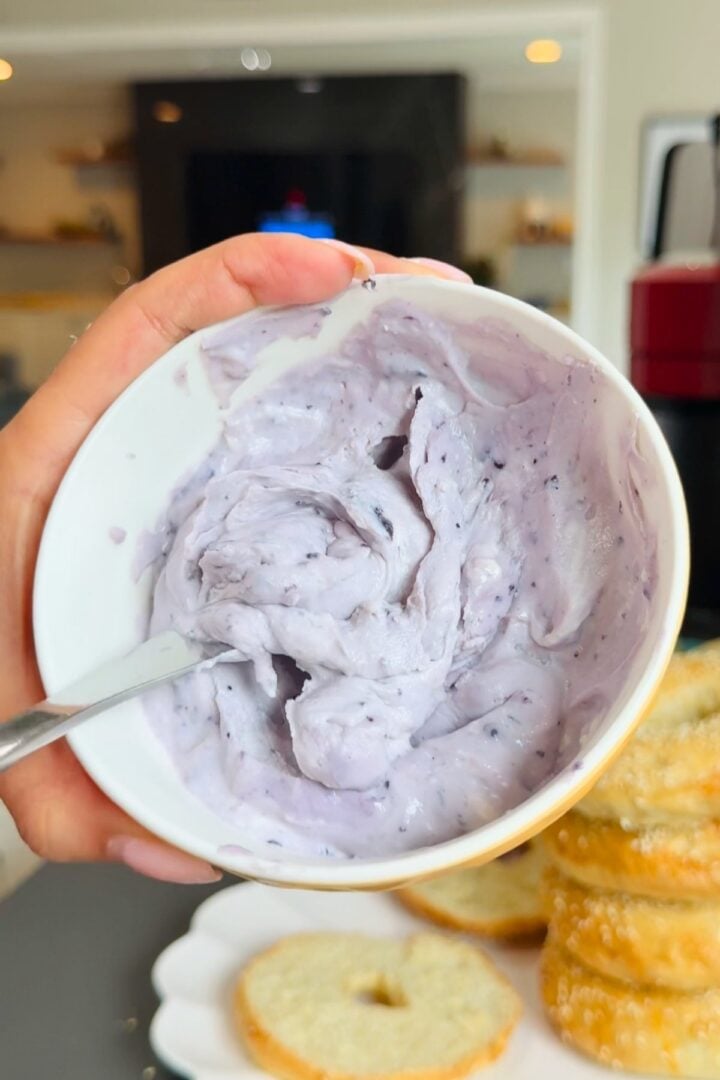
This soft and tender sandwich bread deserves to be paired with equally tasty homemade recipes! There are so many perfect options, but here are some of my personal fave combos:
Enjoying This Recipe?
It would mean the world to me if you left a quick review or any questions you have in the comments below!
Recipe Card
Homemade Sandwich Bread Recipe
EMAIL THIS RECIPE
Enter your email and I'll send this directly to you.
Plus you'll get new recipes from me every week!
Ingredients
- 2 tablespoon Instant Yeast
- 1 Cup Warm Water
- ⅓ cup Vegetable Oil
- 2 tablespoon Granulated Sugar
- 2 Eggs Divided
- 3 Cups All-Purpose Flour plus extra if needed
- 1 teaspoon Salt
Instructions
- Combine yeast and warm water in a large bowl. Add vegetable oil, sugar, and 1 egg, and mix until well-combined.
- Add in flour and salt, and mix together until a shaggy dough forms. Transfer dough to counter and gently knead for 3-5 minutes, or until smooth.
- Grease a 9x5-inch loaf pan. Shape dough into a 9x12-inch rectangle. Tightly roll dough into a cylinder, tucking in the sides and pinching the seams between each roll. Place seam-side down in the loaf pan. Beat remaining egg and brush on top.
- Preheat oven to 375°F. Optional: Cover loaf and let it rise in the pan for 15 minutes.
- Bake bread for 30-35 minutes, until golden brown, the internal temperature is 190°F, and the bottom sounds hollow when tapped.
- Let cool in pan for 5 minutes and transfer to wire rack. Allow bread to finish cooling completely before slicing. Slice and enjoy.
Notes
- Check the bread halfway through baking: If the bread is browning too quickly, cover loosely with foil to allow the center to cook through without the crust burning.
- Allow for a 15-minute rise: Optional, but key if you're after a tall, airy sandwich loaf.
- Add flour while kneading: A little flour will help keep the stickiness at bay while you knead, but don't overdo it; a sprinkle at a time.
Nutrition
Want To Save This Recipe?
Share your email & we'll send it over! PLUS, you'll get new recipes from us weekly


The bread came out a lot better than I expected. It looks perfect. The only thing I don't like is bread when it has oil put in it. Could I substitute the same amount of butter since they are both fats ? I know butter has a little bit of water in it but I think I would like it a lot better.
Hi Robert! I'm glad the bread turned out great for you!! You can absolutely substitute the oil for butter, I do so all the time and it turns out just great (:
I just took the bread out of the oven and it looks gorgeous! But I was wondering whether you use table salt or Kosher salt in your recipes as you don’t specify
Hi Linda! I'm so happy to hear that (: Honestly I just use whatever I have on hand.