
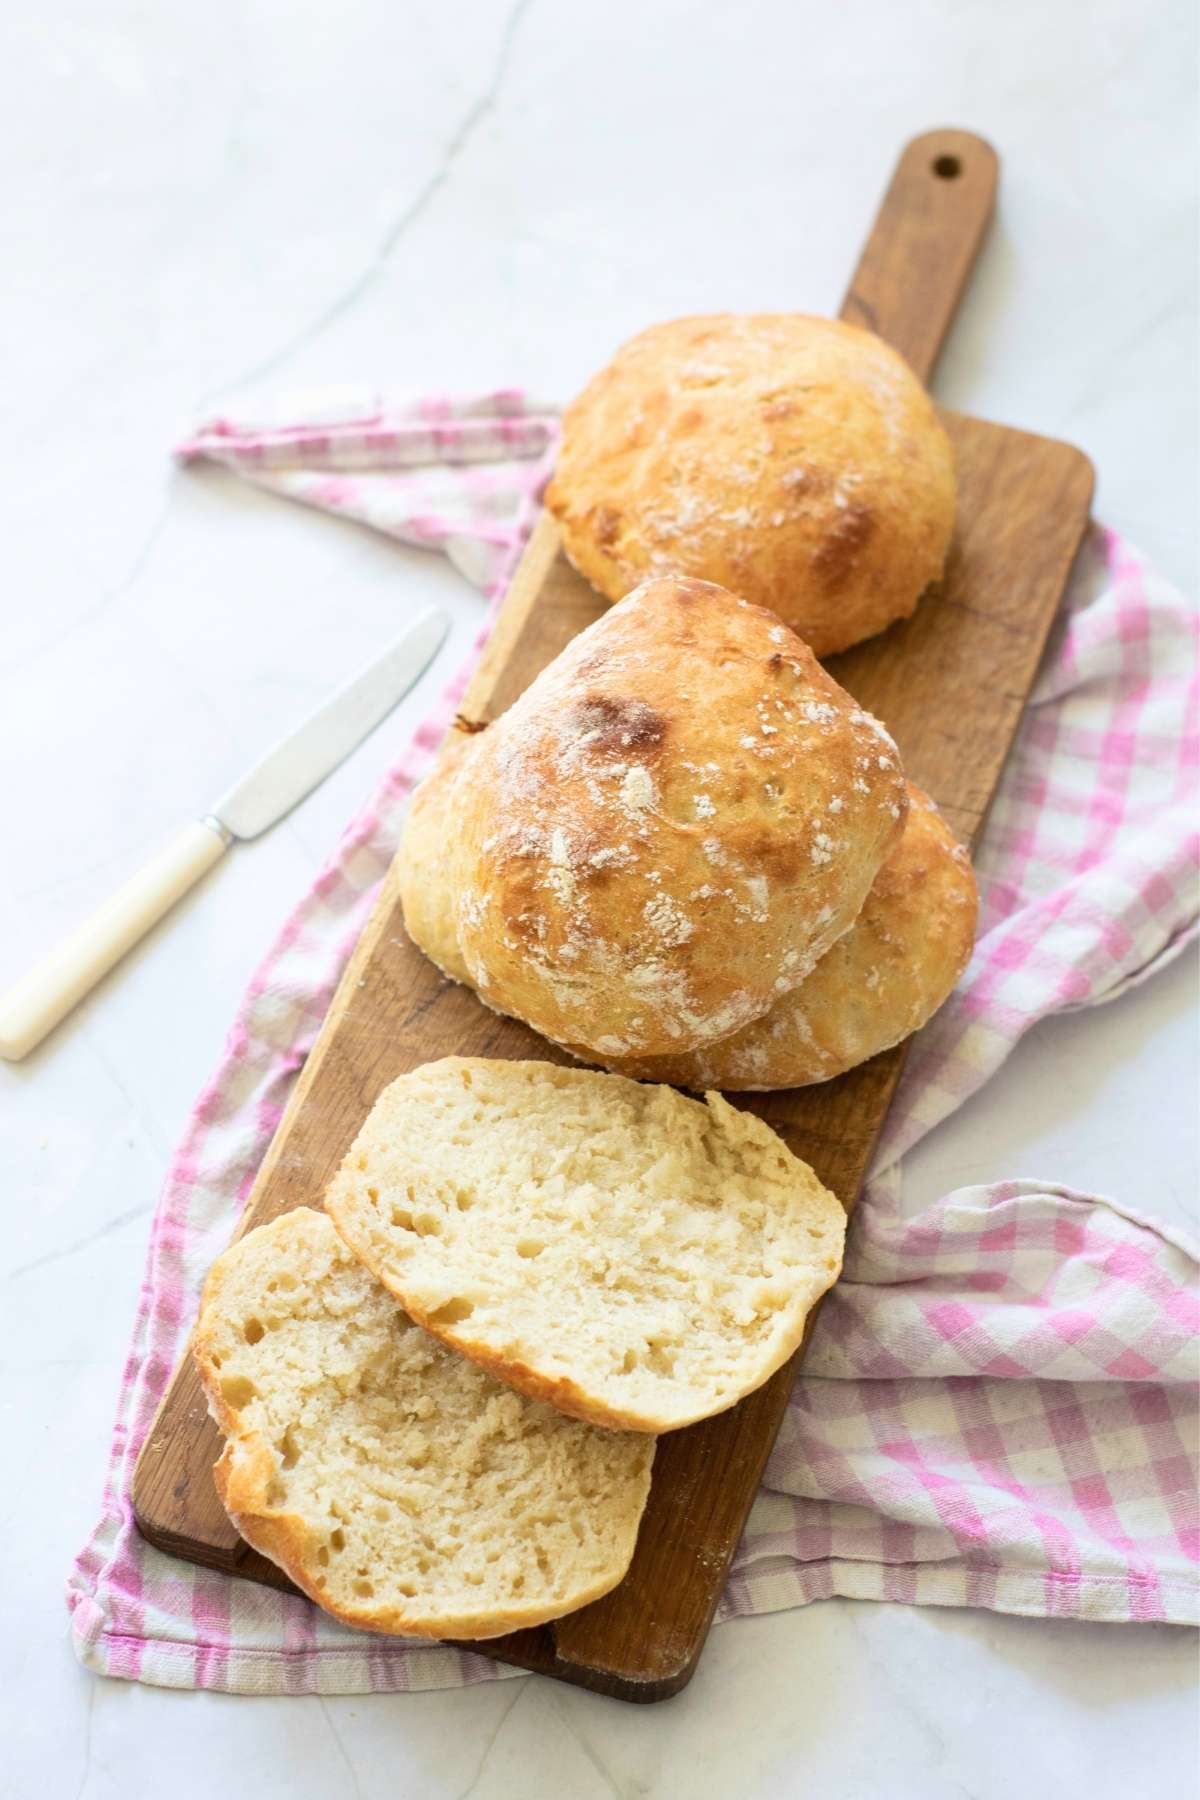
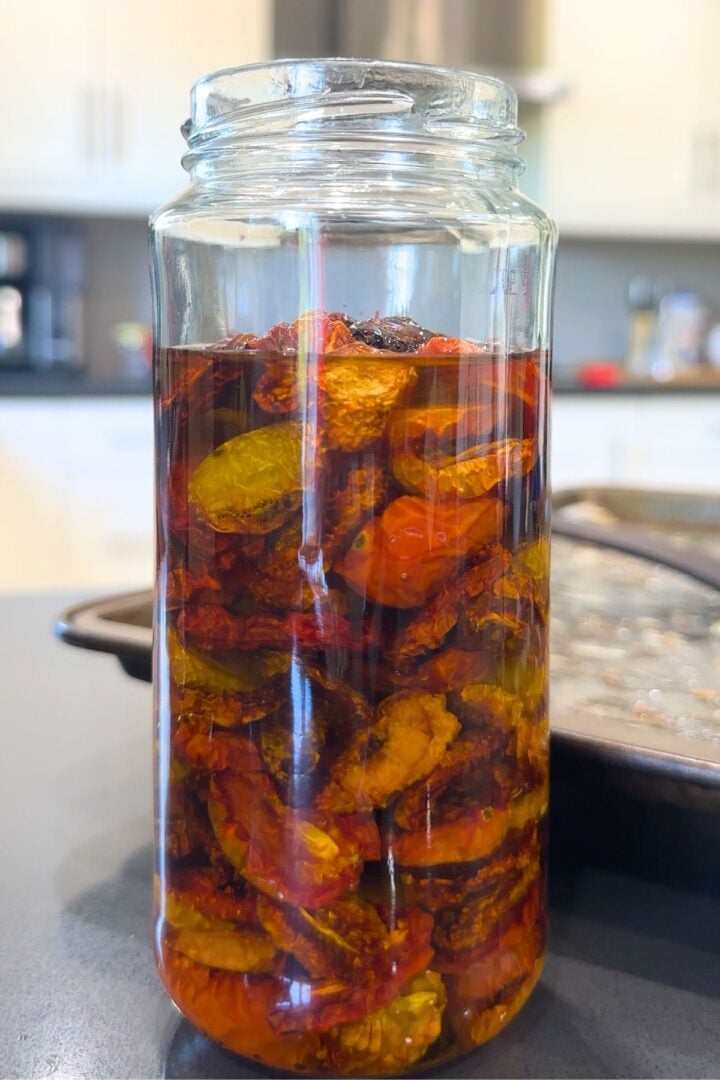
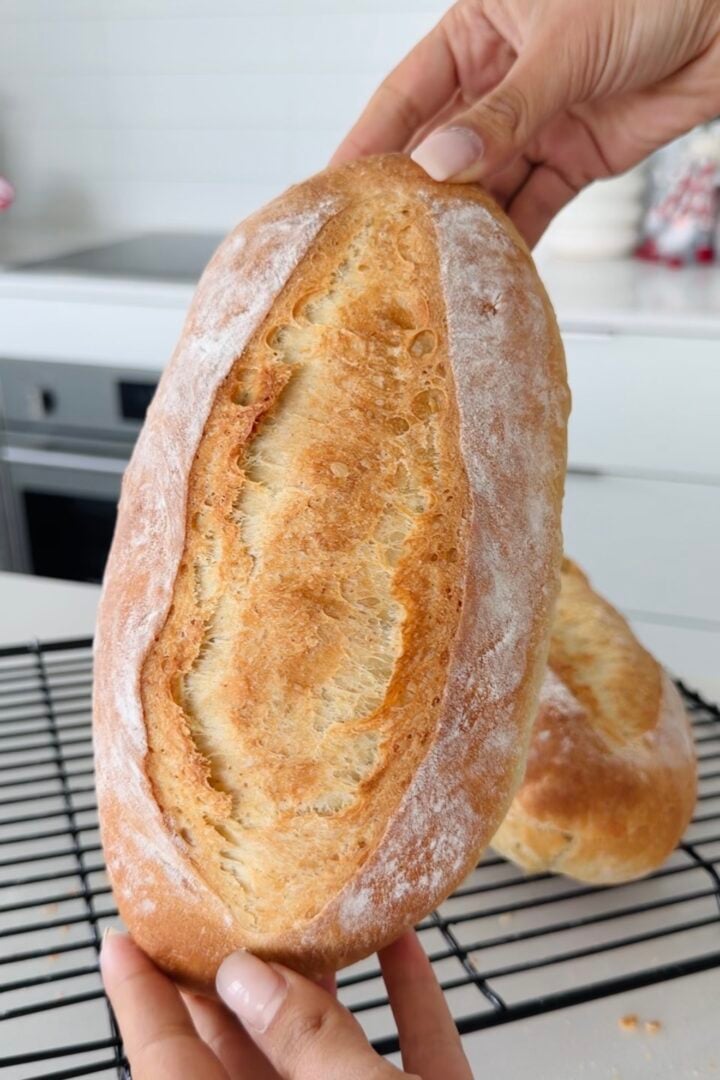
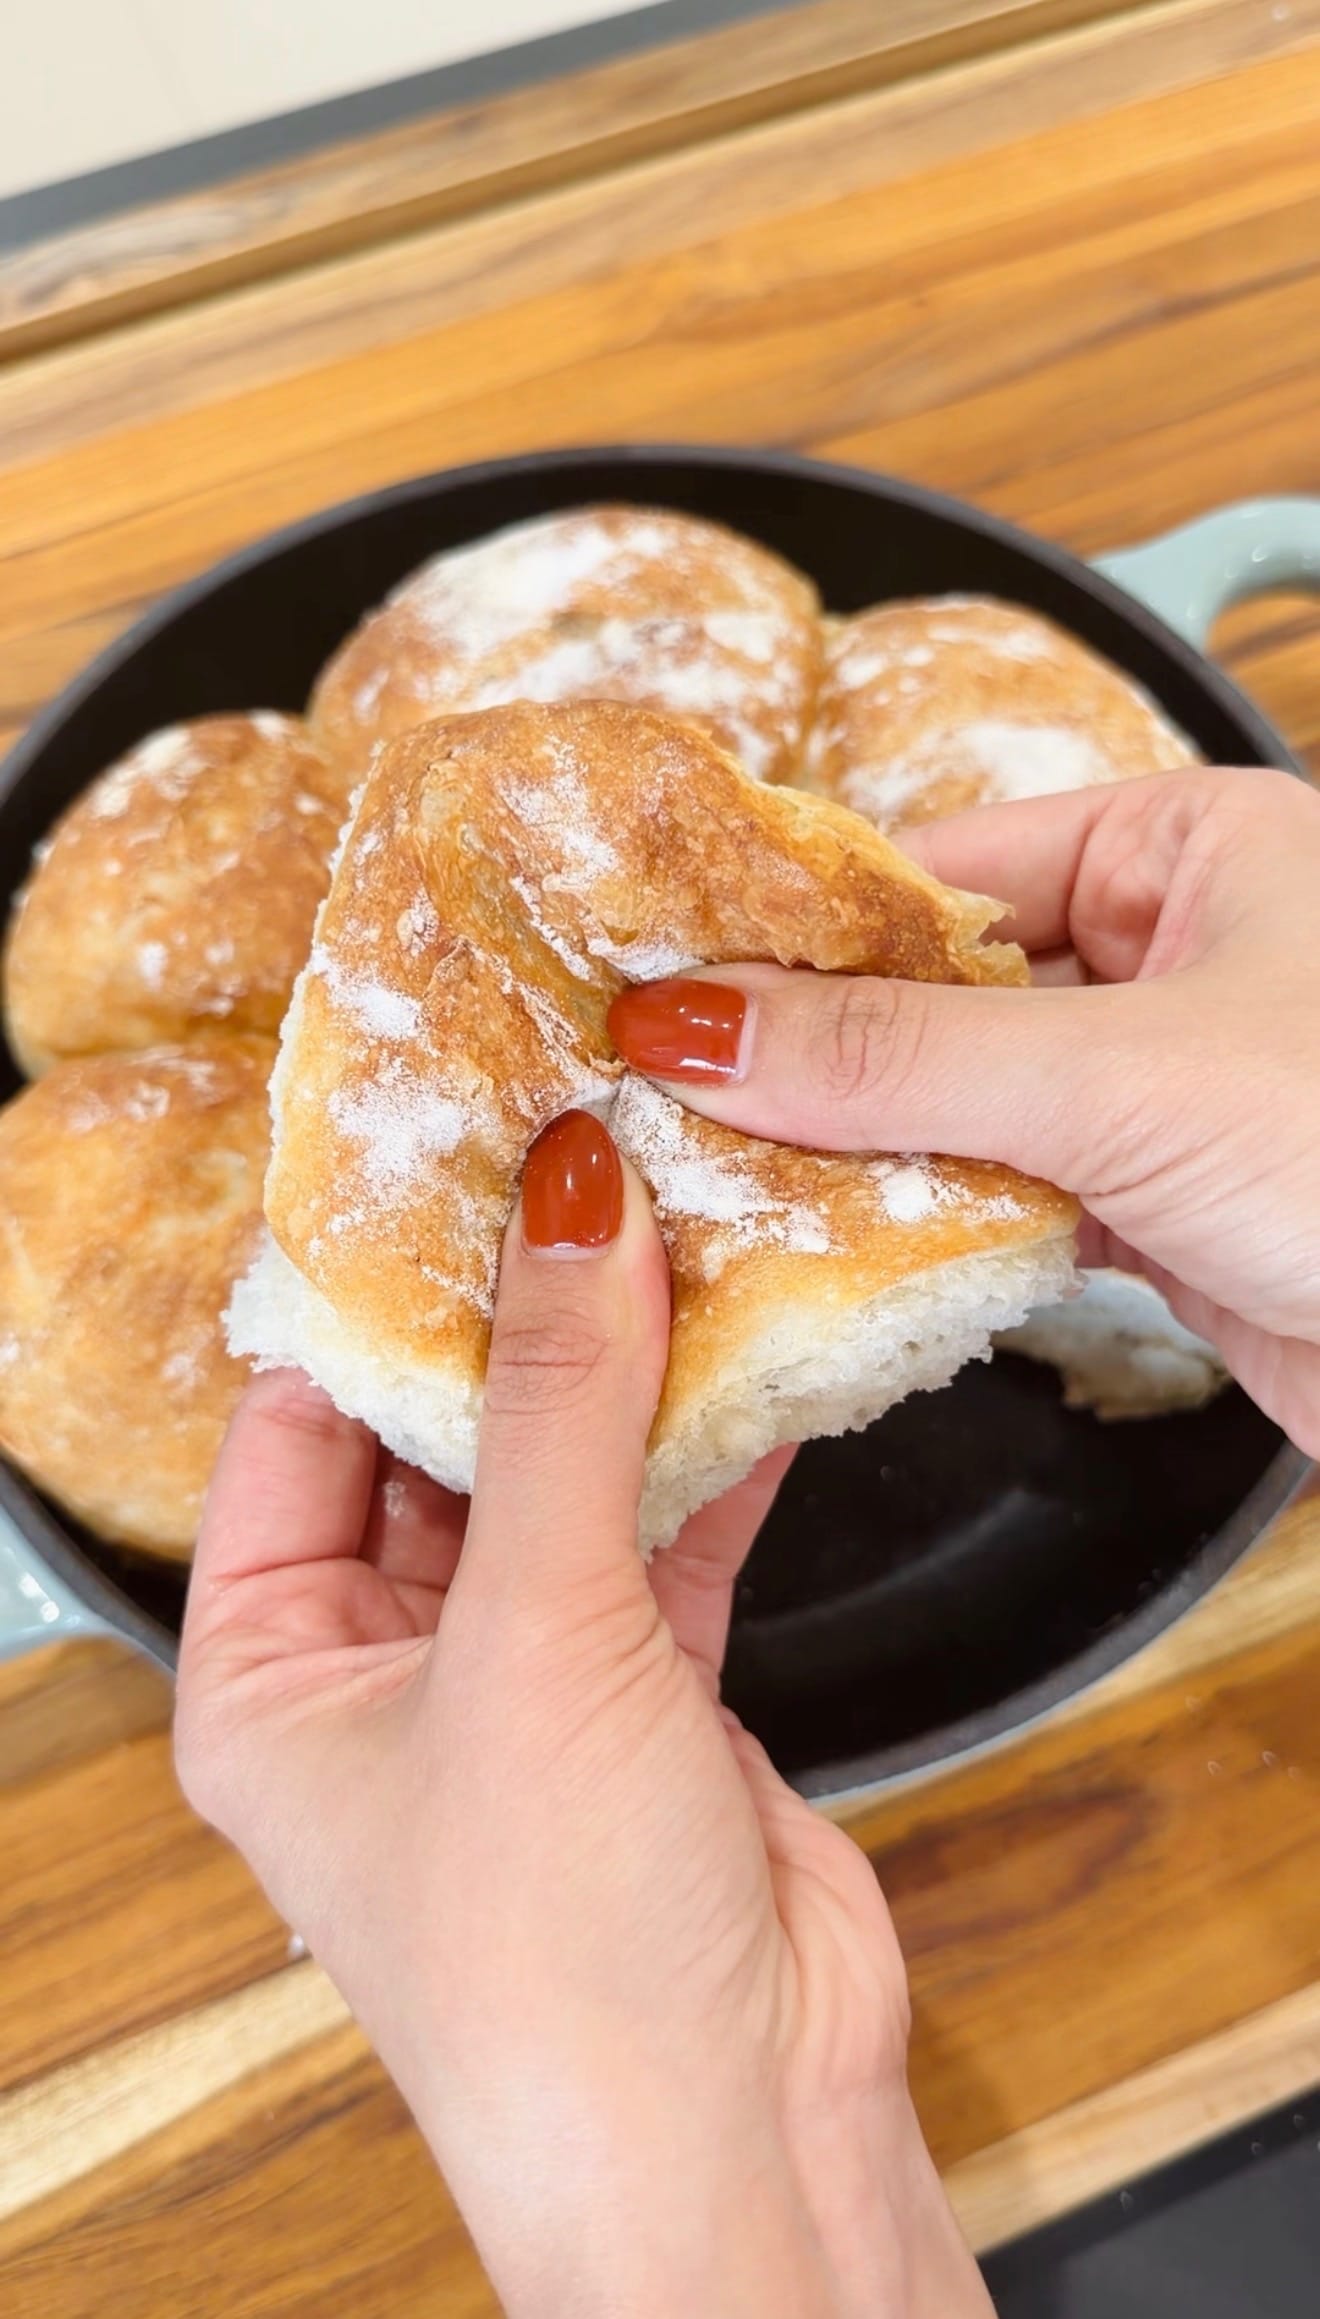
My panini bread recipe gives you that perfect crispy crust and airy, fluffy center without the elbow grease. With no kneading involved, a quick rise, and just 5 simple ingredients? Making bakery-quality bread has never been this easy. Slather on my easy homemade butter and serve with your favorite toppings, or go Italian style and pair with oven dried cherry tomatoes, burrata, and arugula; the options are endless!
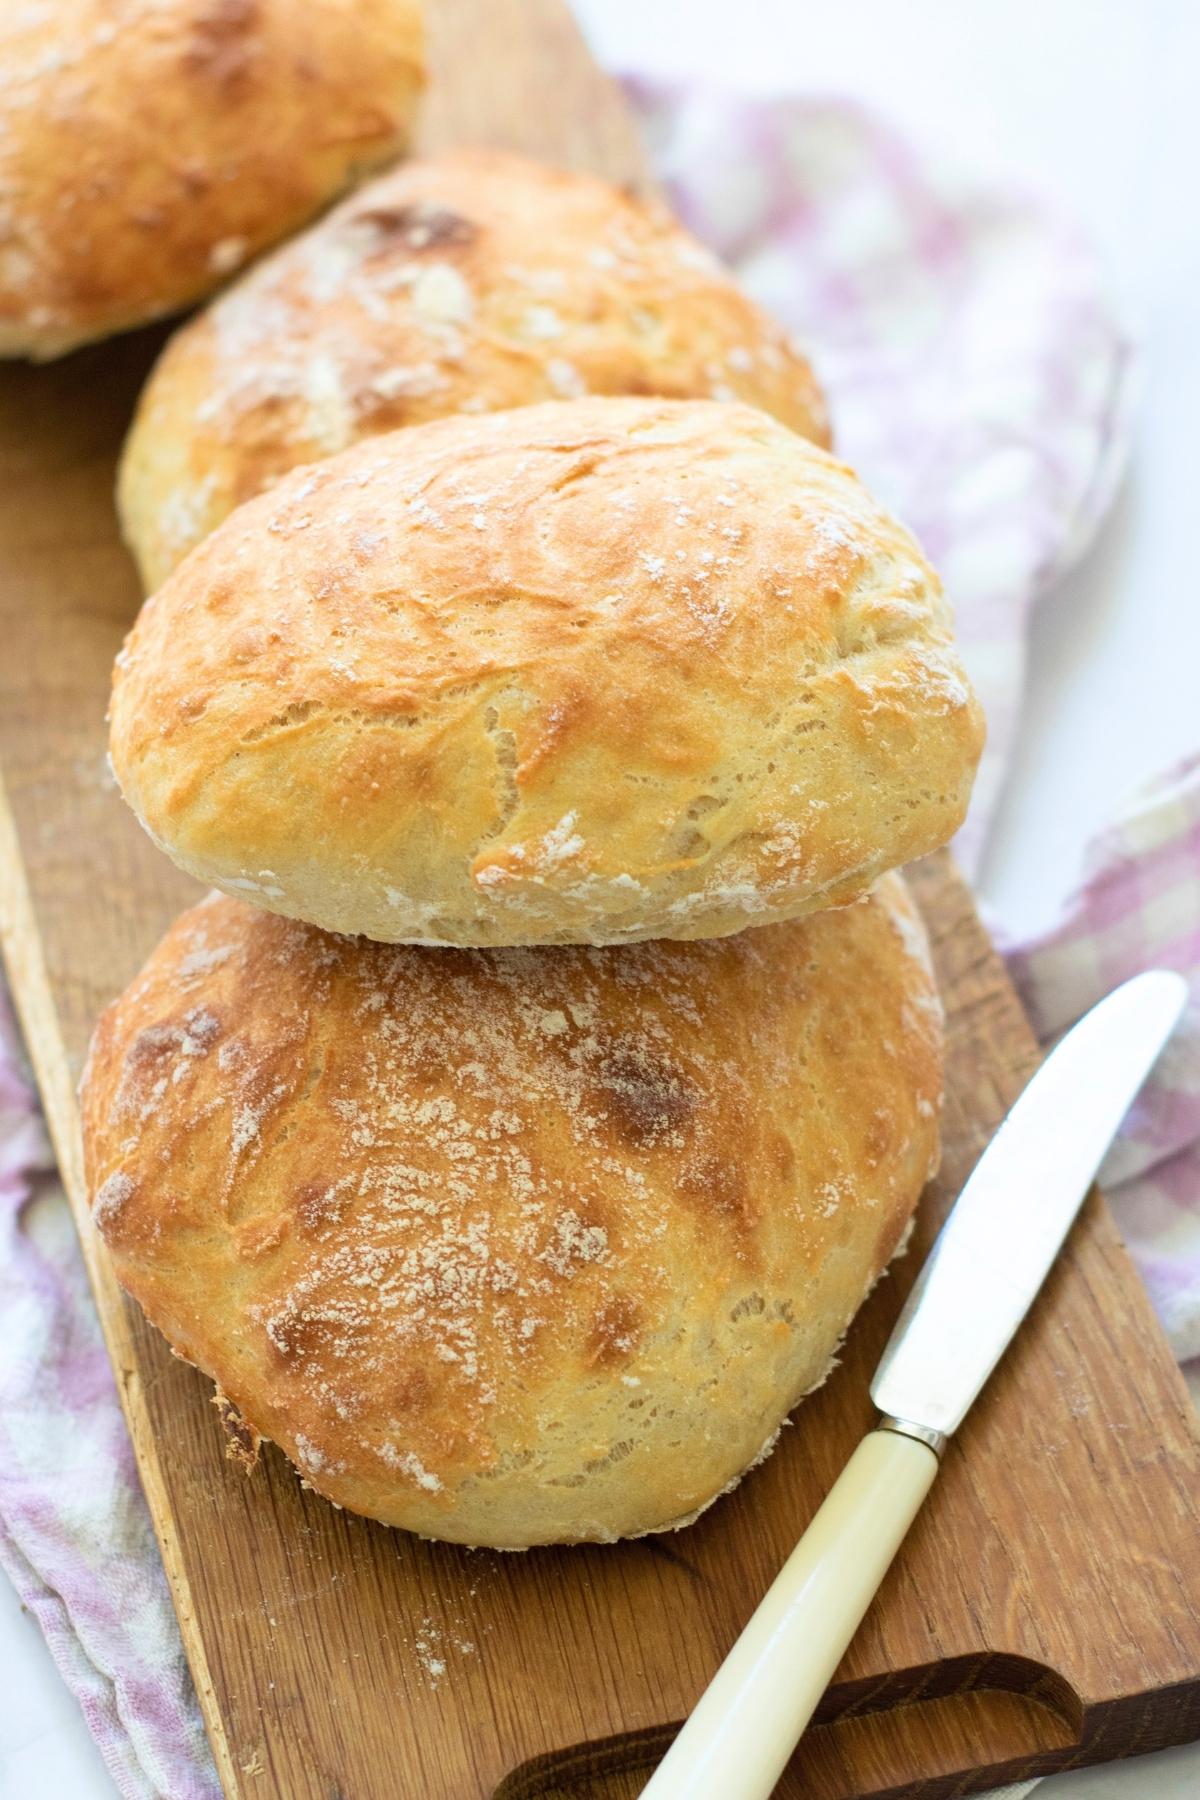
Quick Look: Panini Bread Recipe
- Prep Time: 15 minutes
- Cook Time: 30 minutes
- Rest Time: 1 hour
- Total Time: 1 hour 45 minutes
- Yield: 6 Rolls
- Method: Mix, fold, rise, and bake!
- Optional Add-Ins: Thyme, rosemary, sage, chilli flakes, oregano, garlic powder, pepper, coarse salt
- Difficulty: Beginner
- Why This Works: A crispy crust and soft, airy center without the elbow grease? My recipe is perfect for first-time bakers!
SUMMARIZE & SAVE THIS CONTENT ON
Why We Like This
- Bread that genuinely stays fresh: Tired of opening up your bread bin and finding the bread you bought just yesterday has gone stale? Unlike the bagged stuff you get from the grocery store, my bread ACTUALLY stays fresh without relying on artificial additives or unnecessary preservatives.
- Bakery store-style texture and flavor: No dense center, no soft crust, and no dull, overly processed flavor. Its bakery-style indulgence without the effort! If your loved ones are anything like my husband, they'll refuse to ever touch a slice of shop-bought panini after trying this recipe. It simply cannot be matched, and it's perfect with my gooey whole milk mozzarella and salami.
- No kneading needed: Many homemade recipes rely on tough kneading to get that perfect texture… And when you're juggling household chores, work, and keeping the kids from turning your living room into an art studio? Tough kneading quickly becomes a burden rather than a fun pastime. My recipe is made exactly with busy home bakers in mind: You still get that gorgeously light, air pocket-packed texture, but with no kneading or elbow grease involved.
- It's ACTUALLY beginner-friendly: You can make this recipe even if you've never picked up a spatula before. I know so many people who have never baked bread before, who have easily made this bread. If you want another ridiculously simple bread to try next, my homemade brazilian cheese bread comes together in a blender with no kneading or rise time. Once you've got this mastered, try making my no knead dinner rolls!
- It's much cheaper to make: Eating healthy shouldn't dig into your budget or feel like a compromise. My recipe isn't just healthier than shop-bought bread; it's also MUCH cheaper. With just a few low-cost simple ingredients, you can make several batches and have fresh paninis for months!
Minoo's Pro Tip: My panini bread rolls NEVER get boring. You can customize them in so many ways, and they can go with practically anything! Cheese, olives, turkey, you name it! My personal favorite filling? Fresh salami, salad leaves, and my homemade dill pickles. A total lunchbox game-changer. You can also keep it traditional and make an Italian-style sandwich!
Ingredients
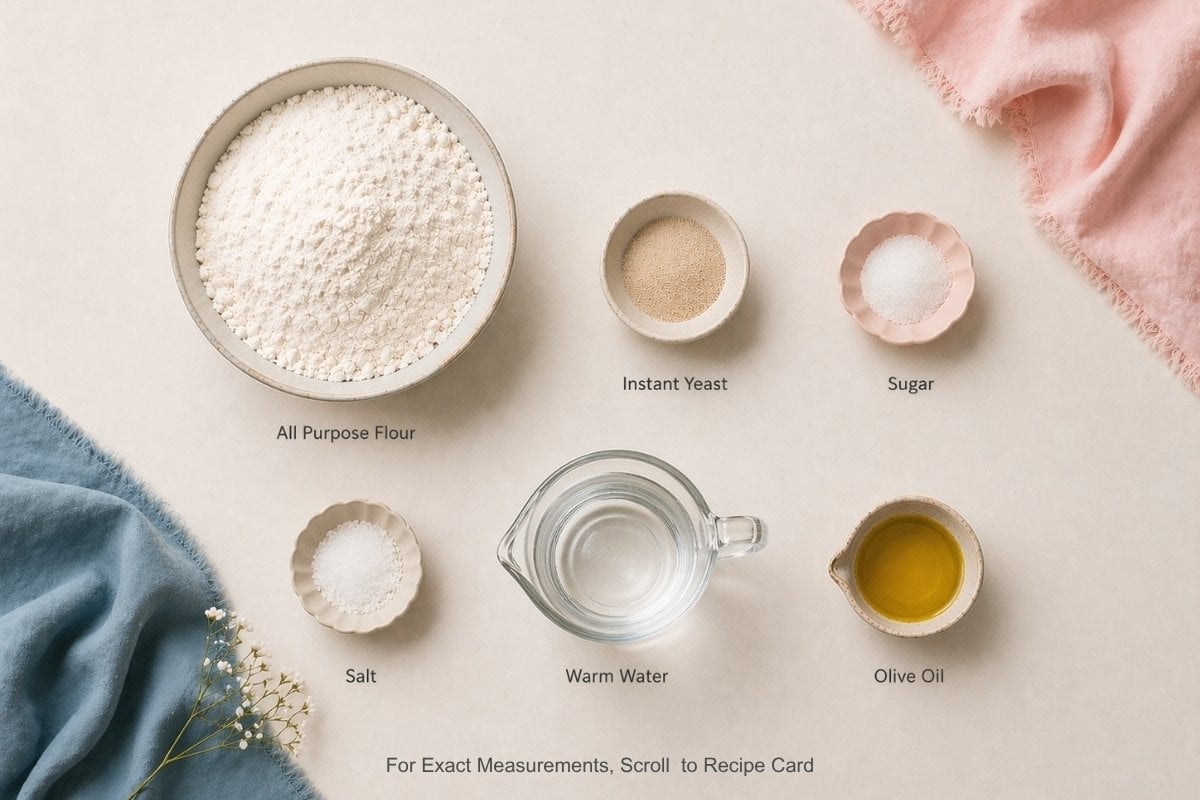
Skip the speciality Italian food stores. Making homemade panini bread shouldn't feel like an art form… But it should taste like a culinary masterpiece. With my recipe, you get that air-pocket-filled texture, satisfying crunch, and rich flavor with the simplest ingredients ever.
- All-Purpose Flour: Any all-purpose flour you have in your pantry will work, but make sure you have enough! You'll need 4 cups for the dough and plenty more for dusting.
- Instant Yeast: Instant yeast is what gives you that light, fluffy rise. I find that instant yeast is the easiest to work with since it doesn't require any pre-blooming (activating). You can use active dry yeast as a substitute, but make sure to dissolve it in warm water to activate it first before adding to the dough.
Minoo's Pro Tip: Why not throw in some sage, thyme, or rosemary to add extra warmth and flavor to my panini bread? The herbs here complement my broccoli cheese soup recipe beautifully; this combo is so comforting in the winter, and it's my go-to whenever I need a pick-me-up. You can even add dried chilli flakes for a spicy kick!
How to Make My Panini Bread Recipe
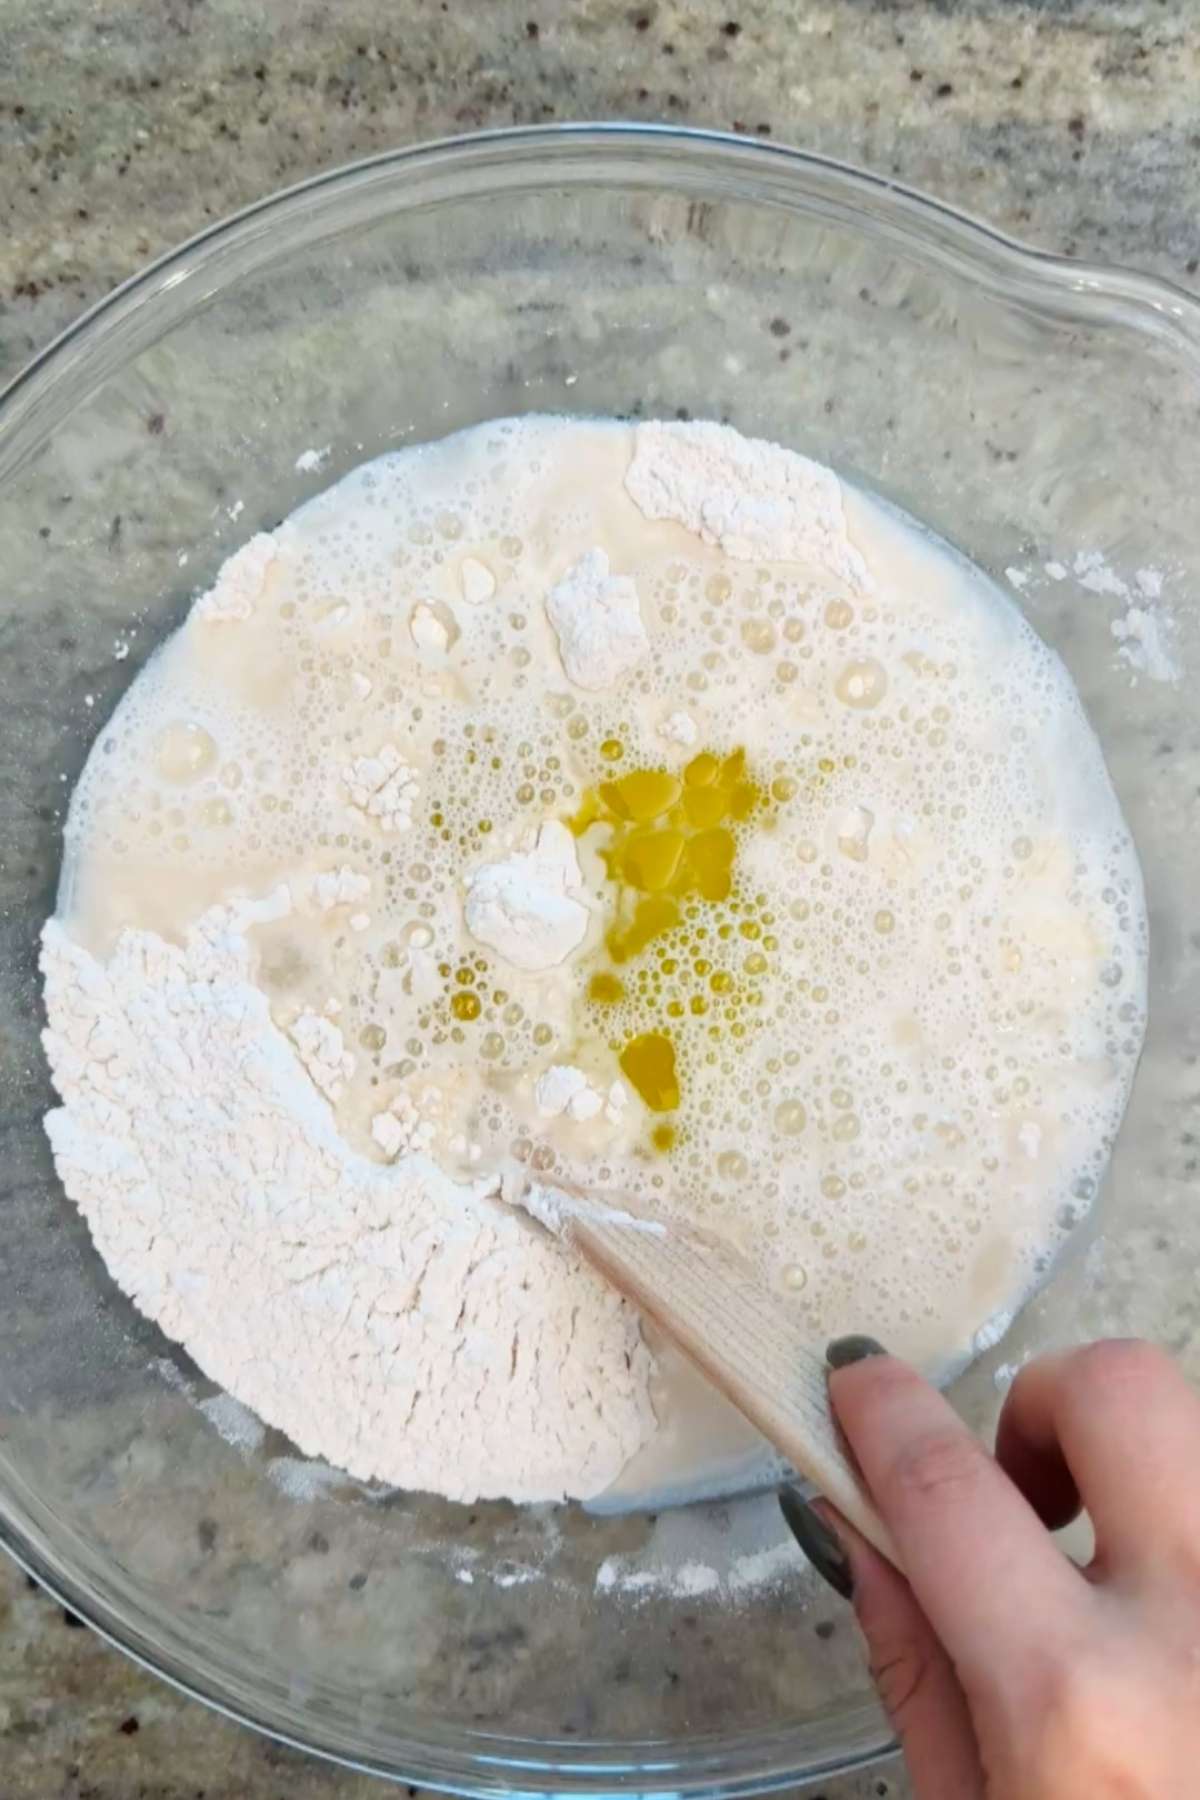
- Step 1: In a large bowl, combine 4 cups all-purpose flour, 2 teaspoon instant yeast,1 teaspoon salt, and ½ teaspoon sugar. Add in 2 cups warm water and 1 tablespoon olive oil.
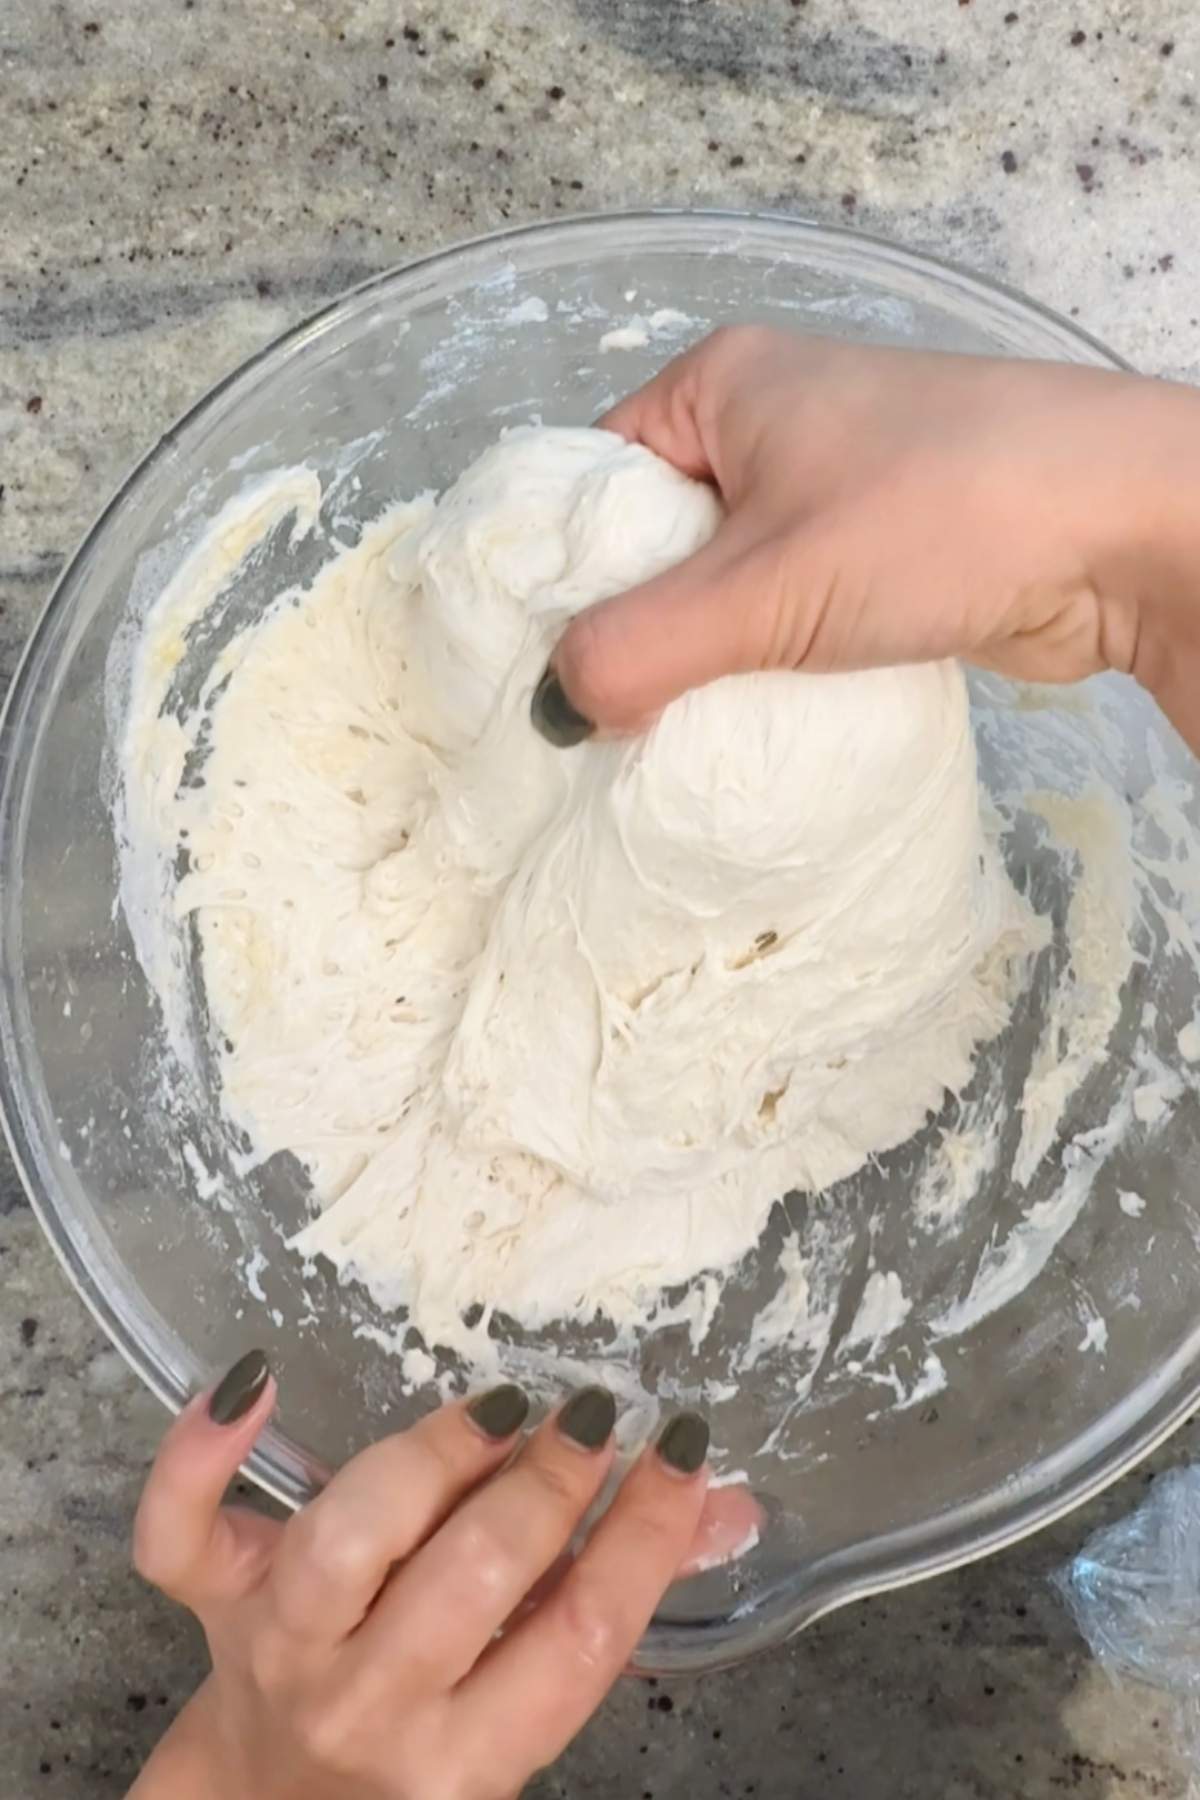
- Step 2: Mix the ingredients with a spatula until no dry flour remains, scraping the sides of the bowl as needed. Using wet hands, gently stretch one corner of the dough up and fold it over itself, and then turn your bowl 45 degrees. Repeat the process 8 times. This handling technique may seem a little strange at first, but trust me: This is what helps those air pockets develop and gives your panini bread that light, fluffy texture!
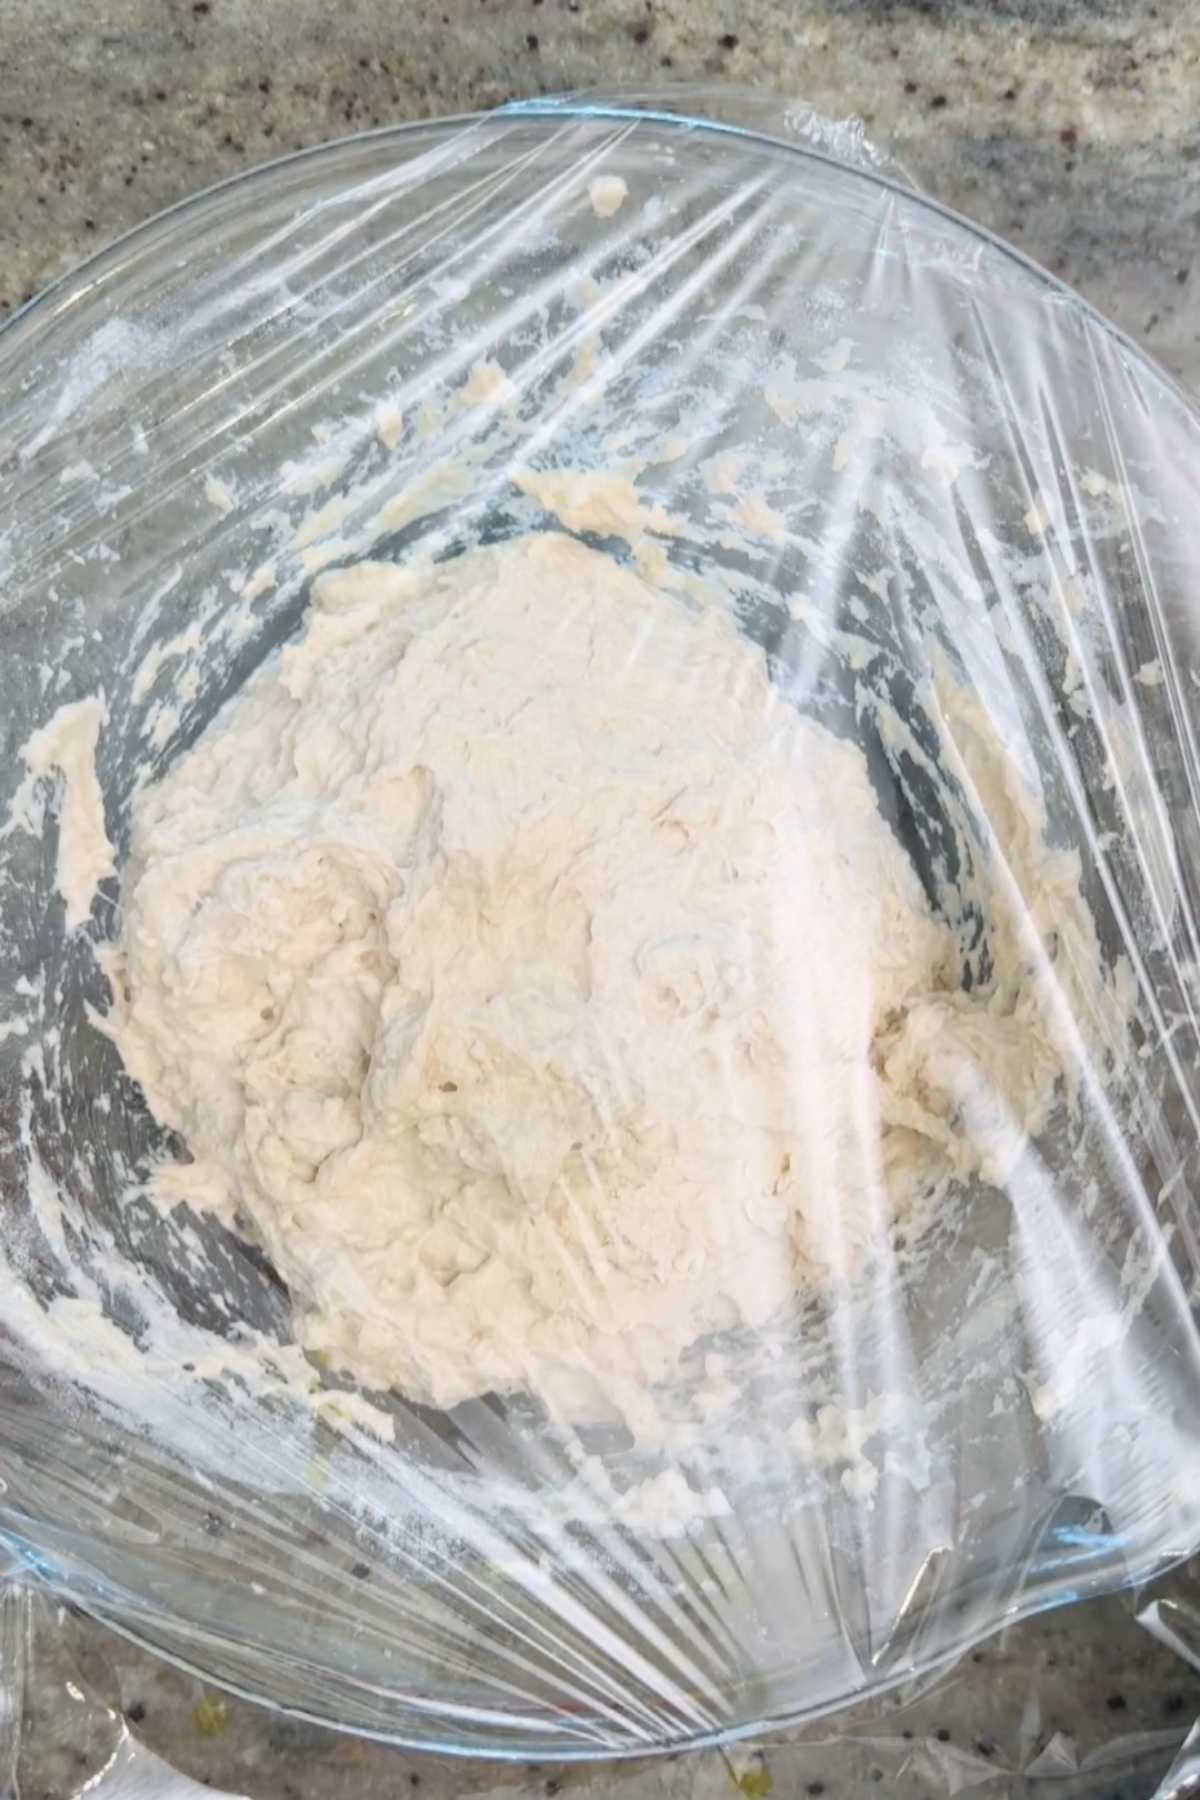
- Step 3: Cover with plastic wrap and place in a warm spot in your home to rise for an hour. Keep an eye on the dough, and once it's doubled in size, move on to the next step.
Minoo's Pro Tip: Your kitchen's temperature can really affect how quickly this dough rises! If your kitchen is too warm and the dough rises too quickly, you'll end up with a sloppy mess. In hot weather, have a fan running to help keep the temperature down and place your dough in a cooler spot.
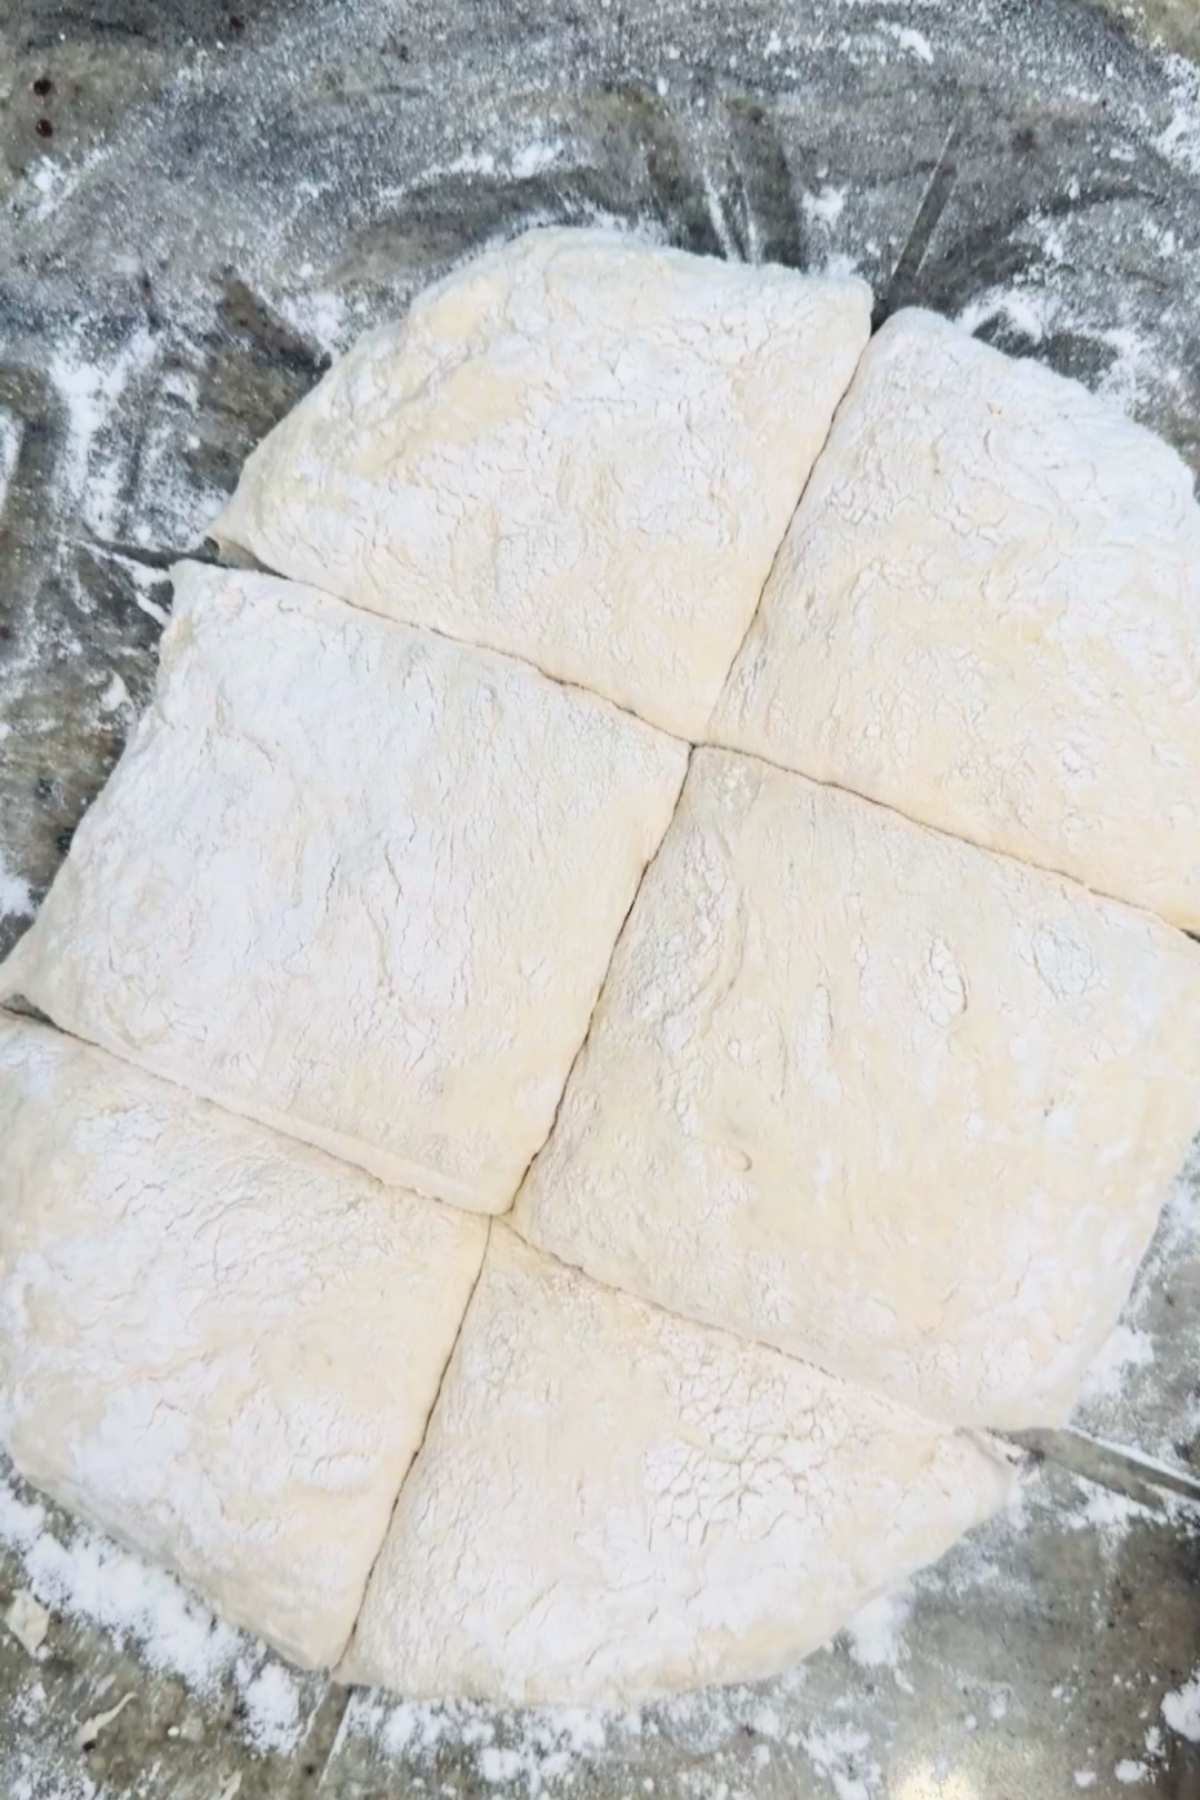
- Step 4: Generously flour a clean surface and dump the risen dough out. Add an extra sprinkle of flour to the top of the dough, and then cut into 6 equal pieces with a knife or bench scraper.
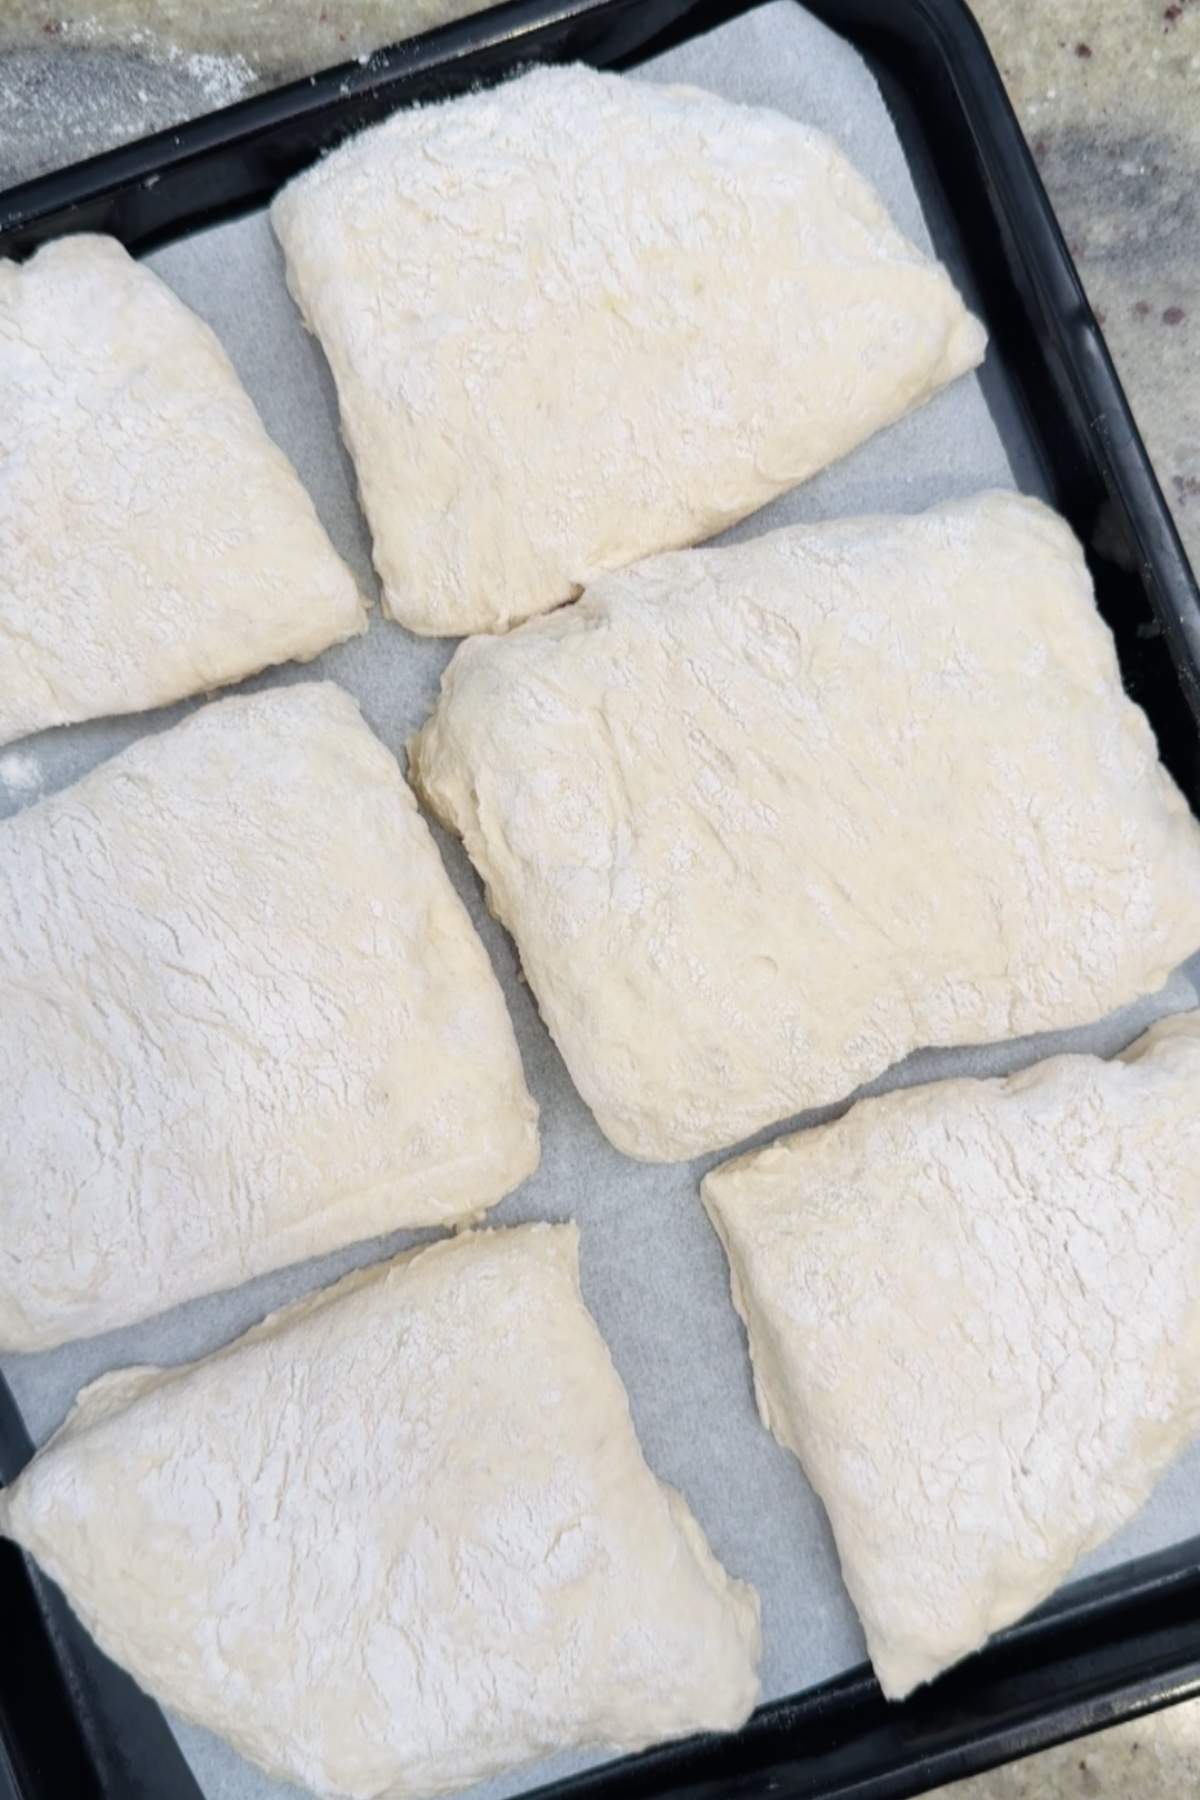
- Step 5: Transfer the 6 pieces directly onto a floured, parchment-lined baking sheet.
Minoo's Pro Tip: I get the temptation to shape the dough pieces… But trust me: It isn't necessary. Your dough will bake right up and have a gorgeous, rustic shape that looks so homely and is just like they serve in Italy! The "imperfection" here is what makes my recipe pure perfection!
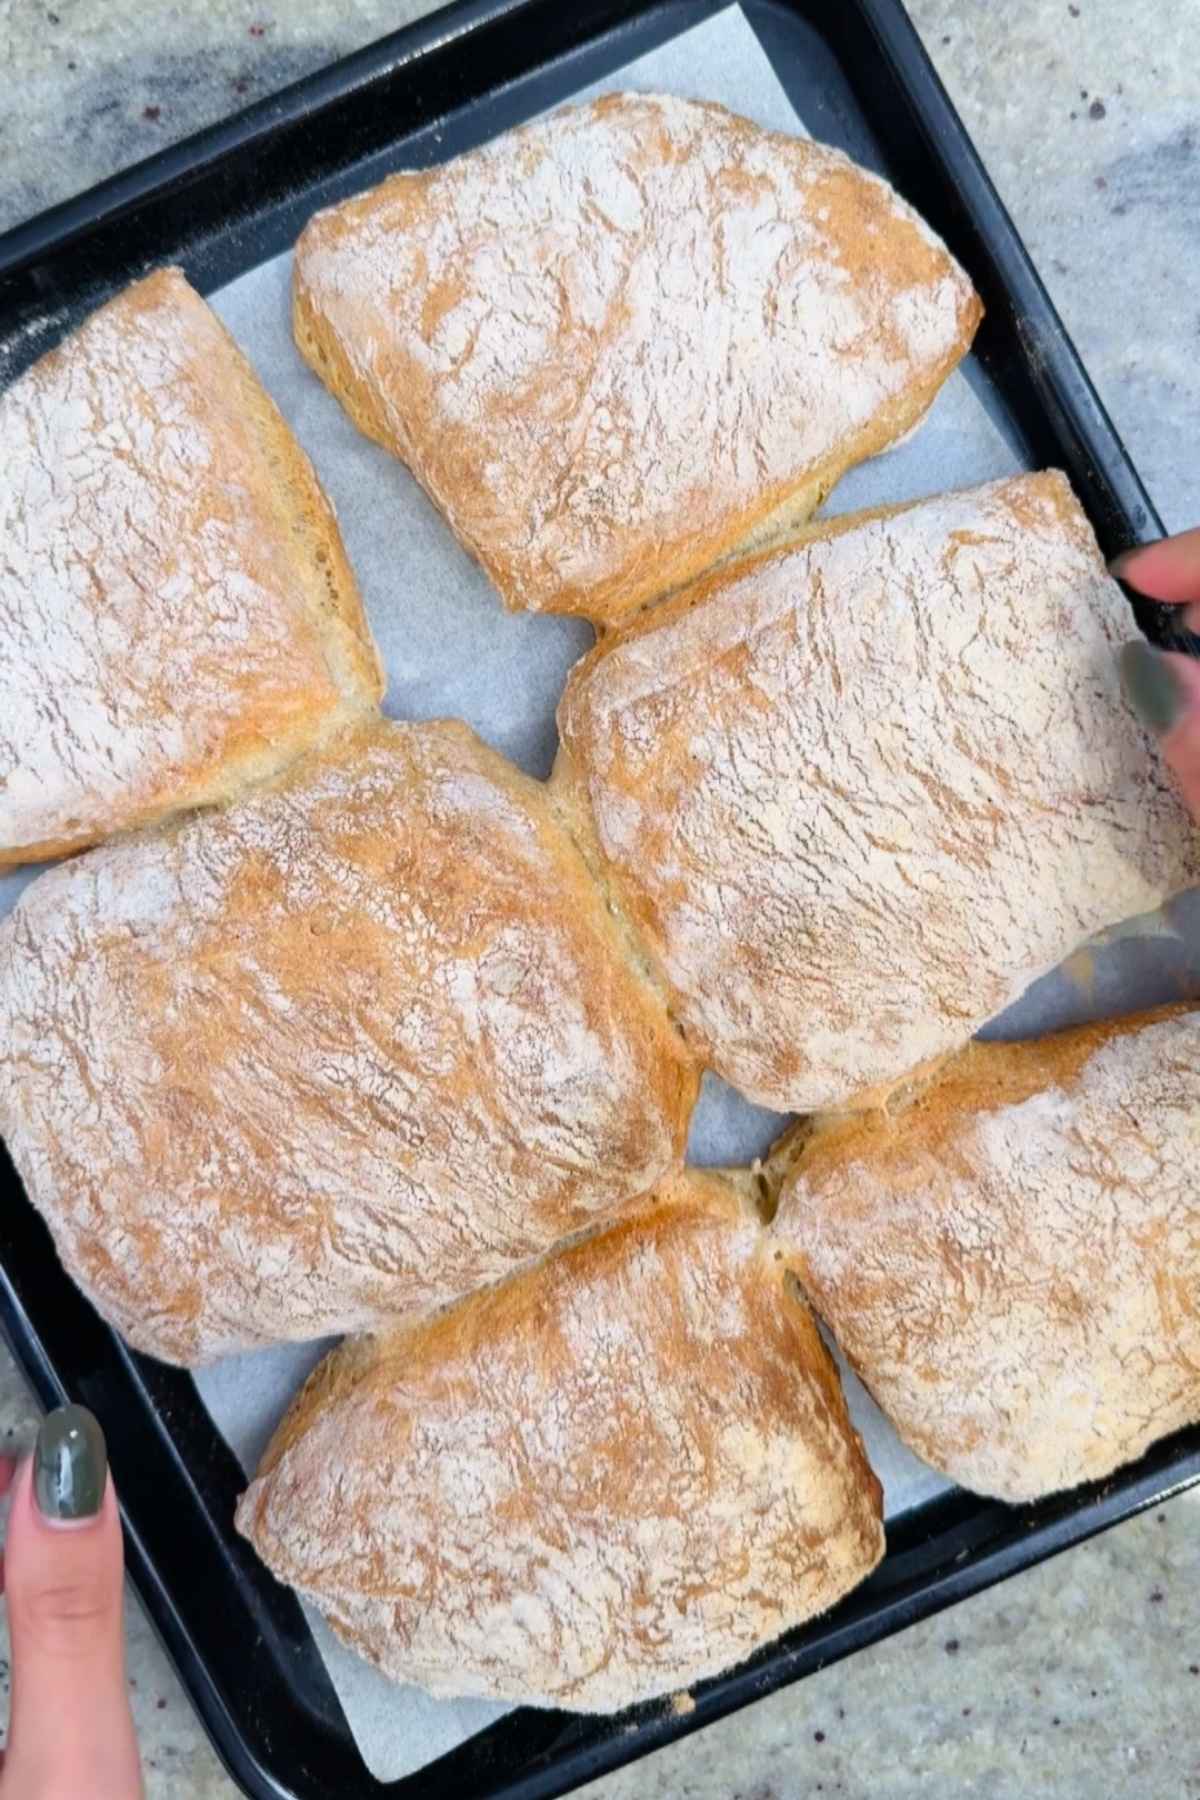
- Step 6: Bake your panini dough at 440°F for 30 minutes, or until golden brown. Allow to cool. Store for up to 3 days or enjoy on the same day for peak freshness. Add your choice of filling and enjoy alongside my sparkling orange soda for a refreshing lunch!
Expert Tips
- Allow an overnight rise for extra flavor: You don't need an overnight rise time to get incredible crusty bread that pulls apart easily. However, if you have the time, allowing your bread to rise overnight in the fridge adds extra depth to the flavor.
- Use the oven to help your bread rise in the winter: You deserve to have tasty paini bread all year long… But those wintry, chilly days can slow that rise right down. While you can't control the weather, I've found you can replicate the perfect environment needed for your dough to rise in your home, with the help of the oven! Turn your oven light on (keep the temp off) and just pop your covered bowl of dough in and close the door. The oven will help your dough stay snug and have it rising up in no time.
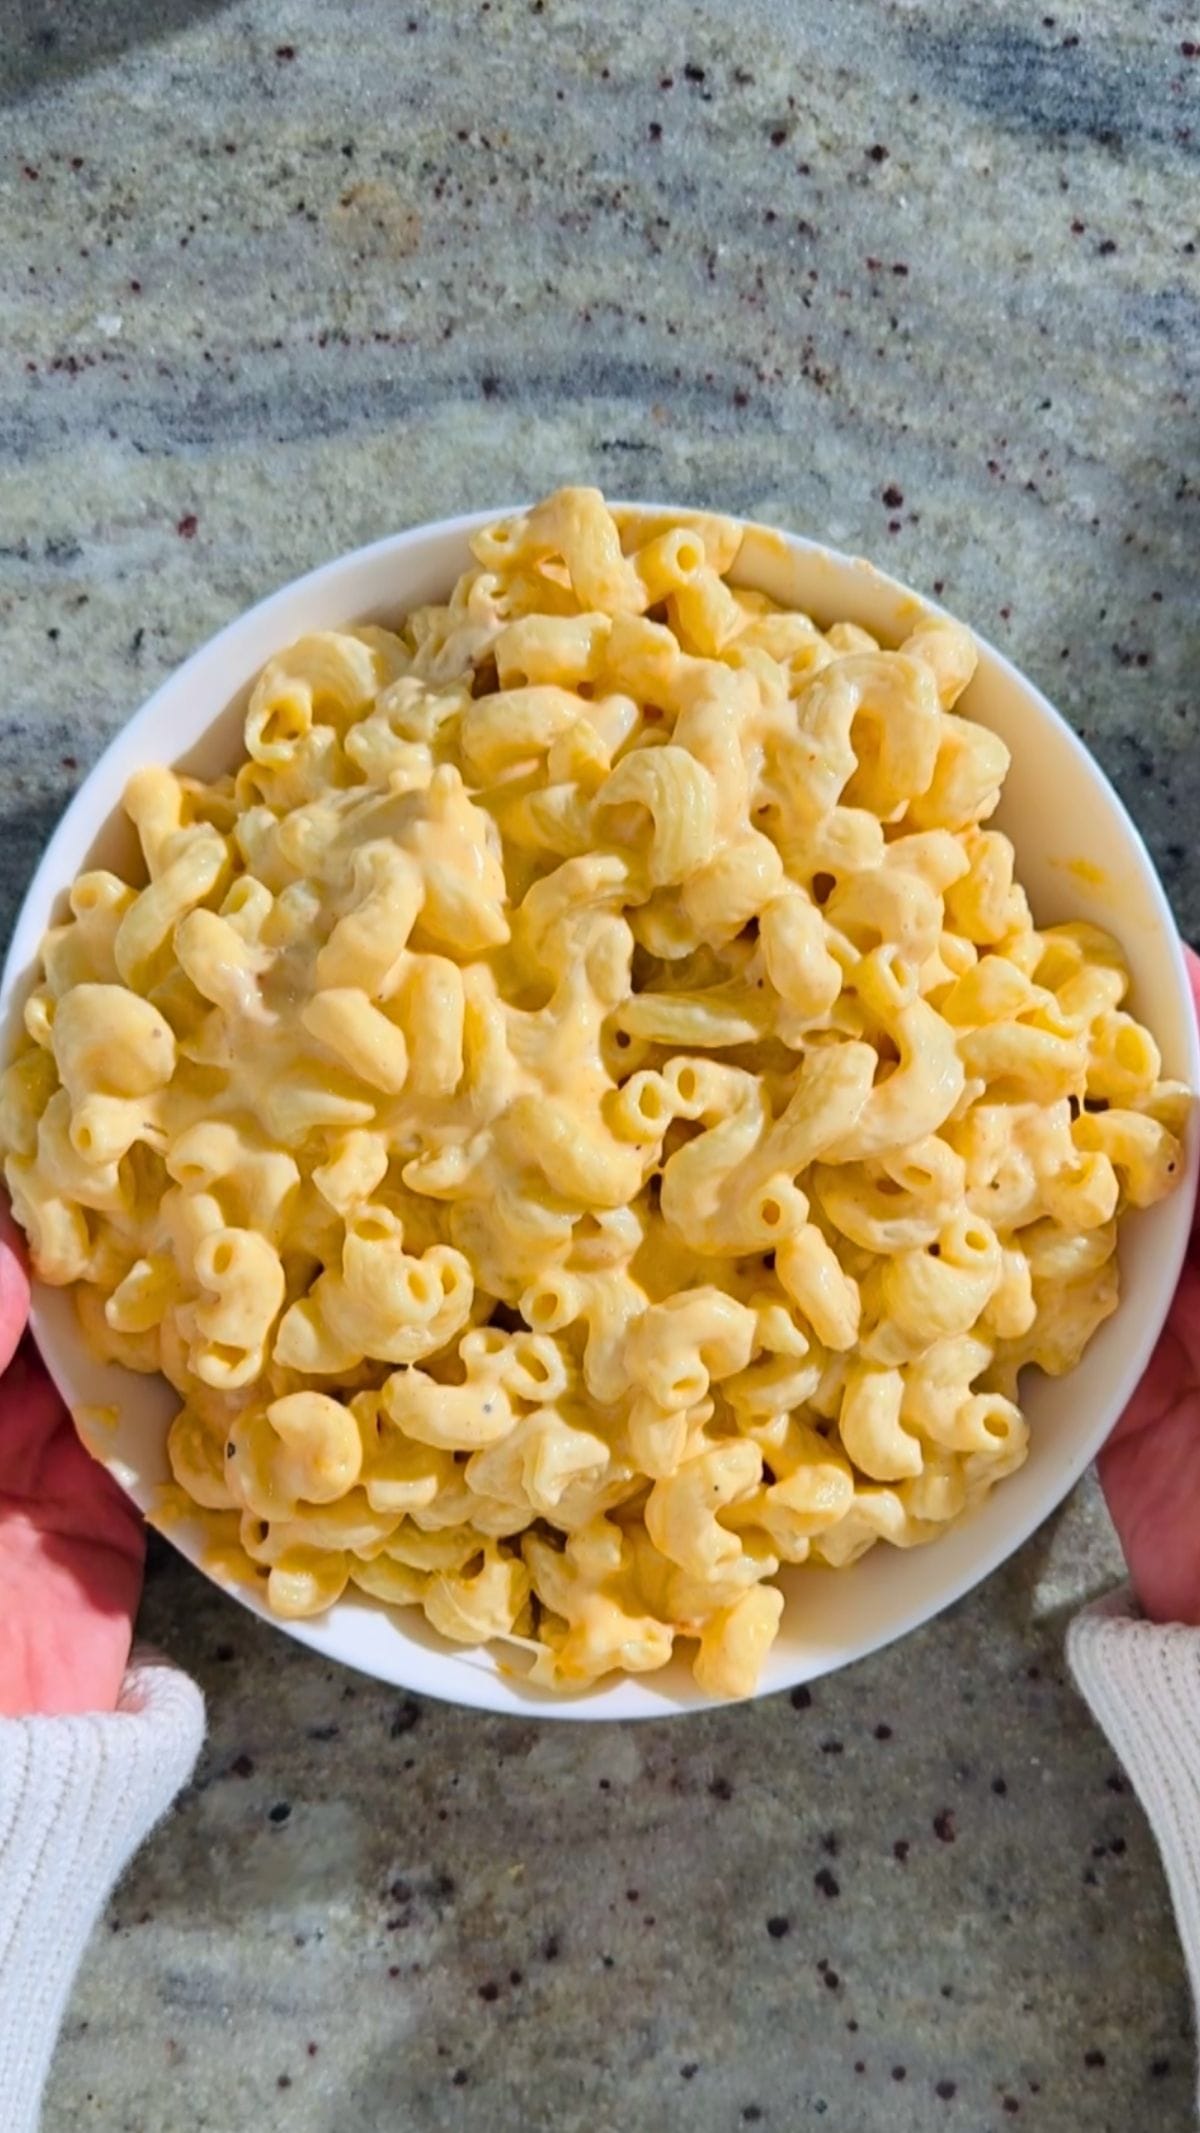
- Don't overhandle the dough: Be very gentle with the dough! Unlike traditional doughs that need a lot of kneading, this one should be handled as little as possible to preserve those beautiful air bubbles and bring out that light texture. This consistency is also perfect to soak up soup or stews, or even the leftover sauce from my cheesy mac and cheese!
Panini Bread Recipe FAQs
My homemade panini bread will keep well for a few days when stored in a paper or plastic bag on the counter.
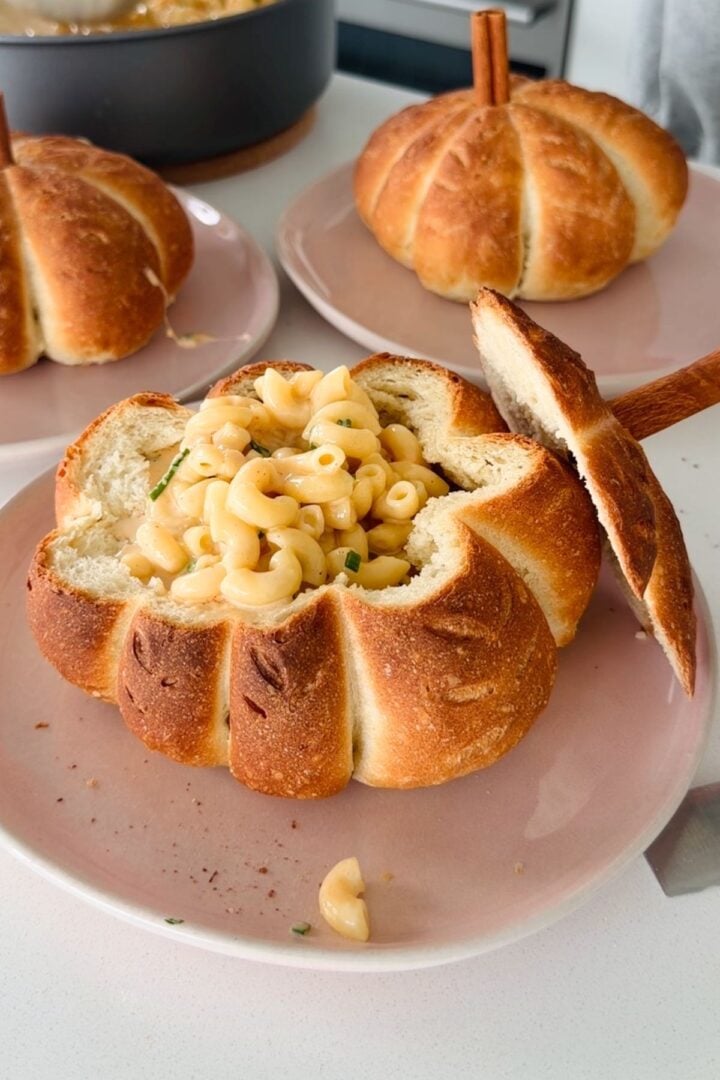
If you notice your panini bread starts to go stale, don't panic! Dampen the bread a little with water, then just pop it in the oven at 450°F for 5 to 7 minutes. Trust me: It'll taste just like fresh bread! Serve warm and add mozzarella for a gooey, cheesy roll. You can even cook it for longer and drizzle on olive oil to make a PERFECT bruschetta base, or slice it up and turn it into croutons to give a bread bowl soup extra crunch!
If you need to store it for longer, it's best to freeze my bread to preserve that fluffy, soft texture. To freeze, just cut the panini rolls in half and then place them in a bag in the freezer. I've found they'll freeze well for up to 3 months.
If your panini bread isn't rising, I've found that it's usually because of expired yeast! If your yeast is no longer active, it won't react and cause that rise in your dough.
You can check if your yeast is active with a very easy test: Dissolve sugar in water, add a tablespoon of yeast, and leave it for 10 minutes. If the mixture doubles in size, your yeast is still active. If nothing happens, that's a telltale sign your yeast is expired.
You should also check the type of yeast you're using. While my recipe calls for instant yeast, I've found that many people mistakenly buy active dry yeast instead. You can still use active dry yeast to make this recipe, but there is a key difference: Active dry yeast must be activated in water before you add it to the dough. If you skip this key step, your dough won't rise!
Look. If I'm wearing my "chef" hat, I'd say yes. The stretch and fold is what helps give your dough that airy, fluffy structure, and it also makes it easier to handle when shaping…
But wearing my "busy homemaker" hat? No. Even if you skip this step, your dough will still rise. It may be slightly less springy and a little flatter, but if you're slathering on the toppings, no one will tell the difference. This version also makes the BEST burger buns, especially when paired with my DIY ketchup recipe!
If your dough is sloppy and not holding its structure, don't throw it away. You can save it by dusting with extra flour. You may end up with a more dense bread here, but it'll still be delicious! Plus, I've found that slightly denser panini bread helps hold wet toppings much more readily, meaning you can pile 'em on without your roll becoming soggy in seconds!
More to Try
My panini bread will turn your kitchen into an Italian panetteria with its irresistible, fresh aroma. It's an absolute favorite in my household! The best part? It's incredibly versatile and pairs with so many dishes, like these below:


Enjoying This Recipe?
It would mean the world to me if you left a quick review or any questions you have in the comments below!
Recipe Card

Panini Bread Recipe
EMAIL THIS RECIPE
Enter your email and I'll send this directly to you.
Plus you'll get new recipes from me every week!
Ingredients
- 4 Cups All Purpose Flour
- 2 teaspoon Instant Yeast
- ½ teaspoon Sugar
- 1 teaspoon Salt
- 2 Cups Warm Water
- 1 tablespoon Olive Oil
Instructions
- In a bowl, combine the flour, yeast, salt, and sugar. Add in warm water and olive oil.
- Mix with a spatula until no dry flour remains. With wet hands, stretch one corner of the dough up and fold over itself. Turn the bowl 45 degrees, and repeat 8 times.
- Cover the dough with plastic wrap and place in a warm spot to rise for 1 hour, or until doubled in size.
- Flour a surface and dump the risen dough on top. Sprinkle more flour on the dough, then cut into 6 equal pieces.
- Transfer pieces onto a floured, parchment-lined baking sheet.
- Bake at 440°F for 30 minutes until golden brown. Cool completely before serving.
Notes
- Always wet your hands while folding: Don't skip this step. This makes it much easier to work the dough!
- Be generous with the dusting: Dust more flour on the counter than you would for a different bread, and don't forget to also dust your parchment paper so the dough doesn't stick!
Nutrition
Want To Save This Recipe?
Share your email & we'll send it over! PLUS, you'll get new recipes from us weekly

Hi, is there a way to use Gluten Free Cup for Cup flour in this recipe?
Hi Robin! I wouldn’t really recommend it for this recipe, you won’t get the same result unfortunately.
Just made and they were wonderful! Next time I’ll use a little less flour on the parchment because the bottoms were already enough flour from the floured surface I dumped it onto. In watching your video the sugar you used is brown. What kind of sugar is that? I used just regular granulated sugar but I have others I could have used to match your video.’
Hi Hedy! I'm so glad you liked the bread (: I've used coconut sugar, brown sugar and granulated sugar before in this recipe and they all work amazing! Anything you have on hand will work. You can even substitute maple syrup or honey for a more natural alternative!
Hi. Can I use whole wheat flour?
Hi Anastasia! You can but I wouldn't recommend swapping more than 1/2 of the flour for whole wheat flour. More than that your bread will come out too dry and dense (:
so easy and fast too! made a lovely crusty bread.
I'm so glad you think so Lindsay! I love crusty bread myself so this recipe a favourite for me. Enjoy!!
How mush water in ml. Is in a cup? (From England)
Hi Gordon! One cup of water is about 237 ml (:
Minoo
This recipe gets a 5 star rating,
I am really amazed by how it turned out
baked according to your instructions
this is really easy and delicious. I will be making this again and again thank you so much. Herb
Herb I this is the BEST compliment!!! Thank you so much! I'm glad you love this recipe as much as I do and enjoy the delicious breads you make (:
They came out looking just like your photos
It was easy to make but it has no taste and I put to much flour on top.
I would like to try again some day. Needs more flavor
You can always add some flavourings into the flour directly like garlic powder or dried herbs!! But this bread is great for pairing with soups or sandwiches (:
Can I use active dry yeast? Would i proof the yeast first & then add the other ingredients?
Anita K
Yes you can definitely use active dry yeast. I’d just proof it first in a little warm water for about 5–10 minutes until it gets foamy, then add it in with the rest of the ingredients. It should work just fine!
That's what I came here to ask...about flavorings. Glad I read through the comments. Thank you!
The recipe was simple. My dough was still REALLY slack so I added about 1/4 cup more flour to the mixing part when folding. It still didn't fall out on its own but had good gluten development (scraped the rest out with silicone spatula and it was its own roll). Baked at 440 for 20 min and they were still a bit overdone -- 208 internal temp at 20 min. Next time I would lower temp or reduce to 15 min. to come out at 200ish. But easy recipe. Gave it a 4 because of all the adjustments I had to make, but they made a good ham and gruyere sandwich.
Hi Vicki!! Thank you for sharing your process. Maybe my flour was slightly different than yours, different ingredients always need a little bit of tweaking! But I'm glad it worked out in the end and you loved the bread (:
I did every step bur I noticed a problem when u have to pull a corner and fold. I did it but it was too tough wouldn't pull easily but I went ahead and did it 8 times. It did rise doubled in size. The came out looking great but when I picked them up it felt heavy. I waited til fully cooled cut in half and they were doughy on inside hence heavy. The crust was great but I had to pull a lot of inside cause almost paste. What did I do wrong. Thx
Hi Silvia!! Did you double check the amount of flour and water you used? This should be a very wet dough and not heavy or tough at all. Also make sure you used all purpose flour and not a different flour that may absorb water differently.
Can I use bread flour to make these?
You absolutely can!! That would be amazing.
Can I use wheat flour?
Hi Jeanette! You absolutely can but I would recommend replacing only half of the flour with whole wheat flour.
Great recipe!
Even better if you let it proof overnight in the fridge, then let it sit out for about 3 hours before baking.
ouuuu I can imagine!! That must be a dream.
Wonderful Crusty Panini Rolls… so easy, soft and delicious!!
Thank you!!
Do I let it rise once more on the parchment
Absolutely delicious and so crispy with a soft and chewy cantre. So easy to make. Thank you for this recipe.